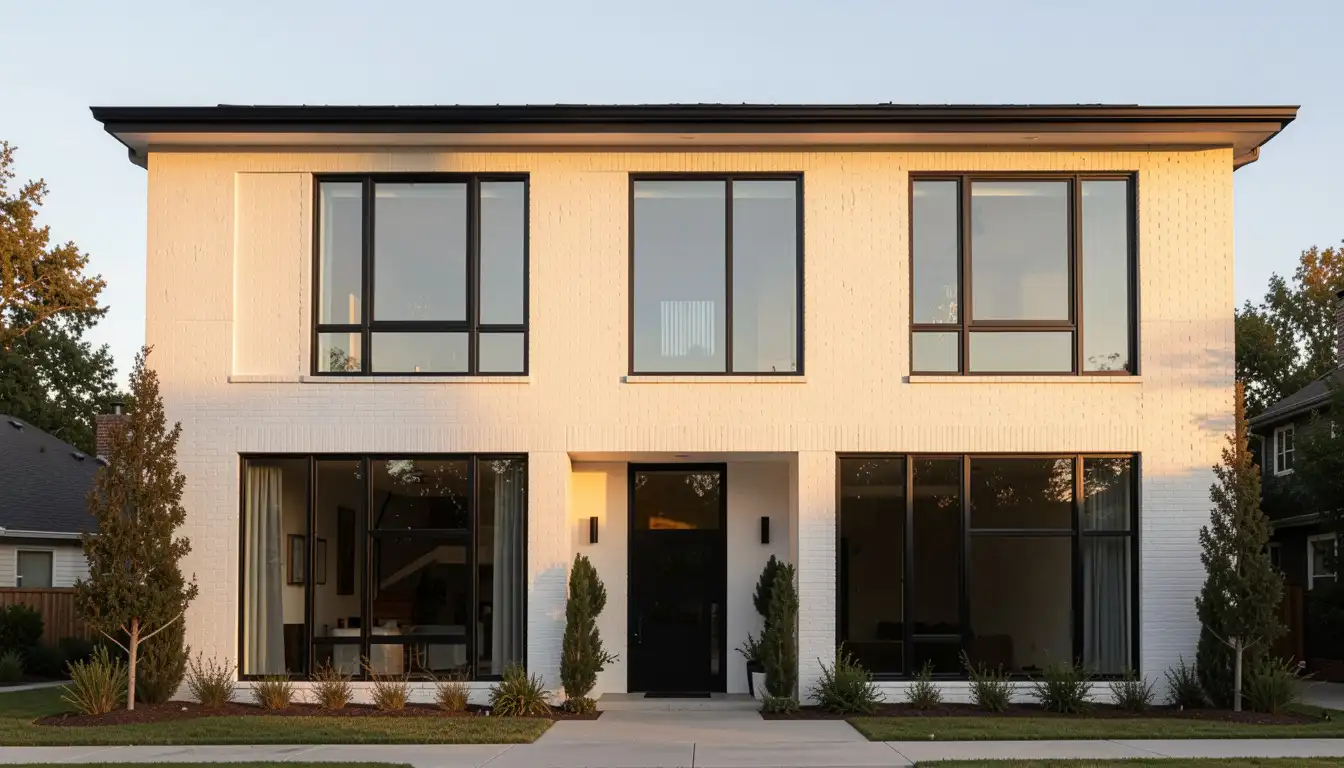
A client handed us a spare room that had been collecting junk for three years.
Nine weekends later, it was a home office that people actually walked in and commented on.
The difference wasn’t talent or budget; it was working a clear process from the start.
Here’s every step of the interior design process: what actually happens at each stage and where projects typically go wrong.
Importance of the Whole Interior Design Process
Skipping steps can lead to costly mistakes.
Like buying expensive furniture that doesn’t fit the room. Or choosing a color scheme that clashes with the lighting.
A clear process helps avoid all of this.
- It keeps the project on budget.
- It helps avoid expensive mistakes.
- It ensures the space is functional and good-looking.
- It makes decision-making much easier.
- It keeps the entire project on track from start to finish.
A common mistake first-timers make is treating interior design as decoration. It’s not. Decoration is the final layer. Design is the structure beneath it.
Preparing Before the Consultation – What to Know Prior
Walking into a consultation prepared makes a real difference. Here’s what to have ready:
1. Know how the space will be used
Before anything else, think about function.
Will it be a quiet home office or a busy family room? The purpose of the space shapes every decision that follows.
2. Set a rough budget range
Having a number in mind, even a rough one, helps the designer work realistically from day one.
It avoids wasted time exploring options that are completely out of range.
3. List what’s not working in the current space
Identifying pain points before the meeting saves time.
If it’s poor storage, bad lighting, or an awkward layout, knowing what to fix is just as important as knowing what to keep.
4. Know the non-negotiables
Every client has deal-breakers: a favorite piece of furniture, a color they can’t stand, or a style they absolutely want to avoid.
Having these clear before the meeting keeps things focused.
5. Understand the timeline
Having a rough idea of when the project needs to be finished helps the designer plan realistically.
Last-minute projects almost always cost more and deliver less.
Step-by-Step Interior Design Process
Getting a space right takes more than just good taste. It takes a clear plan.
Here are the main interior design process steps involved:
Step 1. Initial Consultation and Client Brief
The first step is to get to know the client.
The designer talks about the client’s lifestyle, daily needs, and budget. A site visit follows the designer walking through the space, taking measurements, and noting what’s already there.
Inspiration images and ideas get collected, too.
All of this helps the designer build a clear picture of what the client truly wants.
Step 2: Space Planning and Layout Design
Once the brief is ready, the designer gets to work on the floor plan.
Furniture placement, room layout, and traffic flow all get mapped out at this stage.
The designer also zones different areas by purpose, like separating a reading nook from a dining area. The goal is to make the space both functional and easy to move through.
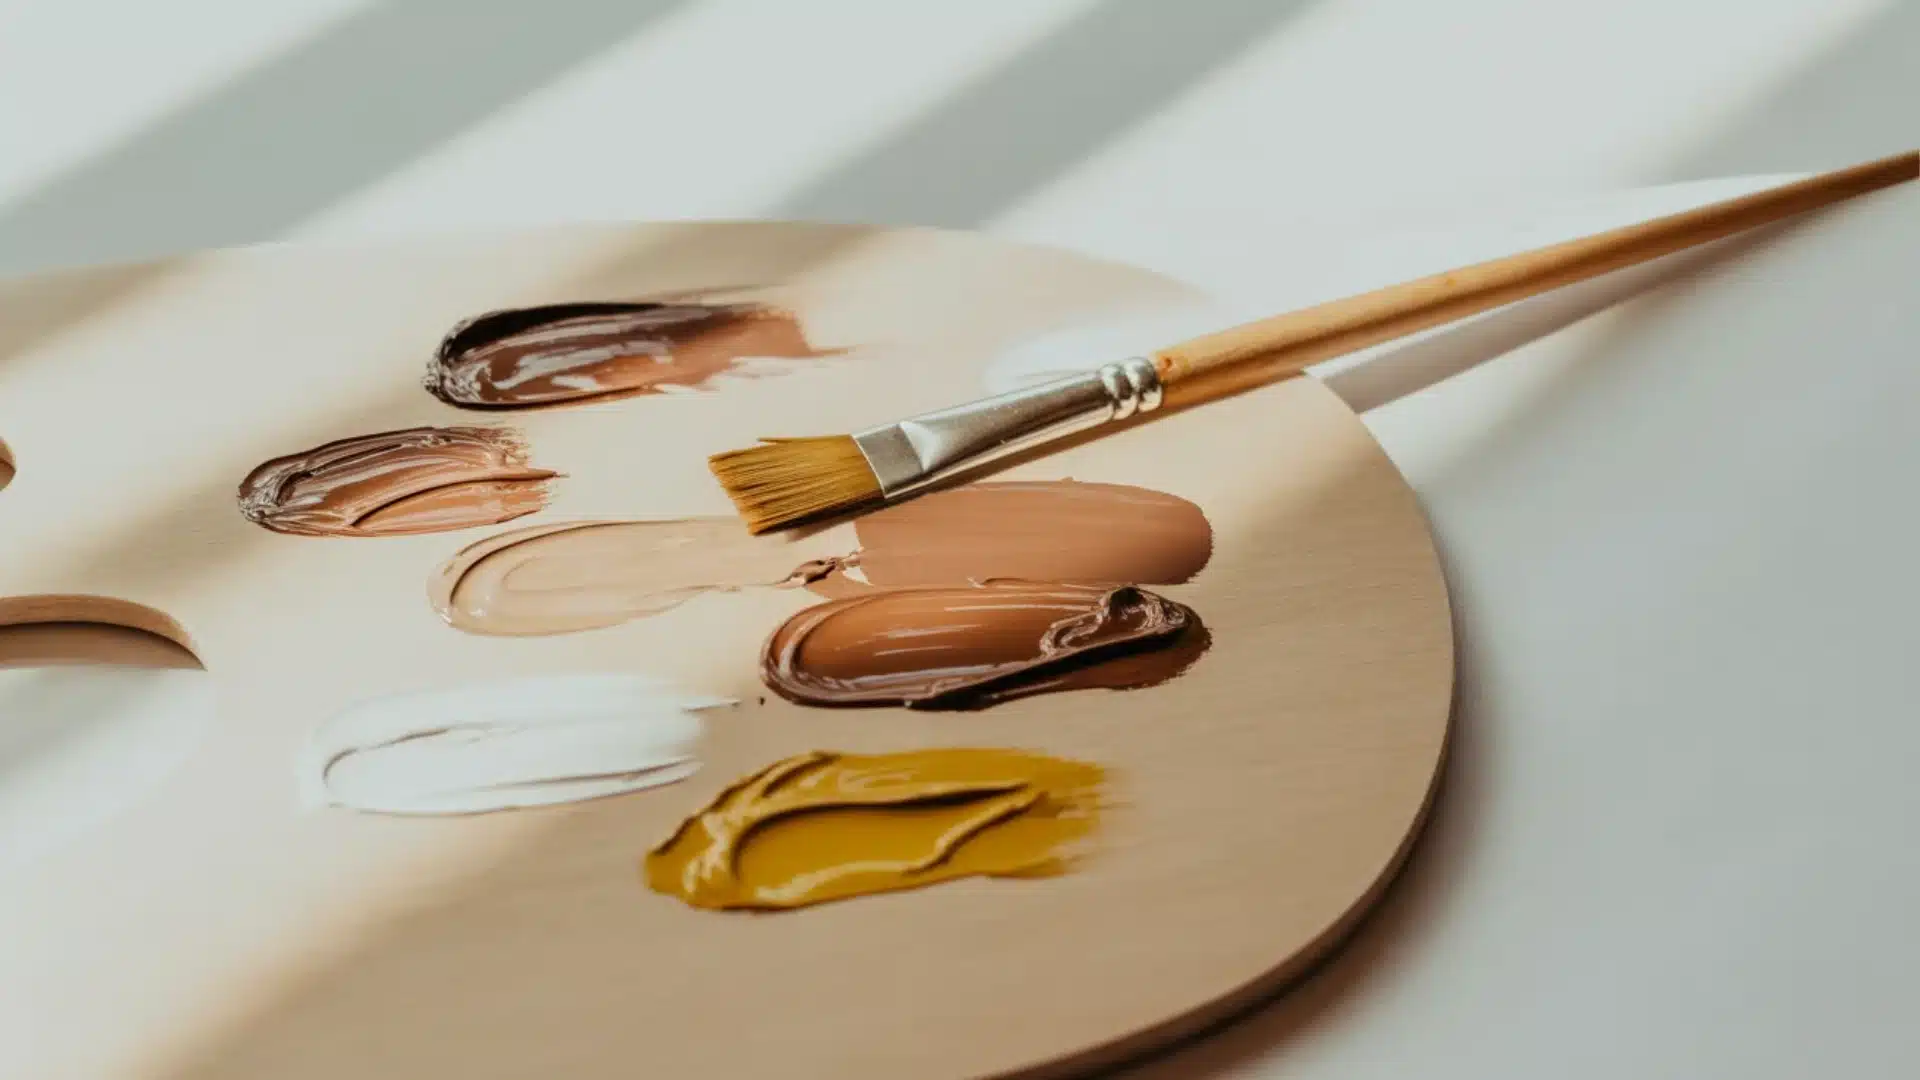
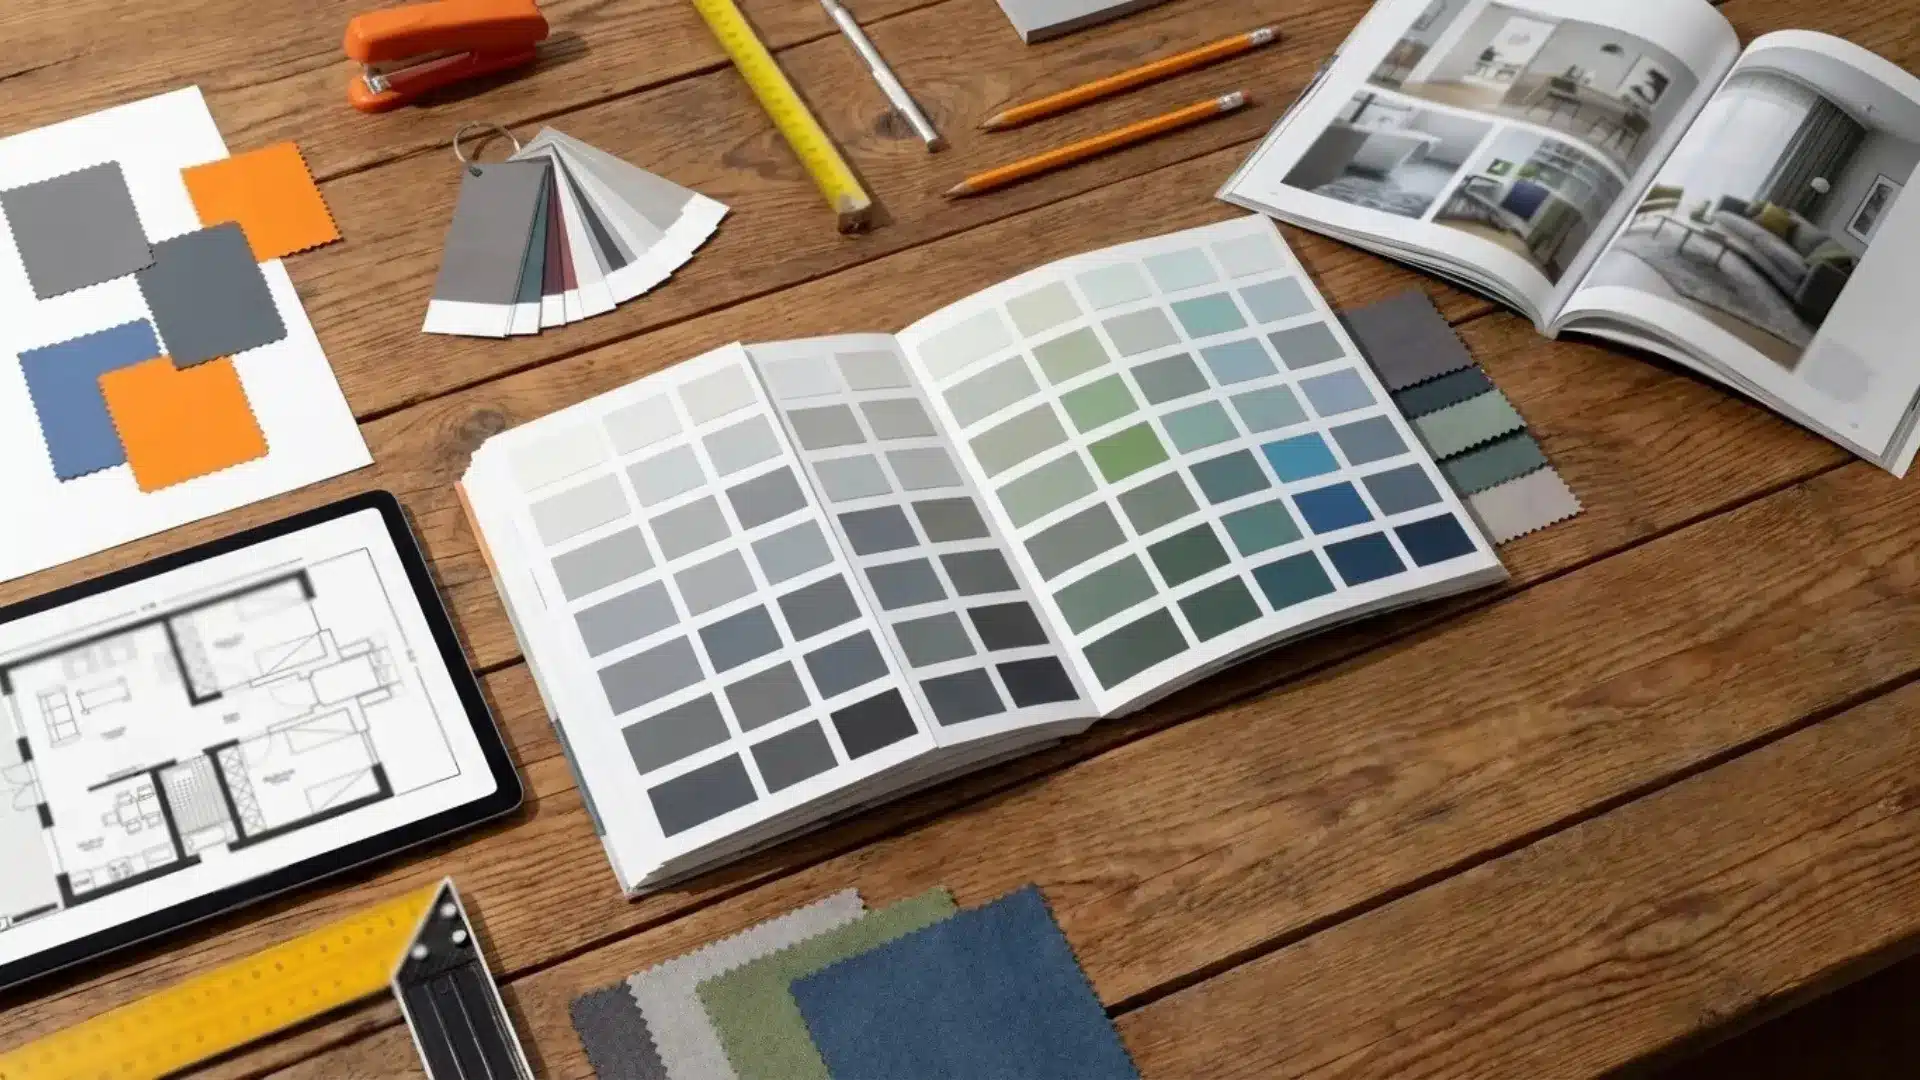
Step 3: Concept Development and Mood Boards
This is where the design starts taking shape visually.
The designer defines a clear style direction, modern, rural, minimalist, or anything in between. Color palettes get chosen based on the mood the client wants to create.
Materials, textures, and finishes are also shortlisted at this stage.
It gives the client a clear visual of how the finished space will look and feel.
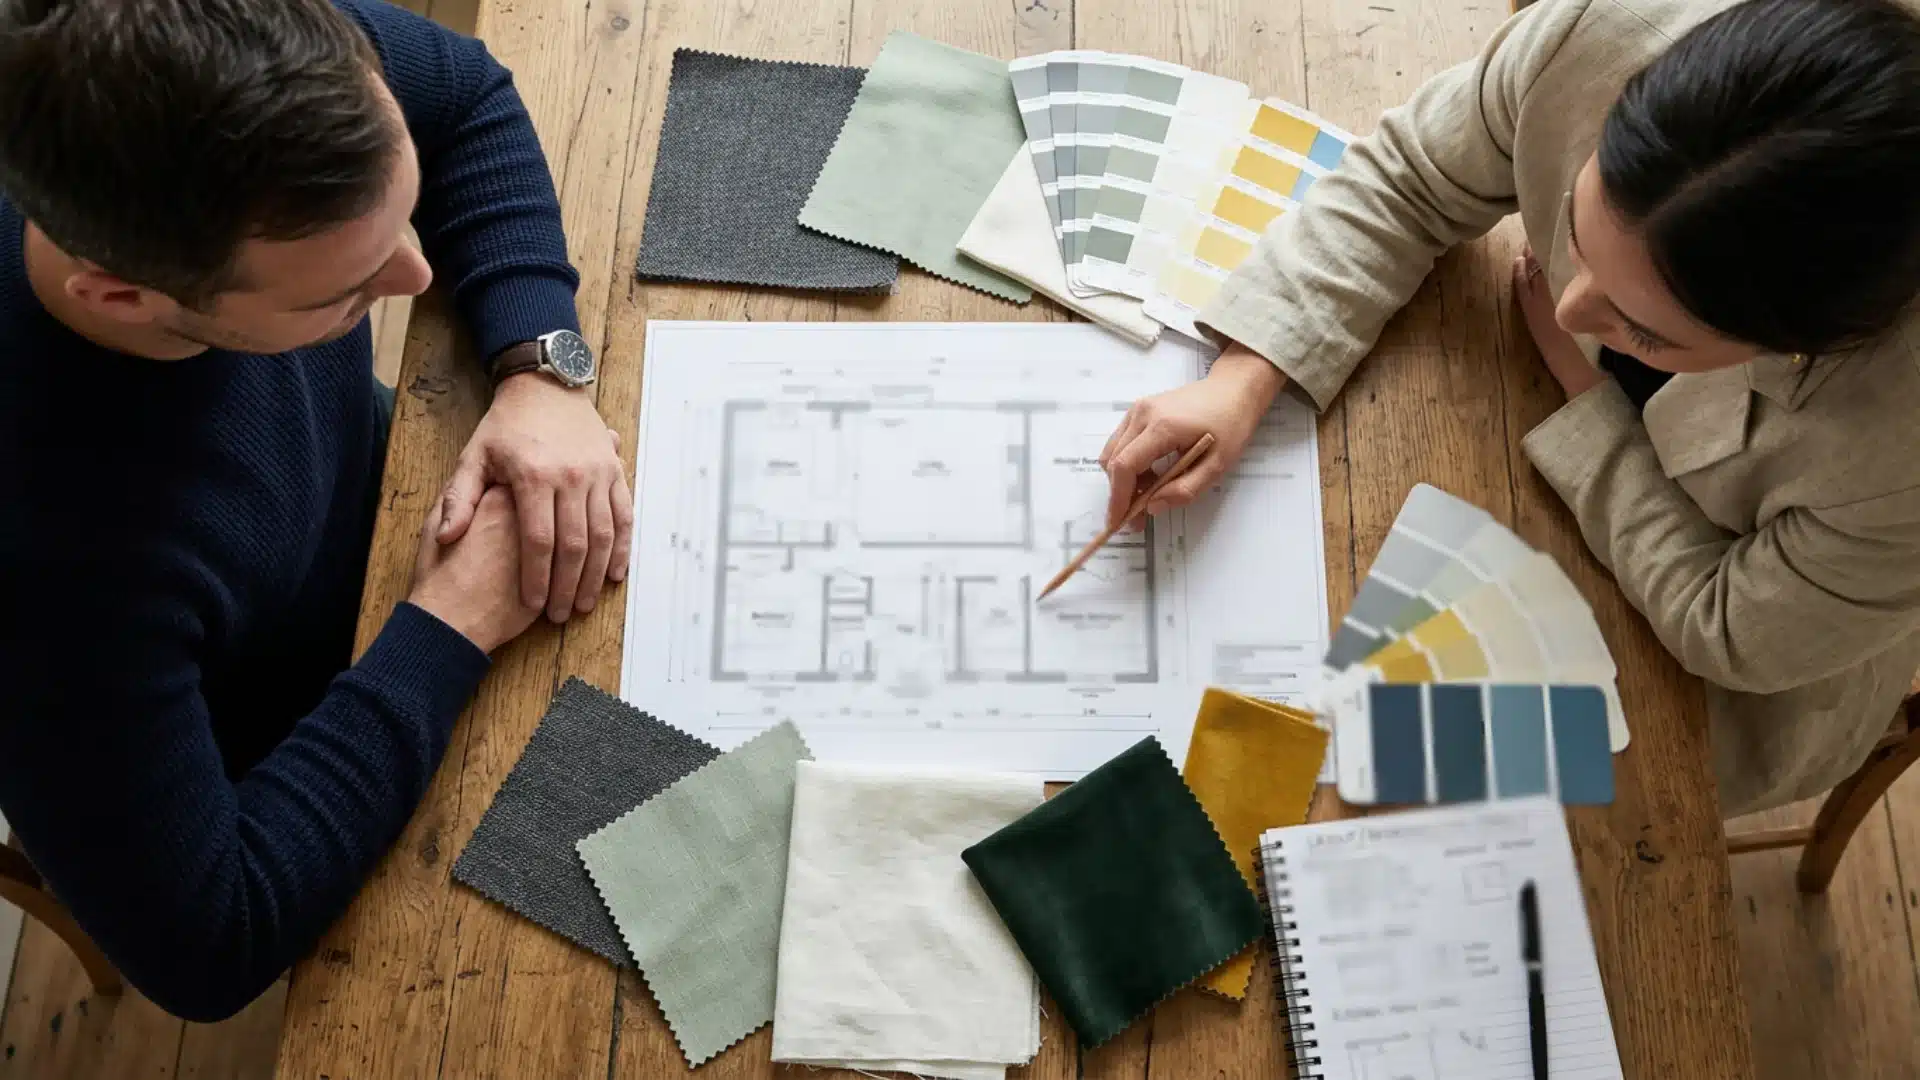
Step 4: Design Presentation and Approval
Once the concept is ready, the designer presents everything to the client.
Layouts, material samples, color choices, and furniture ideas all get laid out clearly. The client reviews and shares feedback.
Changes get made where needed, sometimes small tweaks, sometimes bigger ones.
This back-and-forth is completely normal.
Step 5: Budget Planning and Sourcing
Once the design is approved, the designer puts together a detailed cost estimate.
Every item, from furniture, fixtures, materials, and fittings, gets priced out. The designer then sources products from trusted vendors, keeping quality and budget in mind.
Some items take longer to arrive than others, so vendor coordination starts early.
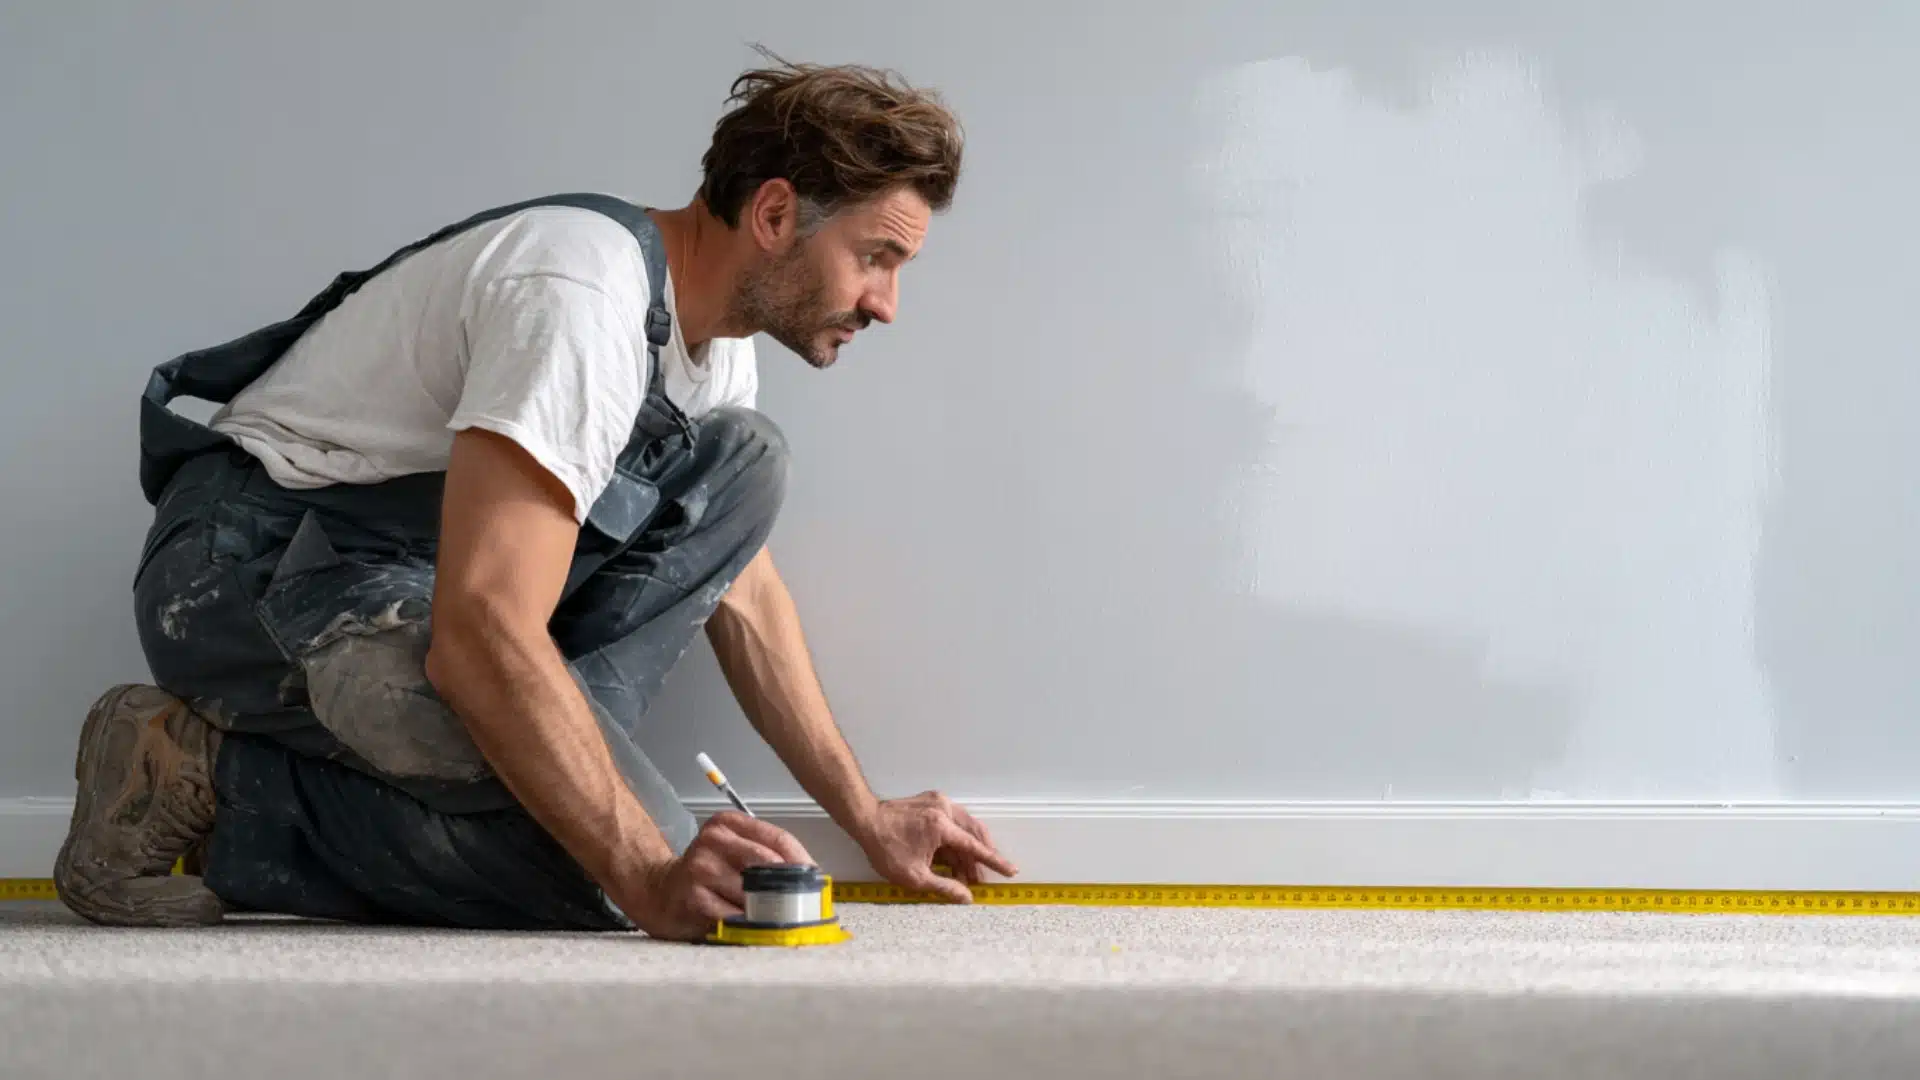
Step 6: Detailed Design and Documentation
In this stage of the interior design process, the designer prepares detailed drawings that show exactly how the space will be built and finished.
These drawings aren’t decorative – they’re what contractors build from.
A vague lighting plan leads to ceiling roses in the wrong spots and electricians making their own decisions on-site.
For custom furniture, the manufacturer works from these documents exactly. A measurement error here shows up as a cabinet that doesn’t close properly six weeks later.
Detailed documentation is what prevents a ‘we assumed’ conversation on-site.
Step 7: Execution and Project Management
This is where the real on-site work begins.
The designer coordinates with contractors, suppliers, and tradespeople to keep everything running smoothly.
Timelines are closely tracked delays in one area can affect the whole project. Regular site visits help the designer catch any issues early. If something doesn’t match the plan, it gets fixed right away.
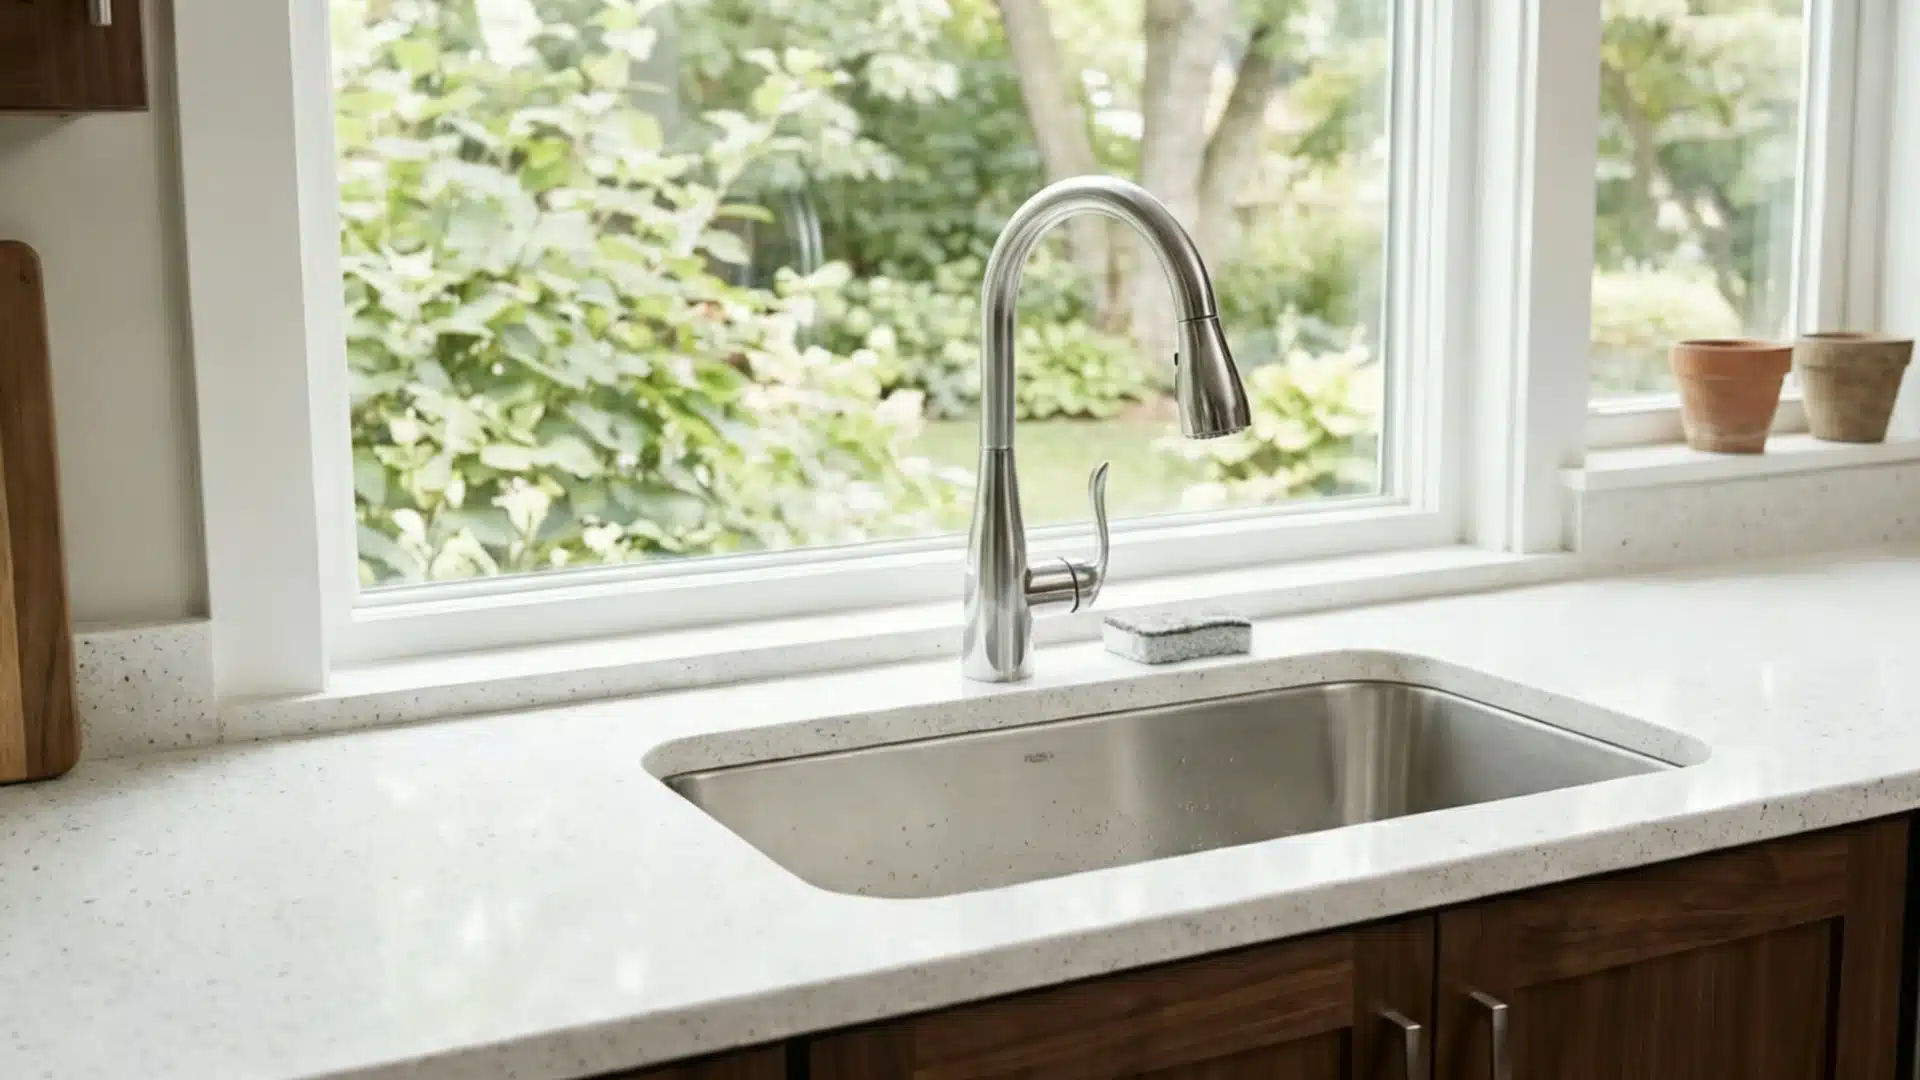
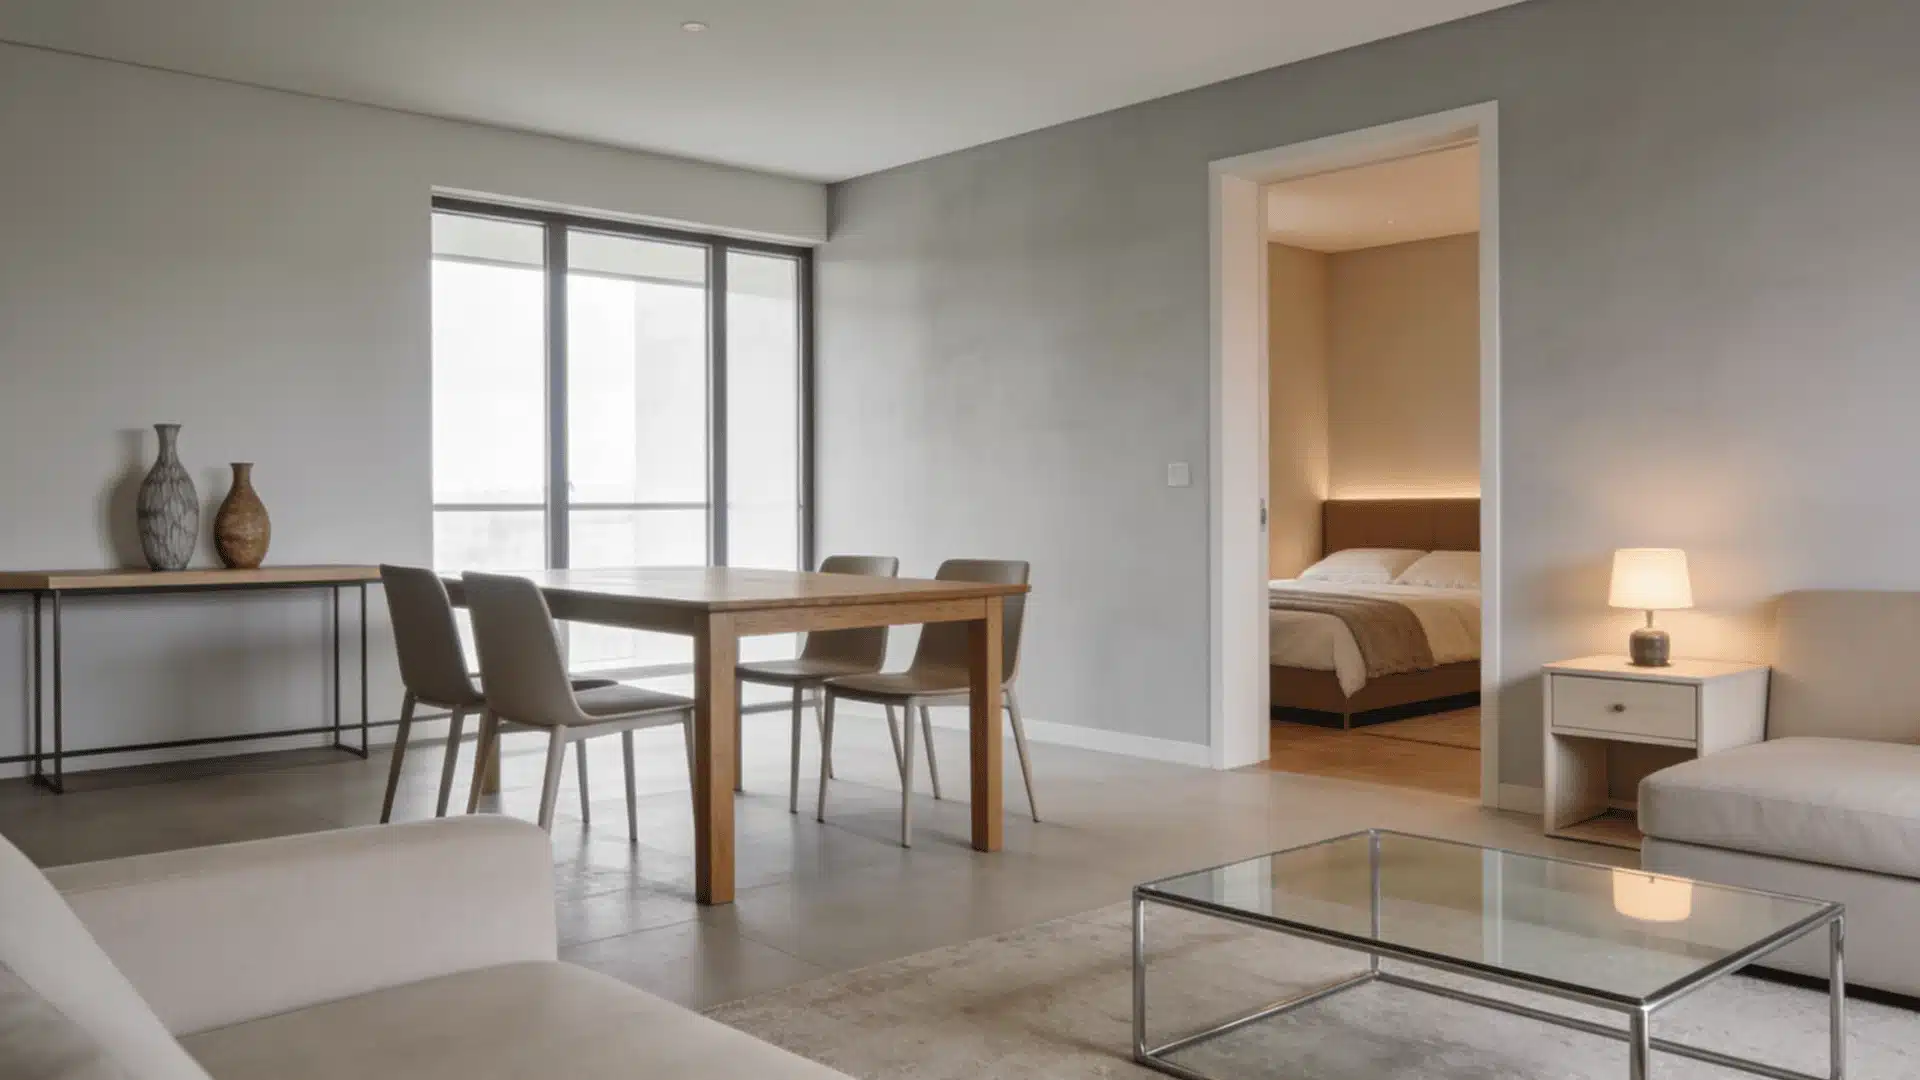
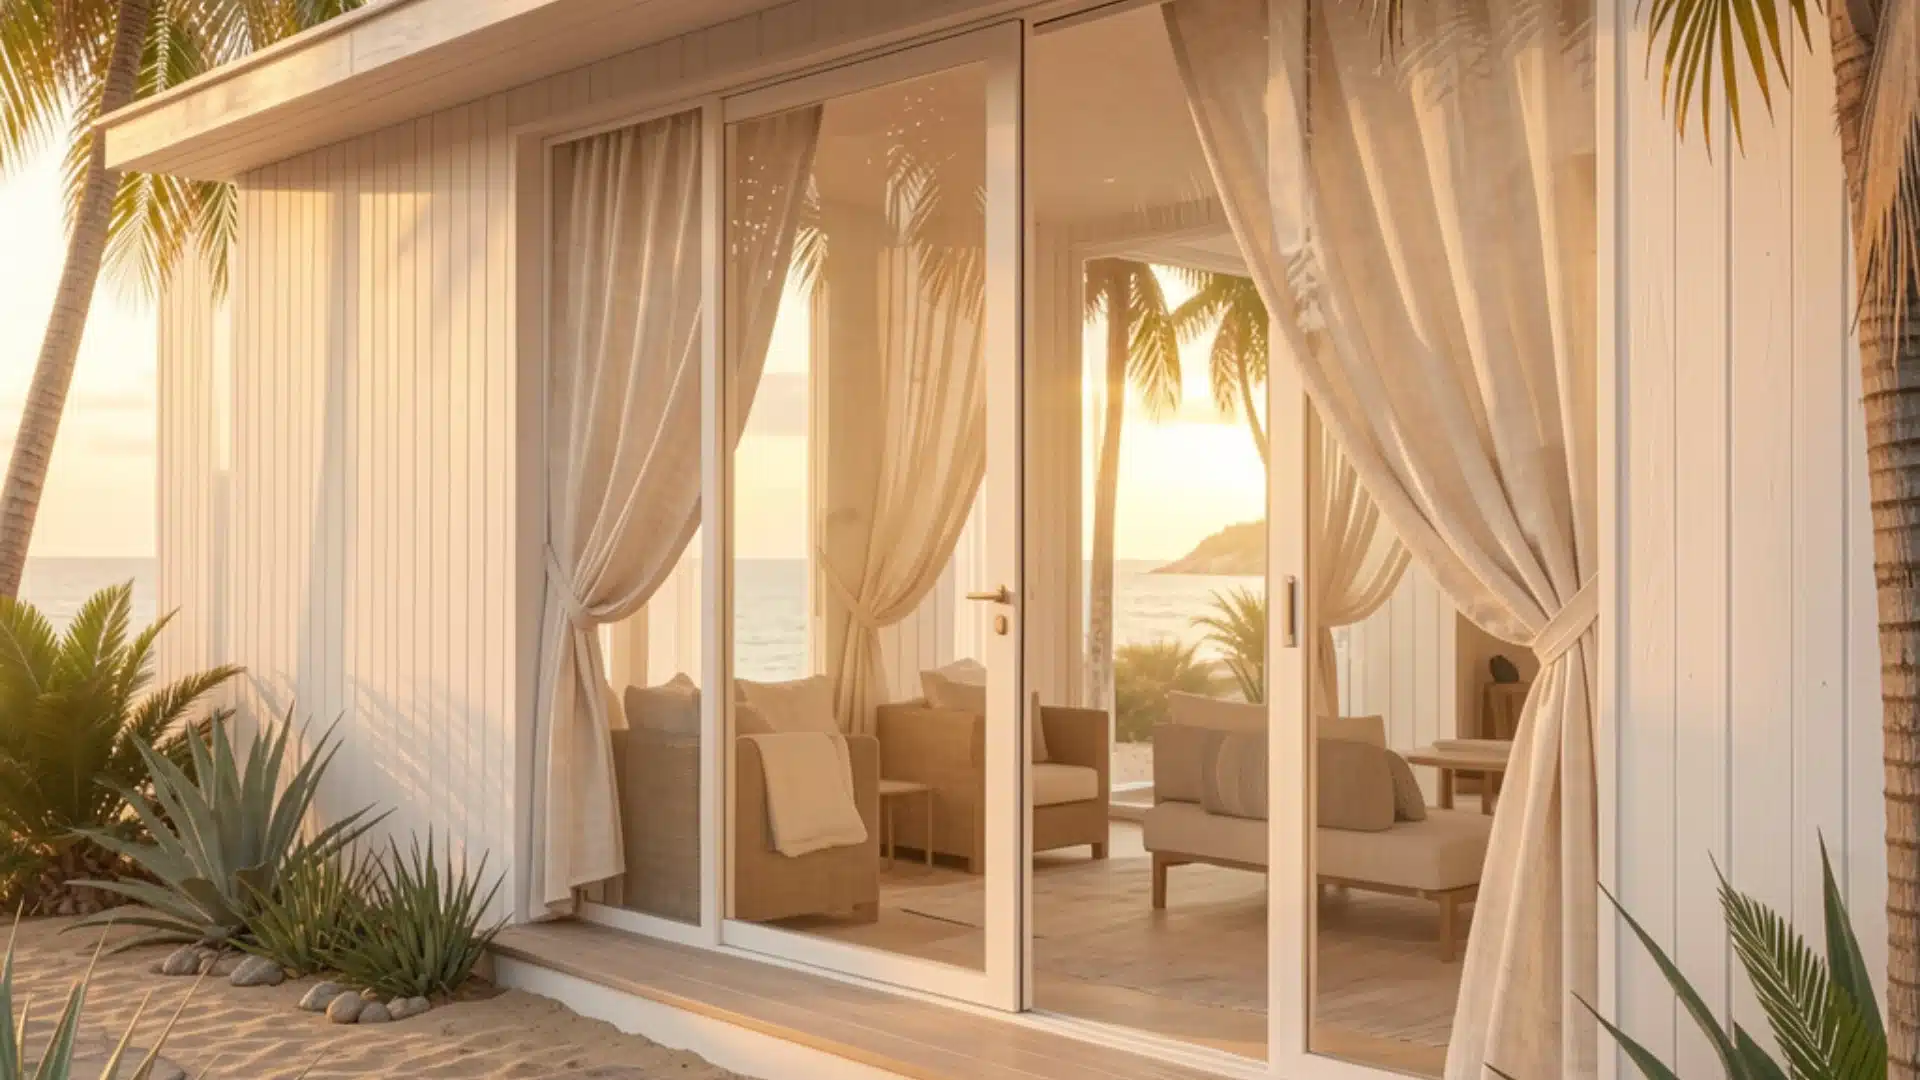
Step 8: Installation and Styling
The stage is where everything comes together.
Furniture gets placed according to the approved layout. Décor pieces, accessories, and soft furnishings are carefully arranged. Artwork goes up on the walls. Plants, cushions, and small details get added last.
Every finishing touch matters at this point.
Step 9: Final Walkthrough and Handover
The project is almost done. The designer walks through the entire space with the client, checking every detail.
Paint finishes, furniture placement, fixtures, and fittings are all closely reviewed.
Any minor fixes get noted and sorted out quickly.
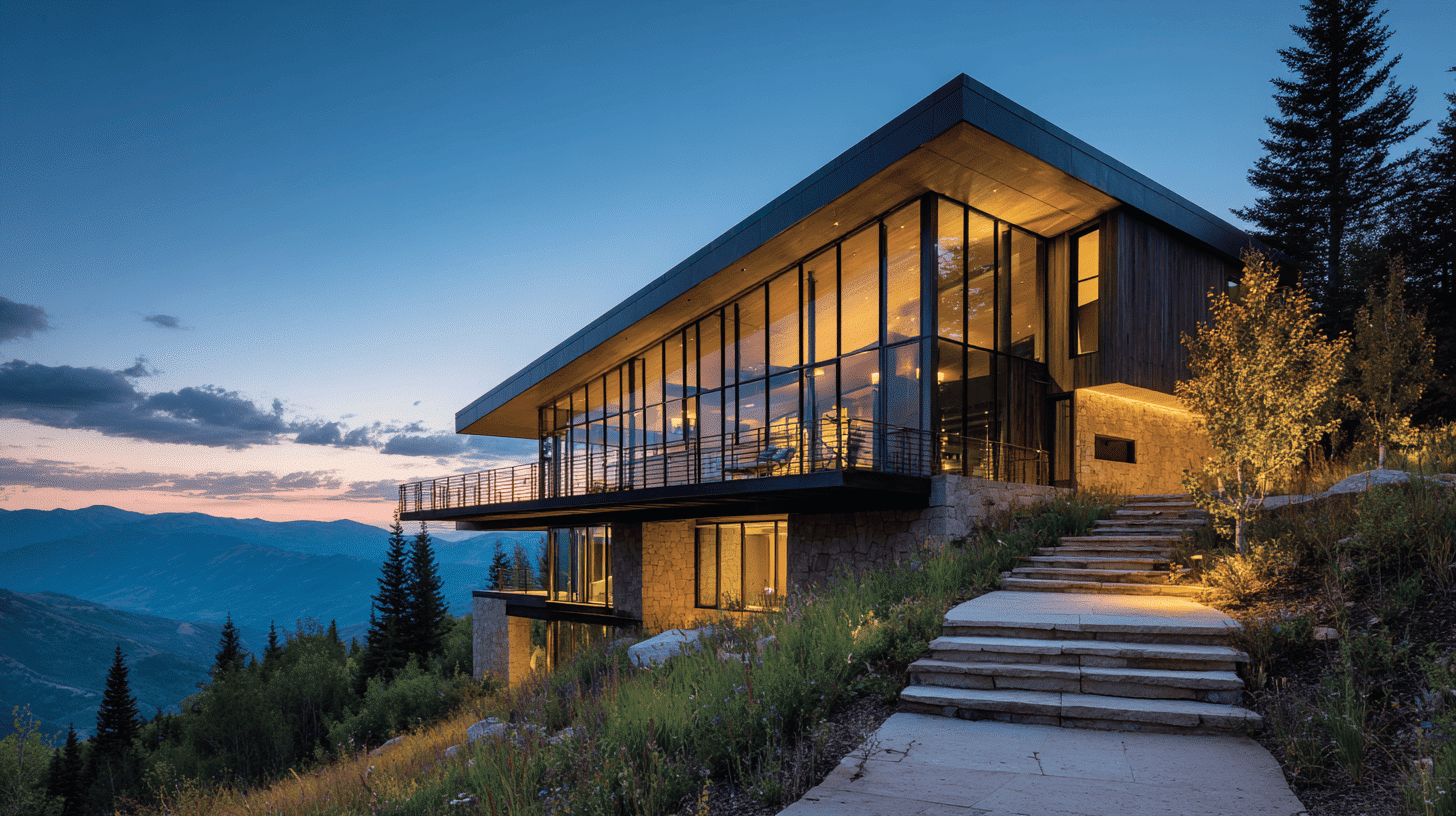
Once everything meets the expected standard, the space gets handed over to the client. It’s the moment all the planning and hard work finally pays off, a finished space that feels exactly right.
Where Most Projects Go Wrong
Most design projects fail because of poor planning. A few small oversights early on can create big problems later.
- Finalizing furniture before confirming room measurements.
- Choosing a color scheme without testing it under the room’s actual lighting.
- Underestimating how long deliveries and installations actually take.
- Making frequent changes mid-project without considering the cost impact.
- Overlooking traffic flow when arranging furniture.
One thing experienced designers consistently point out decisions made in a hurry at the start are the ones that cost the most to fix at the end.
How Long Does the Interior Design Process Take?
The process depends on the size and complexity of the project.
A single room can take anywhere from four to eight weeks. A full home renovation, on the other hand, can run for several months. Custom furniture, delayed deliveries, and last-minute changes can add extra time, too.
Having a clear plan from the start helps keep things moving at a steady pace.
| Project Type | Estimated Timeline |
|---|---|
| Single Room Redesign | 4 – 8 Weeks |
| Multi-Room Project | 3 – 6 Months |
| Full Home Renovation | 6 – 12 Months |
| Commercial Space | 6 – 18 Months |
| Custom Furniture Orders | 8 – 16 Weeks (additional) |
| Minor Fixes & Touch-ups | 1 – 2 Weeks |
What Designers Notice That Most People Miss
Most people walk into a room and see furniture.
A designer walks in and sees something completely different.
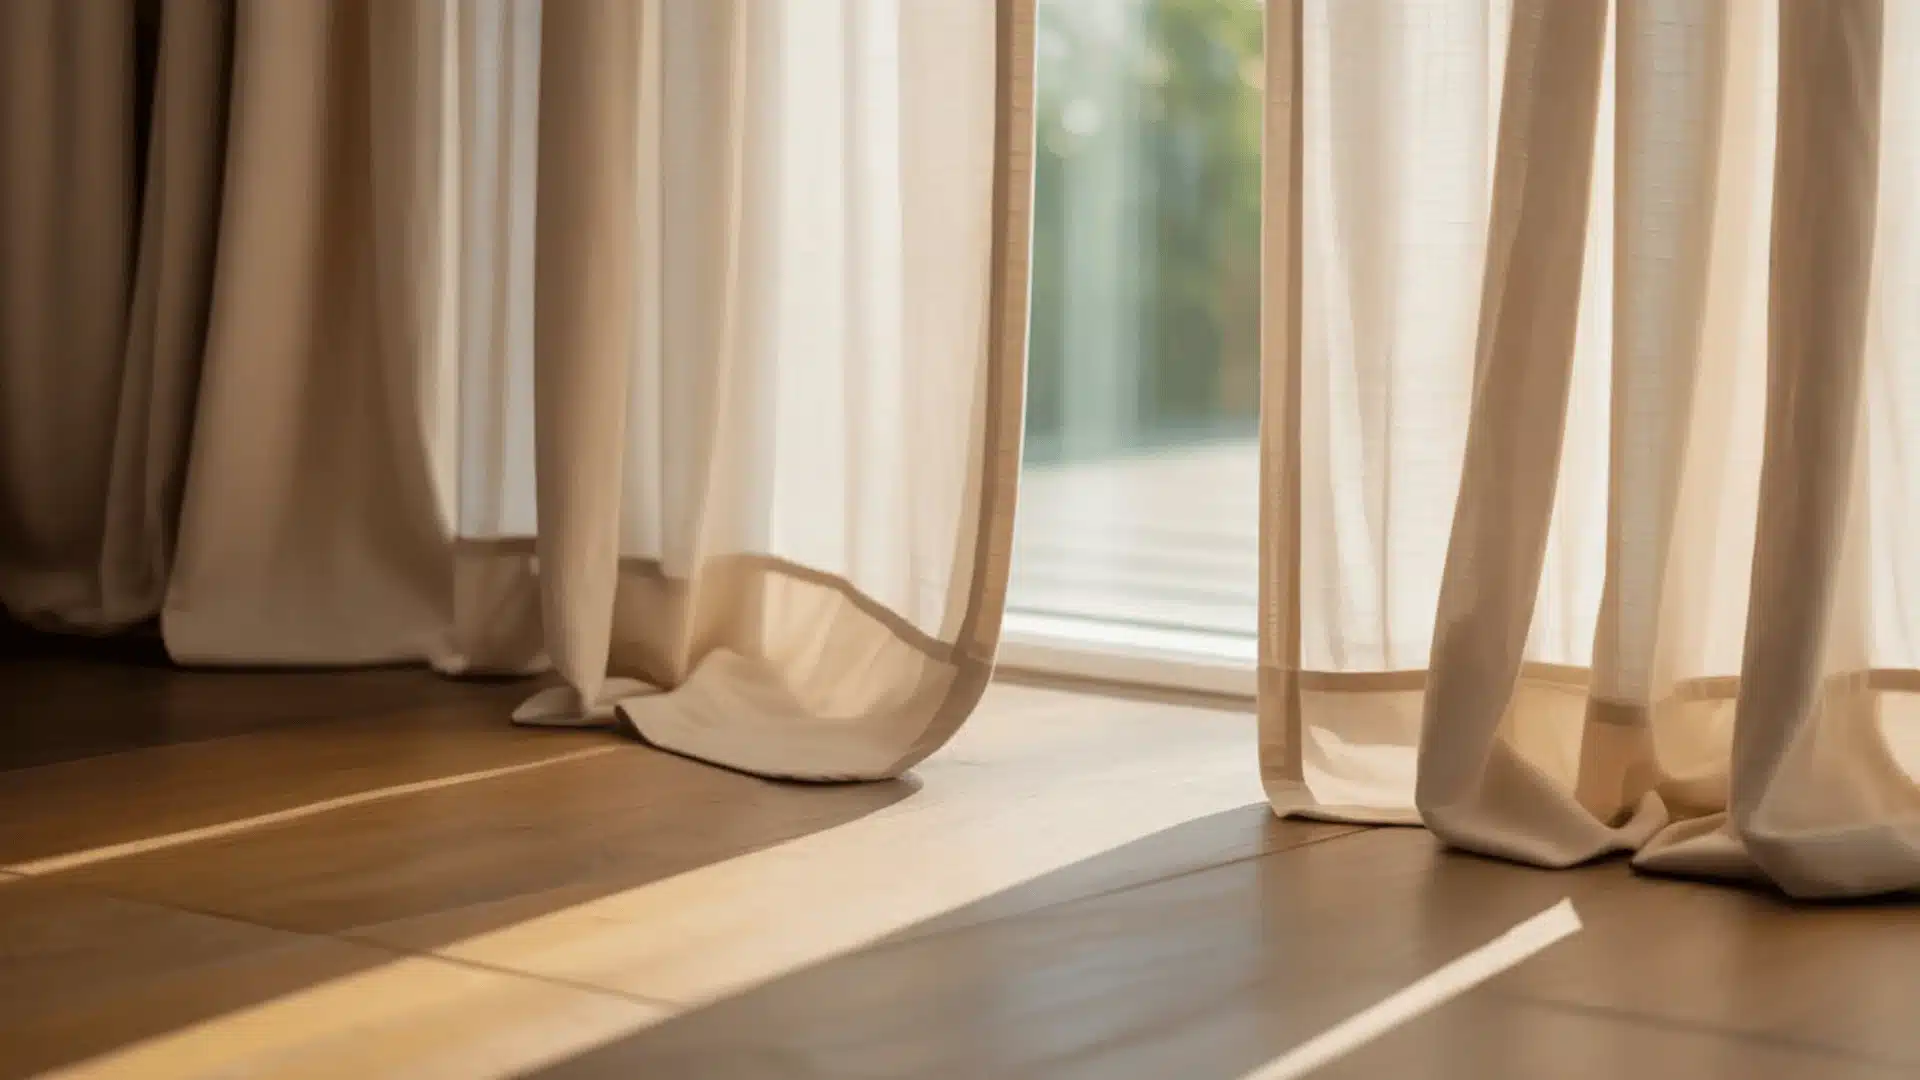
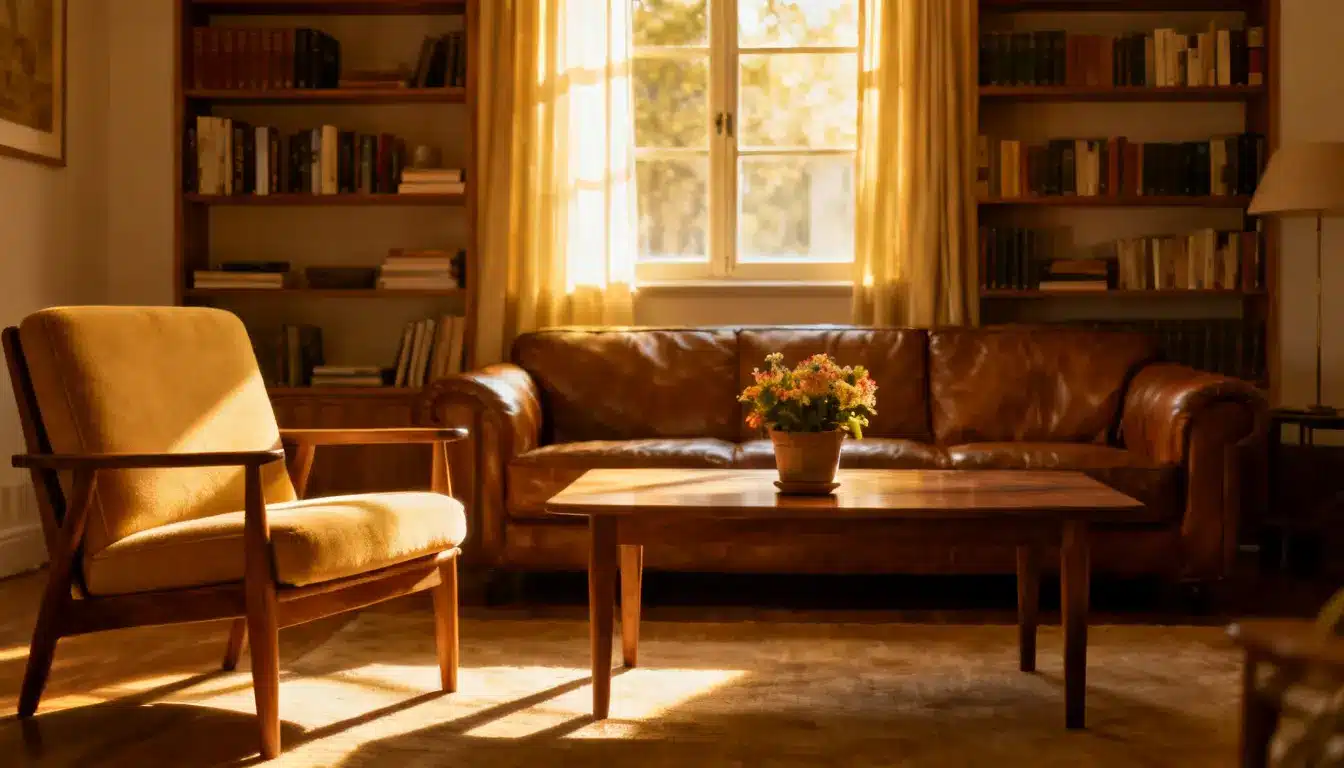
They notice how natural light moves through the space at different times of the day. They spot awkward traffic flow, wasted corners, and mismatched proportions. Even the ceiling height affects how a room feels.
These small details shape the entire experience of a space, and most people don’t even realize it.
What designers always pay attention to:
- Lighting direction and intensity
- Furniture scale relative to room size
- Traffic flow and movement patterns
- Unused or poorly used corners
- Ceiling height and its effect on the mood
Making the Whole Design Process Smooth
A little preparation goes a long way. These simple tips can make the whole process a lot less stressful.
- Set a clear budget before anything else.
- Know your style preferences early on.
- Keep all communication with the designer documented.
- Order custom furniture and materials well in advance.
- Visit the site regularly during execution.
- Keep a contingency fund for unexpected costs.
- Trust the designer’s expertise; that’s what they’re there for.
- Review and approve designs thoroughly before giving the final go-ahead.
These tips won’t guarantee a perfect project. But they will make the process far smoother, faster, and a lot less stressful for everyone involved.
DIY vs Hiring a Professional Designer
DIY is genuinely fine for painting a room or swapping out light fixtures.
The moment structural changes, electrical work, or full-room furniture planning are involved, a professional isn’t a luxury because mistakes at that scale cost more than the design fee.
| Factor | DIY | Professional Designer |
|---|---|---|
| Cost | Lower upfront | Higher upfront saves money long-term |
| Expertise | Limited | Trained and experienced |
| Time | Time-consuming | Managed and structured |
| Result | Hit or miss | Consistent and planned |
| Access to Vendors | Limited | Wide industry network |
| Project Management | Self-managed | Fully handled |
| Risk of Mistakes | Higher | Significantly lower |
Wrap Up
The whole interior design process isn’t complicated, but it does need to be followed.
Most project failures trace back to one skipped step, usually the brief or the budget. Start there. Everything else has room to flex.
Frequently Asked Questions
1. What is the 3-5-7 Rule in Interior Design?
This rule suggests grouping décor items in odd numbers, three, five, or seven, to create a visually balanced look.
2. What are the Three F’s of Interior Design?
The three F’s, Function, Flow, and Form, help designers craft spaces that are practical, navigable, and appealing.
3. How to Lay out a Room?
Measure the room, choose a focal point, place the largest furniture first, then arrange the rest with traffic flow in mind.
4. What is Interior Staging?
Interior staging involves arranging furniture and décor to improve a space’s appearance, mainly for selling property.