A good door starts with a good frame.
Without the right frame, even the best door can sag, stick, or let in cold air. Exterior door framing details are actually more important than most people think.
Get the frame wrong, and you will deal with problems for years. Get it right, and your door will work well for a long time.
This blog covers the steps, measurements, and tips you need.
By the end, you will know exactly how to build a strong, solid frame the right way.
What is Exterior Door Framing?
Exterior door framing is the built-in structure that supports your door.
It holds the door in place and keeps it working properly. Without a solid frame, your door will not sit straight or close properly.
A door frame wraps around the opening and provides the door with a strong surface to rest against.
It carries the load from above and spreads the weight evenly on both sides.
A good frame also protects your home. It blocks out drafts, keeps moisture away, and adds to the overall security of your entryway.
Exterior Door Framing Details: Explained
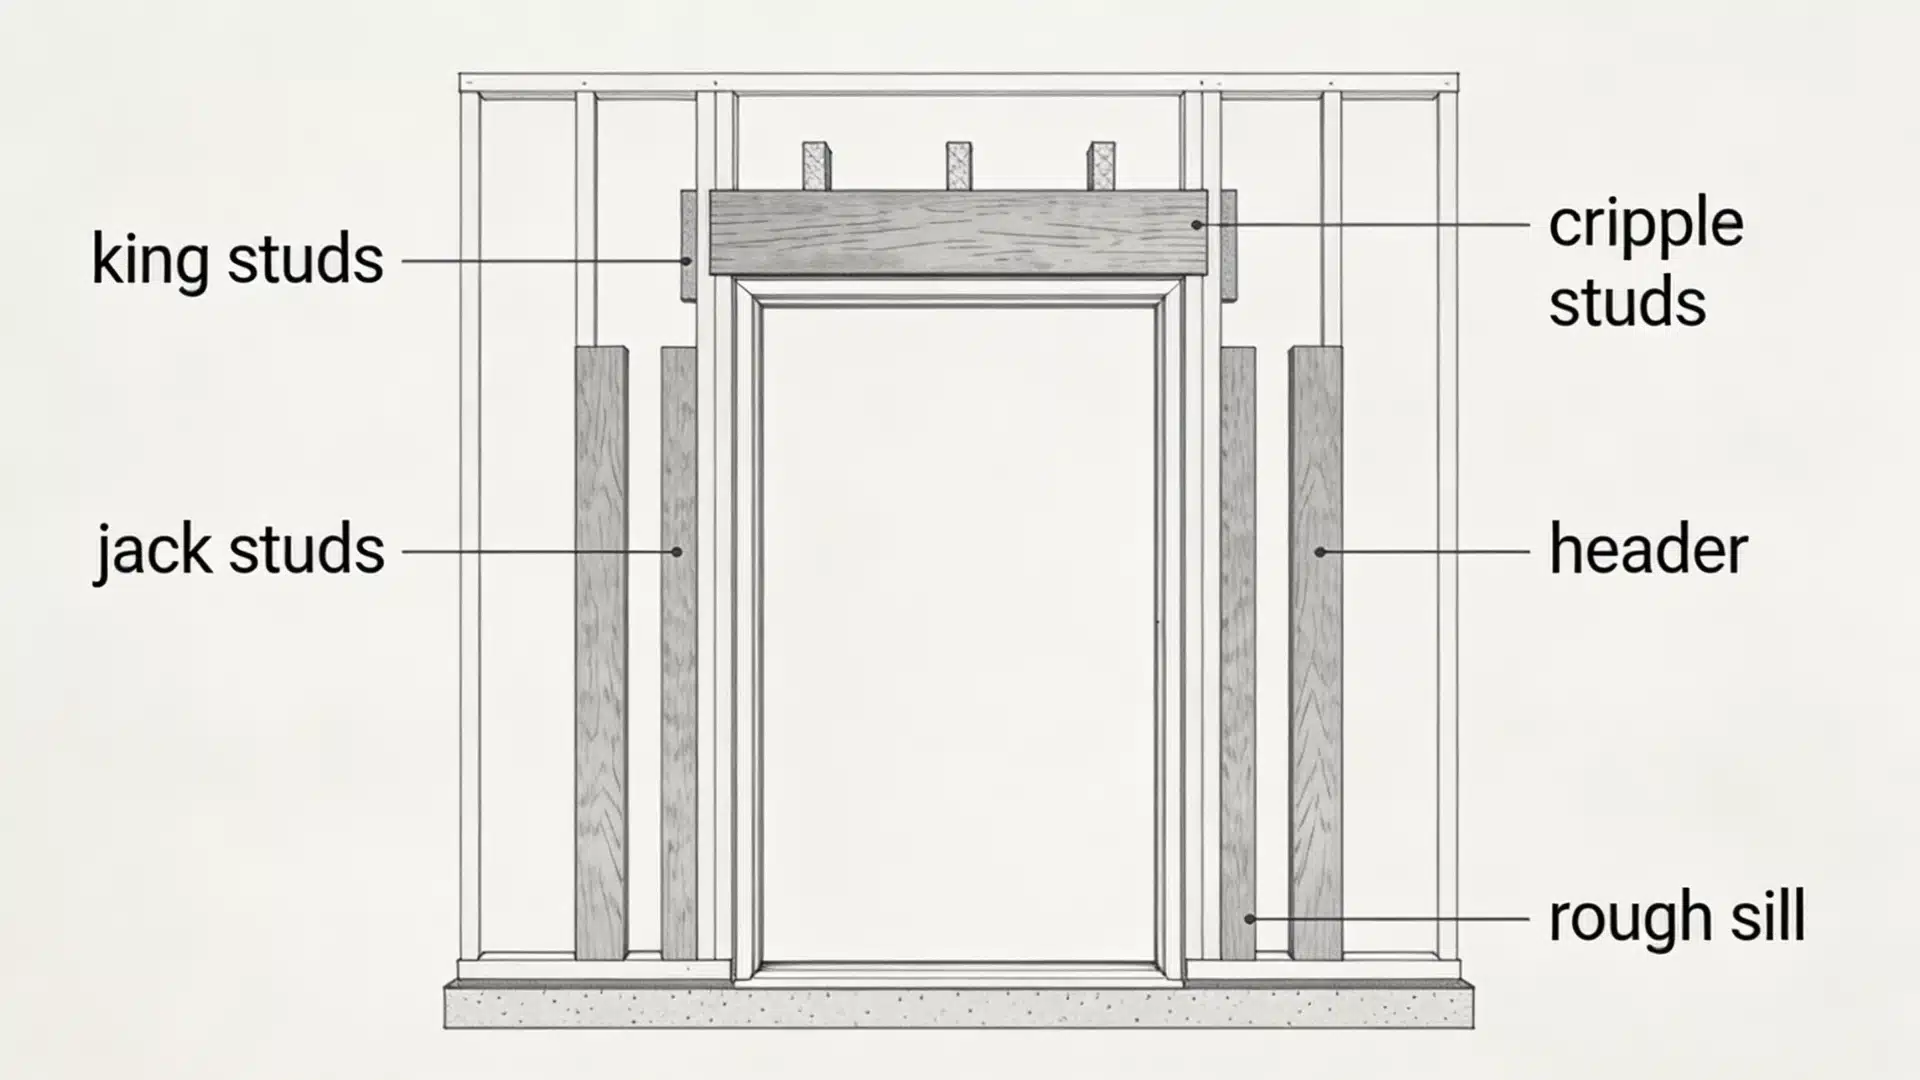
A door frame is made up of several parts that work together. Each part helps you build a frame that lasts.
King Studs: These are the full-length vertical boards on each side of the door opening.
They run from the bottom plate to the top plate and give the frame its main support.Jack Studs: These sit right next to the king studs. They are shorter and carry the weight of the header above the door.
Header: This is the horizontal beam that sits across the top of the door opening.
It carries the load from above and keeps the opening from shifting.Rough Sill: This sits at the bottom of the opening. It helps set the correct height for the door.
Cripple Studs: These are short studs placed above the header. They fill the gap between the header and the top plate.
A well-built frame means a door that opens, closes, and seals properly every time.
Standard Exterior Door Frame Dimensions
Getting the size right is one of the most important parts of door framing; different sizes require different framing and planning.
Standard exterior door frame dimensions give you a clear starting point so you don’t have to think about it.
| Door Size | Rough Opening Width | Rough Opening Height | Header Size |
|---|---|---|---|
| 2/0 x 6/8 | 26 inches | 82.5 inches | 3 inches x 7 inches |
| 2/6 x 6/8 | 32 inches | 82.5 inches | 3 inches x 7 inches |
| 2/8 x 6/8 | 34 inches | 82.5 inches | 3 inches x 7 inches |
| 3/0 x 6/8 | 38 inches | 82.5 inches | 3 inches x 9 inches |
| 3/0 x 8/0 | 38 inches | 98.5 inches | 3 inches x 9 inches |
Rough Opening Size
The rough opening is the actual hole in the wall where your door will sit. It needs to be slightly bigger than the door itself.
This extra space gives you room to adjust and level the frame properly.
The simple rule to follow is:
- Add 2 inches to the door width
- Add 2.5 inches to the door height
So a standard 36 x 80-inch door needs a rough opening of about 38 x 82.5 inches.
Header Size
The header sits at the top of the door opening. It carries the weight from above and stops the opening from shifting over time.
The right size depends on your door width:
- For doors up to 3 feet wide: use a 3 x 7-inch header
- For doors wider than 3 feet: use a 3 x 9-inch header
- For load-bearing walls: always go bigger to handle the extra weight
How to Frame an Exterior Door Step by Step
When working through exterior door framing details, taking a step-by-step approach helps you avoid costly errors.
A small mistake early on can cause bigger problems later.
Below you will find everything you need: the right tools, the right materials, and a clear step-by-step process to get the job done right.
Materials You Need
Before you start, make sure you have everything ready. Working with the right tools makes the job faster and easier.
| Tools | Materials |
|---|---|
| Tape Measure | King Studs |
| Hammer | Jack Studs |
| Circular Saw | Header Boards |
| Level | Cripple Studs |
| Speed Square | Rough Sill |
| Nail Gun | Structural Screws or Nails |
| Pencil | Wood Shims |
Steps to Frame an Exterior Door
Follow these steps one at a time for a clean and solid frame:
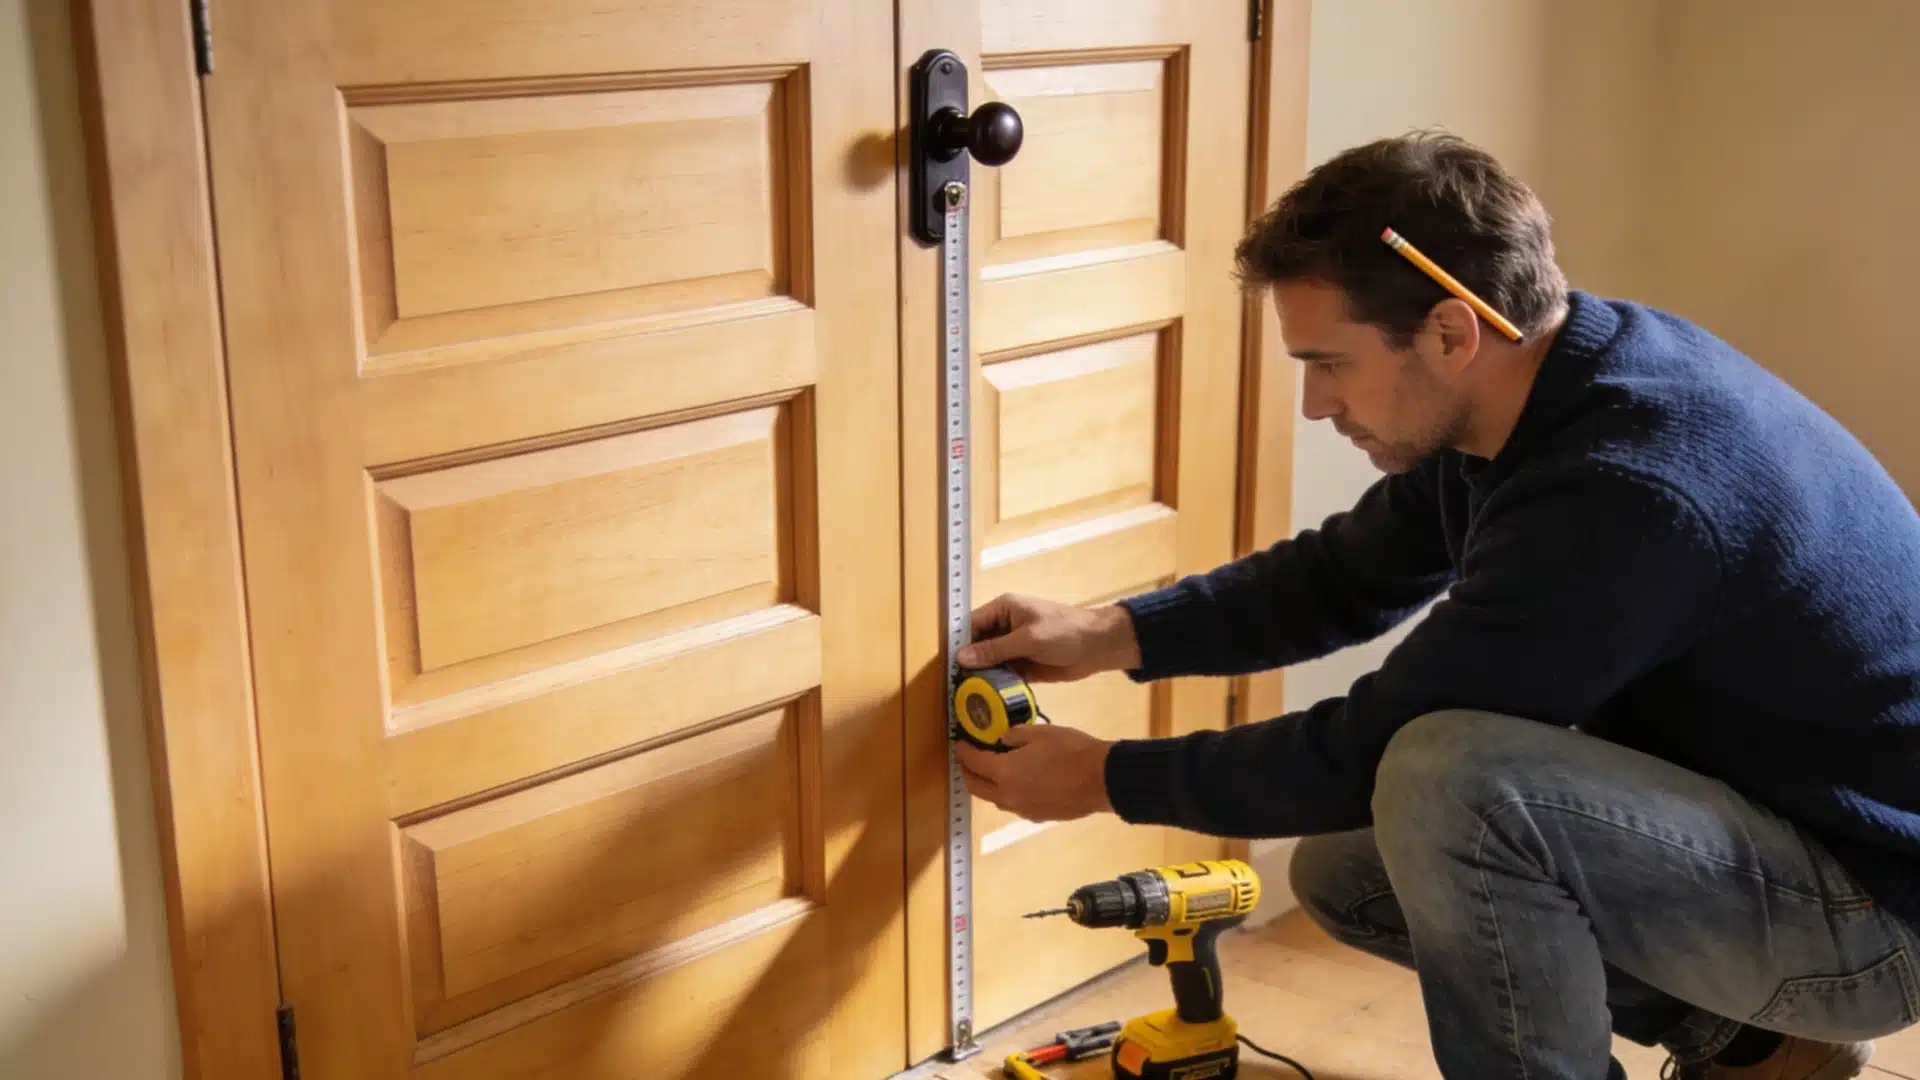
Step 1: Mark the Opening
Start by measuring and marking the rough opening on the floor and wall. Take your time here.
This sets the base for everything that follows.
Tip: Measure twice before cutting. One wrong mark can throw off the whole frame.
Step 2: Cut the Bottom Plate
Cut and remove the section of the bottom plate where the door will sit. Keep your cuts clean and straight.
Uneven cuts can make it harder to align the frame later.
Step 3: Install the King Studs
Place the king studs on both sides of the opening. These are the main vertical supports for your frame.
Check each one with a level before securing it in place.
Step 4: Add the Jack Studs
Attach the jack studs right next to the king studs. They carry the weight of the header above. Keep them tight and flush against the king studs for strong support.
Step 5: Install the Header
Set the header across the top of the opening and rest it on the jack studs. Make sure it sits flat and level.
A weak header can cause sagging over time.
To prevent that, always use the right size header for your door width and wall type.
Step 6: Add the Cripple Studs
Fill the gap above the header with cripple studs. Space them out evenly to keep the frame stable and strong.
Step 7: Check and Level
Go over the entire frame with a level.
Check every part, side, top, and corner. Do not skip this step. A frame that is off even slightly can cause the door to stick or swing on its own.
Tip: Use wood shims to make small adjustments where needed.
Final Thoughts
Getting your exterior door framing details right is not complicated.
It just takes the right measurements, the right materials, and a careful approach at every step.
A solid frame keeps your door level, secure, and working well for years.
It also protects your home from drafts, moisture, and security risks.
Start with the basics, follow the steps, and double-check your work as you go. A little care at the start saves a lot of fixing later.
Frequently Asked Questions
1. What are Common Door Framing Mistakes?
The most common mistakes are the wrong rough opening size, skipping the level check, using the wrong header size, and not securing studs properly.
2. What is the Rough Opening for Exterior Door Framing?
The rough opening should be slightly bigger than your door. Add 2 inches to the width and 2.5 inches to the height. For a 36 x 80-inch door, that means a 38 x 82.5-inch opening.