A door rough opening that’s even half an inch off can leave you with a door that sticks, gaps, or won’t close at all.
People measure for the exact door size, and this is wrong.
The rough opening needs to be larger than the door itself, with extra space for the frame, shims, and adjustments.
For example, a standard 30-inch door needs a 32-inch wide opening, not 30.
This blog covers the exact measurements, the right tools, and the framing steps that make the difference between a clean install and a frustrating redo.
What is a Door Rough Opening?
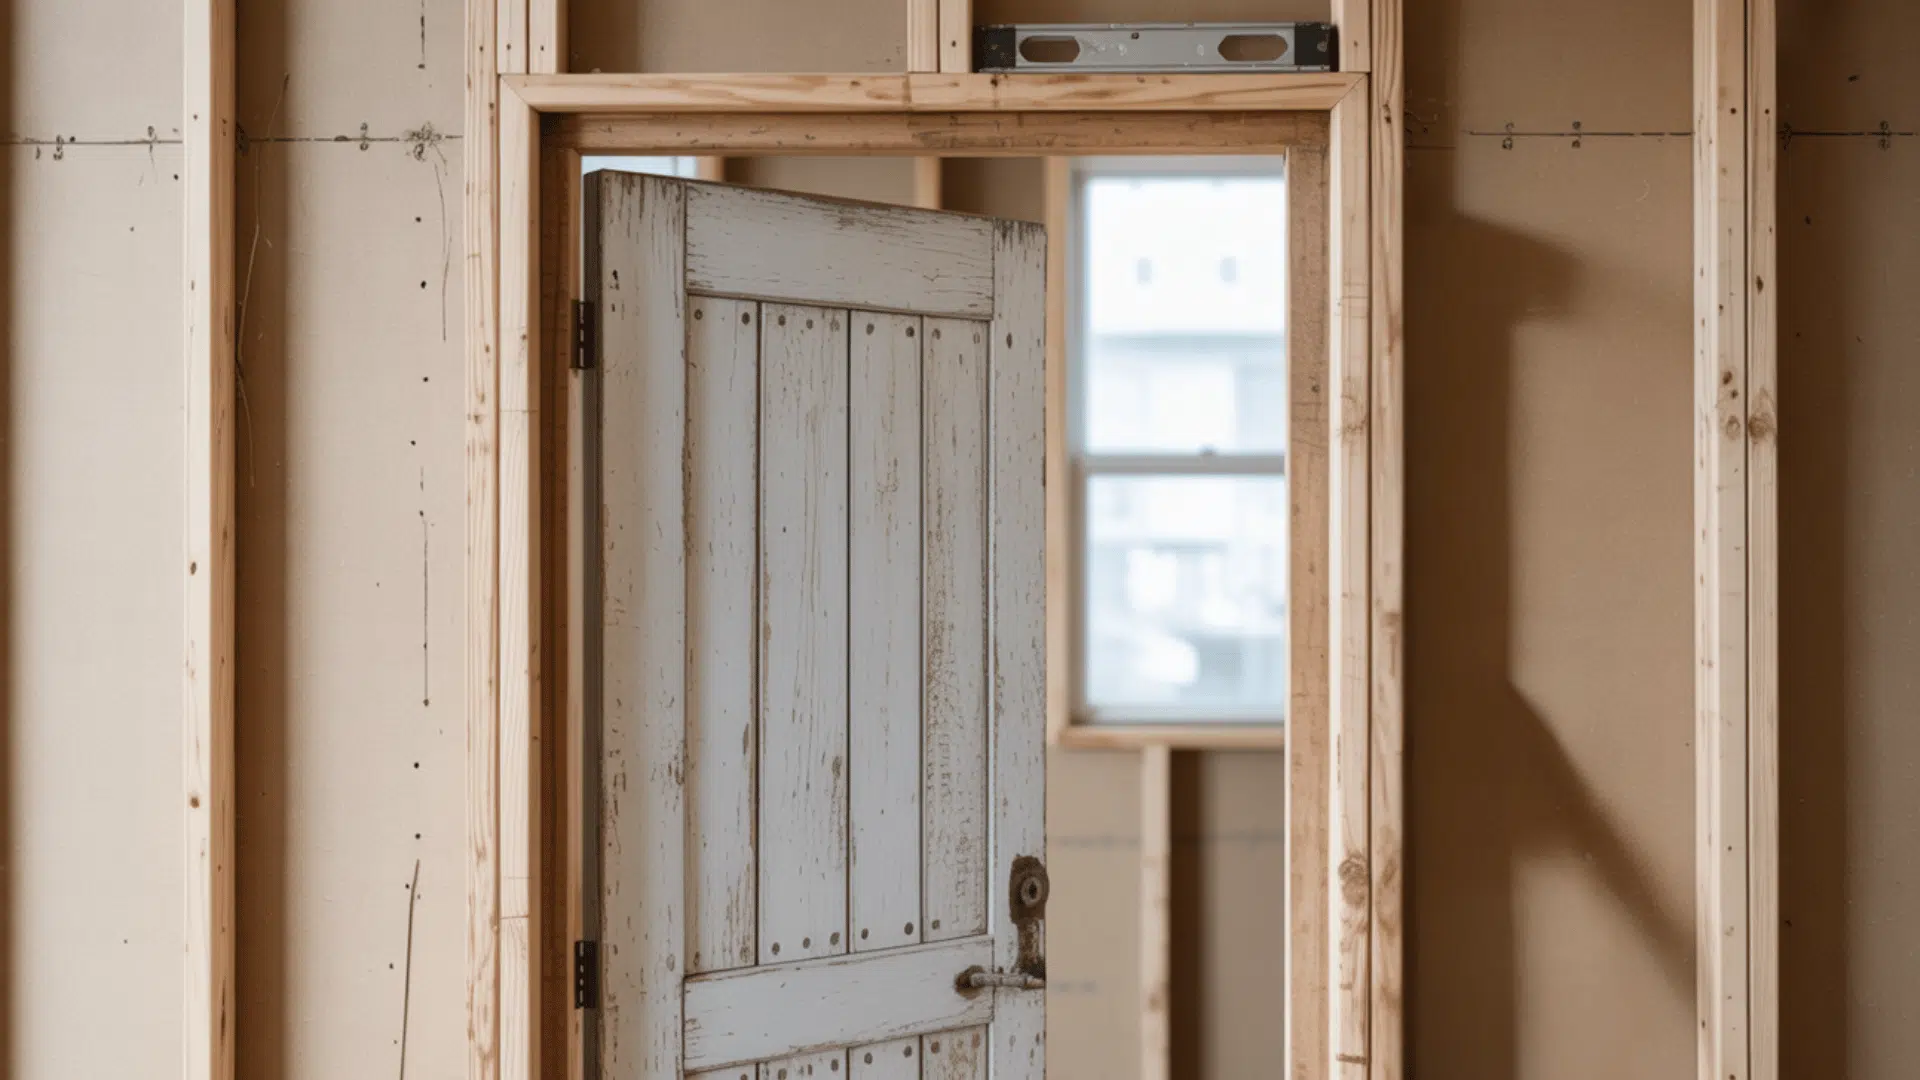
It is the framed space in your wall where the door will go. It’s basically the doorway before you install the actual door and frame.
The rough opening is located between the wall studs, with a header above.
Many people make costly mistakes here. They measure for the exact door size, which leaves no room for installation.
Others overlook the height allowances or disregard the frame thickness.
These errors turn simple projects into major problems. The key is understanding that interior door rough openings need extra space in all directions for a proper fit.
After seeing hundreds of door structures fail, the most common issue is always the same: not enough wiggle room.
Standard Door Rough Opening Sizes for Doors
When you’re planning to install a door, knowing the correct exterior as well as interior door rough opening size is essential.
The rough opening is the framed space in the wall where your door will fit. Getting these measurements right saves you time and money during the installation process.
| Door Size | Rough Opening Width | Rough Opening Height |
|---|---|---|
| 24″ x 80″ | 26” | 82″ |
| 28″ x 80″ | 30” | 82″ |
| 30″ x 80″ | 32” | 82″ |
| 32″ x 80″ | 34” | 82″ |
| 36″ x 80″ | 38” | 82″ |
These are the sizes most contractors follow as standard practice. Always confirm with your local building code, as some regions have slight variations.
Tools You Need Before Measuring
Having the right tools makes measuring door rough openings accurate and efficient. Gather these essentials before you start your project.
- Tape measure: Get a 25-foot tape measure minimum for measuring height and width accurately
- 4-foot level: Essential for checking plumb and level on all framing components
- Framing square: Ensures your corners are perfectly square at 90 degrees
- Pencil and notepad: Write down measurements immediately to avoid costly mistakes
- Laser level: Provides higher accuracy for long spans and multiple openings
- Speed square: Handy for quick angle checks and marking cuts
- Safety glasses: Protect your eyes from sawdust and debris
- Work gloves: Prevent splinters when handling lumber
- Dust mask: Essential when cutting or sanding framing materials
A basic tape measure works, but I always recommend a laser level for anything beyond a single opening, as it saves a lot of back-and-forth.
How to Measure for a Door Rough Opening
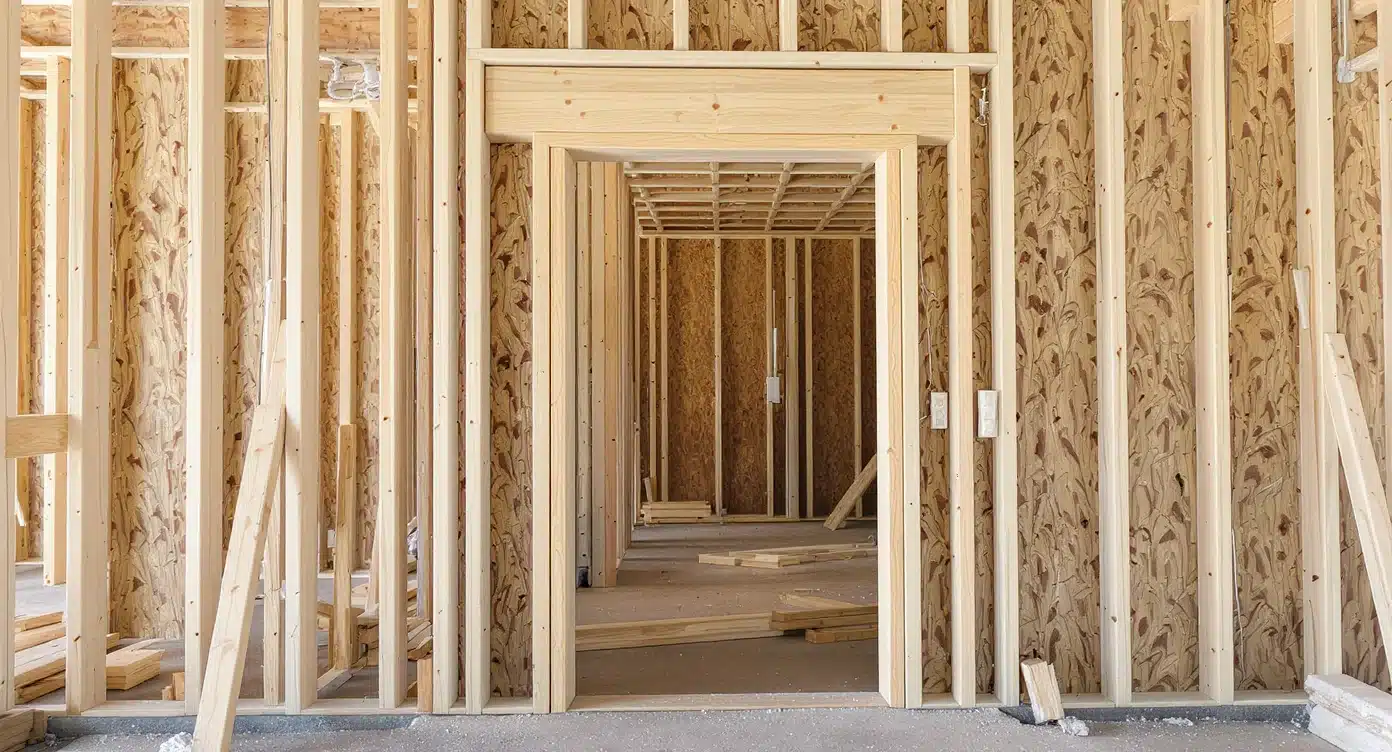
Accurate measurements are the foundation of any successful door installation project.
Taking precise measurements of width, height, and diagonal dimensions ensures your door fits properly and operates smoothly.
Step 1: Measure the Door Width
Start by measuring the actual width of your door slab.
Add 2 inches to this measurement for the rough opening width. This extra space accommodates the door frame and allows room for adjustments.
Step 2: Measure the Door Height
Measure your door from top to bottom. Add 2 inches to get the rough opening height.
This ensures proper clearance for the frame and threshold installation.
A tip I always give: Measure height at three points, left, center, and right. Floors are rarely perfectly even, especially in older homes.
Step 3: Check the Floor Level
Use a level to check if your floor is even. Uneven floors may require additional height adjustments. Mark any high or low spots that could affect door installation.
Step 4: Mark the Rough Opening
Use a pencil to mark the rough opening dimensions on your wall. Double-check all measurements before cutting.
Accurate marking prevents costly mistakes during the framing process.
Step 5: Verify Frame Thickness
Measure the thickness of your door frame or jamb.
Ensure your rough opening accommodates the frame, plus the necessary space for shimming. Most frames need at least half an inch of clearance on each side
Preparing the Framing for The Rough Opening
Undersized headers are among the most common framing mistakes I’ve seen and among the most expensive to fix after the fact. Proper framing is crucial for a stable and long-lasting door installation.
- Start by identifying the wall studs using a stud finder.
- Mark the locations where you’ll need to cut or add framing members.
- You’ll need to install a header above the door opening. The header supports the weight of the structure above.
- Use lumber of the appropriate size based on your opening width and load requirements.
Most residential doors need a double 2×6 or 2×8 header.
Install king studs on both sides of the opening. These run from floor to ceiling. Add jack studs inside the king studs to support the header. The jack studs should be cut to the exact height of your door opening.
Secure a sill plate at the bottom of the opening for added stability.
Use 16d nails to fasten all framing members together. Check that everything is plumb and level before proceeding.
Proper framing ensures your door operates smoothly for years to come.
Adjusting for Flooring and Trim
Flooring and trim affect your door’s final fit and appearance.
You need to account for these elements when planning your rough opening. Proper adjustments ensure your door clears the floor and aligns with your trim work.
| Adjustment Type | Additional Height Needed | Notes |
|---|---|---|
| Carpet | 1/2″ to 3/4″ | Add clearance for carpet and padding |
| Hardwood/Laminate | 3/4” to 1.” | Account for flooring thickness |
| Tile | 1” to 1-1/4” | Include mortar bed and tile thickness |
| Threshold | 1/2″ to 5/8″ | Standard threshold height |
| Door Casing Trim | 1/4″ to 1/2″ | Space for trim installation |
Common Mistakes to Avoid
Even experienced DIYers make these errors when creating door rough openings.
Learning from these mistakes saves you time, money, and frustration on your project.
1. Forgetting wall thickness: Measure your wall depth before ordering doors.
Standard doors are suitable for 2×4 walls, but 2×6 walls require deeper jambs or extension kits.
2. Skipping diagonal checks: Always measure corner to corner on your rough opening.
If the diagonals don’t match, your opening isn’t square, and your door won’t hang properly.
3. Making openings too tight: Leave room for jamb adjustments and shims. A rough opening that’s exactly door size leaves no space for installation corrections.
4. Ignoring header requirements: Don’t skip the header or use undersized lumber.
Even interior walls need proper load support above door openings.
5. Rushing the measurement process: Take time to measure accurately at multiple points. Walls aren’t always perfectly straight, so check the top, middle, and bottom dimensions.
These aren’t theoretical. I’ve seen every one of these mistakes cause real installation headaches.
Conclusion
Measuring and preparing a door rough opening correctly sets you up for a successful installation.
Getting this right the first time is always worth the extra 20 minutes of measuring. Trust me on that one.
Rough openings are always 2 inches wider and 2.5 inches taller than your door. Keep your framing plumb and level at every step. Plan for flooring thickness and trim before you start building.
These measurements and techniques might seem detailed now, but they prevent major problems later.
A properly framed rough opening ensures smooth and professional-looking door installation.
Frequently Asked Questions (FAQ’s)
1. What is the Rough Opening for a 36×80 Prehung Door?
The rough opening for a 36×80 prehung door is 38” x 82”.
2. What is the Most Common Door Opening Size?
The most common door opening size is 32 inches wide by 80 inches tall.
3. Will a 30-Inch Door Fit in A 32-Inch Opening?
No, a 30-inch door needs a 32-inch rough opening, not the finished opening.
4. What is the 7 11 Hinge Rule?
Place the top hinge 7 inches down and the bottom hinge 11 inches up.
5. What Happens if The Rough Opening is Too Big?
A rough opening that’s too big makes the door frame unstable and hard to secure.