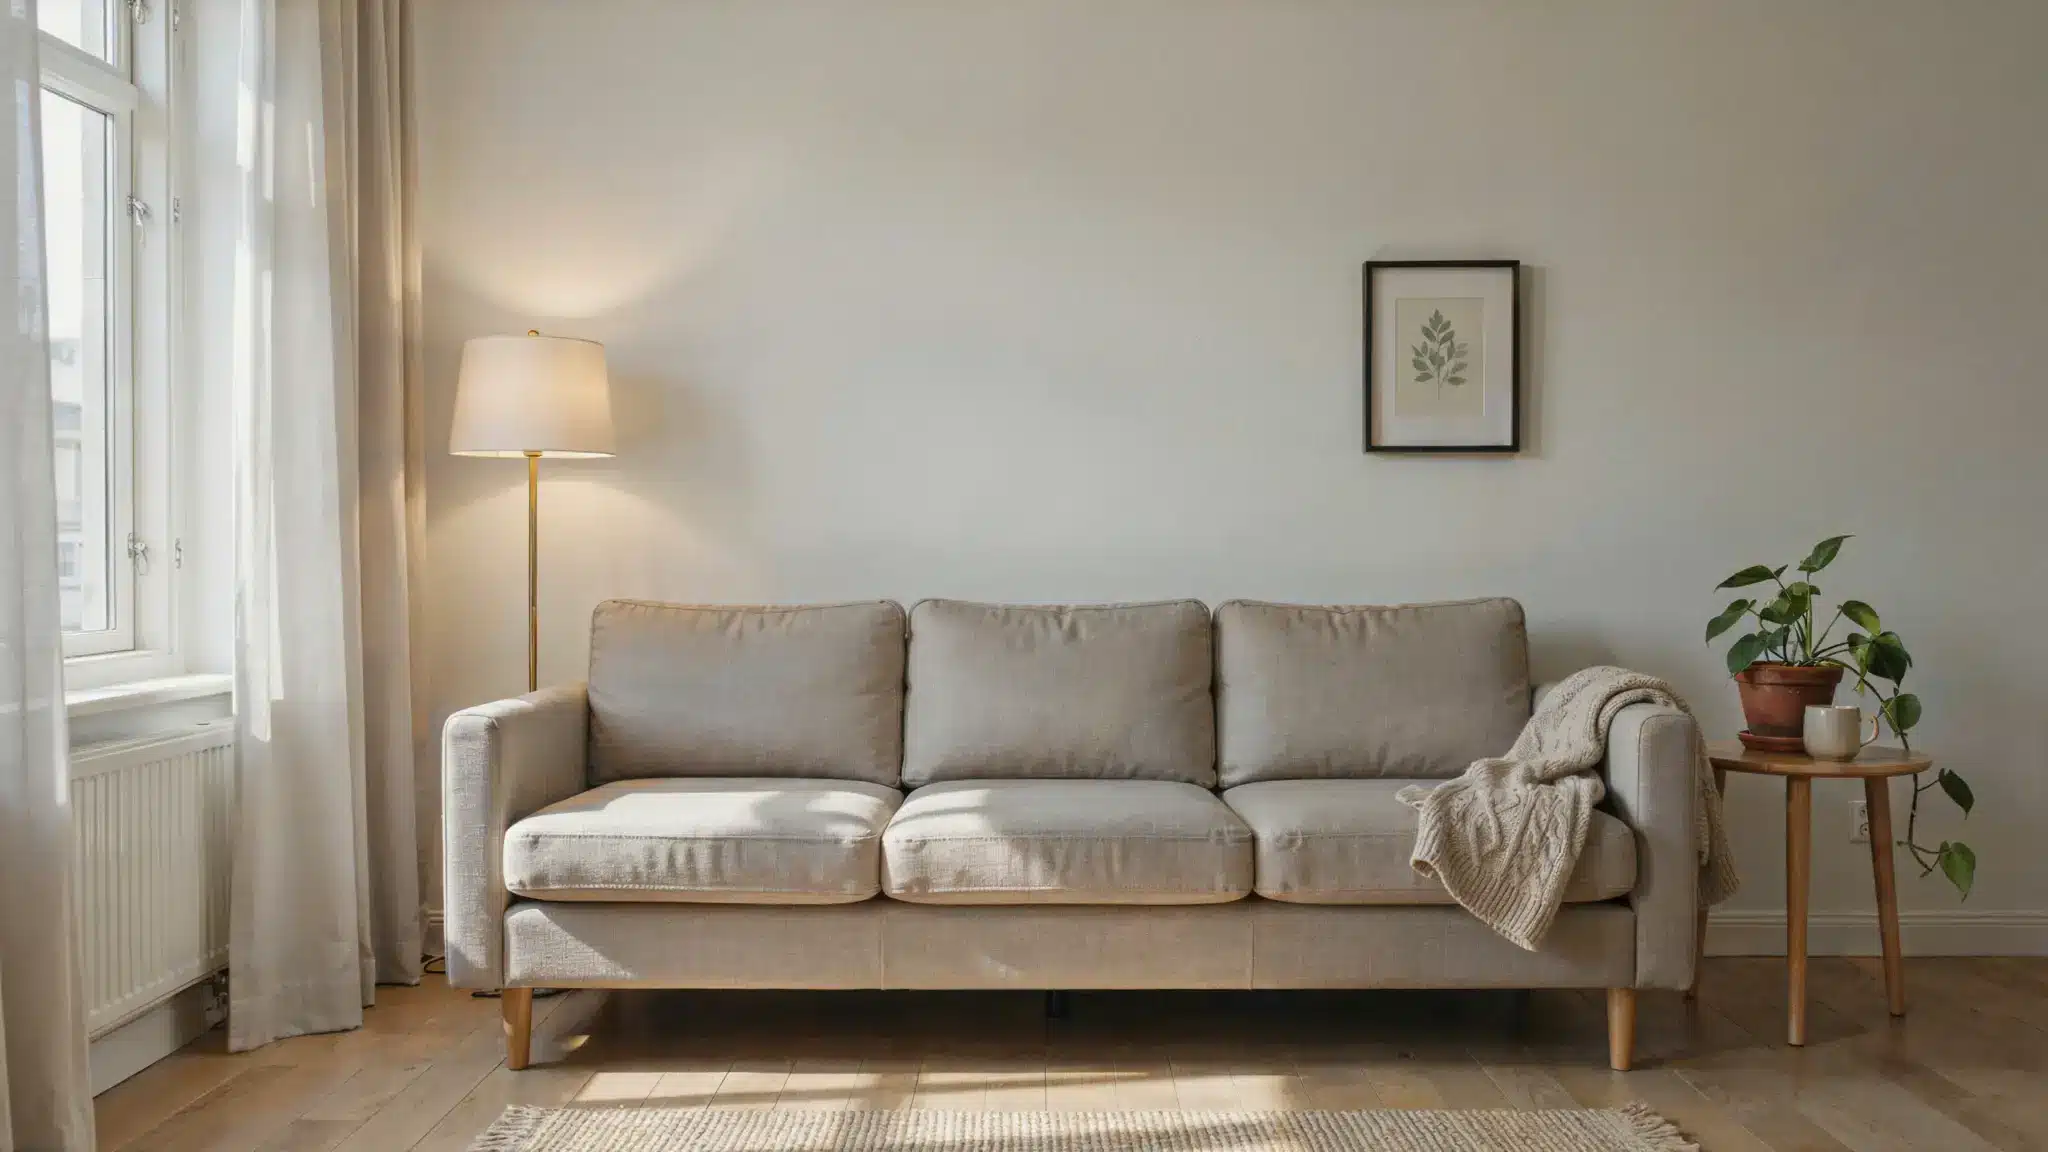
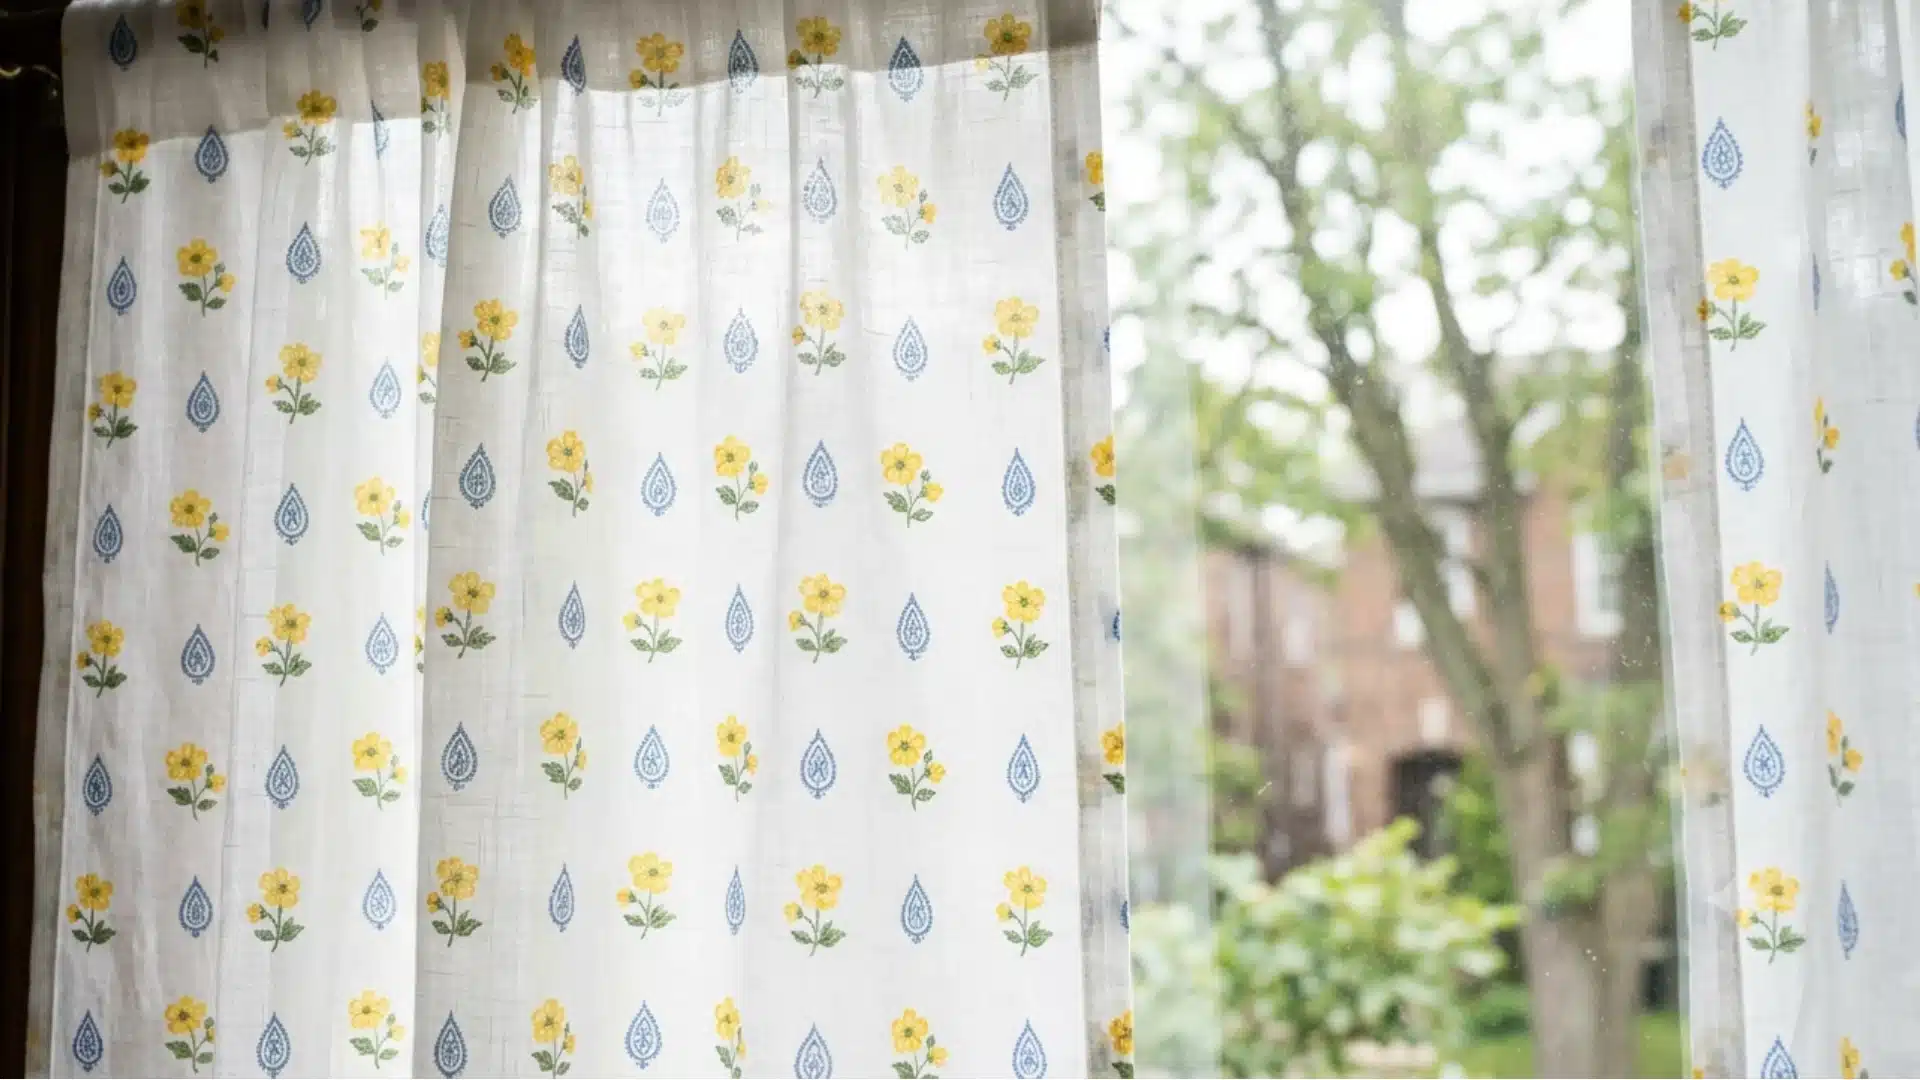
Learning how to hang curtain rods changes any window from bare to beautiful, and the process is more straightforward than most assume.
Mounting on drywall, plaster, brick, or tile requires understanding the fundamentals of curtain rod installation to ensure both function and beauty for years to come.
A quick overview covers everything from measuring and wall preparation to installation methods and renter-safe alternatives.
How to Measure for Curtain Rod Placement
Proper placement involves determining ideal height above the window frame, calculating the correct rod width, and accounting for fabric fullness and desired length.
Getting these dimensions right prevents costly mistakes and ensures the curtains look professionally hung while maximizing light control and visual appeal.
Ideal Height Above the Window Frame
The standard rule is to place curtain rods 4–6 inches above the window frame. For ceiling-height drama, mount rods closer to the ceiling.
The Ceiling Height Placement Method
For rooms with high ceilings (9 feet or more), position rods within 8–12 inches of the ceiling. This draws the eye upward and creates an illusion of even greater height.
Using painter’s tape to mark bracket positions lets the user test placement before drilling or committing to permanent holes.
Curtain Fullness and Length Rules
Curtain fabric should reach one of three points:
- Sill length: Just touching the windowsill (casual, clean look)
- Apron length: 4–8 inches below the sill (common balance)
- Floor length: Kissing or barely touching the floor (formal, dramatic)
For fullness, most curtains need 1.5 to 2 times the rod width in fabric. Sheer curtains can work at 2.5 times fullness for an airy effect.
Proper Rod Width Extension
Width matters for light control and visual appeal. Extend rods 8–12 inches beyond each window edge on standard windows.
For larger windows or maximum light blocking, go wider- 16 inches or more on each side.
The math is simple: window width + (extension on each side × 2) = rod length needed.
Essential Tools and Materials
Getting the right tools before starting makes the difference between a quick afternoon project and frustration. Gather these basics:
- Tape measure
- Pencil or marking tool
- Level (24-inch recommended)
- Drill with bits (for drilling method)
- Hammer and nails (backup option)
- Stud finder (highly recommended)
- Wall anchors matched to the wall type
- Screwdriver set
How to Install Curtain Rod: The Drilling Method
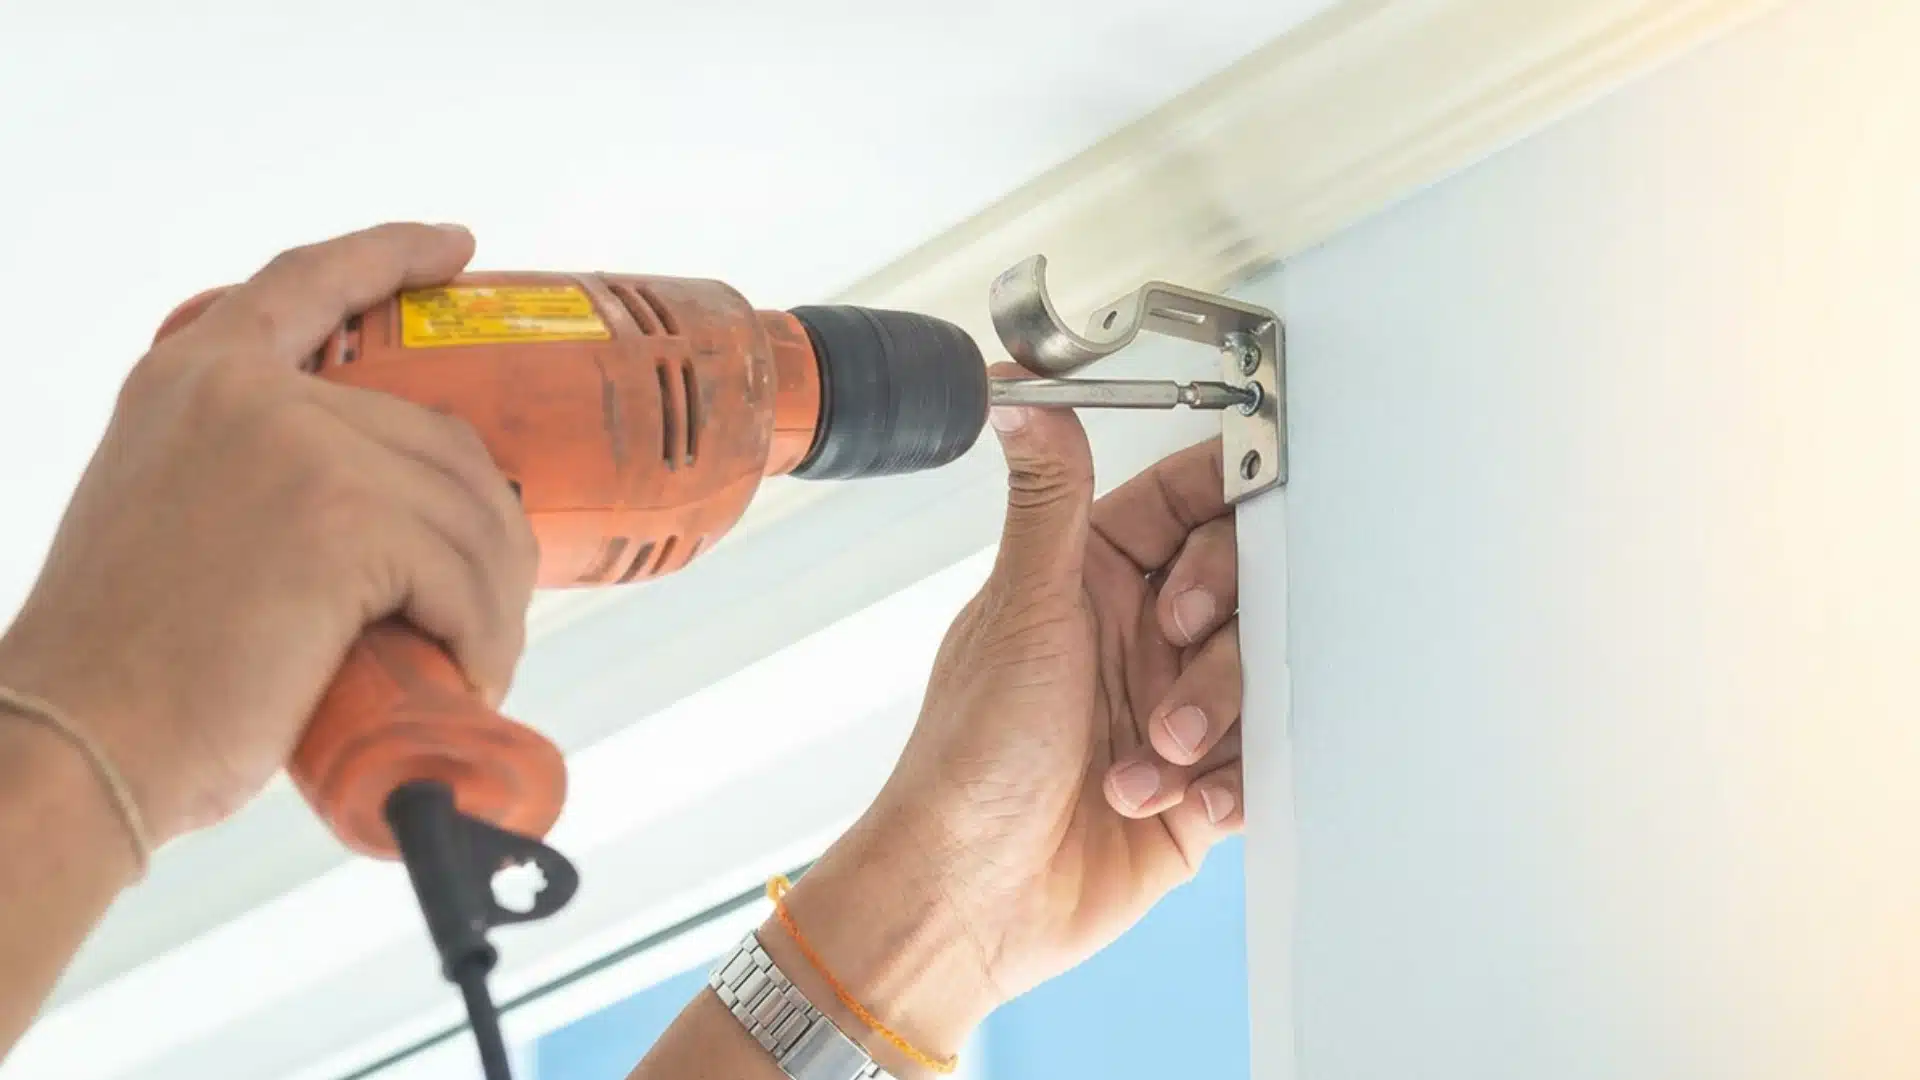
The drilling method provides the strongest, most permanent curtain rod installation.
Using proper technique, from locating studs to selecting appropriate anchors for the wall type, ensures that brackets hold heavy curtains securely for years.
Step 1: Mark stud locations with a pencil and measure up from the window frame to the predetermined height.
Step 2: Place the level against the marked bracket positions. Adjust until the bubble sits centered.
Step 3: Pilot holes prevent wall damage and guide fasteners into the proper position. A pilot hole should be slightly smaller than the fastener.
Step 4: Match anchors to wall type and load capacity. Heavy blackout curtains and velvet panels weigh considerably more than sheers.
Step 5: Press anchors firmly into holes until flush with the wall. They should sit snugly but not require brute force.
Step 6: Install brackets using fasteners recommended for the anchor type. Tighten screws firmly but don’t over-tighten, as this can strip anchors.
Once installed, test bracket stability with a gentle pull. The bracket shouldn’t shift or flex; if it does, the anchor isn’t set properly or is undersized for the application.
No Drill Curtain Rod Options
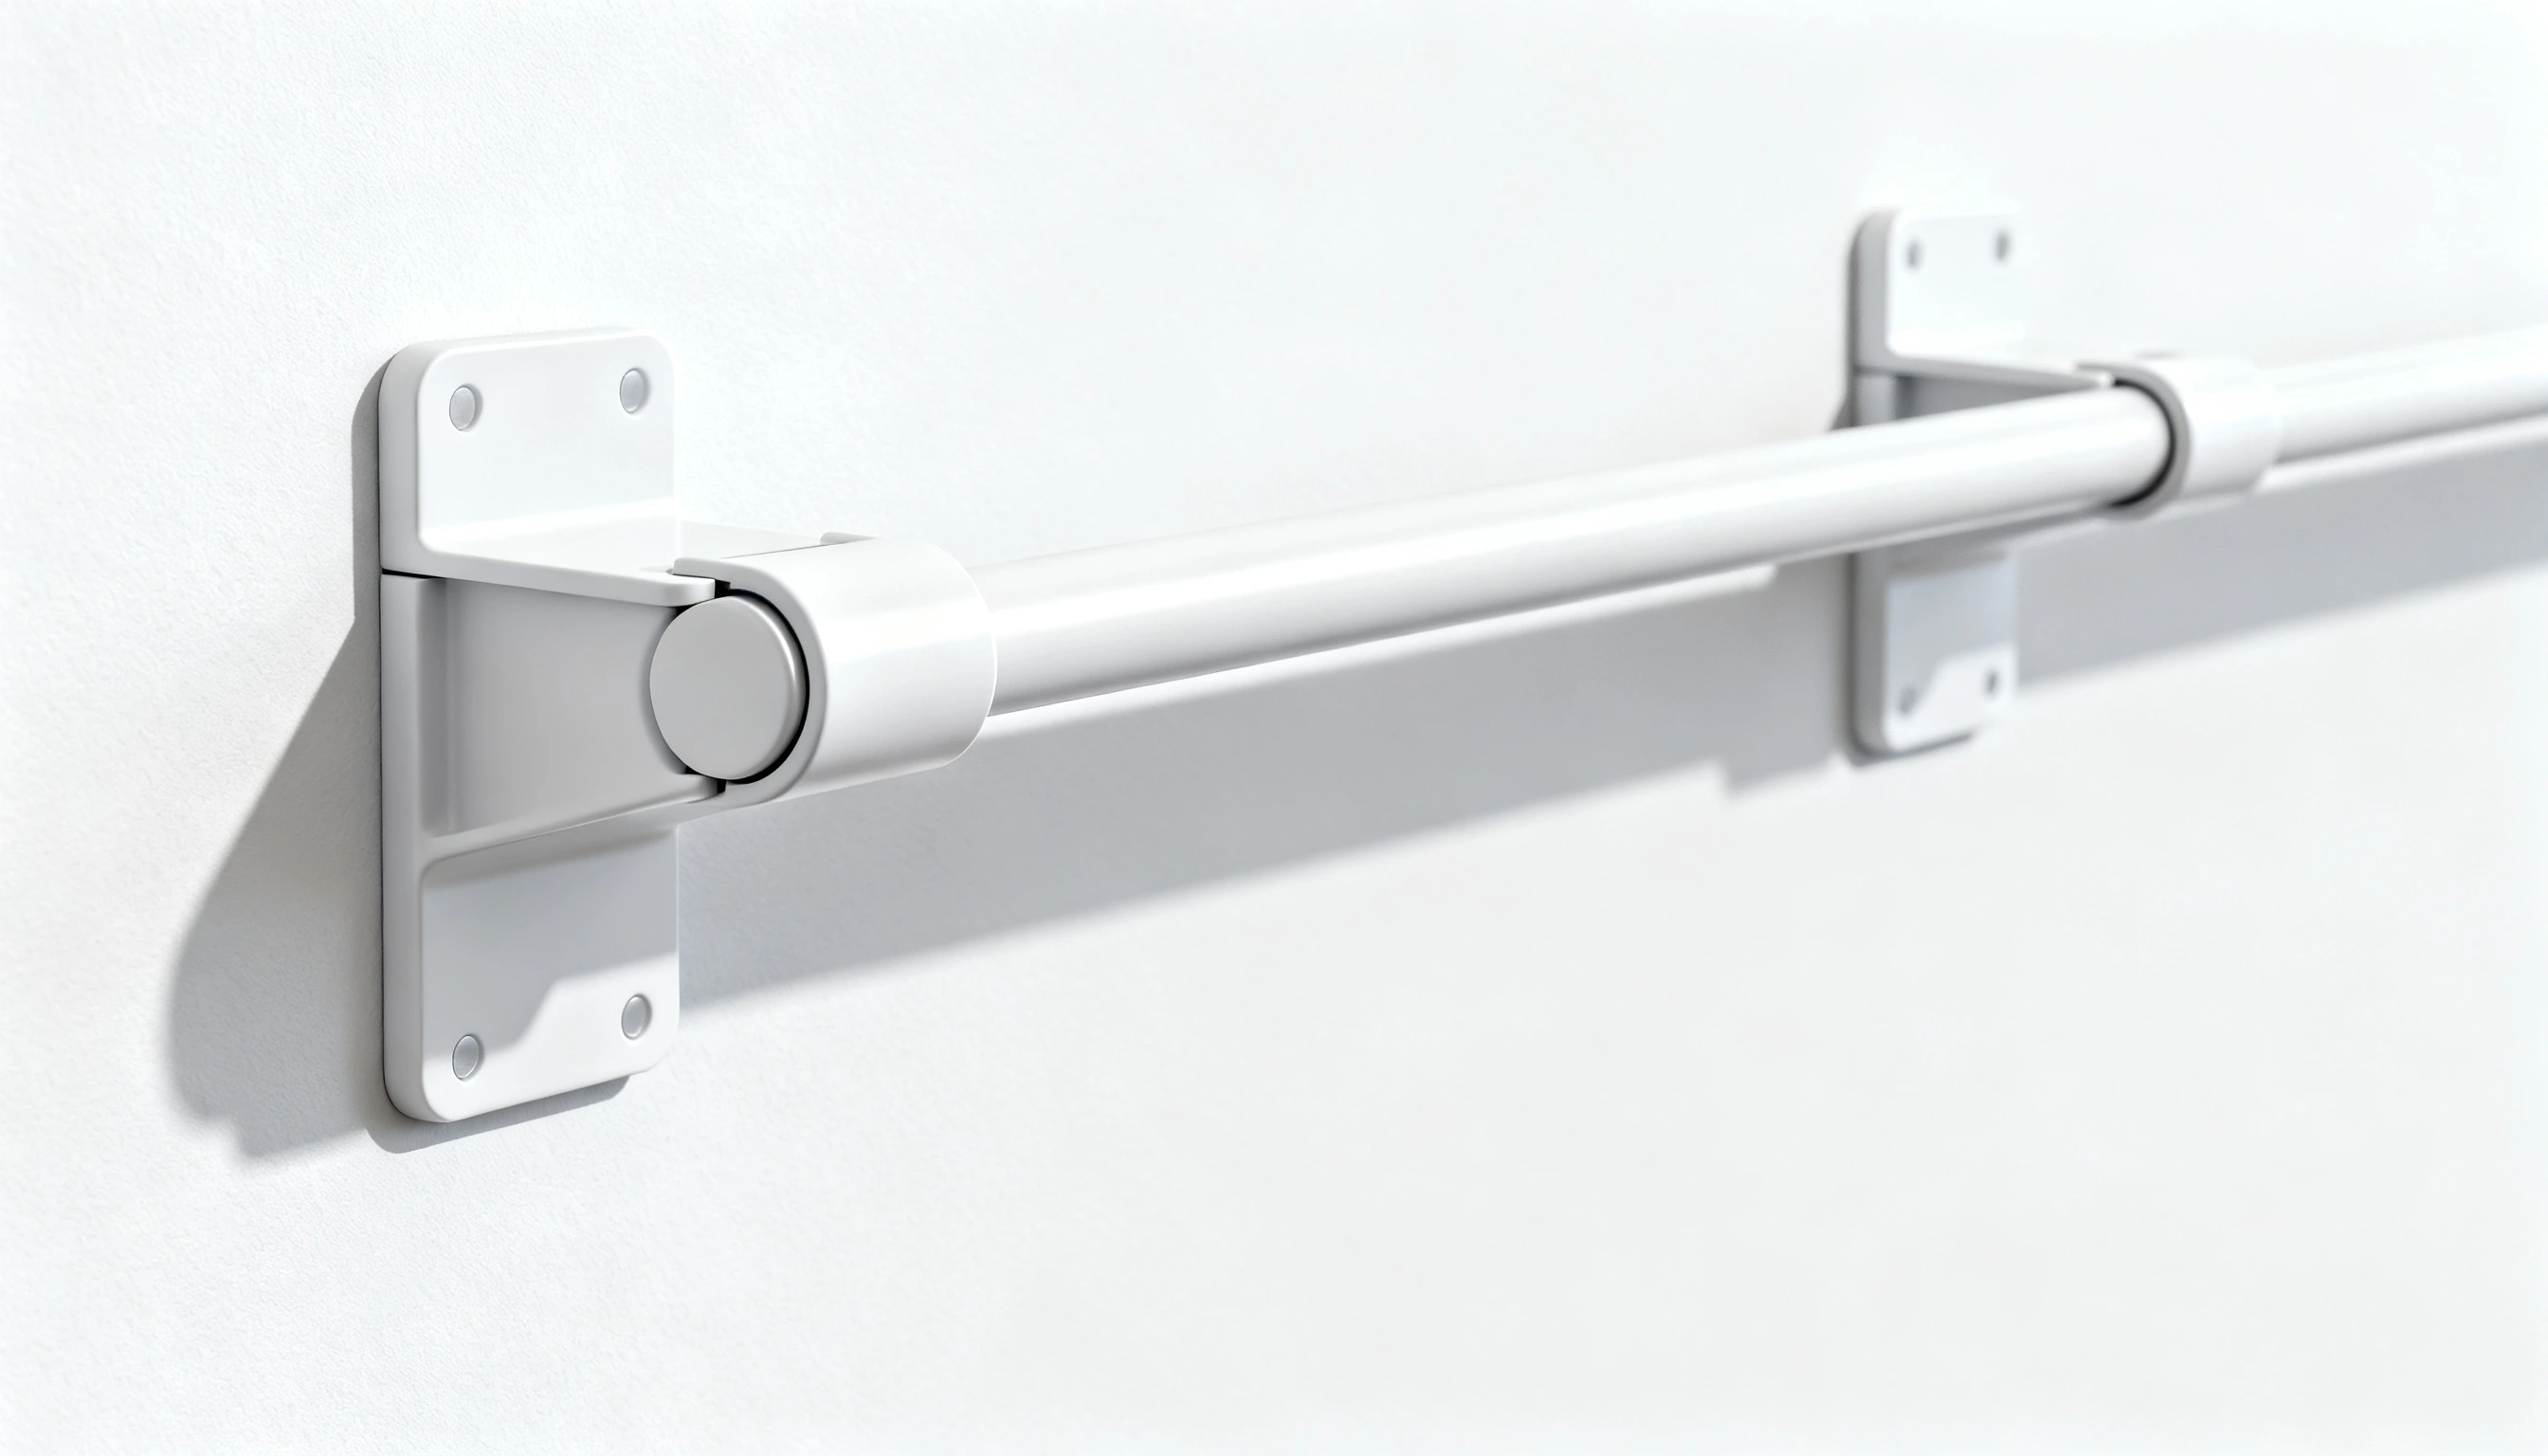
Not every situation calls for drilling. Renters, temporary setups, or anyone wanting to preserve wall finishes should explore these alternatives.
1. Adhesive No Drill Curtain Rod Brackets
Adhesive brackets use strong industrial tape to mount without fasteners. They’re perfect for lightweight curtains and quick setups.
Step 1: Clean the wall thoroughly with rubbing alcohol and let it dry completely. Dust, paint, or residue prevents adhesive bonding.
Step 2: Weight capacity typically maxes out at 10–15 pounds per bracket.
Step 3: Application steps are simple
- Clean wall surface
- Remove adhesive backing
- Press the bracket firmly against the wall
- Wait 24 hours before hanging curtains
2. Tension Rods for Lightweight Curtains
Tension rods work by spring pressure, requiring no mounting at all. Adjust the tension knob until it is snug between the window frame sides.
These suit lightweight sheers, café curtains, and temporary arrangements.
They won’t support heavy curtains, and they’re prone to sagging over time as springs weaken.
3. Magnetic Rod Systems
For metal doors, frames, or surfaces, magnetic rods stick without adhesive or fasteners. They’re damage-free and instantly removable.
Weight capacity depends on magnet strength. Most handles light to medium-weight curtains without issue.
4. Clamp or Pressure Fit Rods
These rods use adjustable clamps to grip window frames or trim. No adhesive, no drilling- just tighten and hang.
They work best on wooden trim or frames in good condition. Adjustable tension rods fall into this category and are particularly renter-friendly.
5. Peel and Stick Mounting Solutions
Command strips, 3M hooks, and similar peel-and-stick products offer another quick alternative.
Like adhesive brackets, they require pristine surface prep and are suitable only for lightweight applications.
No-drill curtain rod brackets avoid lease violations and damage deposits.
Types of Curtain Rods Available
Curtain rods come in various styles, each suited to different weights and looks:
- Standard-mounted rods: Work best for regular to heavy curtains. These sit on brackets and require secure wall installation.
- Tension rods: Fit inside the frame without drilling, ideal for lightweight sheers or café curtains.
- Magnetic rods: Cling to metal surfaces without hardware.
- Adjustable pressure rods: Use tension rather than fasteners, making them renter-friendly.
Understanding what the installation is helps determine whether standard drilling or no-drill curtain rod brackets make sense for the space.
Wall Types and Surface Preparation Before Installation
Identifying your wall type drywall, plaster, brick, stone, or tile- determines the best anchors and fastening methods.
Proper surface preparation and choosing the right hardware for your wall ensures secure bracket installation. This also prevents damage, guaranteeing your curtain rod setup lasts for years without failure.
1. Installing on Drywall- Wall Anchors and Fasteners
Drywall requires anchors unless studs are hit. Studs are spaced 16 inches apart and provide the strongest hold.
Toggle bolts handle heavier loads than standard anchors. Molly bolts work for medium-weight rods. Plastic expansion anchors suit lighter applications.
When selecting anchors, match them to the rod weight and bracket size. Installation depth matters; anchors must set fully for a proper hold.
2. Plaster Wall Installation Considerations
Plaster walls demand careful drilling to prevent cracking or crumbling. Use a drill with a plaster-specific bit and go slowly. Consider no-drill curtain rod brackets for valuable antique plaster.
If drilling is necessary, pilot holes are essential. Start with a smaller bit, then upsize for proper anchor depth.
3. Brick and Stone Wall Mounting
Masonry requires a masonry bit and often specialized anchors. Heavy-duty expansion anchors work best.
For stone, start with the smallest bit possible and progress upward.
4. Tile Wall Strategies
Tile presents a smooth, hard surface that resists traditional anchors. the best options:
- Drilling through tile grout is less likely to crack than drilling through actual tile.
- Adhesive brackets are best for lightweight applications.
- No-drill mounting systems are magnetic or clamp-based solutions.
Pro-Level Curtain Placement Tricks

Right positioning creates visual illusions that enhance room dimensions, maximize light control, and hide hardware for a polished finish.
These advanced tricks require minimal extra effort but deliver maximum impact, transforming the windows into architectural focal points that anchor the entire room’s design.
1. The Ceiling Mount Illusion Effect for High Ceilings
Mount rods 12–18 inches from the ceiling in rooms with 10+ foot ceilings. This draws the eye upward dramatically and makes the space feel even more expansive.
Pair this with floor-length curtains for maximum impact.
2. Extending Rod Beyond Window Frame for Light Control
The further the rod extends beyond the window, the greater the light control when the curtains close.
For complete blackout, extend rods 12–16 inches on each side and use blackout fabric. This also makes smaller windows appear larger.
3. Hiding Hardware for a Clean, Minimalist Look
Mount rods so brackets are hidden behind curtain panels once hung. This requires planning the rod position so brackets are just outside panel edges when closed.
4. Avoiding Light Gaps with Proper Rod Placement
Light leaking around curtain edges defeats the purpose of blackout fabric. Extend rods wider and position rods close to the window to minimize gaps.
For maximum seal, mount rods on the wall surface rather than on the window frame.
Conclusion
Mastering the fundamentals of how to hang curtain rods opens up endless window treatment possibilities. From measurement to mounting to styling, each step builds on the previous one.
Choosing traditional drilling or no-drill curtain rod brackets on drywall, plaster, brick, or tile ensures success in any space.
The curtains aren’t just window coverings. They frame the space, control light, add texture, and express the style. Installing them properly is worth the effort.
Frequently Asked Questions (FAQs)
1. Will the Curtain Rod Show Once I Hang Heavy Curtains on it?
No, pin placement on the back of curtains typically keeps them positioned about 1/4 inch above the rod, hiding it completely.
2. How Much Weight Can Curtain Rod Brackets Actually Hold?
Quality brackets hold up to 20 pounds for heavy-lined drapes and blackout curtains.
3. What’s the Difference Between Inside Mount and Outside Mount Curtain Rods?
Inside mount fits within the window frame; outside mount installs above and outside.
4. How do I fix a Curtain Rod that Sags in the Middle on Wide Windows?
Choose a rod with a wider range rating for a 60-inch window, or add center support brackets for extra reinforcement.
5. What are the Standard Curtain Lengths Available?
Standard lengths are 63, 84, 96, 108, and 120 inches, with shorter sizes for small windows and longer ones for a floor-to-ceiling effect.