There is something deeply satisfying about a wall or door that looks freshly painted and perfectly smooth. No streaks. No patches. Just clean, even color.
But once for sure, you too have noticed that a wall in your living room has been bothering you for months, haven’t you?
You keep thinking, “I’ll fix it soon,” but soon never comes.
But getting there takes more than just picking up a roller. Knowing how to paint a wall correctly, from the first bit of prep to the final coat, makes all the difference.
And that is exactly what you will find here.
Tools You Actually Need (And What You Don’t)
Before you learn how to paint a wall, you need the right tools. But that’s what most people get wrong.
They either buy too much or skip something important.
What You Actually Need:
- Paint roller and roller cover: It’s best for large, flat walls. A 3/8-inch nap roller works well for smooth walls.
- Angled paintbrush (2 to 2.5 inches): Use this for corners, edges, and trim. A quality brush makes a big difference.
- Painter’s tape: This protects your trim, ceilings, and baseboards from accidental paint marks.
- Paint tray and liner: Pour your paint into the tray and liner. The liner makes cleanup much easier.
- Drop cloth: Protect your floors. Old bedsheets work too, but canvas drop cloths are sturdier.
- Sandpaper (120 to 150 grit): You’ll need the sandpaper to smooth out rough patches before painting.
- Putty knife and spackle: For filling small holes and cracks in the wall
- Paint primer: Especially important on new walls or dark-colored surfaces.
- Extension pole: Attach it to your roller to reach higher spots without a ladder.
What You Don’t Need:
- Expensive spray guns for a basic interior wall job
- Multiple brush sizes when one angled brush does the work
- A power sander for minor wall repairs
Preparation is More Important than Painting Itself
What most people don’t talk about is the preparation stage. It is actually more important than the painting itself.
If your wall isn’t ready, even the best paint won’t look appealing.
Follow these:
- Clear the room: Move furniture away from the walls. Cover anything you can’t move with a drop cloth.
- Clean the walls: Dust, grease, and dirt stop paint from sticking properly. Wipe the walls down with a damp cloth. For greasy areas like kitchens, use a mild soap solution.
- Fix the damage: Got small holes or cracks? Fill them with spackle using a putty knife. Let it dry completely.
- Sand the surface: Once the spackle dries, sand it smooth. Run your hand over it. It should feel even with the rest of the wall.
- Tape the edges: Apply painter’s tape along the trim, ceiling line, and baseboards. Press it down firmly so the paint doesn’t bleed underneath.
- Lay down drop cloths: Cover your floors completely. Paint drips more than you expect.
- Prime the wall if needed: Apply a coat of primer first if you’re painting over a dark color, a stained wall, or fresh drywall. This helps the paint color show up true and last longer.
How to Paint a Wall: 4 Steps to Follow
Painting a wall is not as complicated as it looks. But skipping even one step can leave you with a patchy, uneven finish.
So let’s go through each step one by one.
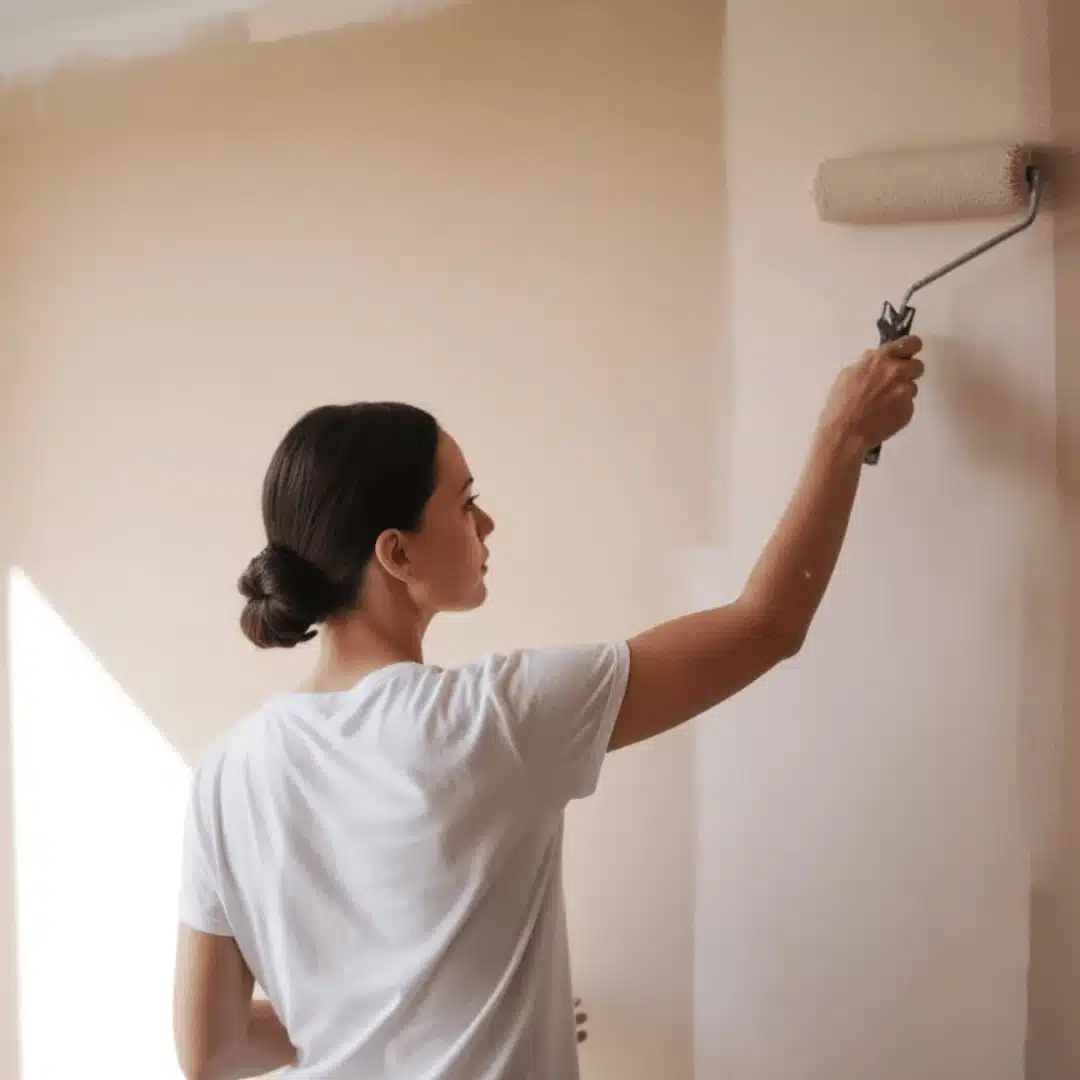
Step 1: Cut in Along the Edges First
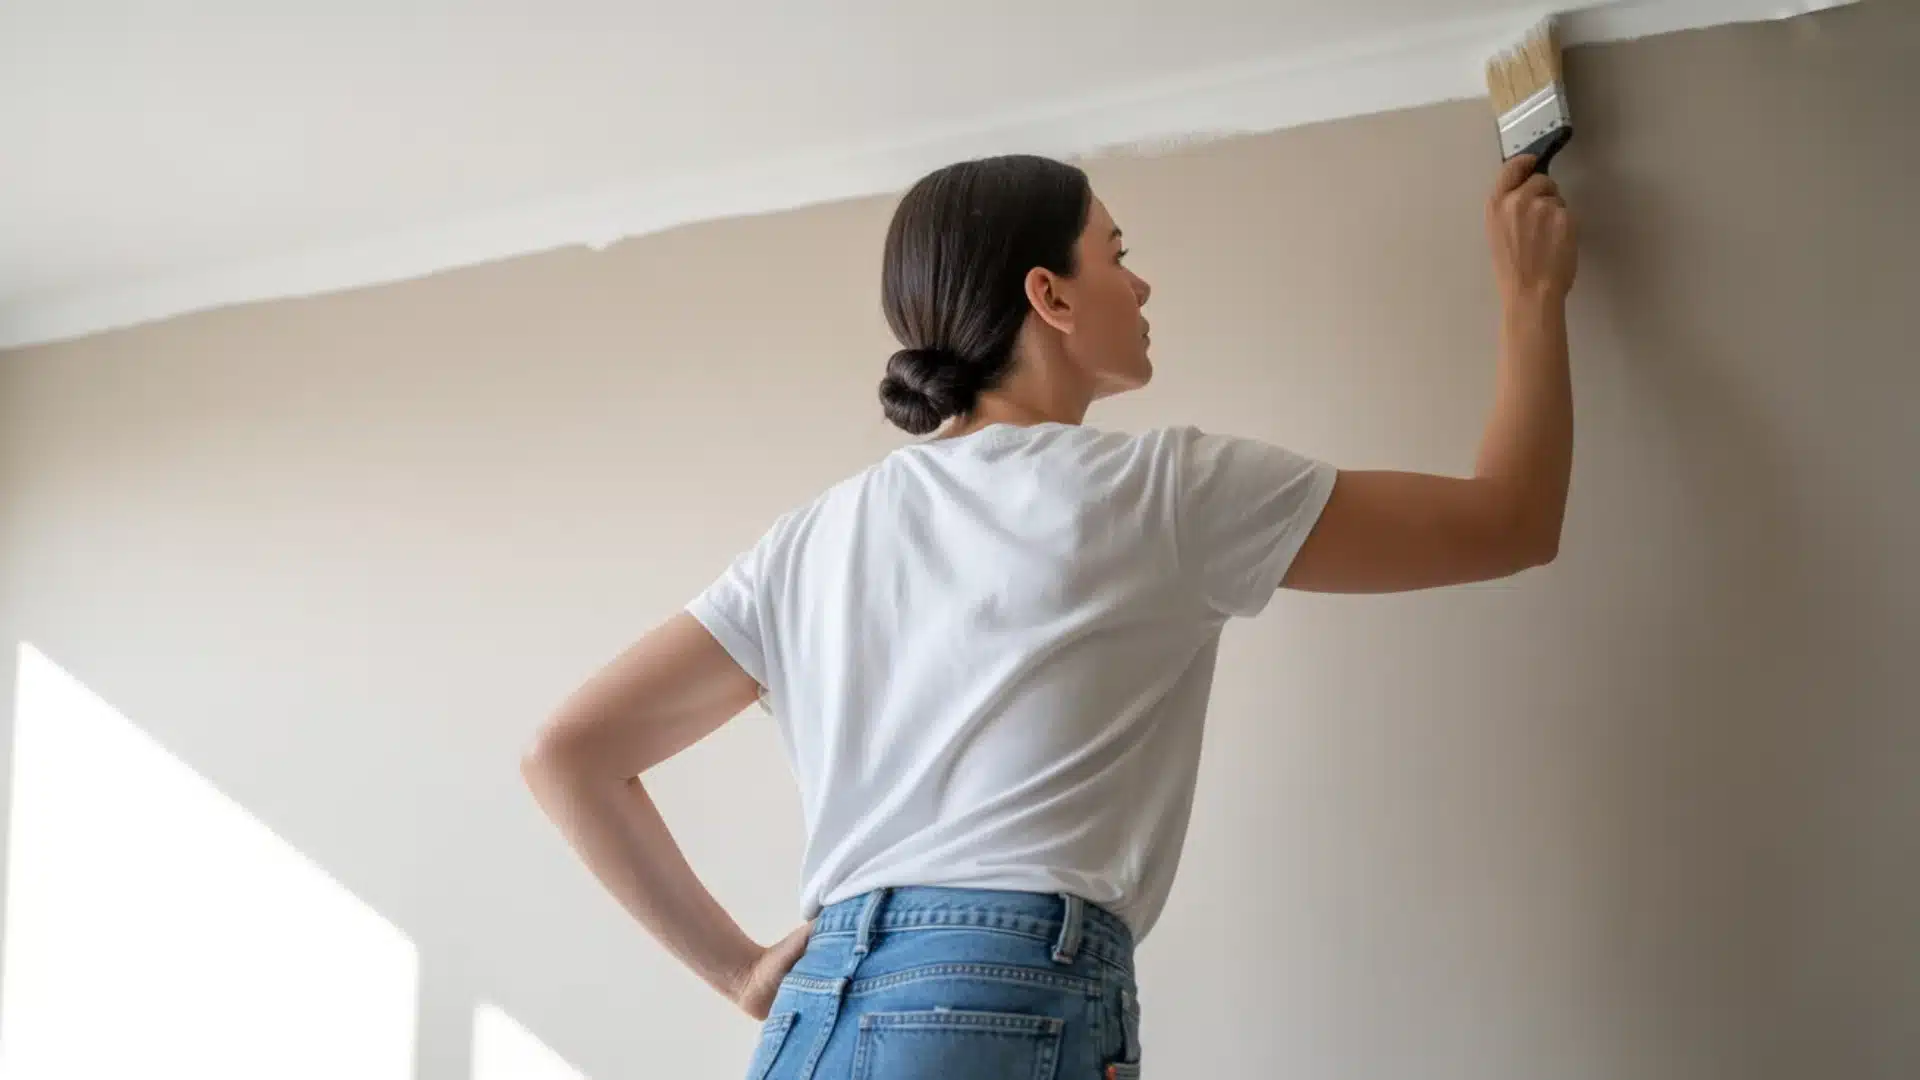
alt text; Woman painting wall edge with brush near ceiling, back view, smooth strokes, clean indoor setting
Before the roller comes out, use an angled brush to paint a 2- to 3-inch strip along all edges, corners, and the ceiling line.
Work from top to bottom and keep the paint wet so it blends well when you roll over it. Take your time here. Messy edges are difficult to fix later.
Step 2: Roll the Paint onto the Wall
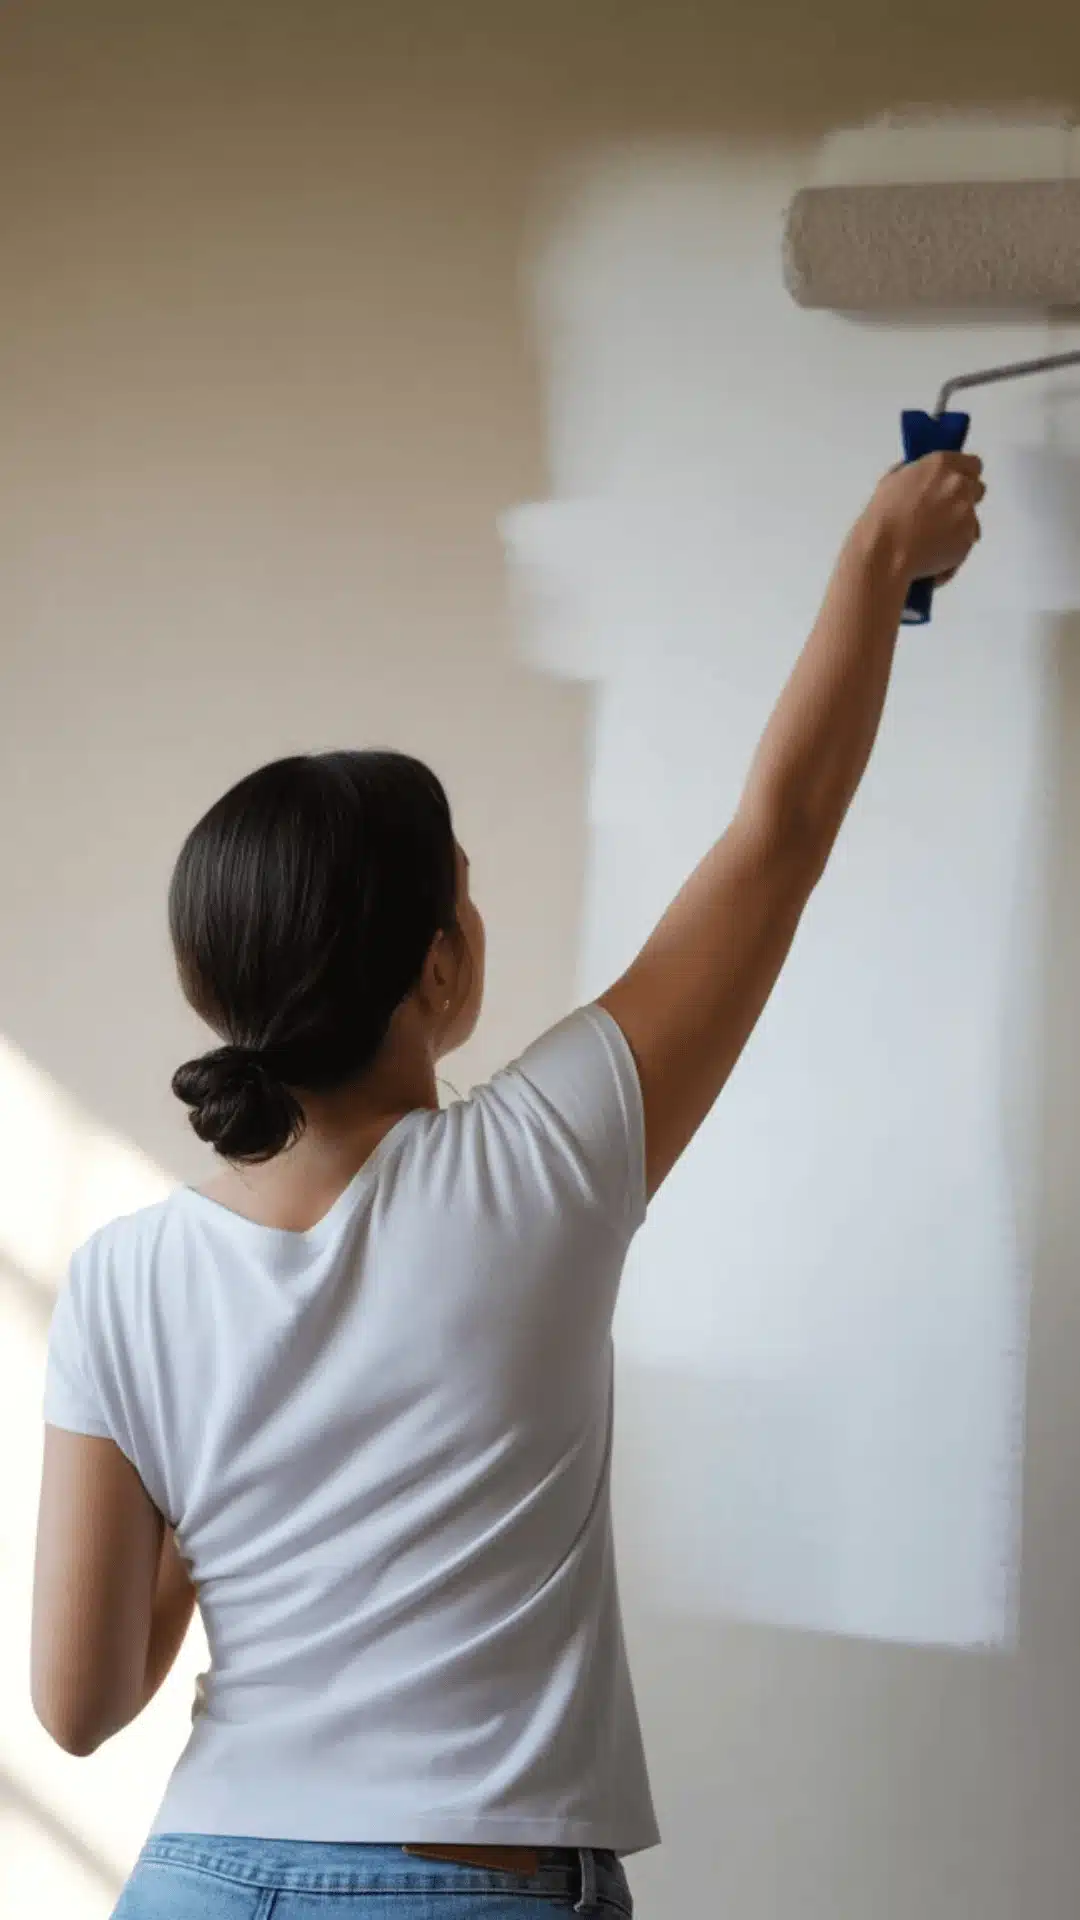
Load your roller evenly and start from the top.
Use a “W” pattern to spread the paint, then smooth it out with straight vertical strokes. Keep a wet edge at all times and let the roller do the work.
Pressing too hard or moving too fast causes splatter and uneven coverage.
Did you know that rolling too fast causes paint to splatter? Slow, steady strokes give you a much cleaner finish.
Step 3: Apply a Second Coat
One coat rarely covers evenly. Let the first coat dry for 2 to 4 hours, then lightly sand and wipe away the dust.
Then repeat the same cutting-in and rolling process. Two coats work for most walls. Darker shades may need a third.
Step 4: Remove the Tape and Clean Up
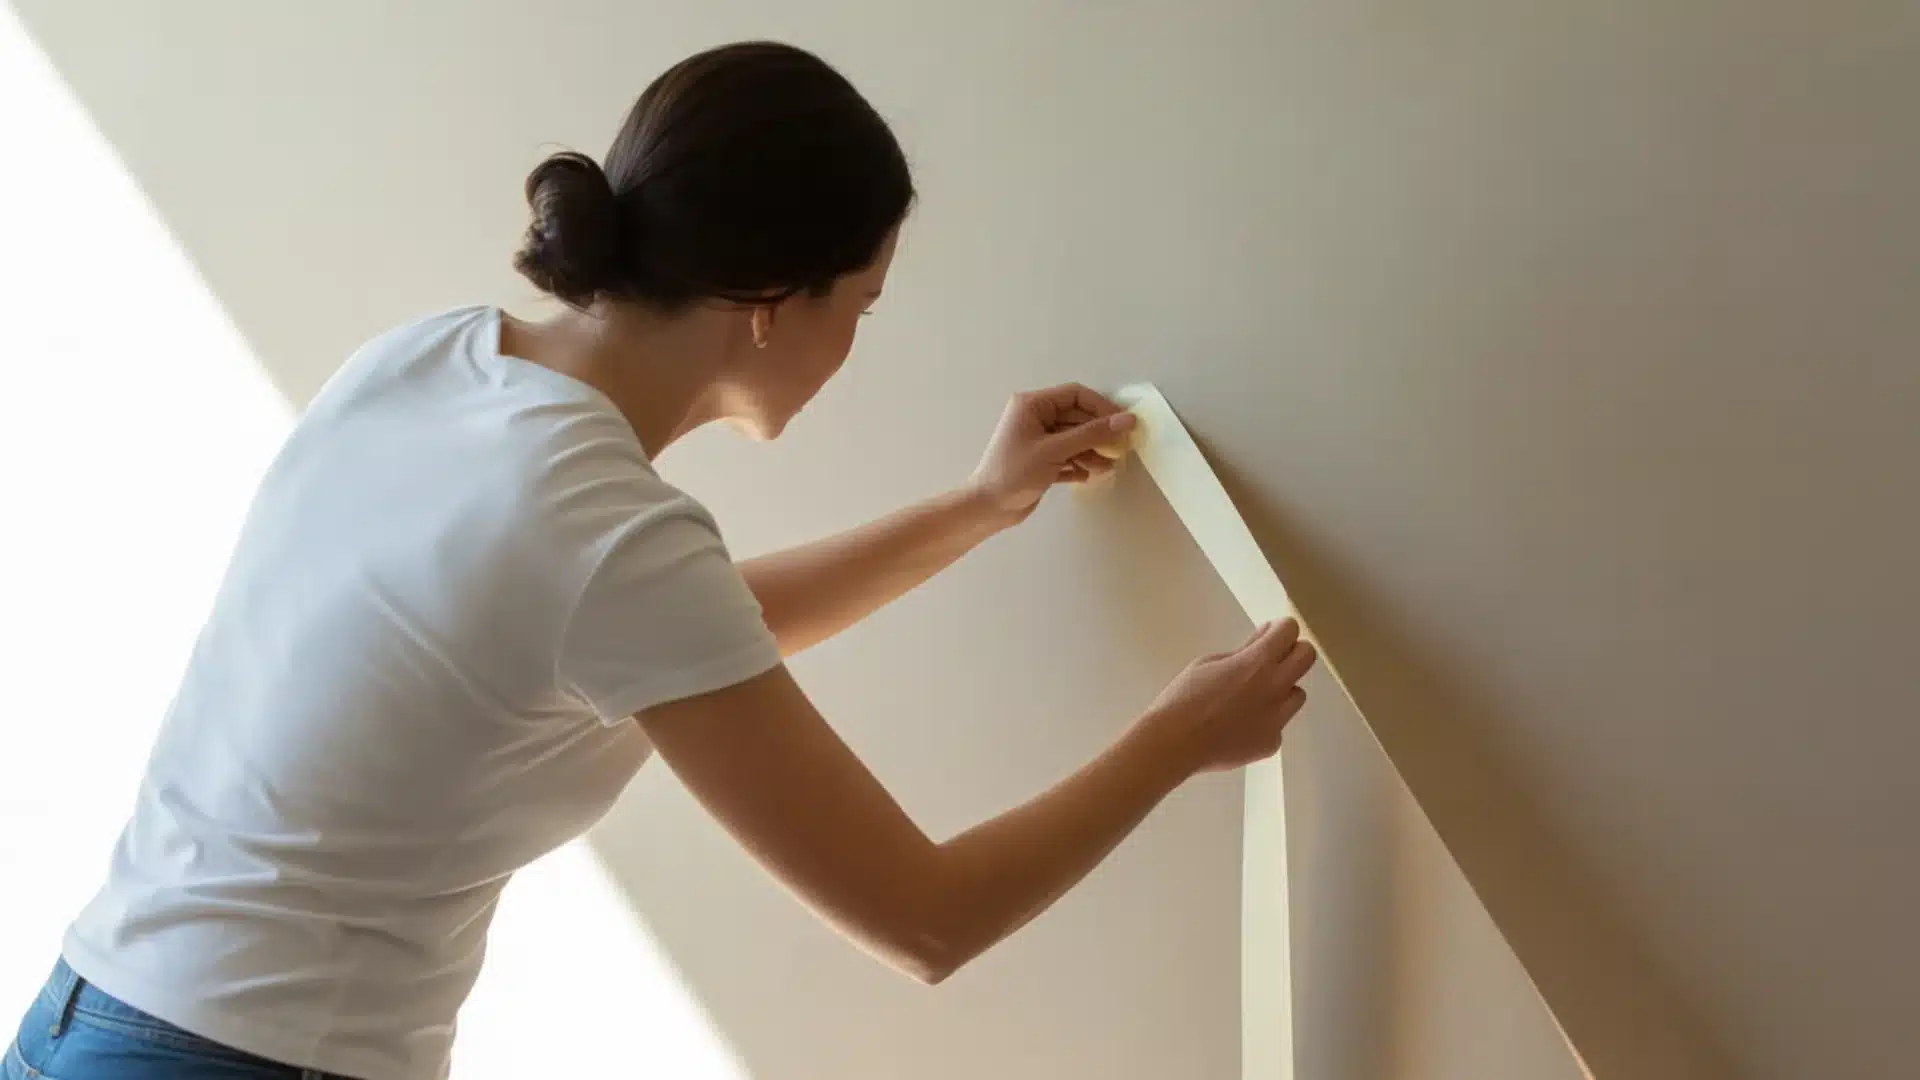
While the paint is still slightly wet, pull the tape back slowly at a 45-degree angle for clean lines.
Rinse your brushes and rollers with water, let the wall dry fully, and do a final check in good lighting. Touch up any thin spots with a small brush once everything is completely dry.
Wait too long to remove the tape and it can pull the dried paint right off. Don’t let that happen to you.
How to Paint a Wall: Interior vs. Exterior Differences
Many people assume that painting is painting. But interior and exterior walls are very different.
Before you start any paint job, it helps to know which type of wall you are dealing with.
| Factor | Interior Walls | Exterior Walls |
|---|---|---|
| Paint Type | Water-based latex paint | Weather-resistant exterior paint |
| Finish | Matte, eggshell, or satin | Satin or gloss for durability |
| Primer Needed | Yes, especially on new or patched walls | Yes, always. Exterior surfaces need strong adhesion |
| Surface Prep | Clean, sand, and fill cracks | Power wash, scrape old paint, fill gaps |
| Drying Time | 2 to 4 hours per coat | 4 to 6 hours per coat, depending on the weather |
| Weather Dependency | Not affected by the weather | Must paint in dry, mild conditions |
| Number of Coats | 2 coats are usually enough | 2 to 3 coats for full protection |
| Durability Focus | Aesthetics and cleanability | Weather resistance and UV protection |
| Tools Used | Roller, angled brush, painter’s tape | Roller, thick nap roller, stiff bristle brush |
How to Paint a Room?
So you want to paint an entire room, not just one wall. The process is mostly the same, but there is a specific order you should follow.
Doing things out of order leads to drips on freshly painted surfaces and a lot of extra touch-up work.
Follow the right order to paint a room:
1. Start with the Ceiling: Always paint the ceiling first. Any drips that fall onto unpainted walls so you won’t ruin your work. Use a roller with an extension pole to cover large areas quickly.
2. Paint the Walls Next: Once the ceiling is dry, move to the walls. Use the same cutting-in and rolling technique from the step-by-step process above.
3. Finish with the trim and baseboards:Wait for the walls to dry completely. Then tape them off and paint the trim and baseboards using a small angled brush.
A few extra tips to keep in mind:
- Always paint in natural light or good artificial light. It helps you spot missed areas and uneven coverage
- Keep a wet edge as you work. This means moving quickly enough that you are always rolling into wet paint
- Open windows and doors while painting indoors. Good air flow helps the paint dry faster and keeps fumes from building up
- If you are painting a small room, lighter shades make it feel more open and airy
- For larger rooms, you can use deeper shades without making the space feel closed in
Did you know that painting in high humidity slows down drying time significantly? Try to paint on days when the humidity is below 50% for the best results.
The whole process for an average-sized room takes about a day. That includes prep, priming, two coats of paint, and cleanup.
Plan your time wisely and don’t rush the drying stages.
Roller vs Brush for Painting Walls
Most people have leftover paint cans tucked away in a garage or basement, often unsure if they’re still usable after a year, and they use them, which obviously affects the wall paint texture.
There is this most common question people ask when learning how to paint a wall is, “Should I use a roller or a brush?”
Rollers are best suited for large flat wall surfaces, while brushes shine when working on edges, corners, and trim.
In terms of speed, rollers cover large areas quickly, whereas brushes are slower and better suited for detailed work.
When it comes to finish quality, rollers deliver a smooth and even result on flat surfaces, while brushes offer precision but can show marks if overworked.
Rollers are generally easy for beginners to pick up, while brushes require a bit more practice to master.
Although the most common mistake with a roller is moving too fast, which causes splatter; with a brush, overworking the paint leads to drag marks.
Both tools call for light, steady, and controlled pressure.
Both rollers and brushes work best together, not separately.
Use your brush to cut in the edges first.
Then follow up with the roller for the large surfaces.
This combination gives you the cleanest, most even finish possible.
Which Paint Finish Should You Use?
Not all paints are the same. The finish you pick changes how the wall looks and how easy it is to clean.
| Finish Type | Best For | Sheen Level |
|---|---|---|
| Flat or Matte | Living rooms, ceilings | No shine |
| Eggshell | Bedrooms, hallways | Low shine |
| Satin | Kids’ rooms, bathrooms | Soft shine |
| Semi-gloss | Kitchens, trim | Medium shine |
| Gloss | Doors, cabinets | High shine |
For most interior walls, eggshell or satin finishes work best. They are easy to clean and look great in natural light.
What room are you painting? The finish you choose can completely change how the space feels.
Wrapping up
Now you know how to paint a wall the right way.
Prep well, prime when needed, cut in the edges, and roll with steady strokes. Two coats and a little patience go a long way. The results speak for themselves.
A clean, well-painted wall makes any room feel fresh and cared for.
So grab your roller and get started.
And check out our other home styling guides for more tips.
Frequently Asked Questions
1. Should You Paint the Whole Wall or Just Touch Up?
For small scuffs on fresh paint, a touch-up works. But if the paint is old or faded, repaint the whole wall. Touch-ups almost never match perfectly.
2. How Many Coats of Paint are Truly Necessary?
Most walls need two coats. One coat rarely covers evenly. Darker colors may need a third. Always let each coat dry fully before applying the next.
3. How to Avoid Patchy or Streaky Walls?
Always prime first, keep a wet edge while rolling, and use high-quality tools. Painting over a dirty or dry wall is the most common cause of streaks.