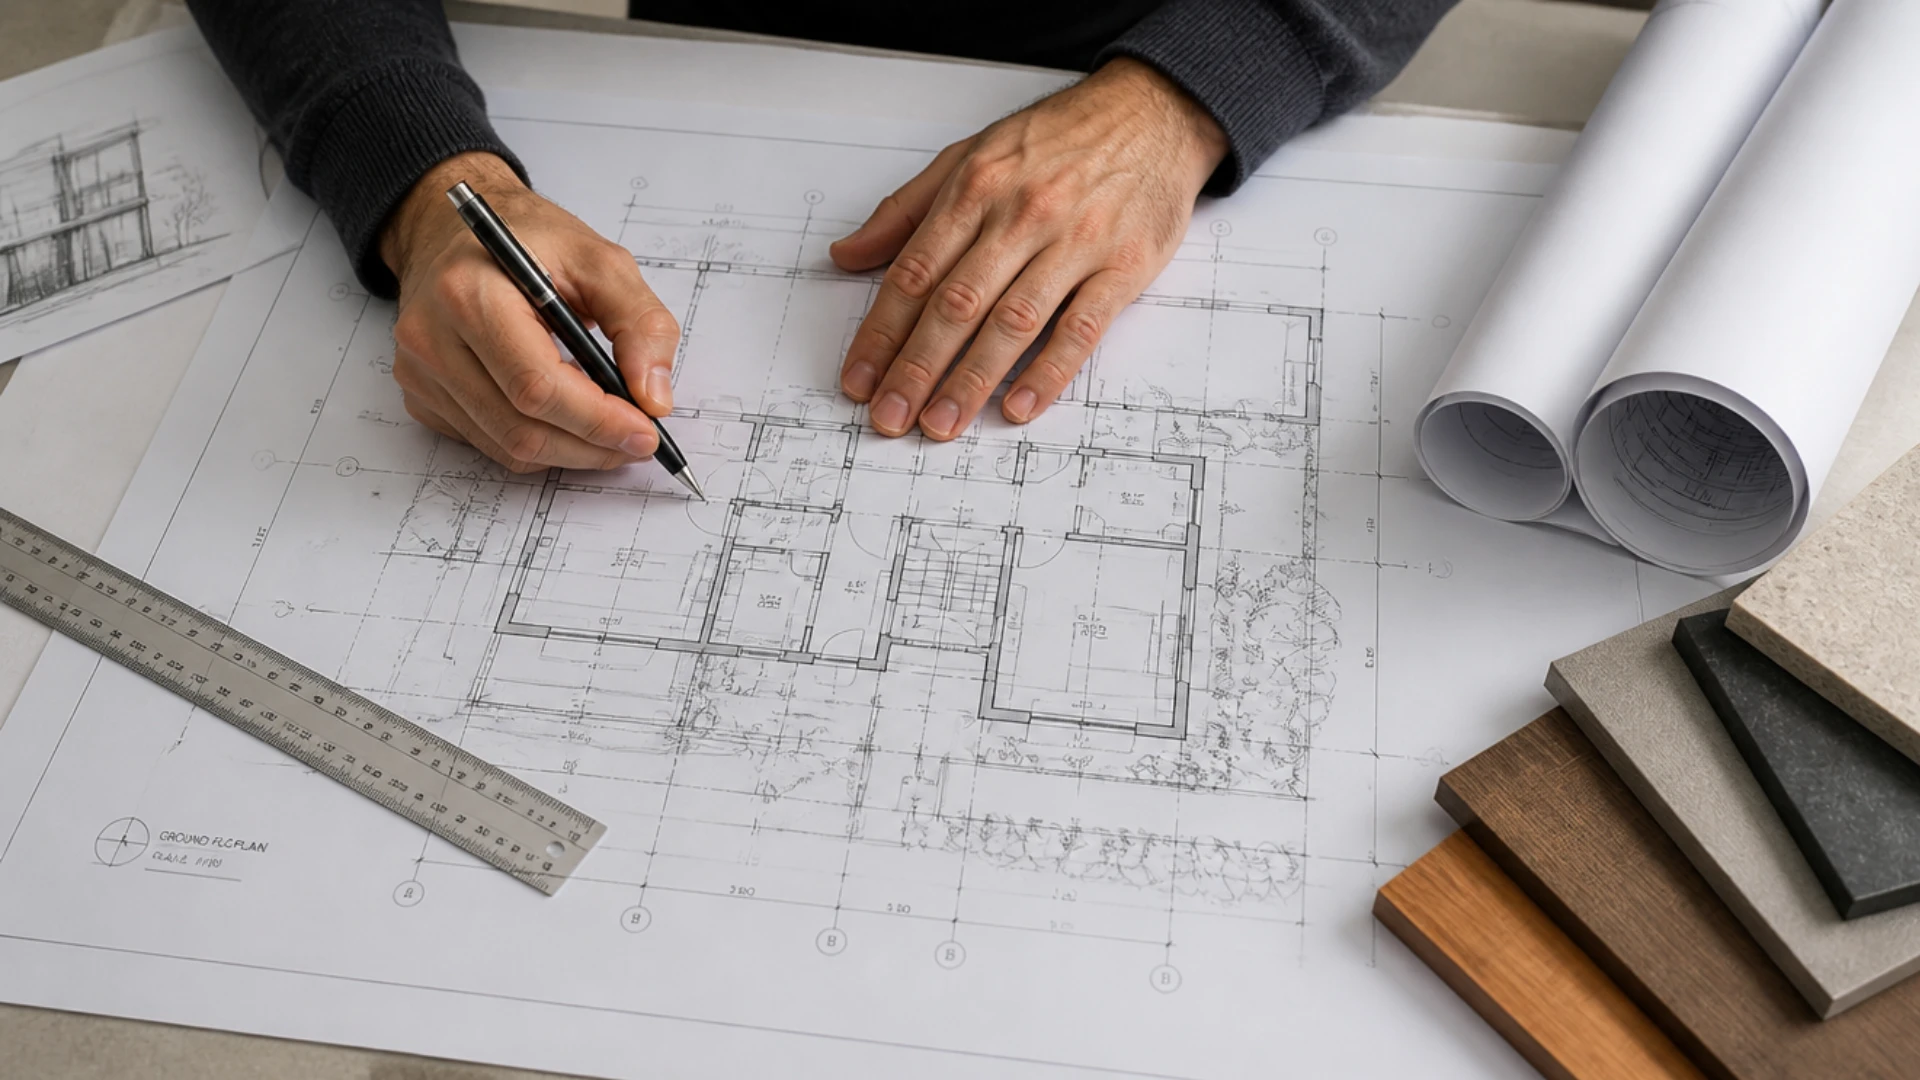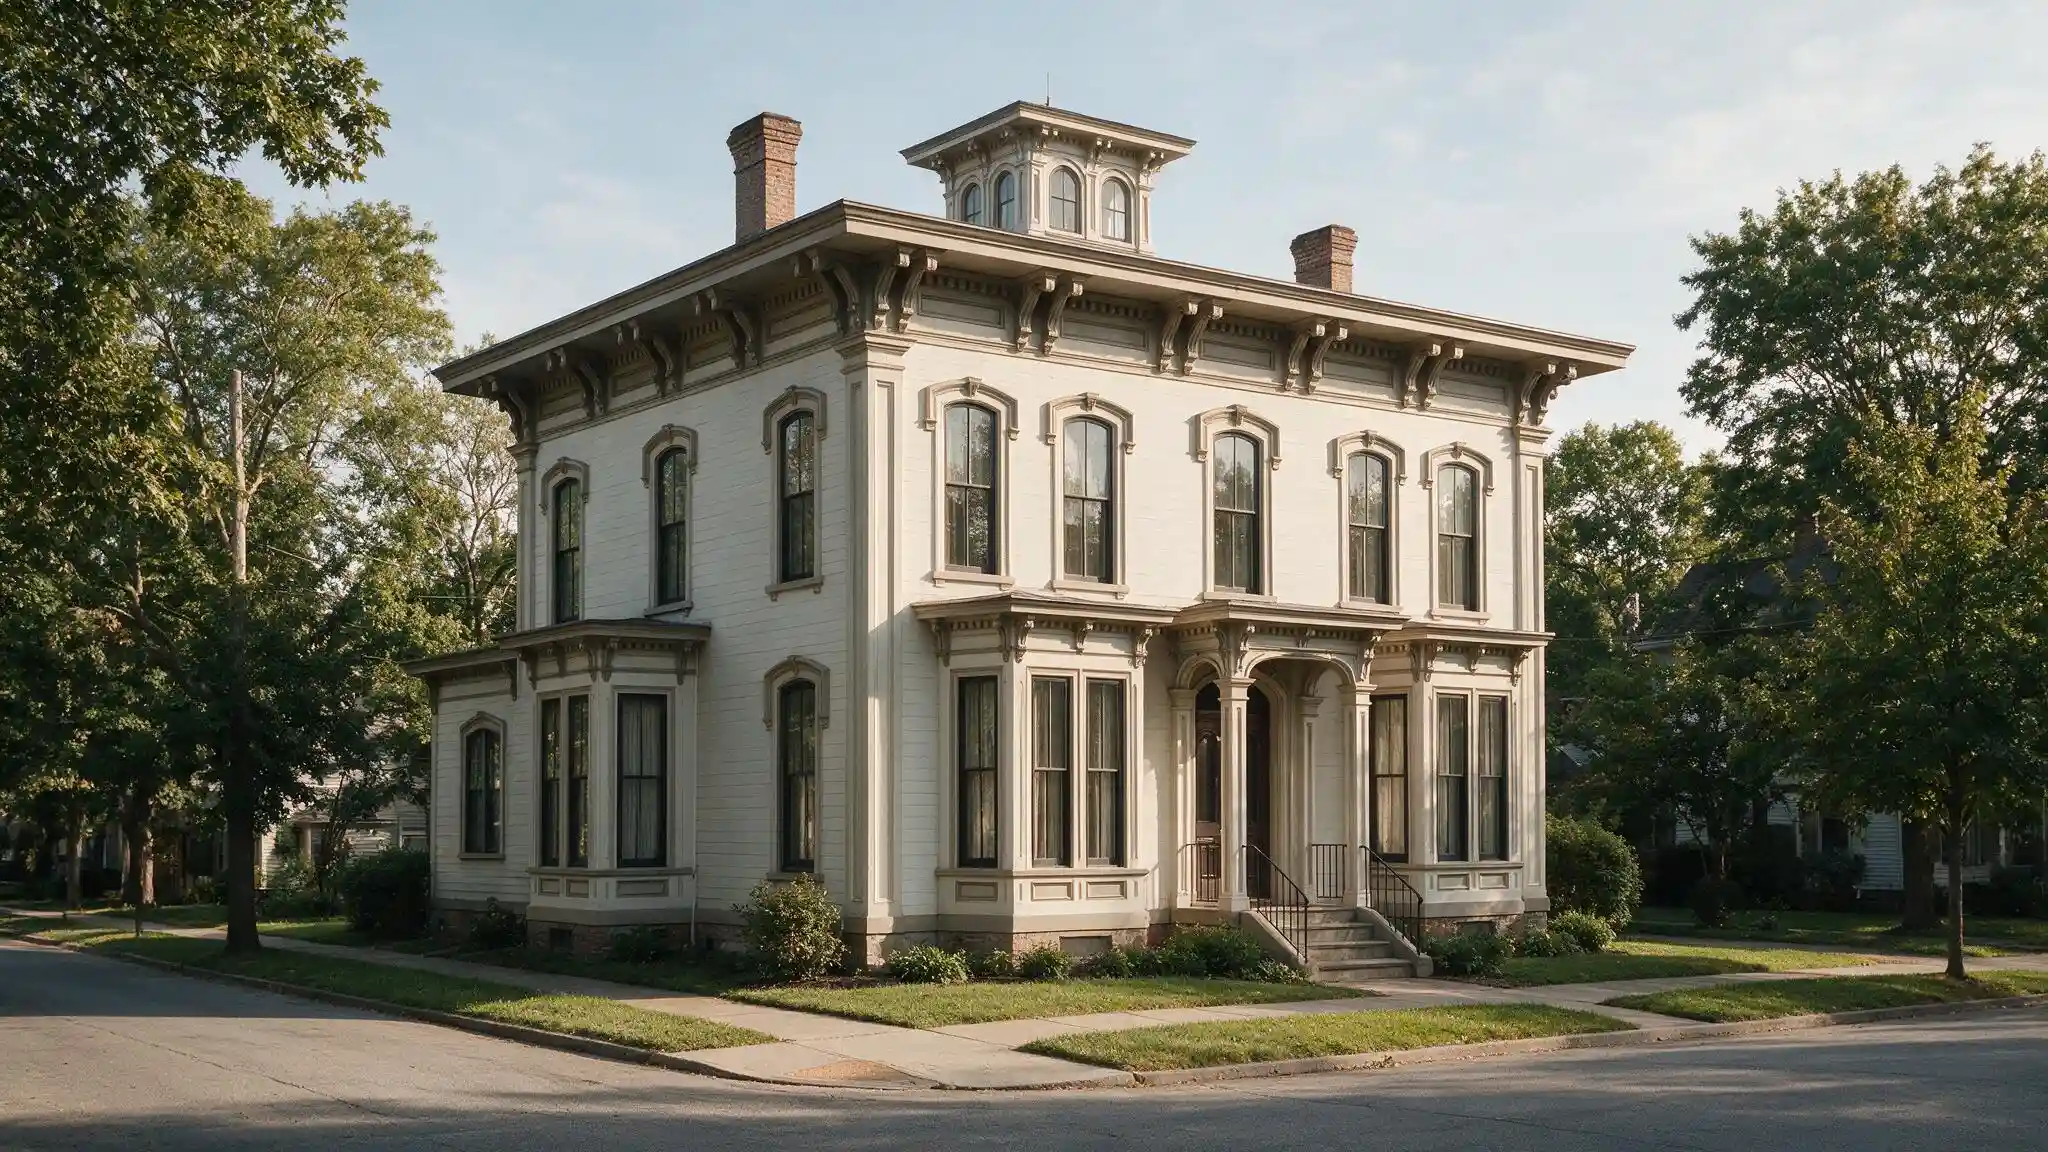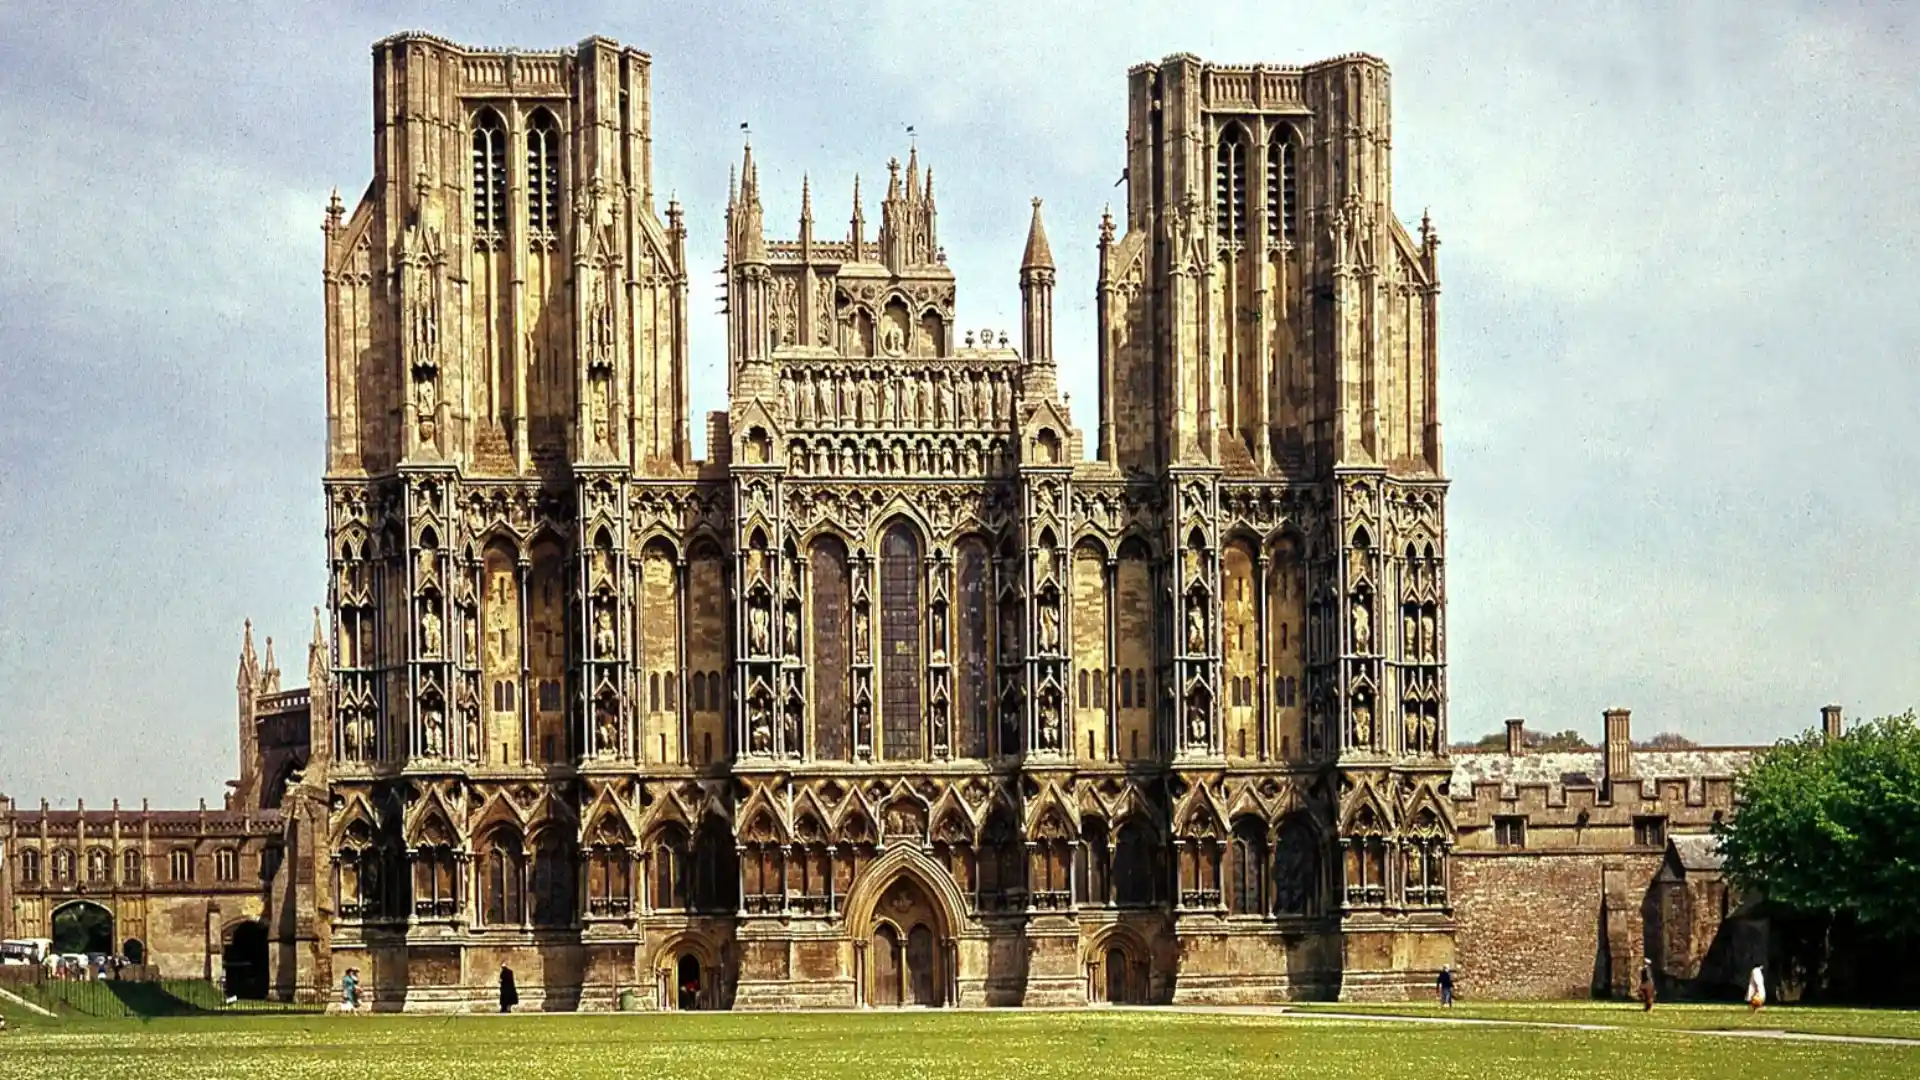
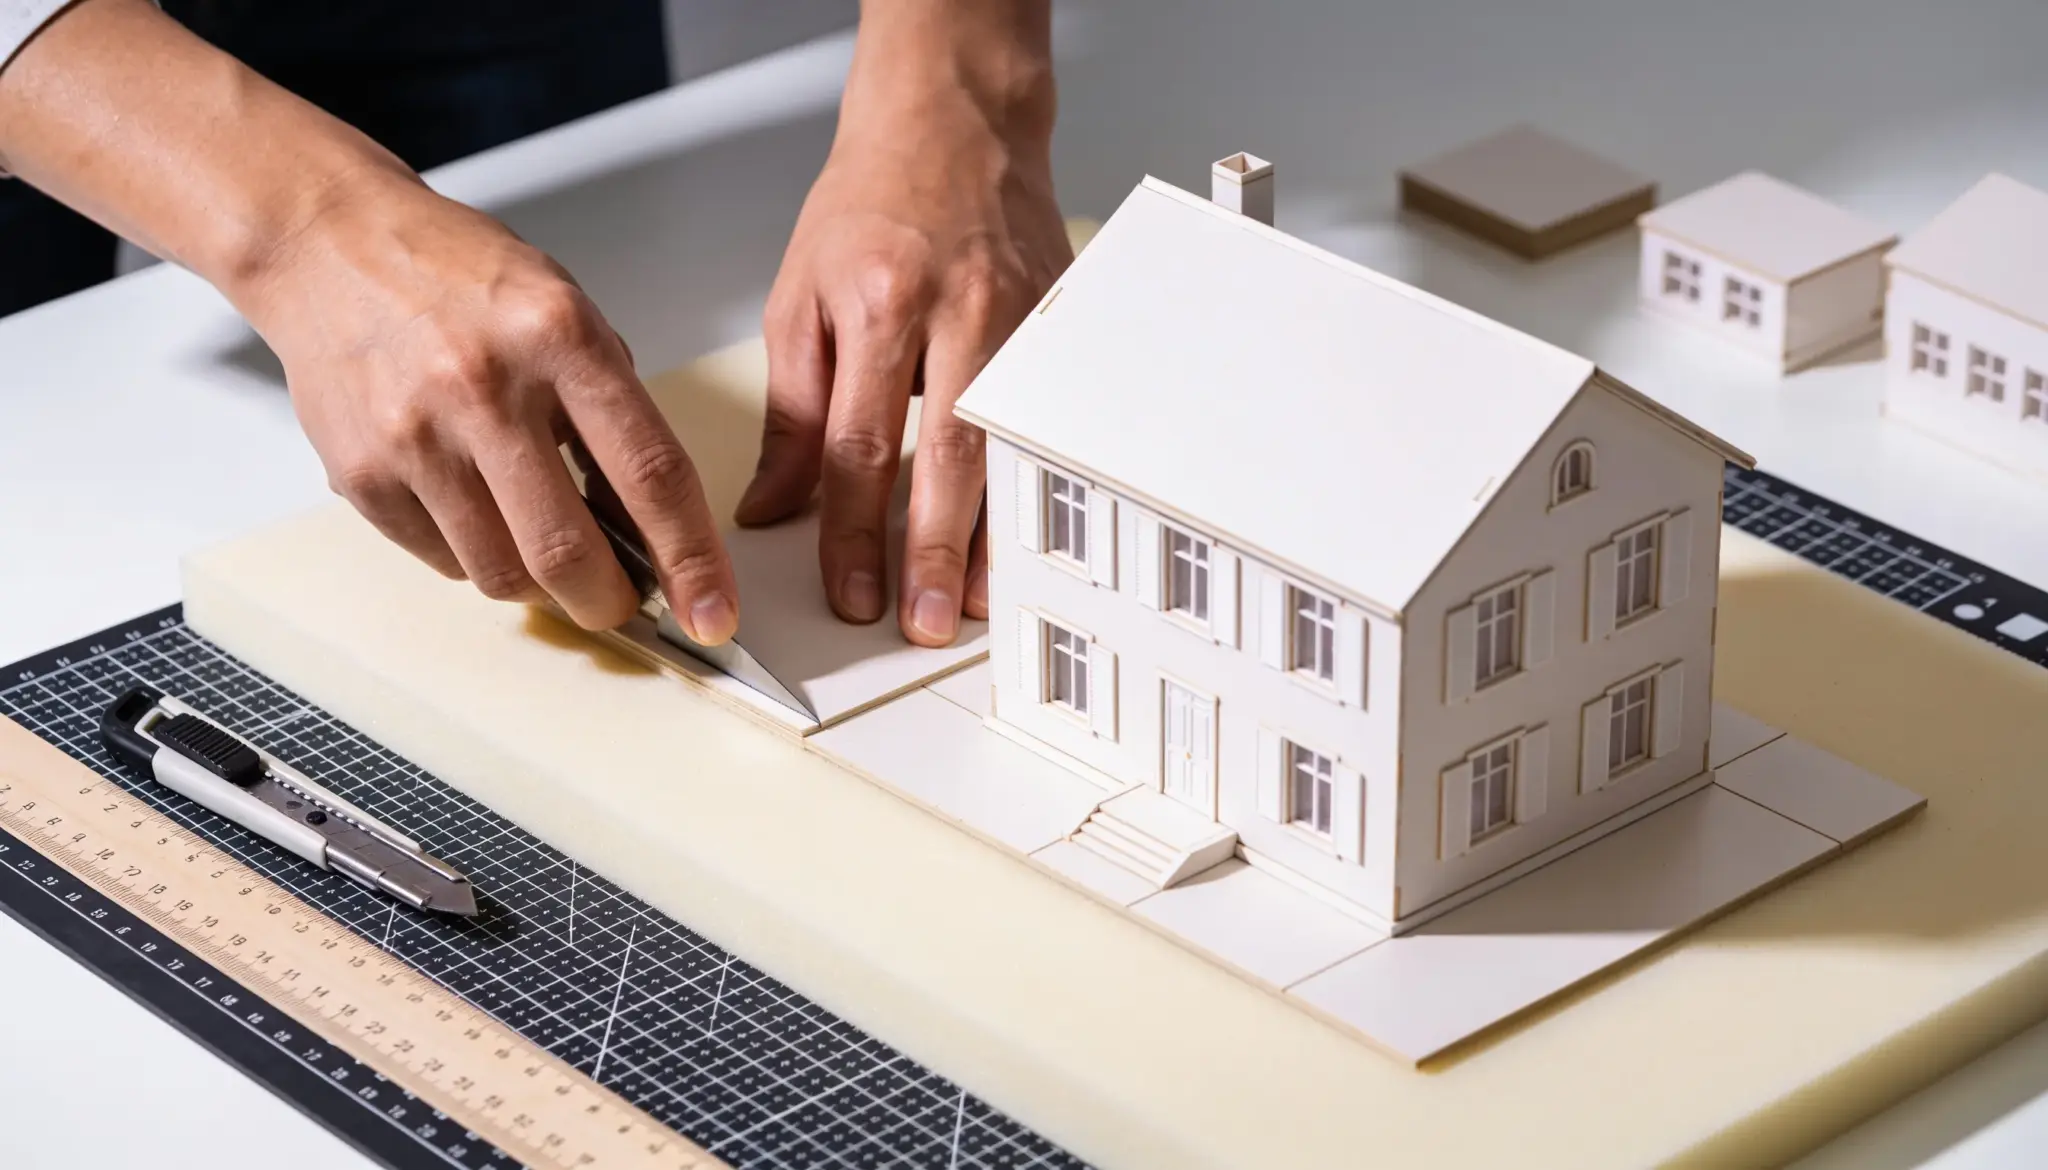
A cardboard box, a craft knife, and an afternoon can turn a floor plan into something you can actually hold.
This is what makes physical models so appealing. You can walk around one, look through a window opening, and hold it at eye level. A screen can’t give you that.
You’ll use them either to present in a studio critique or to explain a renovation project.
Knowing how to create architectural models doesn’t require a workshop full of specialty tools, just the right materials and a clear sequence of steps.
You’ll need to gather the right supplies, scale your drawings correctly, and build in the right order to get a clean result.
What is an Architectural Model?
An architectural model is a scaled, physical version of a building or space. It shows off the massing, design, and proportions of a structure, whether construction hasn’t started yet or has already wrapped up.
Architects, students, and hobbyists use these models for different reasons, like evaluating a building’s massing or presenting a design to clients.
Some build models to help them comprehend the connection between the floor plan and the three-dimensional form.
Foam board, balsa wood, chipboard, and card stock are the most common materials for building one.
Learn How to Create Architectural Models Step by Step
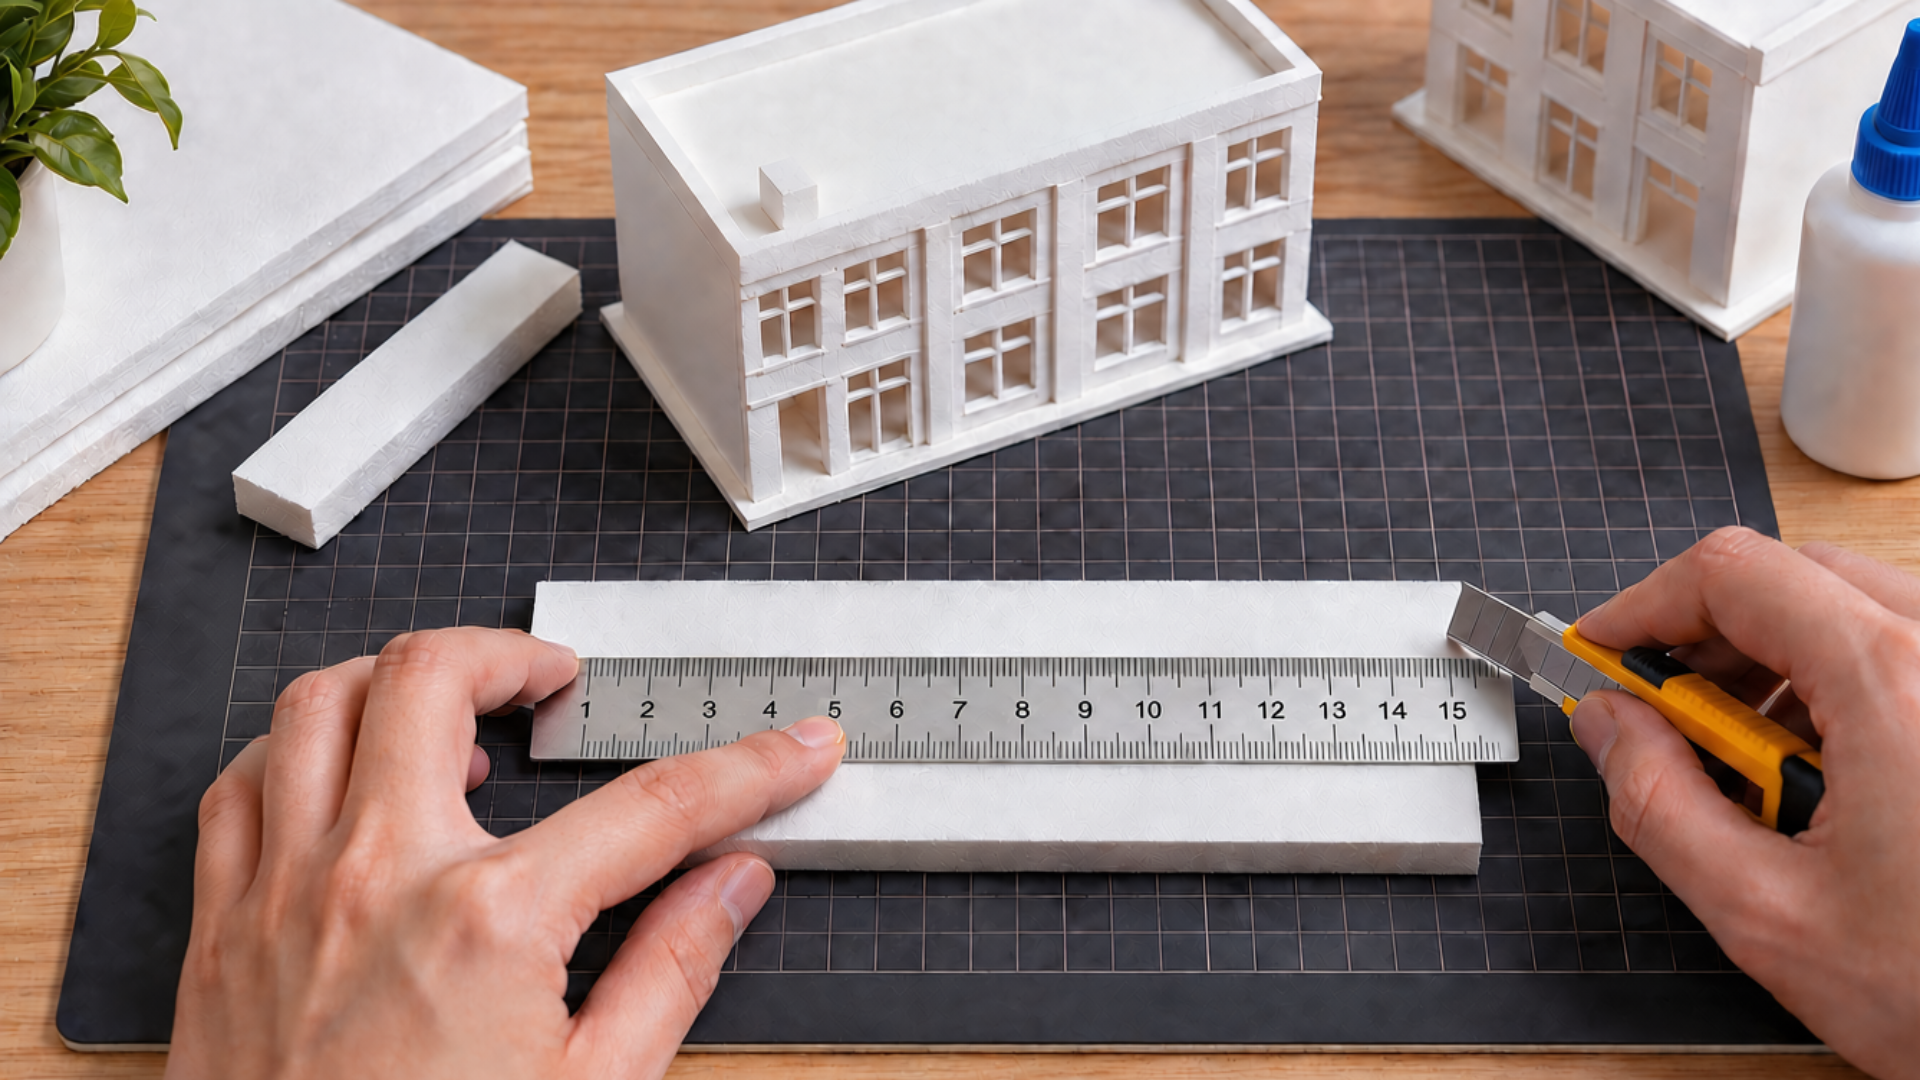
Developing a model is made much more manageable when broken down into a logical process.
Following a step-by-step approach ensures the final product is accurate and professional-looking, without wasting time on unnecessary rework.
Tools & Materials Required
The right materials and tools will differentiate a well-done model from a poor one. Only a few essential materials are required to build a model, along with some specialized tools.
Materials for Architectural Models
- Foam Board
- Cardboard and Chipboard
- Balsa and Basswood
- Acrylic and Plastic Sheets
- Modeling Clay
- Paper and Cardstock
Tools You Need for Model Making
- Cutting Tools
- Measuring Tools
- Adhesives
- Cutting Mat
- Sanding and Finishing Tools
Step 1: Understand the Design Plan
It is essential to carefully study the floor plans, elevations, and any other drawings prior to making the first cut.
Knowing the layout, scale, and structure of the building beforehand helps you avoid mistakes and provides a blueprint for creating an accurate, functional model.
Highlight key measurements on your drawings beforehand, so you’re not searching for them mid-build.
Step 2: Pick the Proper Scale
The right scale depends on how the model will be used, which can range from simple site plans to complex interior layouts.
This point needs to be clarified prior to getting the materials and doing any cutting.
Step 3: Obtain the Required Tools and Materials
Get all the required materials, like foam board, as well as tools such as adhesive and cutting instruments, before beginning the work.
This way, you won’t have to interrupt the process or get distracted while working on the project.
Buy slightly more material than you think you’ll need to account for cutting mistakes.
Step 4: Measuring and Cutting out the Pieces
The measurements taken from the scaled drawing need to be transferred directly onto the material used, with each measurement checked twice before cutting.
Accuracy matters here more than anywhere else. A wall that’s off by even a couple of millimeters won’t line up by the time you’re gluing the roof on.
Step 5: Assembling the Main Structure
It is required to assemble all the elements of the construction beginning from the bottom, moving upwards, using the right adhesive to glue elements depending on their material.
The construction of the main structure allows you to have a base for adding further architectural elements without disturbing the shape of the model.
Step 6: Adding Architectural Elements
Include windows, doors, railings, and other defining elements that bring your design to life.
This will give it more realism and enable the viewer to understand the purpose of the building, so be careful not to rush in this step.
Step 7: Finalizing and Displaying the Model
Make sure that everything is smoothed out, any final painting or texturing is done, and landscaping is added as well.
The more time and care you put into the finishing touches, the more professional your model will look.
What Are Architectural Models Used For?
These models serve a range of purposes across design, construction, and education, going far beyond simple visual appeal.
Models give architects, clients, and students the opportunity to engage with a design before construction and reveal flaws that two-dimensional drawings could easily overlook.
- Design Development: Allows experimentation with proportionality, mass, and space while designing.
- Client Presentation: Simplifies the visualization process for the client and increases their confidence in making design decisions.
- Construction Preparation: Facilitates the understanding of the construction process and helps to plan it properly.
- Educational Purposes: Provides the students with practical experience in creating a three-dimensional object from technical drawings.
- Design Competition: Adds value to the design by combining skills in craftsmanship and spatial thinking with renderings.
- Urban Design: Illustrates how the proposed structure can fit in with its surroundings.
Types of Architectural Models
Not all model types serve the same purposes, and choosing the right one makes the work easier.
Different stages of a project require different types of models, including everything from rough massing models to presentation models.
1. Conceptual Model
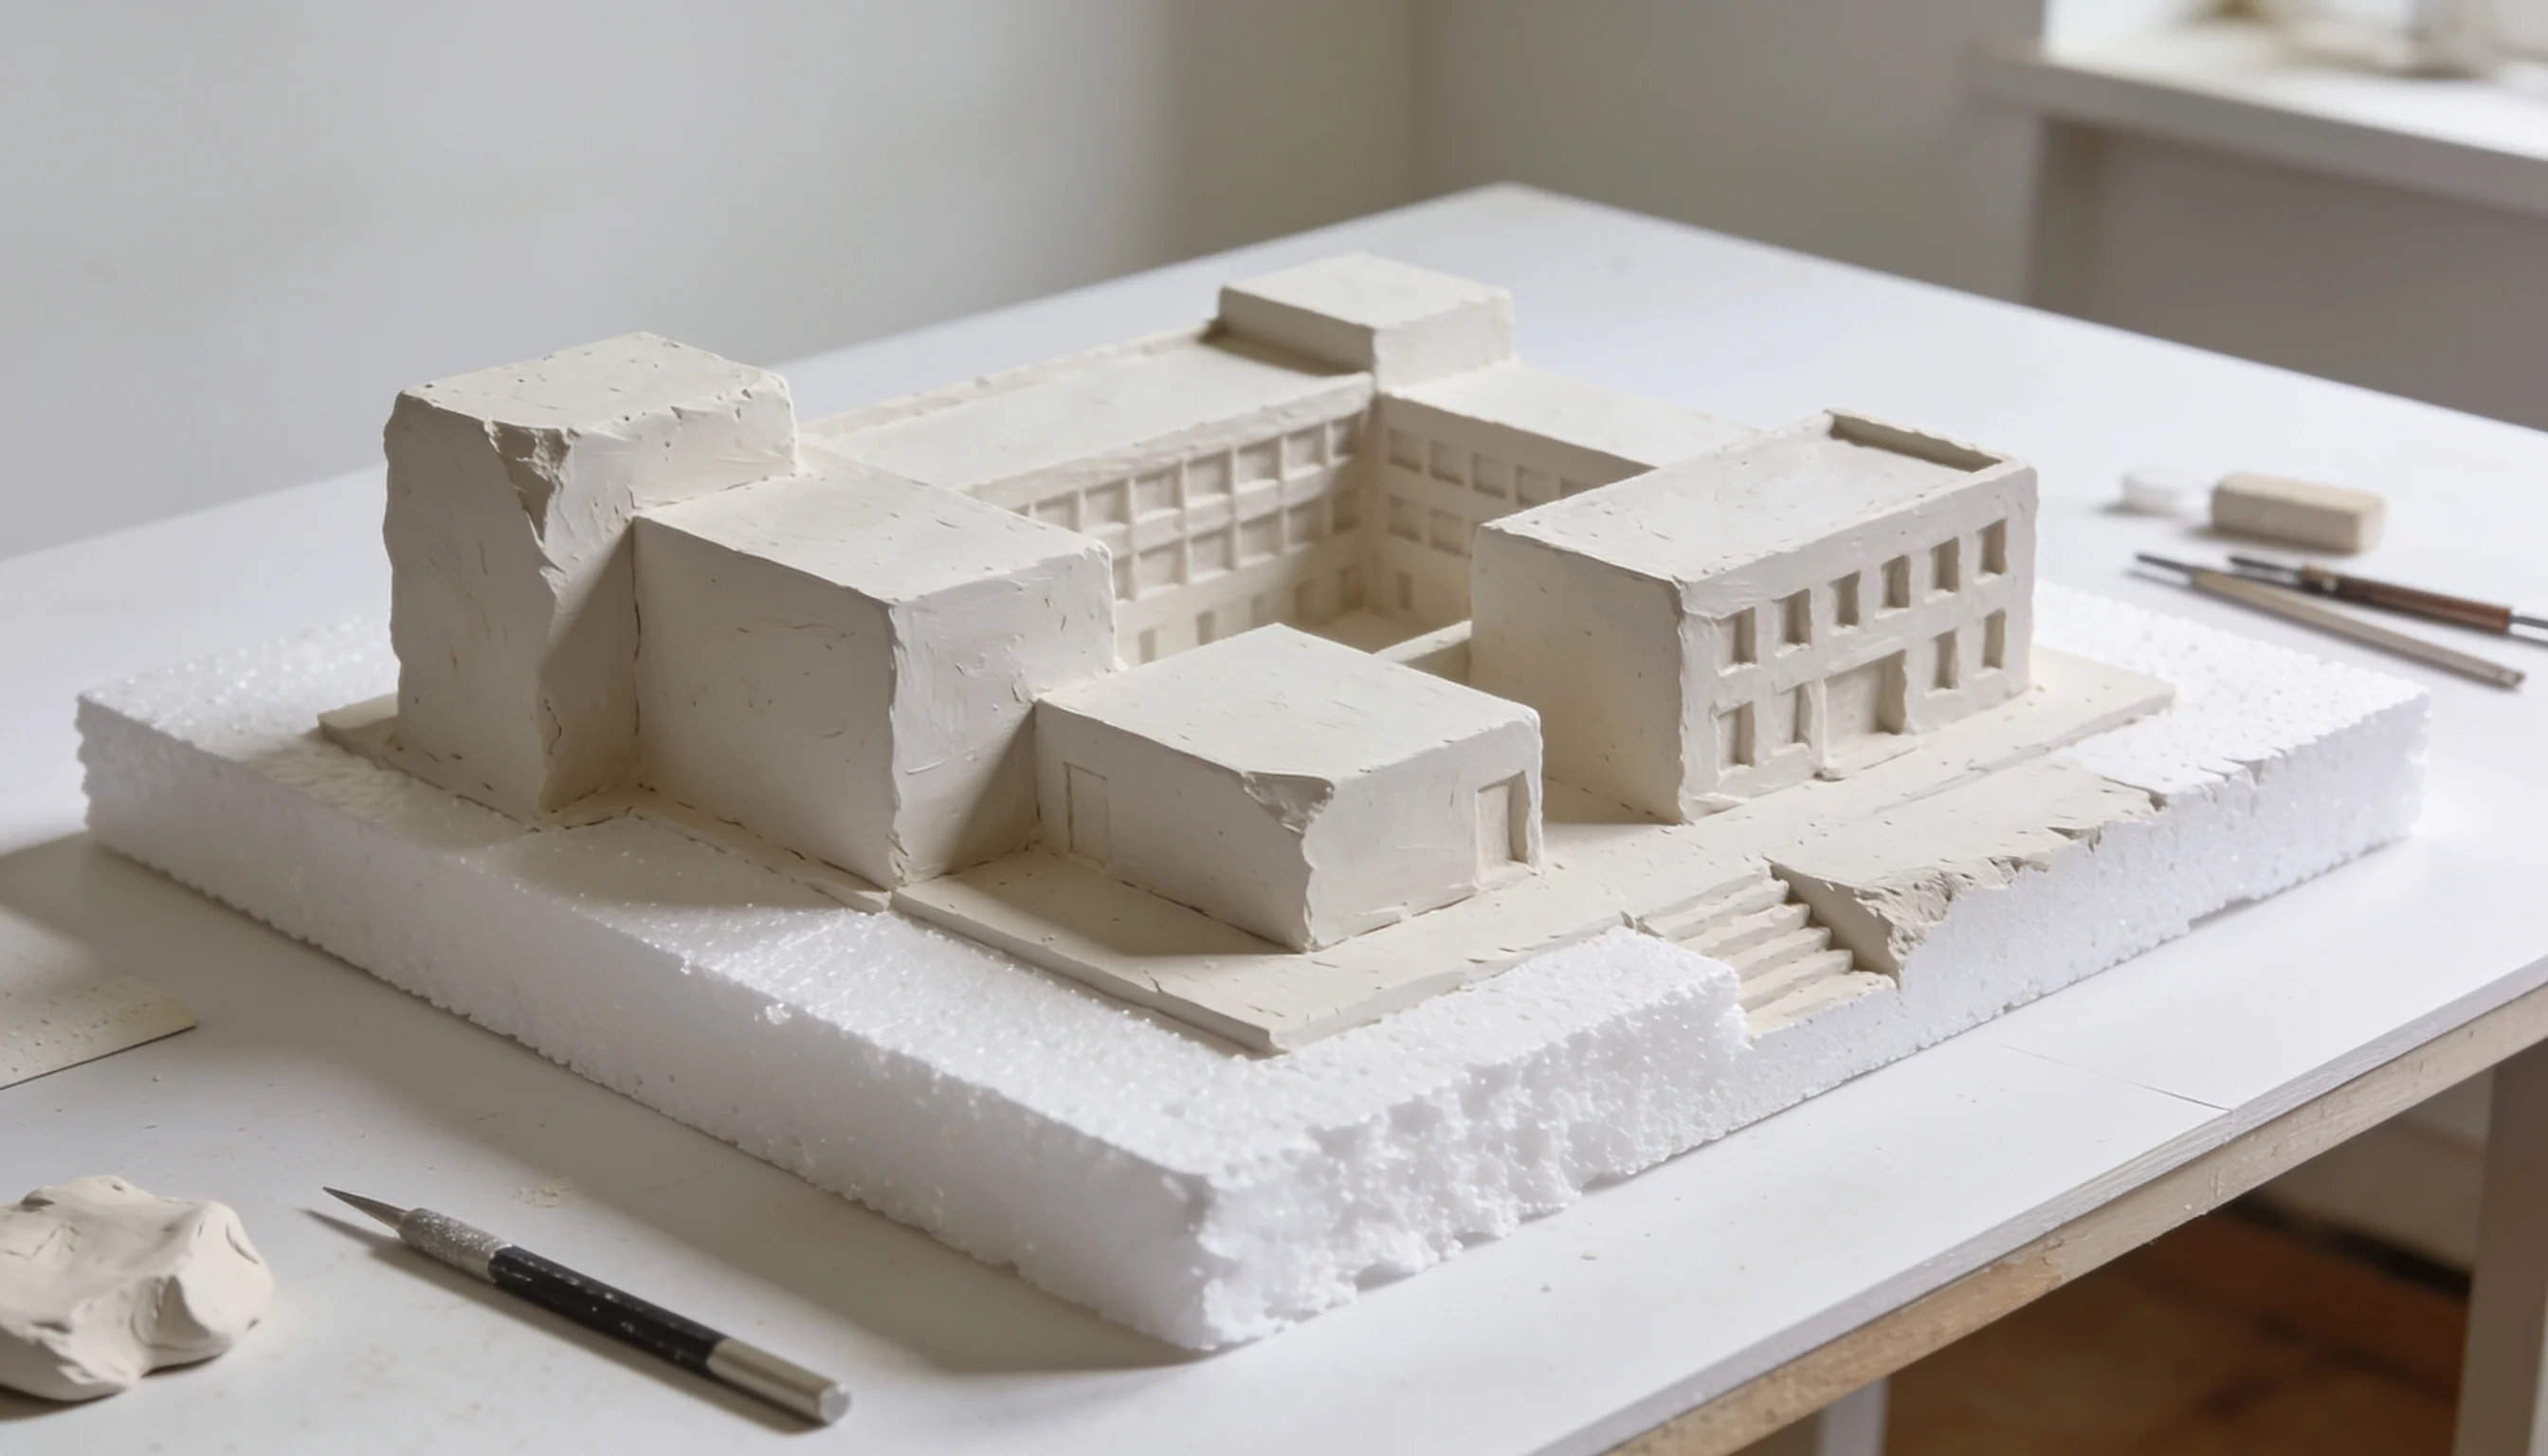
Conceptual models are early, rough models used to try out ideas for form and massing.
These models can be done quickly and are usually created using inexpensive materials such as foam board or clay.
2. Presentation Model
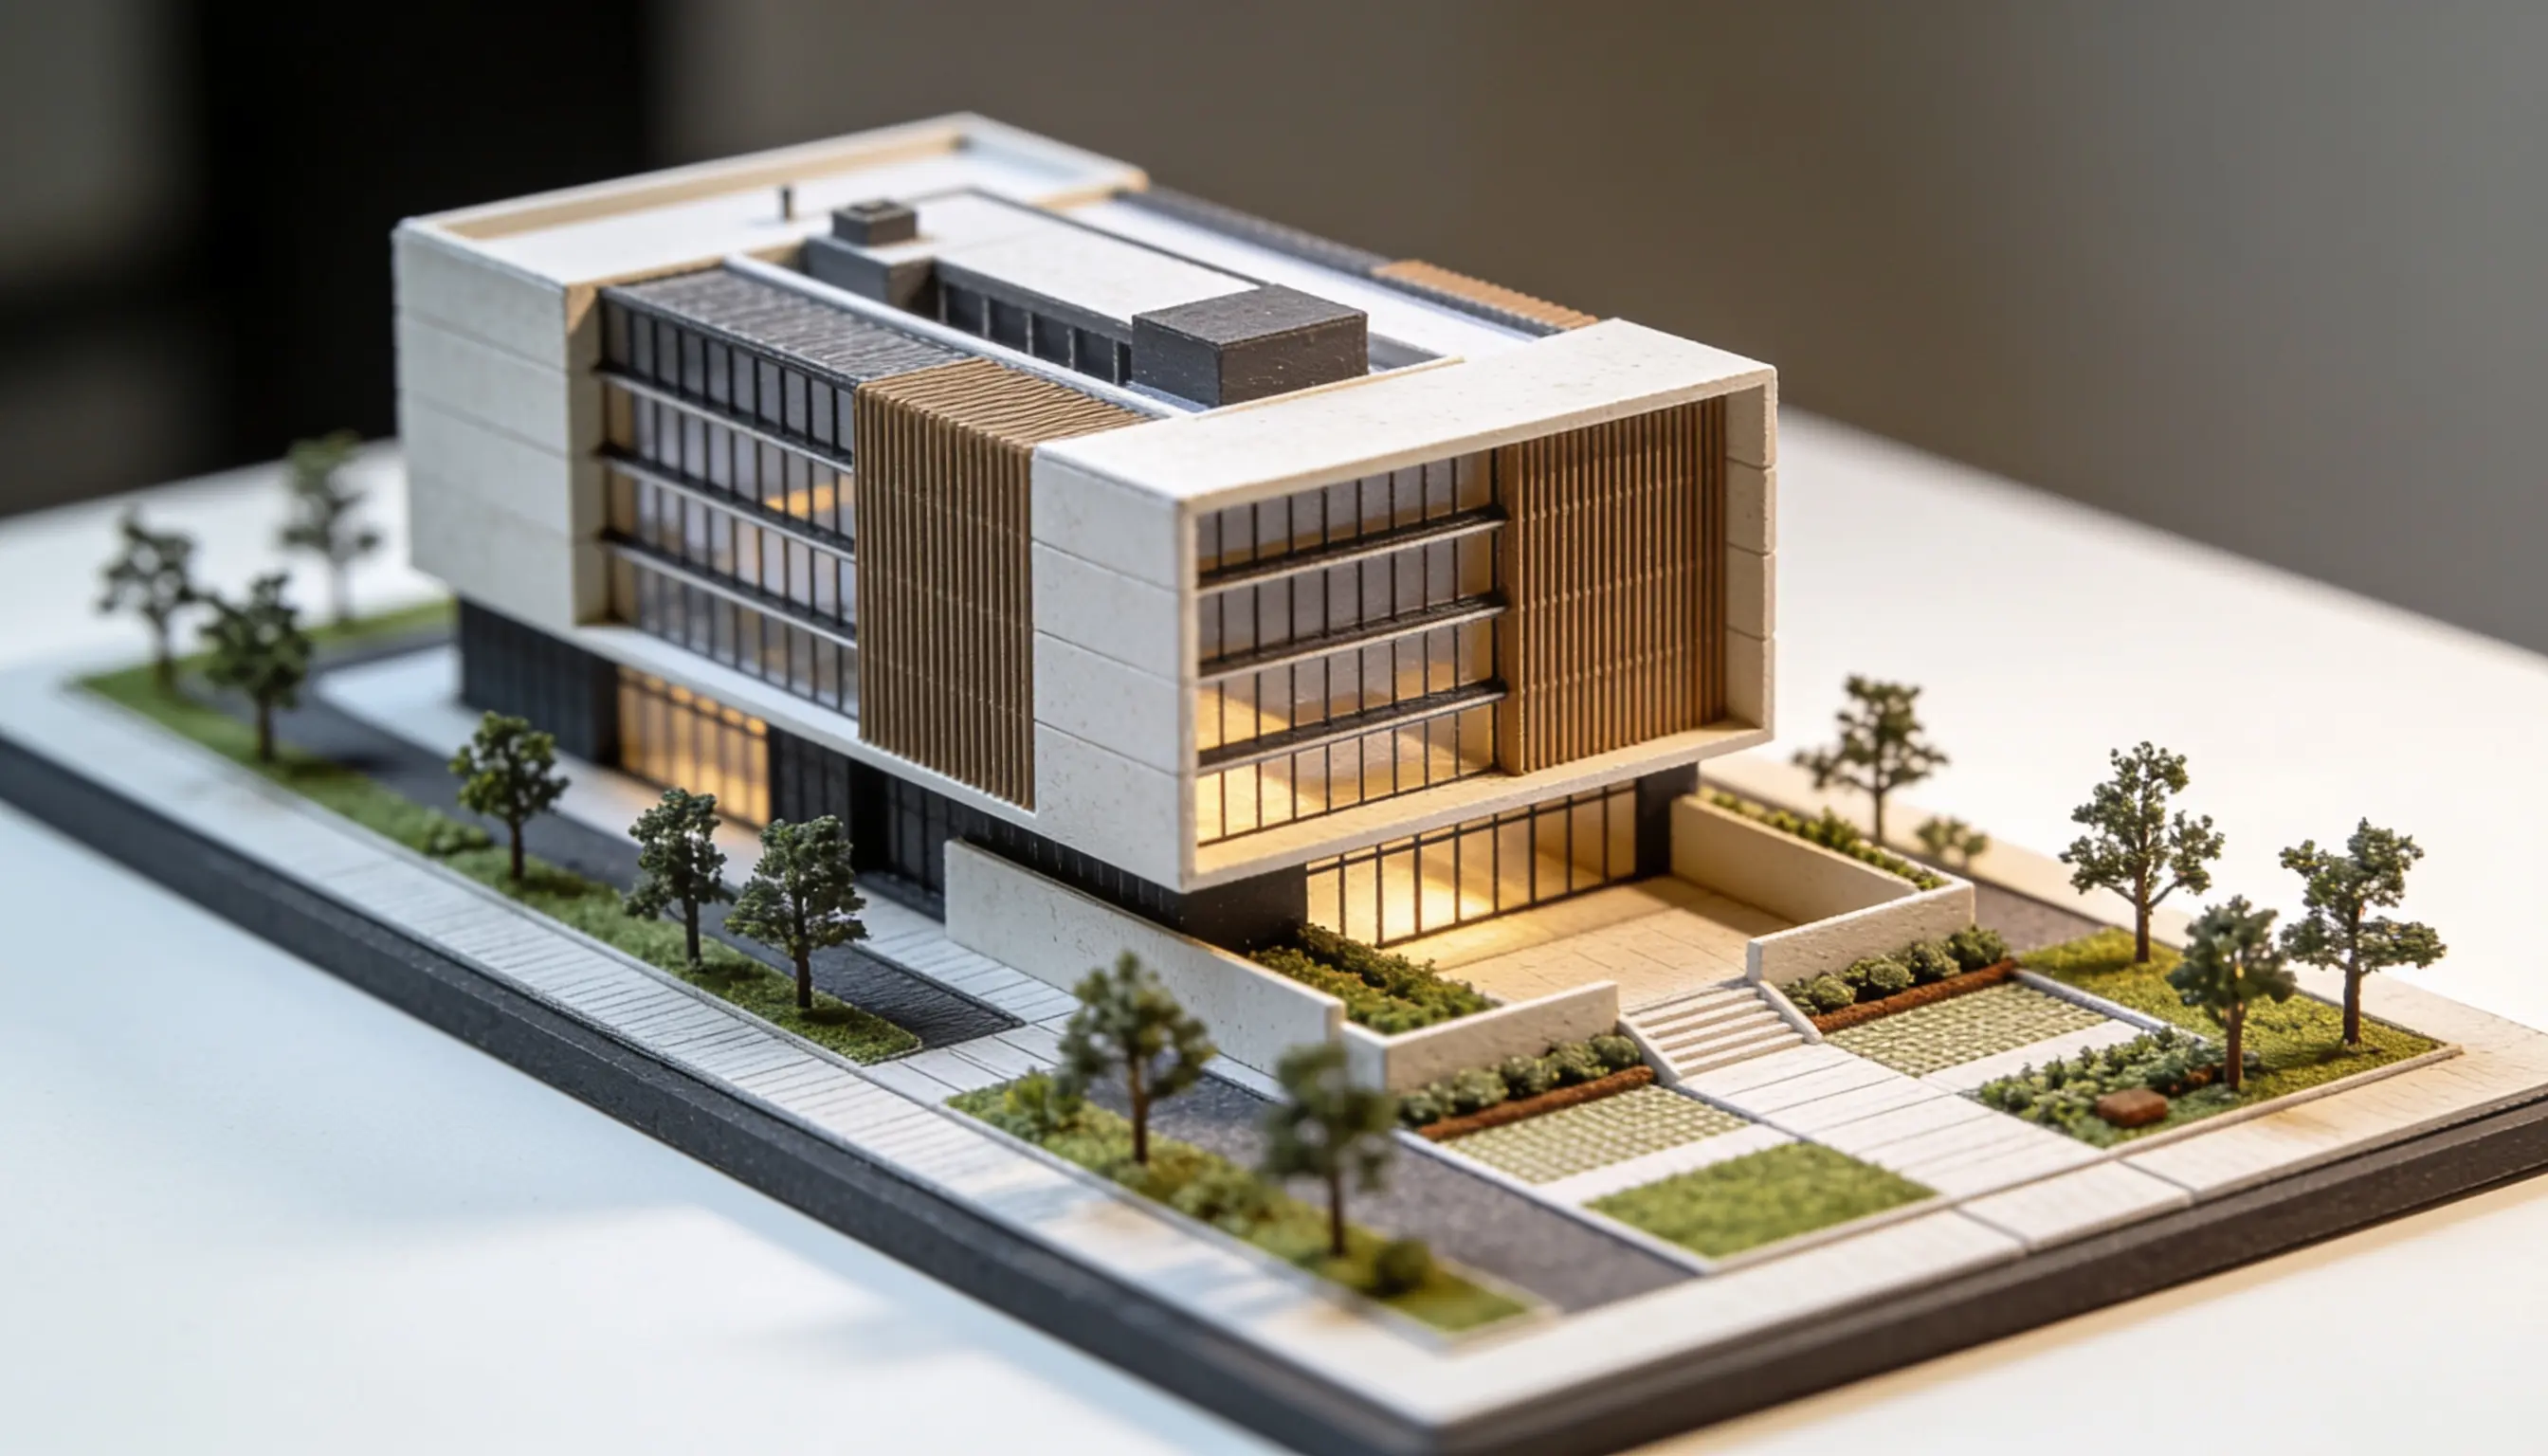
Presentation models are highly detailed, client-ready models used for pitches and final approval. Every detail matters in presentation models, including scale, texture, finish, landscaping, etc.
3. Working Model
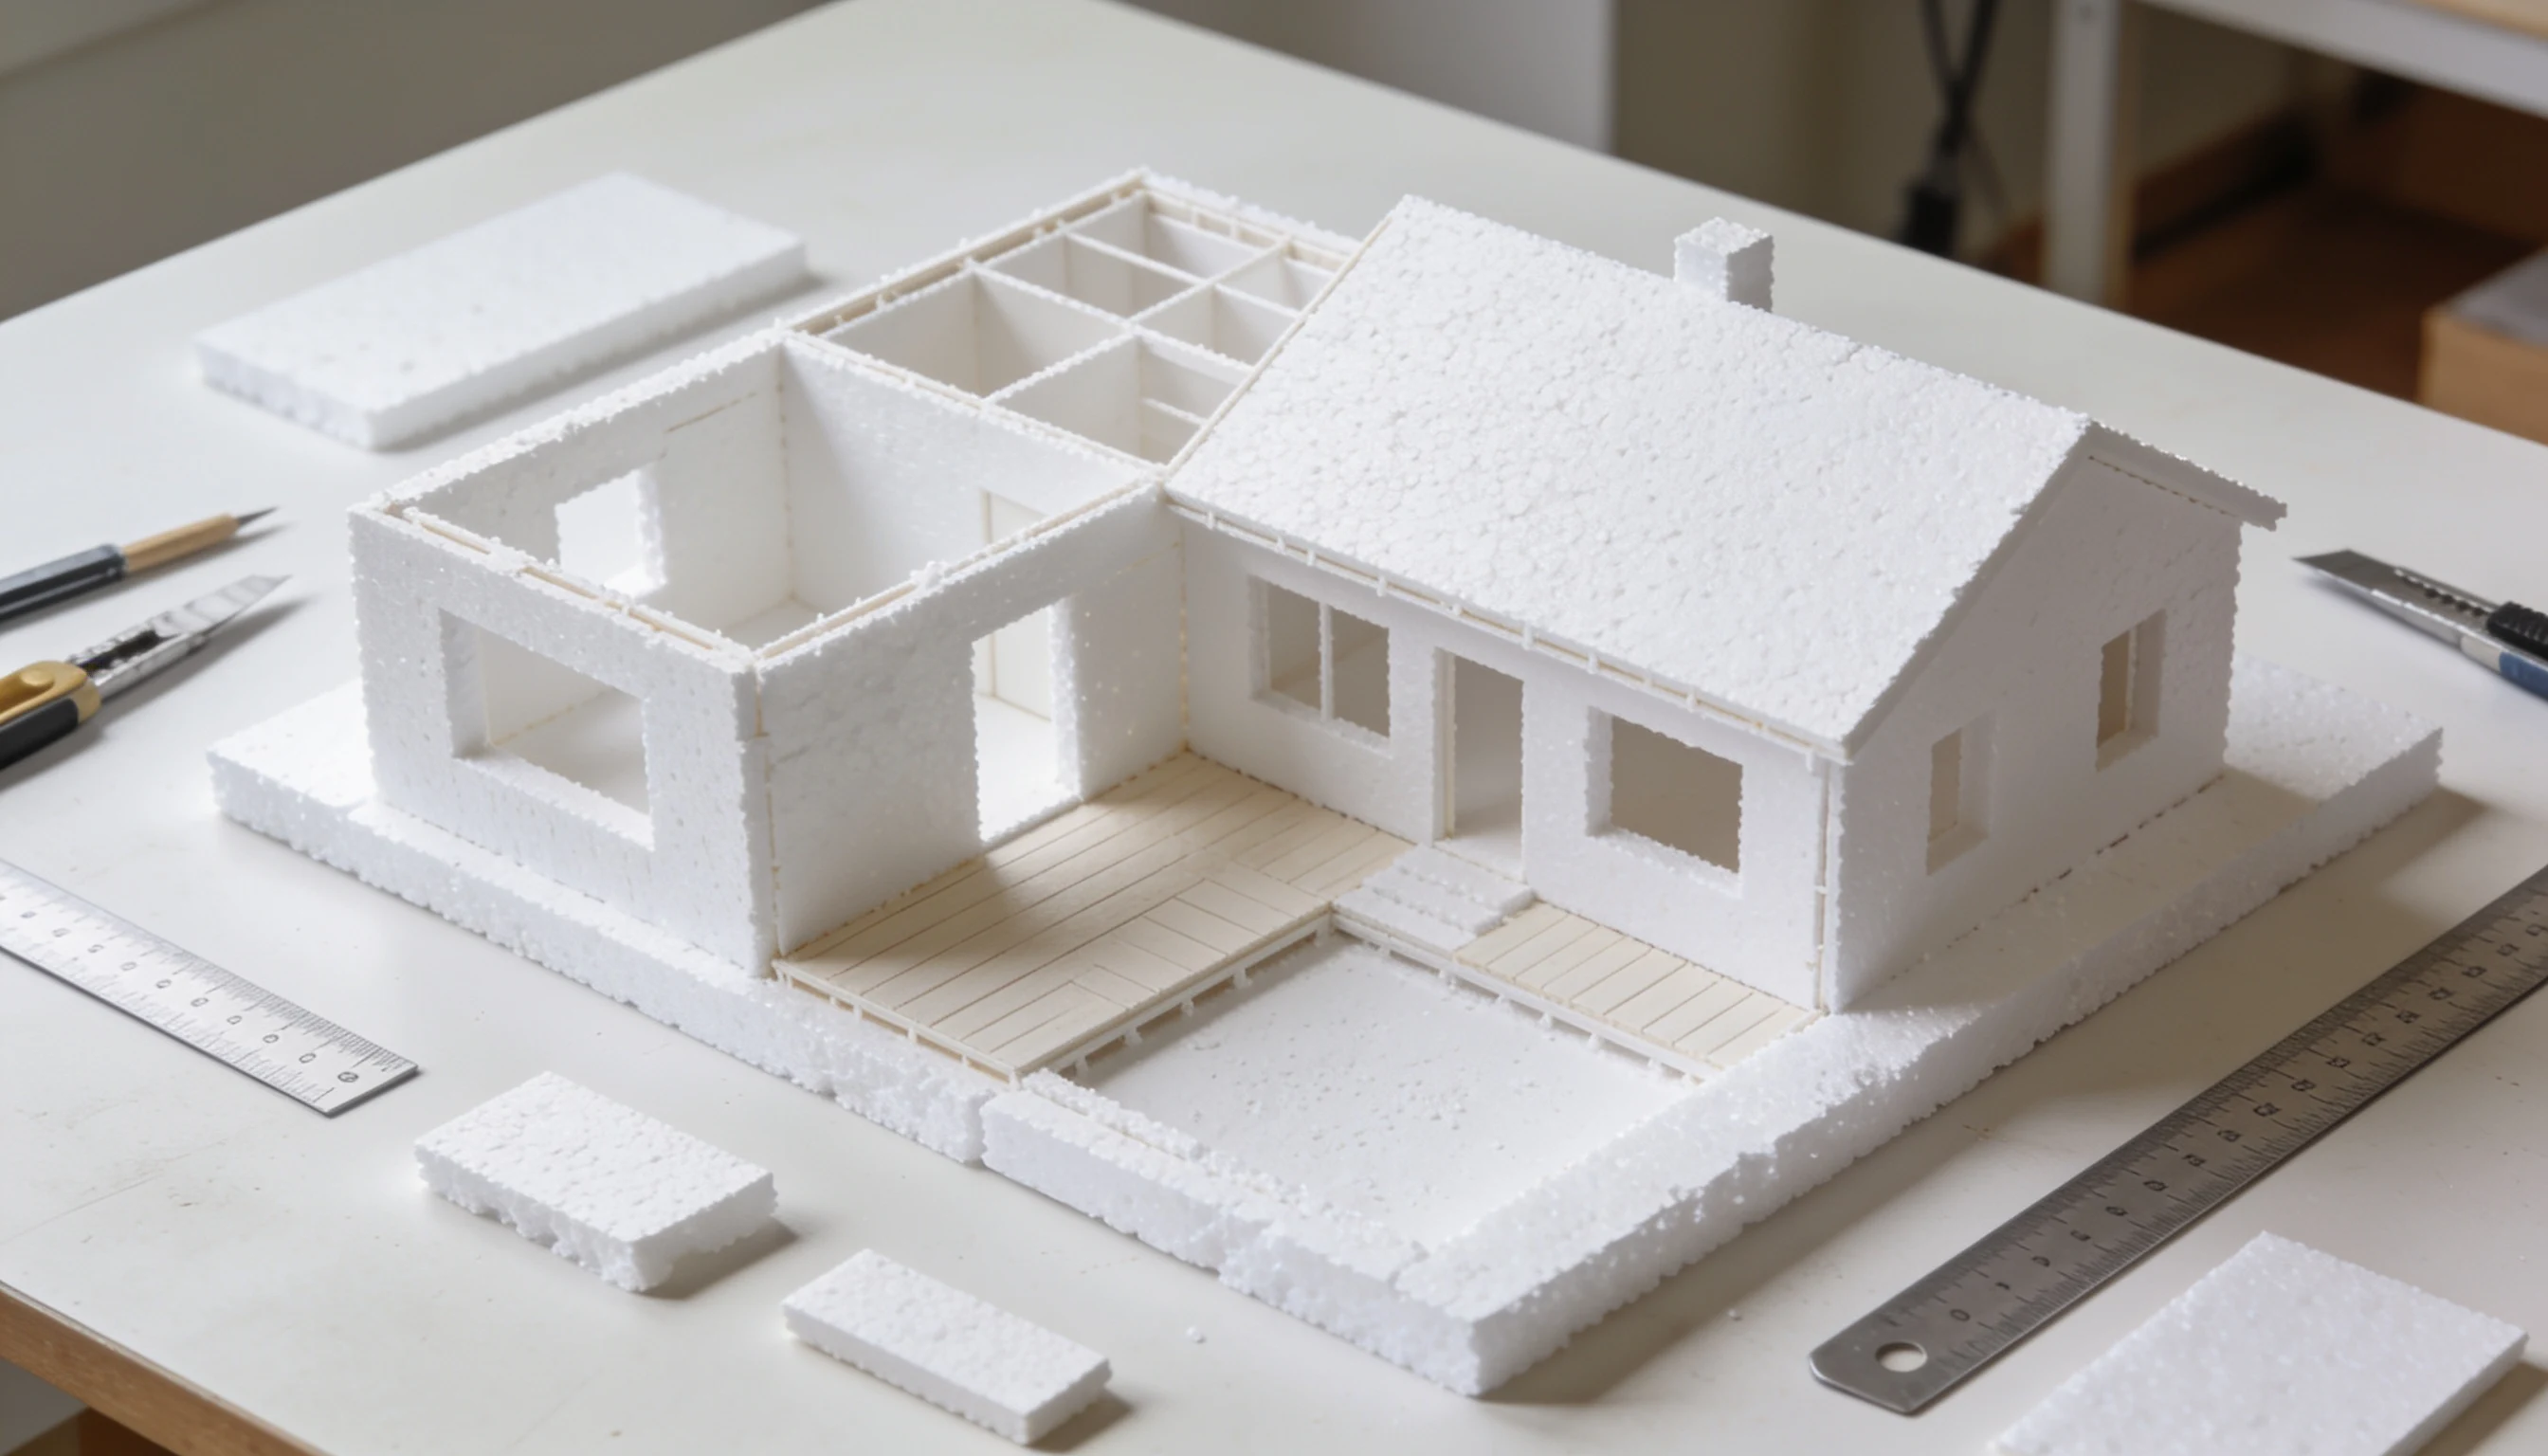
Working models are intermediate models that are developed after the choice of a certain concept.
Working models allow architects to experiment and refine the design, solving any problems that arise during the process.
4. Site Model
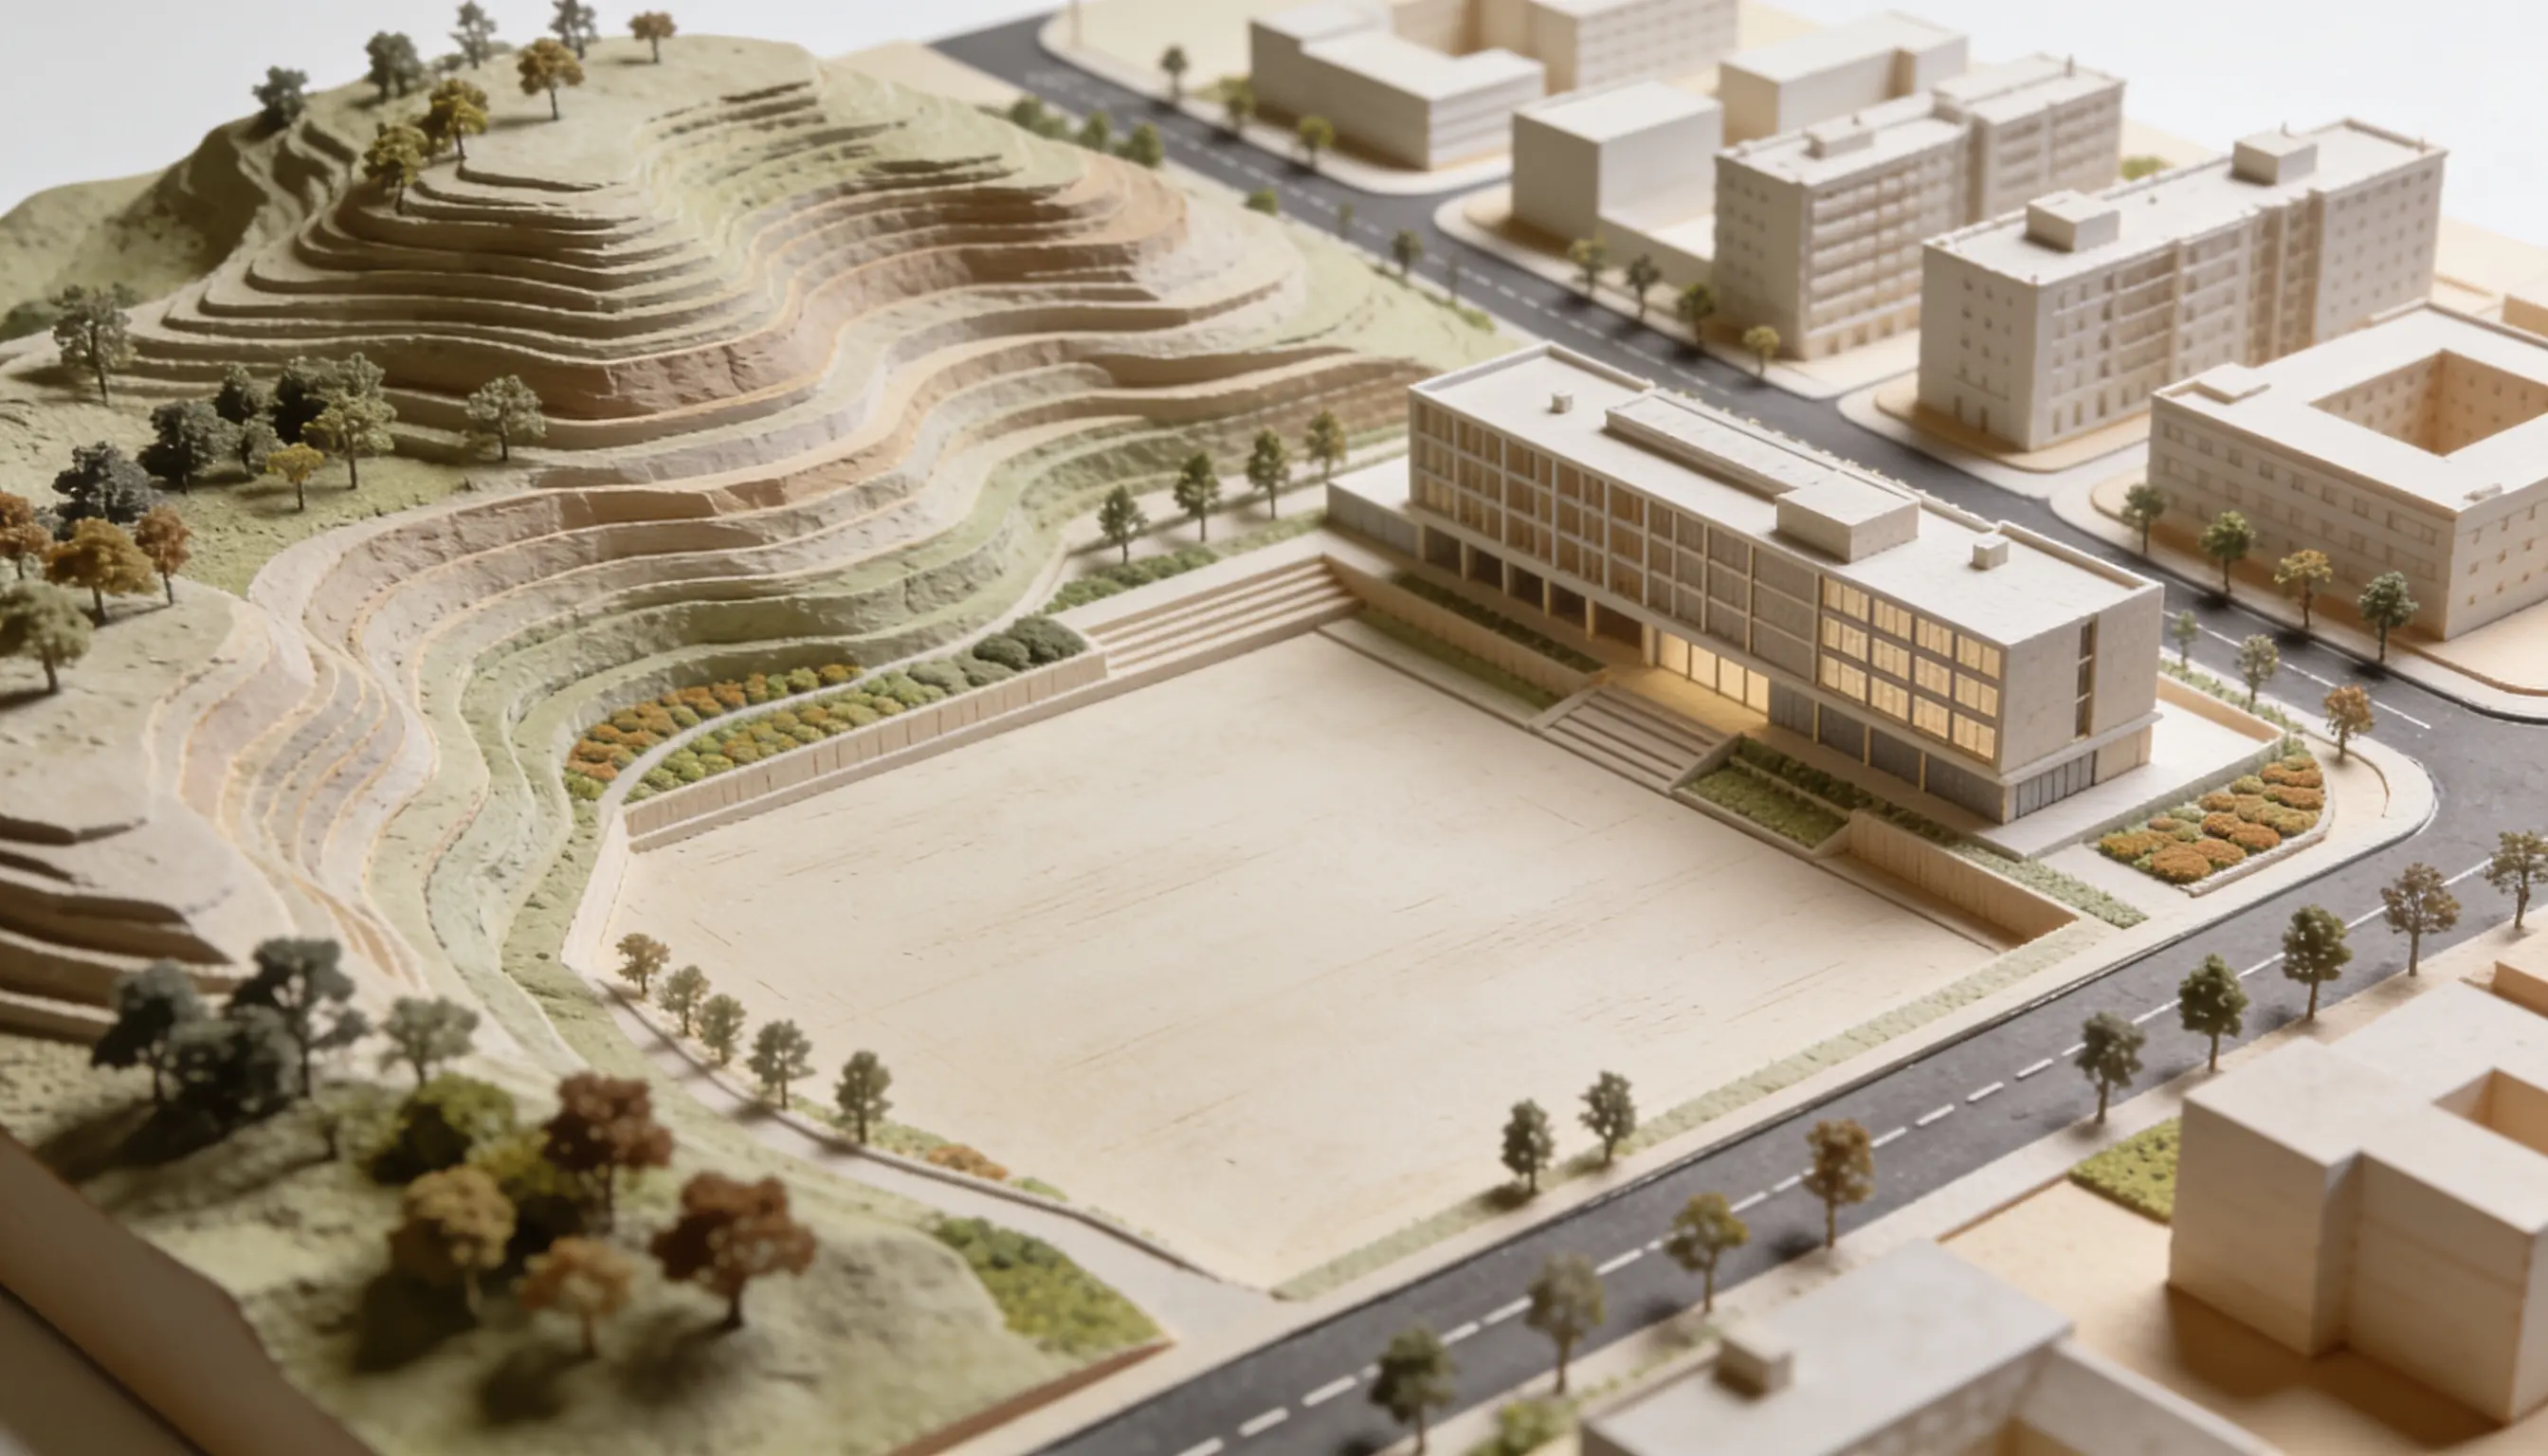
Site models represent the surrounding area where a building is planned and do not show the building itself.
They show the topography, other buildings, and landscape elements on the site.
Digital vs Physical Architectural Models
Both can be applied to design work, and many architects use both approaches rather than favoring one over the other.
It all comes down to the project stage, cost considerations, and the message you want to convey.
Factor | Digital Models | Physical Models |
|---|---|---|
Speed to build | Faster once software is learned | Slower, requires manual cutting and assembly |
Cost | Software subscription, no material costs | Ongoing material and tool expenses |
Editability | Easy to revise and undo changes | Changes often mean rebuilding sections |
Presentation impact | Strong for renderings and walkthroughs | Strong for tactile, in-person client meetings |
Skill required | 3D software proficiency (SketchUp, Revit, etc.) | Hands-on craft skills, cutting and assembly |
Portability | Easily shared as files or images | Requires physical transport and storage |
Best used for | Early iterations, client walkthroughs, visualization | Final presentations, exhibitions, tactile review |
Conclusion
Making a model comes down to patience and the right sequence: plan first, pick a scale that fits the purpose, then build up from structure to detail.
The materials matter less than how carefully you choose them for each part of the design, whether that’s foam board for walls or acrylic for windows.
Once you understand how to create architectural models, the process becomes less about following rigid rules and more about matching technique to the project at hand.
Start small with a concept model, refine through practice, and the skills needed for polished, presentation-ready builds will follow naturally.
Frequently Asked Questions (FAQs)
1. How Long Does it Take to Make an Architectural Model?
It typically takes anywhere from a few hours for a simple concept model to several weeks for a detailed presentation model.
2. What Software Can I Use to Create Architectural Models?
Popular options include SketchUp, Revit, AutoCAD, and Rhino for designing and planning before physical construction.
3. What is the Easiest Material for Beginners?
Foam board is the easiest material for beginners because it’s low-cost, lightweight, and easy to cut.