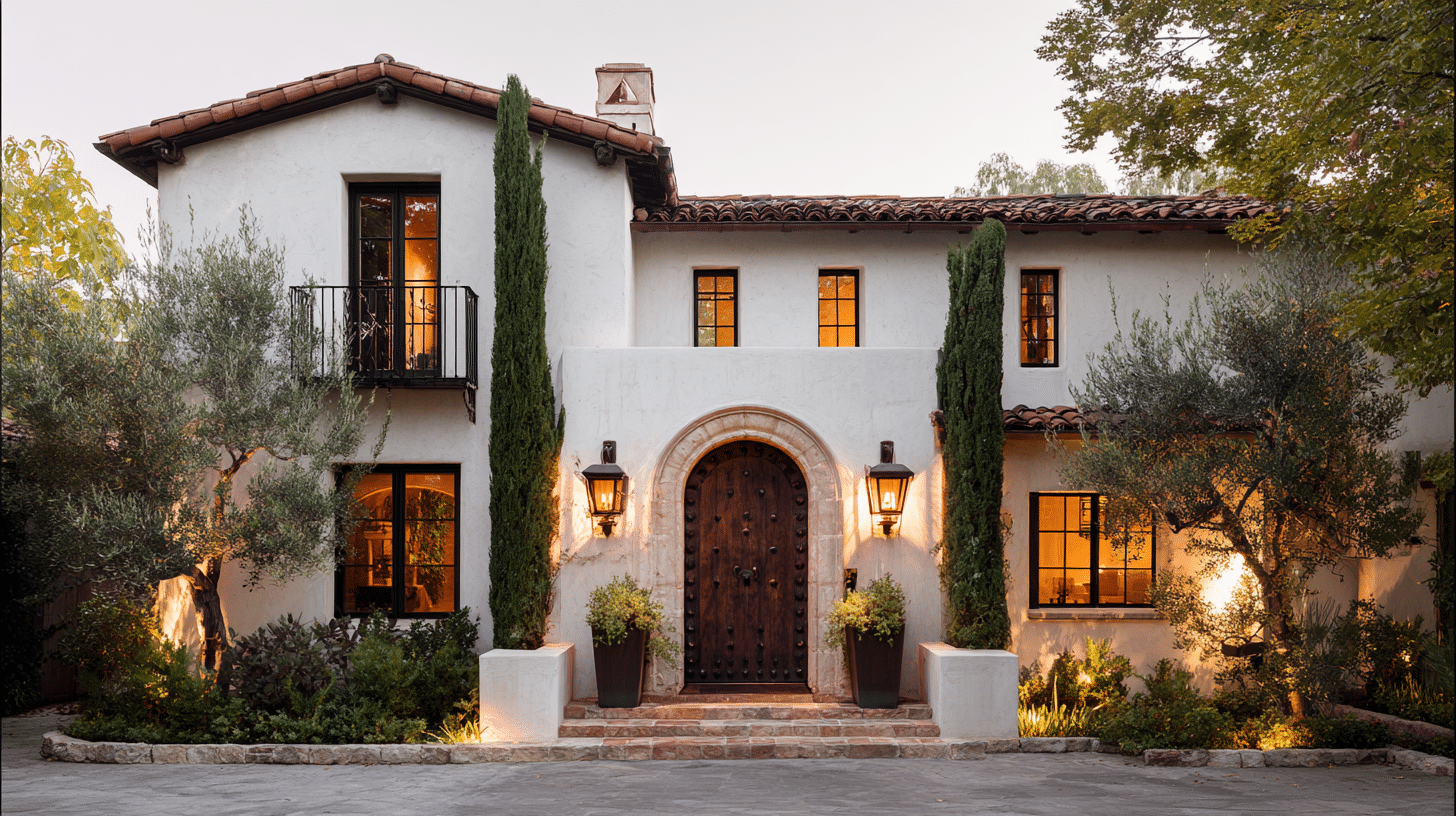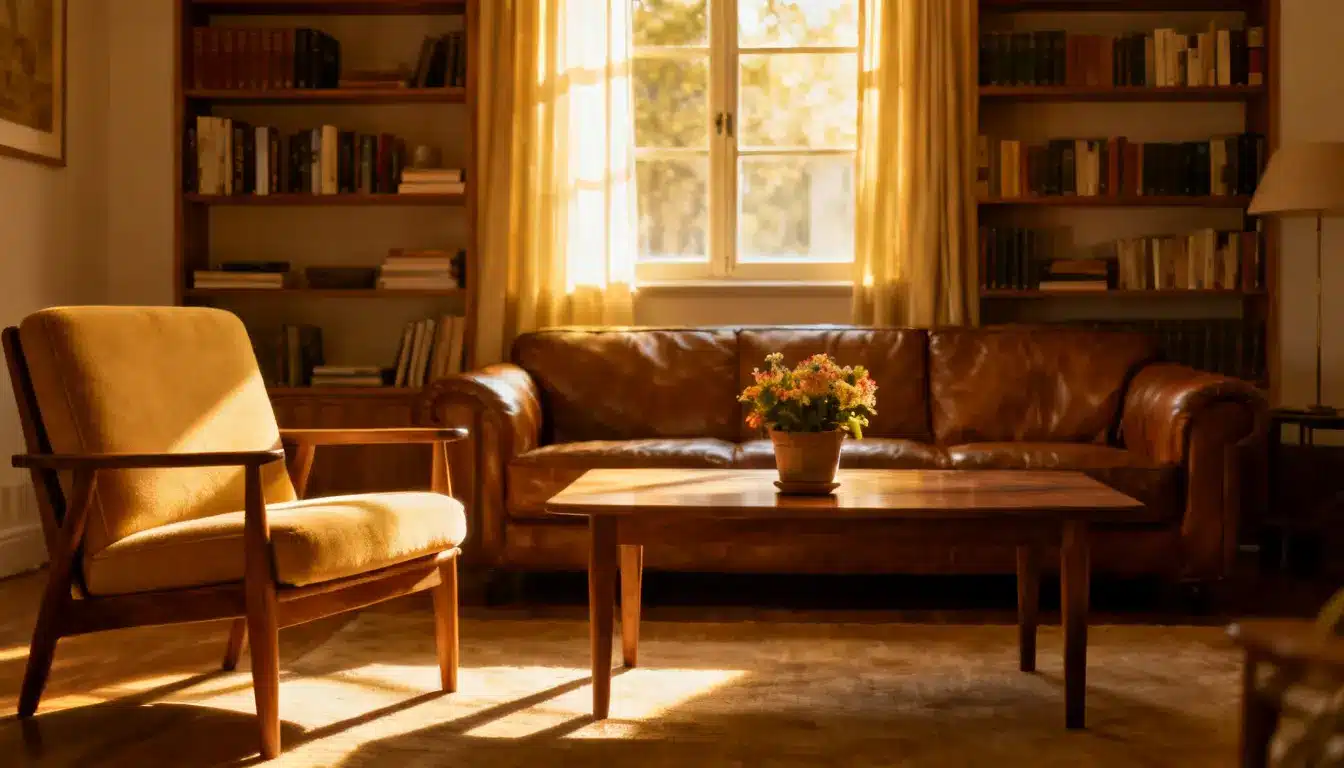
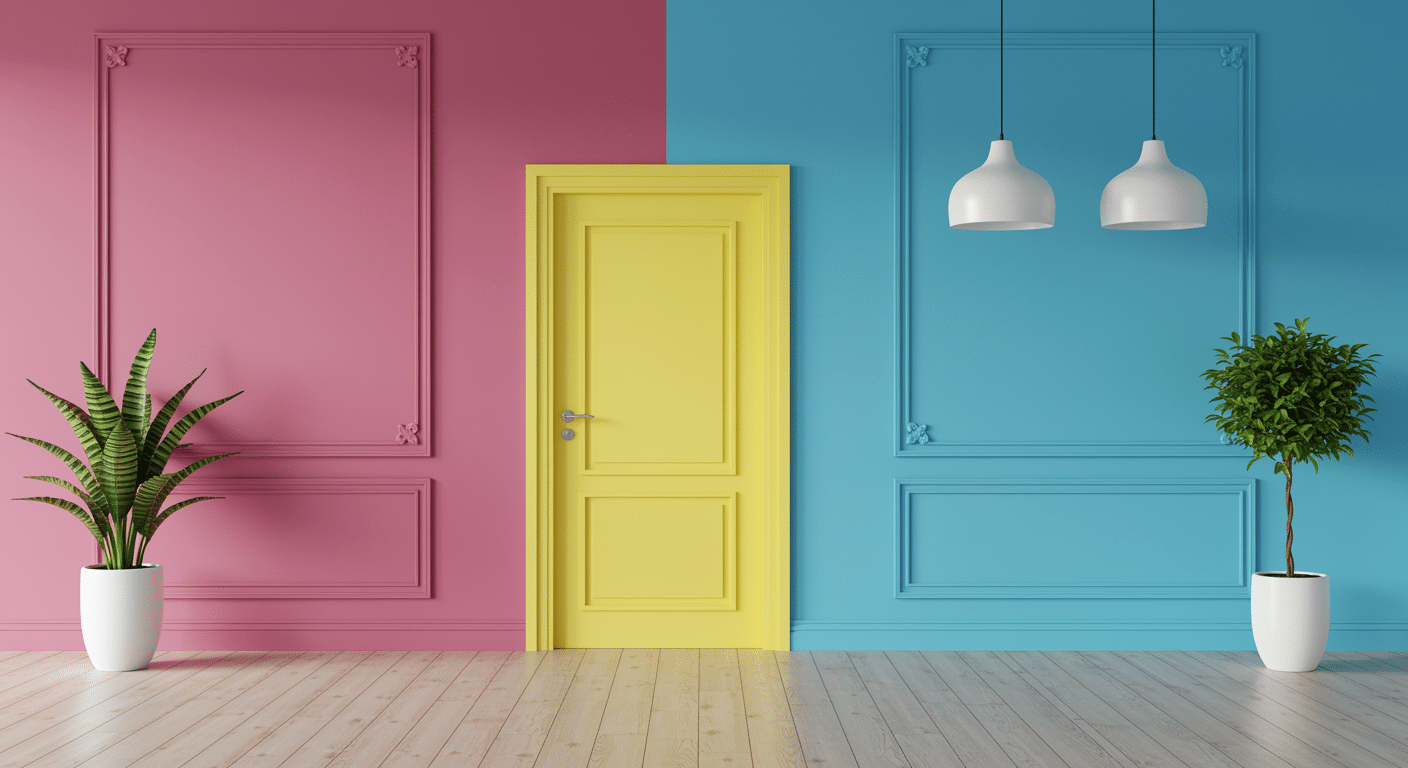
Interior doors are the forgotten walls of your home. They hang there quietly while you focus on everything else. Yet a simple paint job can wake up your whole space.
Forget hiring professionals or stressing about perfect results. Painting different interior doors isn’t rocket science. With some basic supplies and a free weekend, you can give those doors new life.
And who knows? You might actually enjoy getting your hands dirty.
Best Paints for Painting Interior Doors
Choosing the right paint makes the difference between a door that looks fresh for years and one that chips after a few months. Interior doors get touched, slammed, and scratched daily.
So, skip the cheapest option and opt for something that can handle real-life situations.
Latex Paint
Water-based and forgiving for beginners. Cleans up with soap and water, dries fast, and won’t yellow over time. Perfect for most interior doors, especially if you’re painting over existing latex paint.
Oil-Based Paint
The tough guy of door paint. Takes longer to dry, but creates a hard, smooth finish that resists wear. Great for high-traffic areas, such as front halls and children’s rooms, where doors receive extra abuse.
Chalk Paint
Trendy and textured. Gives doors a vintage, matte look without much prep work. But it needs a protective wax coat to prevent damage from everyday use.
Semi-Gloss Finish
The sweet spot for painting interior doors. Easy to clean, reflects light nicely, and hides minor imperfections. Avoid flat paint on doors unless you want to repaint them every year.
Tools & Materials Checklist
| Category | Items |
|---|---|
| Painting Tools | Mini roller (10 mm nap), angled brush (2.5″), paint bucket (with liner & brush magnet), smooth-surface roller (5 mm nap for flat doors) |
| Prep Supplies | Painter’s tape, utility knife, sanding sponge, putty knife, rag/paper towel, shims |
| Protection | Cardboard, paper, or drop cloth (for floor) |
| Paint Additives | Floetrol or clean water |
| Optional | Screwdriver (for removing doorknob) |
Step-by-Step Instructions for Painting Interior Doors
Time to get your hands dirty. This isn’t about following every rule perfectly; it’s about getting the job done right without overthinking it.
Break the process into simple steps and tackle them one at a time. Before you know it, you’ll be admiring doors that look like they came straight from a home magazine.
Step 1. Keep the Door on Its Hinges
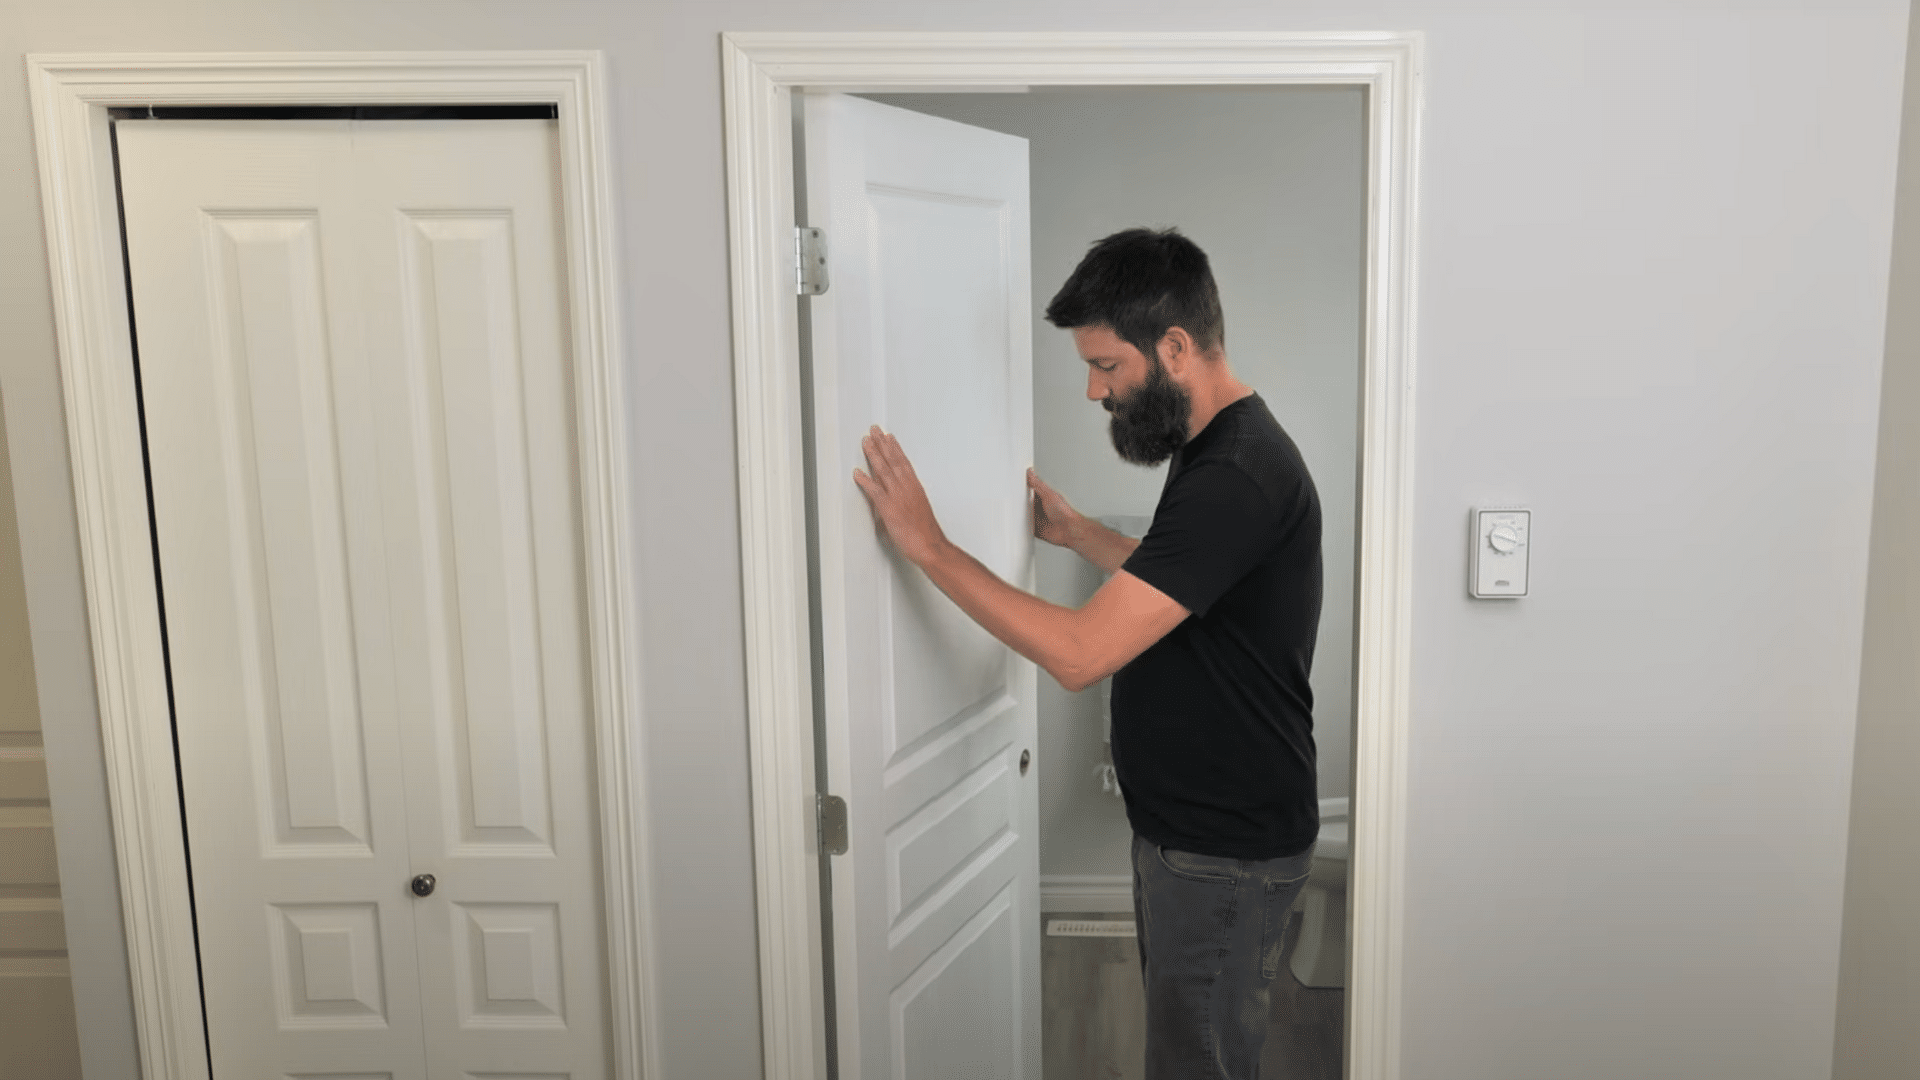
Leave the door attached so you can paint all sides at once. To keep it steady, use small shims at the edges to prevent it from wobbling. This way, you won’t have to wait for one side to dry before tackling the next.
Step 2. Prepare Your Workspace
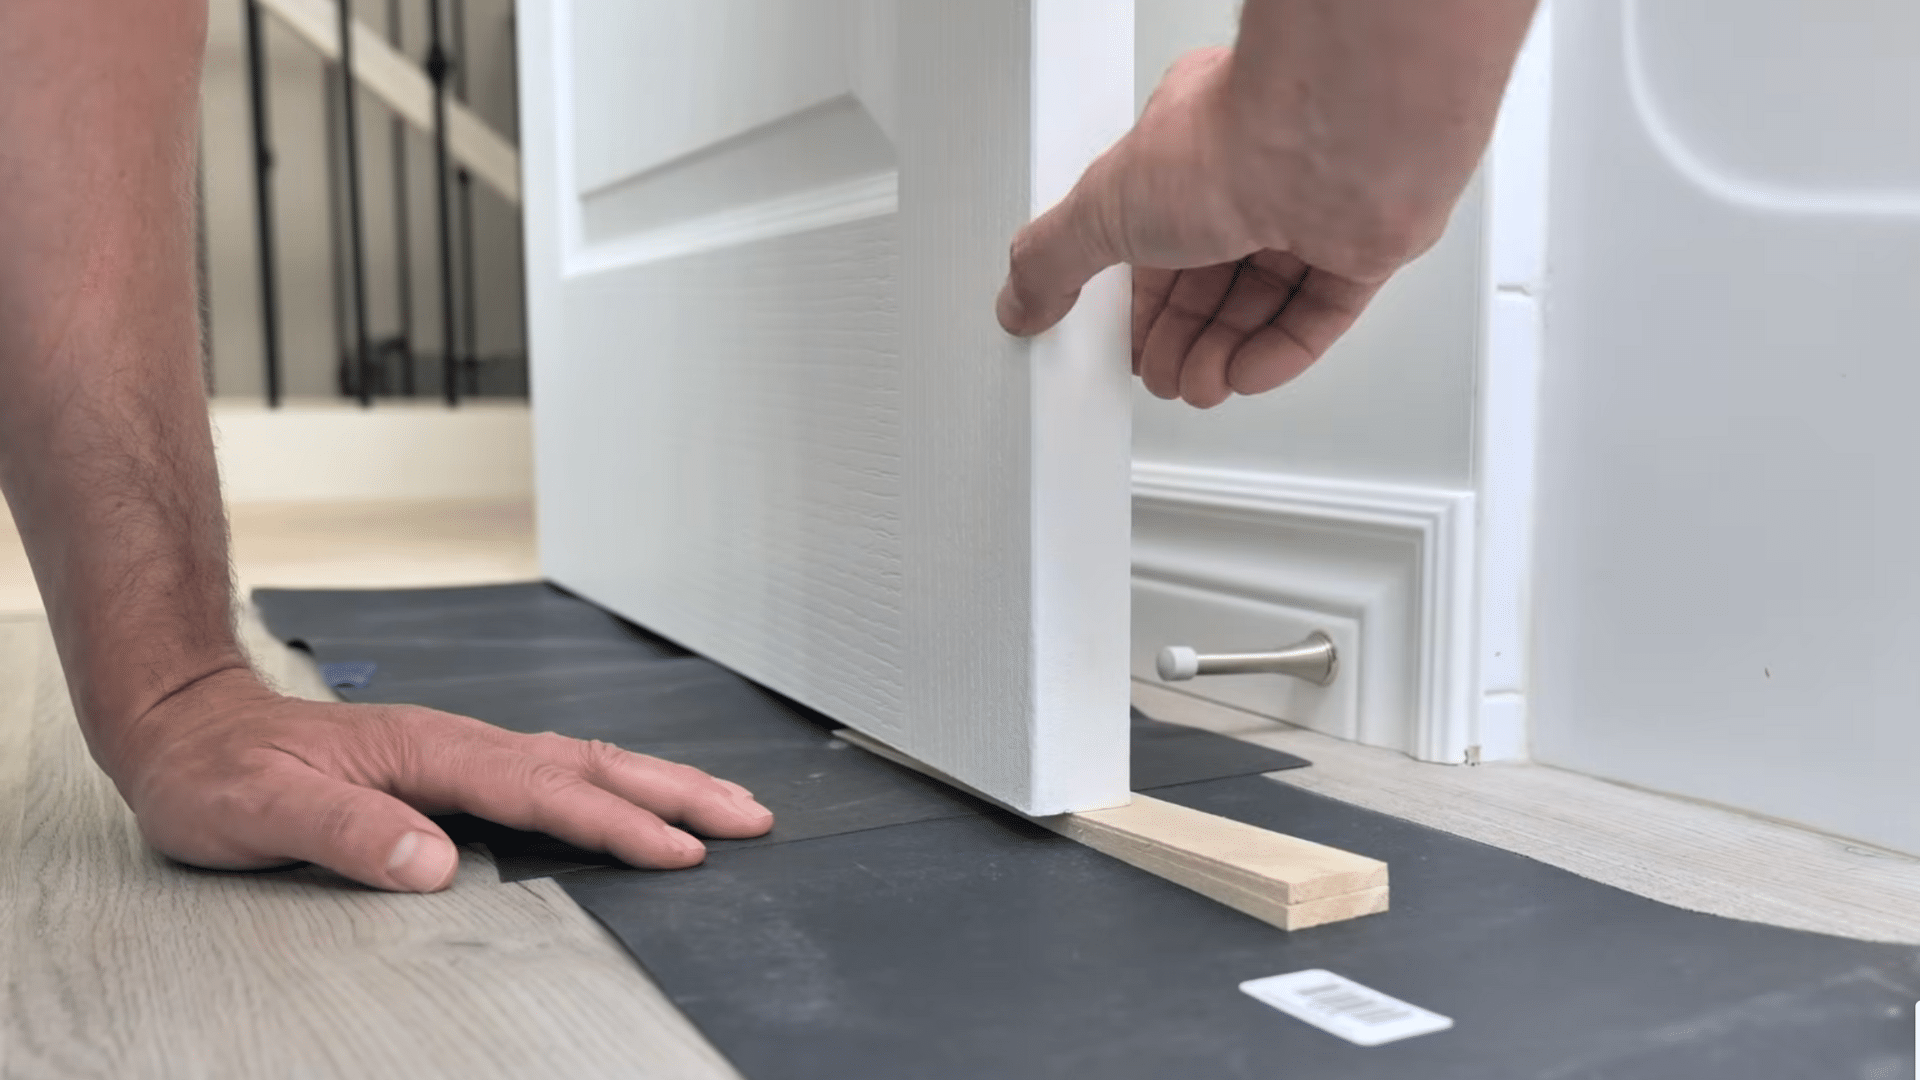
Lay a piece of cardboard, paper, or a drop cloth at the bottom of the door to protect your floors from drips. Have all your supplies, paint, brushes, roller, tape, and shim, within easy reach before you begin.
A little setup goes a long way in keeping things smooth.
Step 3. Protect Hardware and Hinges
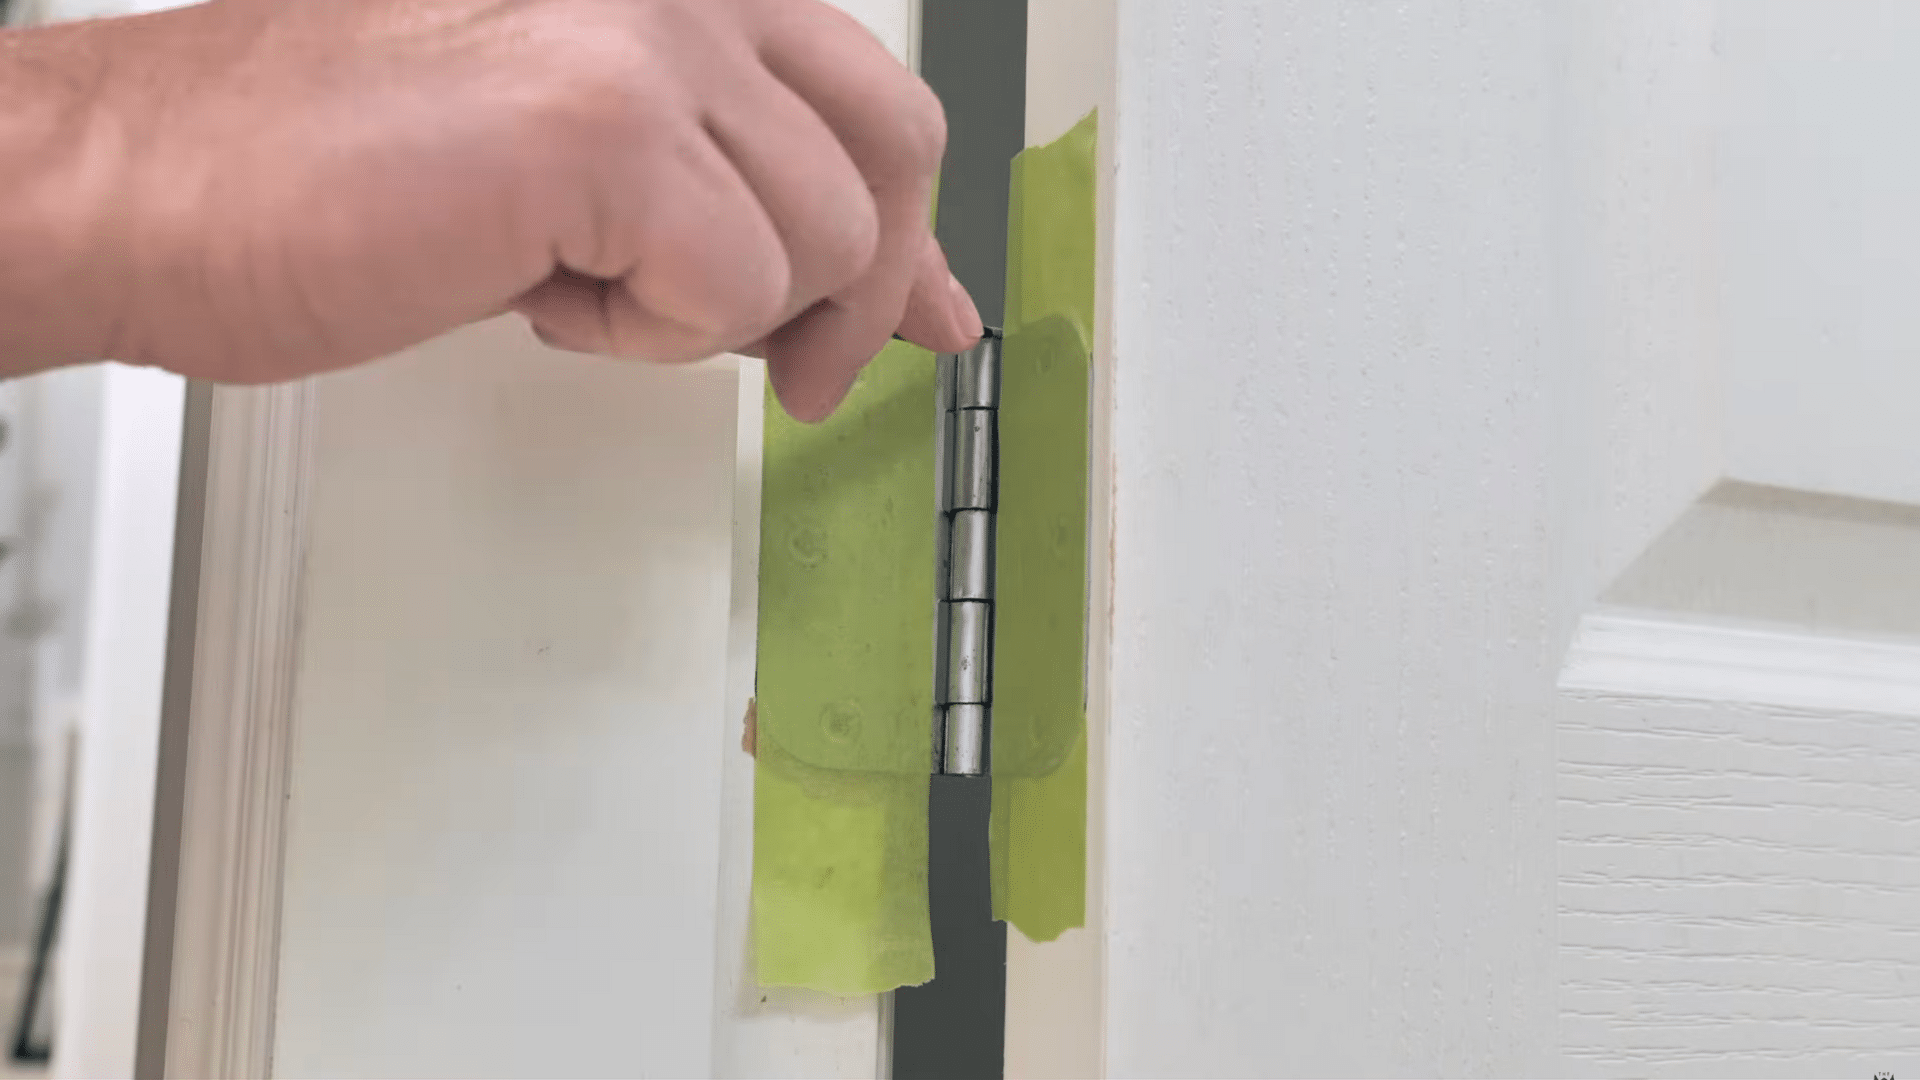
Use painter’s tape to carefully cover the hinges. Cut the tape neatly with a utility knife so it sits flush along the hinge edges. If possible, remove the doorknob to achieve the cleanest finish; if not, secure it with tape.
Step 4. Smooth the Surface
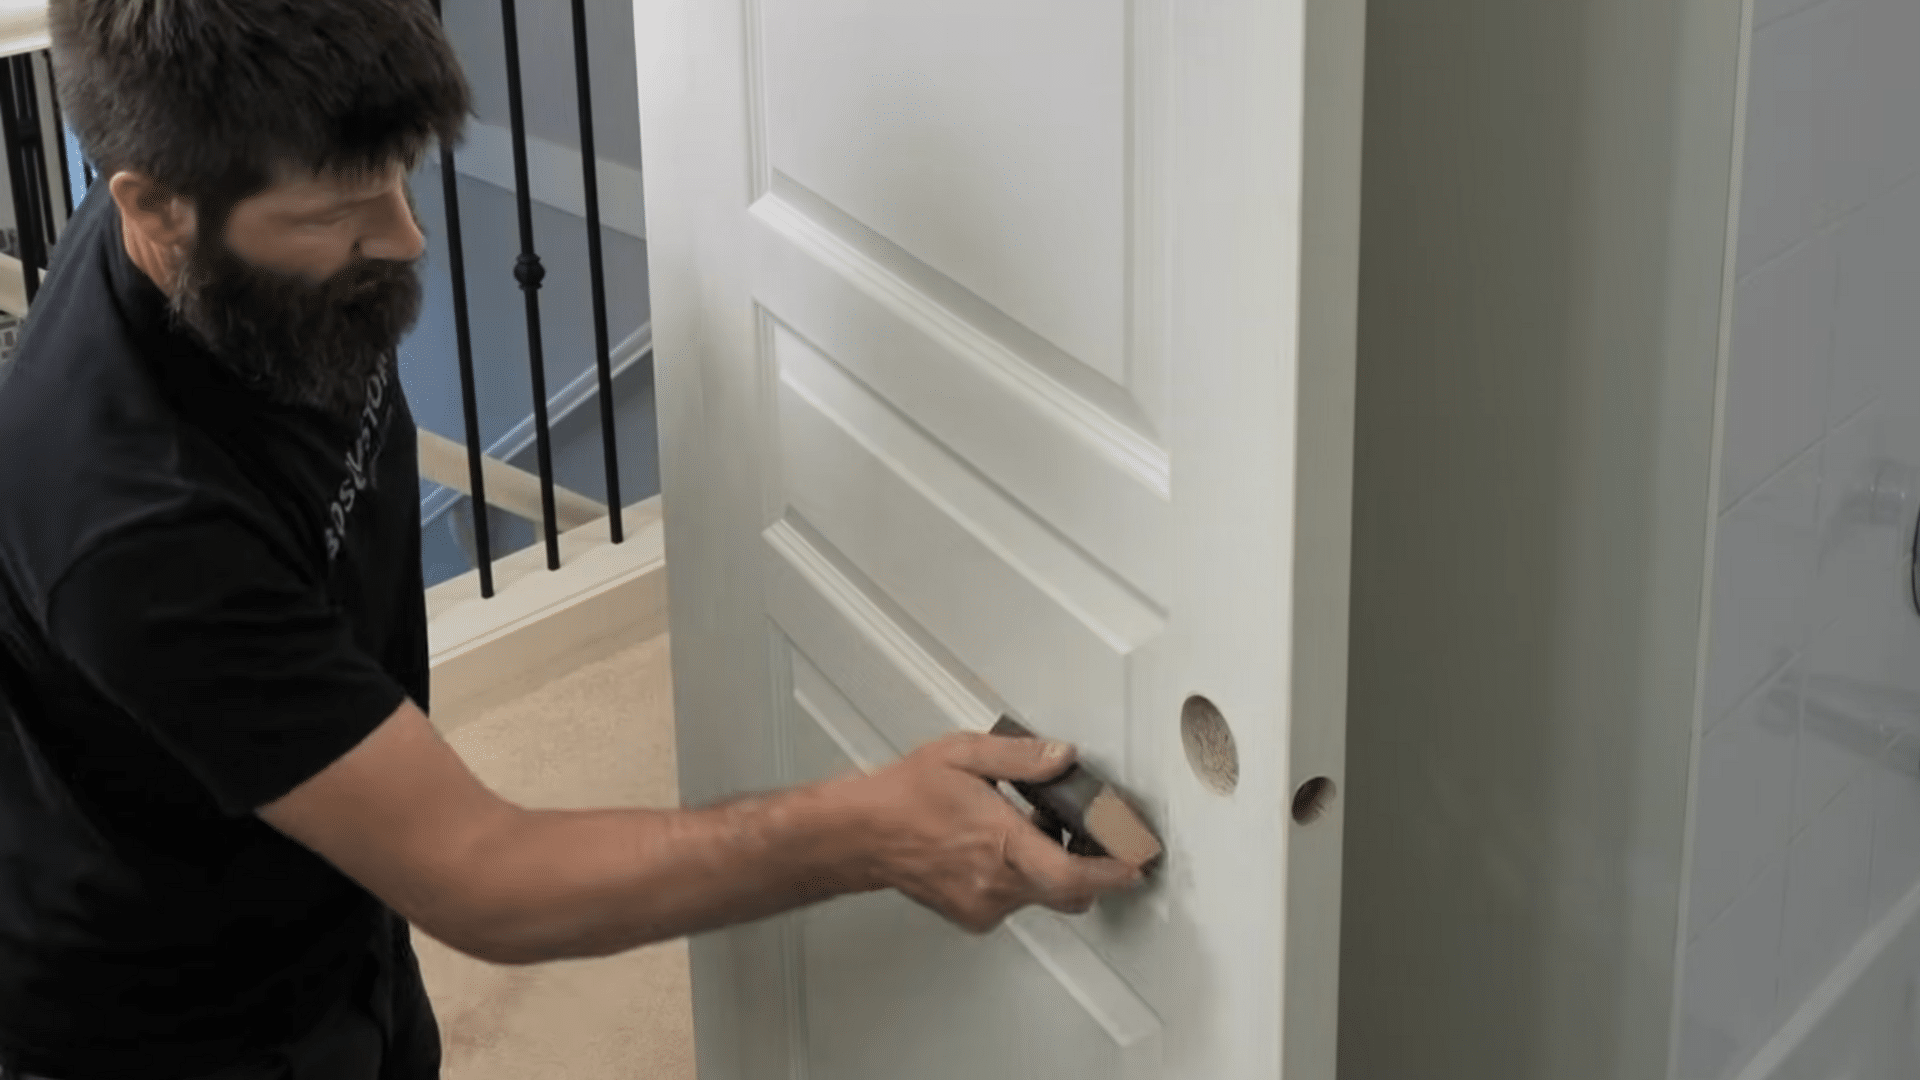
Lightly sand the door with a sanding sponge to even out rough spots or scrape away lumps with a putty knife. Wipe away dust using a slightly damp rag or paper towel. This creates the perfect base for your fresh coat of paint.
Step 5. Apply Paint Efficiently
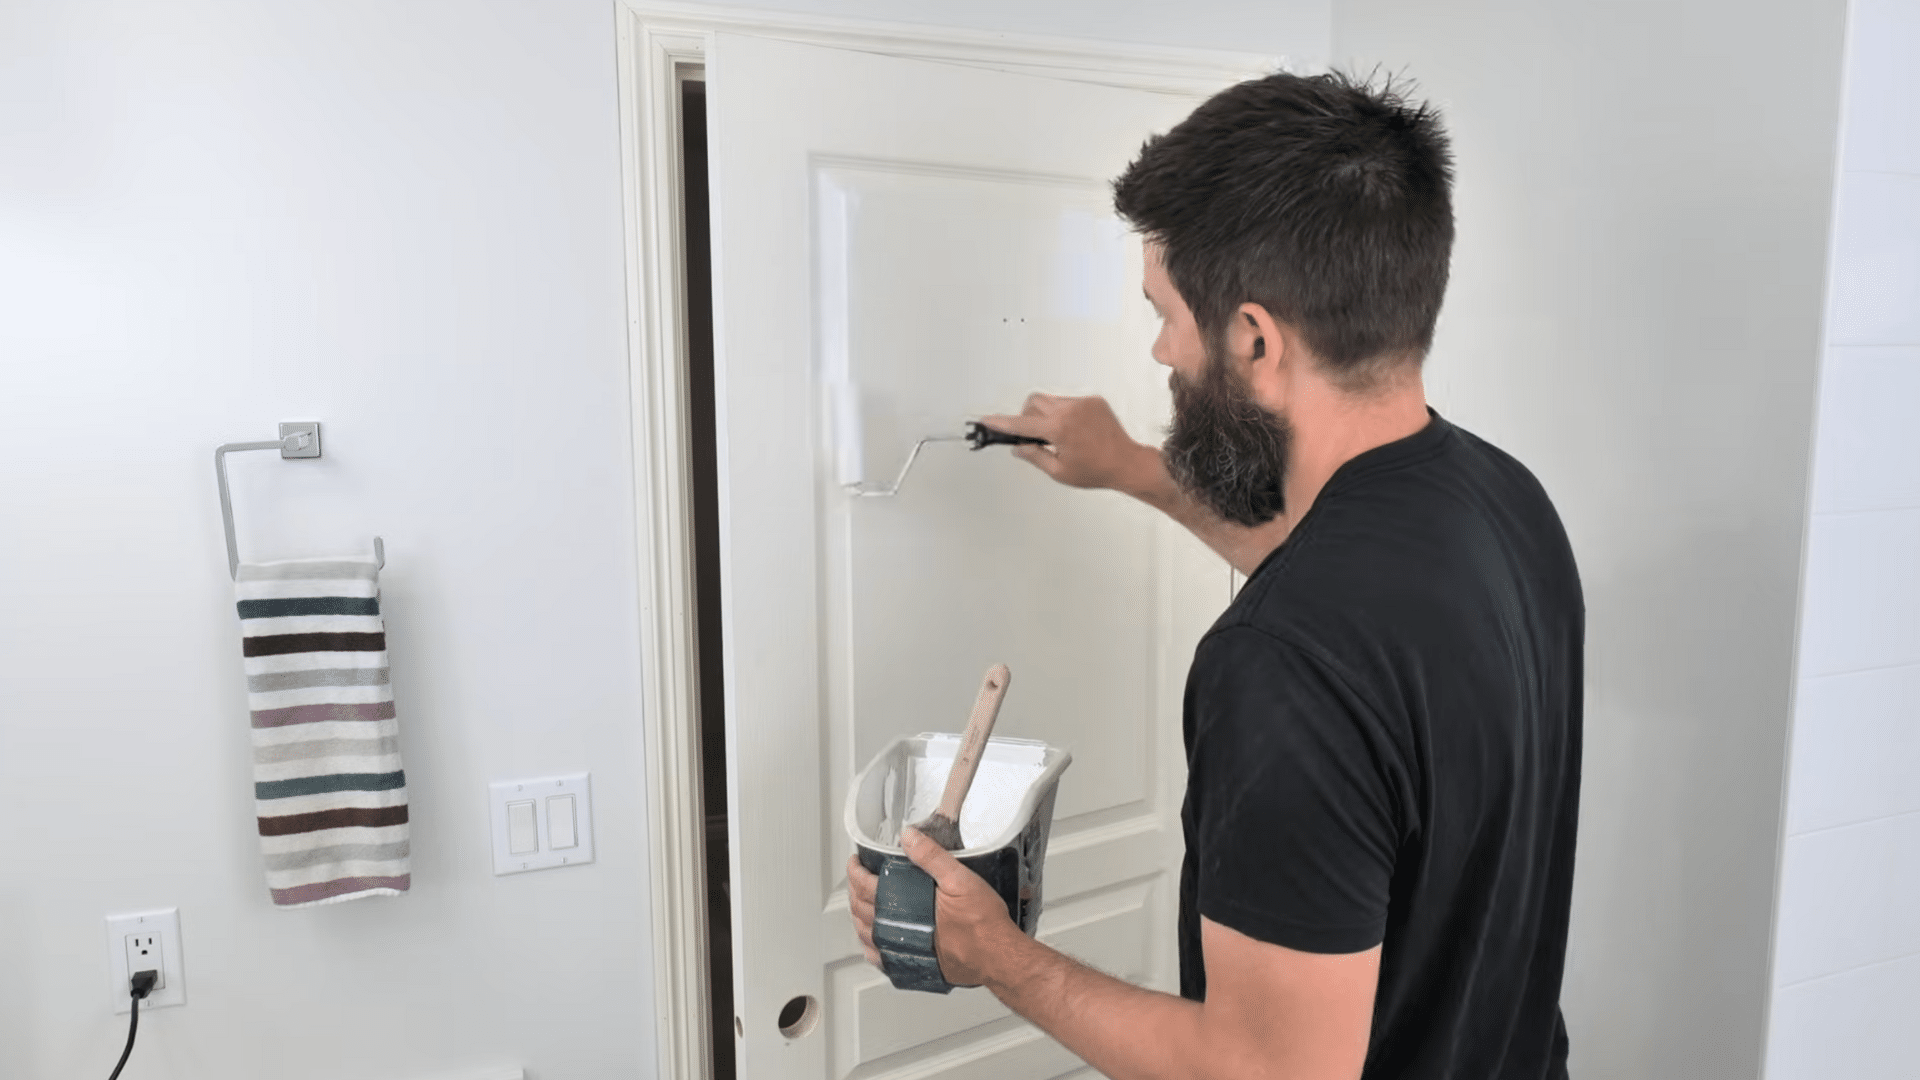
Start by painting the edges with a brush, then move to the panels or flat surfaces. Use a mini roller for broad areas and an angled brush for corners and grooves.
Work with steady strokes, aiming for an even, medium-thick coat. If you’re not making a dramatic color change, one coat may be enough.
Step 6. Finish with a Brush for Texture
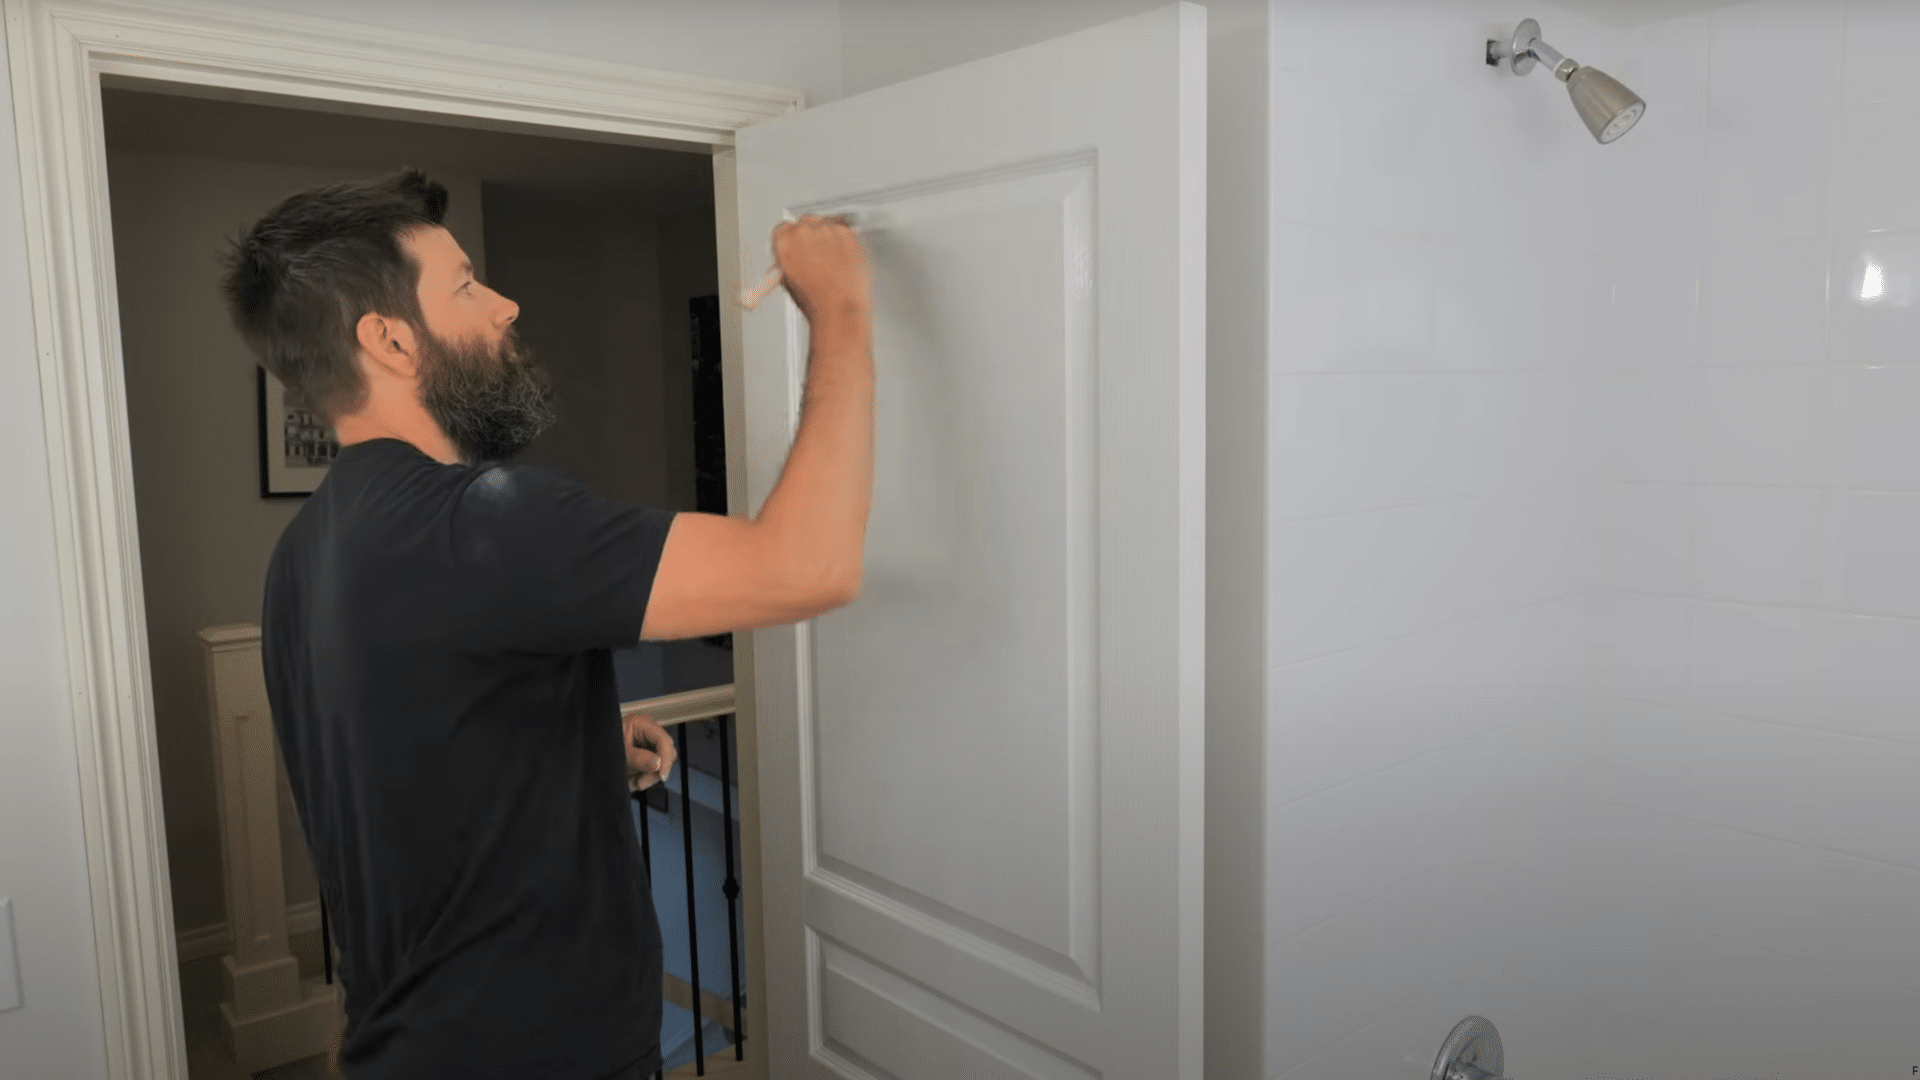
On paneled or textured doors, lightly brush over the painted surface while the paint is still wet, following the wood grain. This smooths out roller marks and gives a professional look.
For flat doors, use a smooth-surface roller for an even finish instead
Step 7. Add a Paint Conditioner for Extra Time
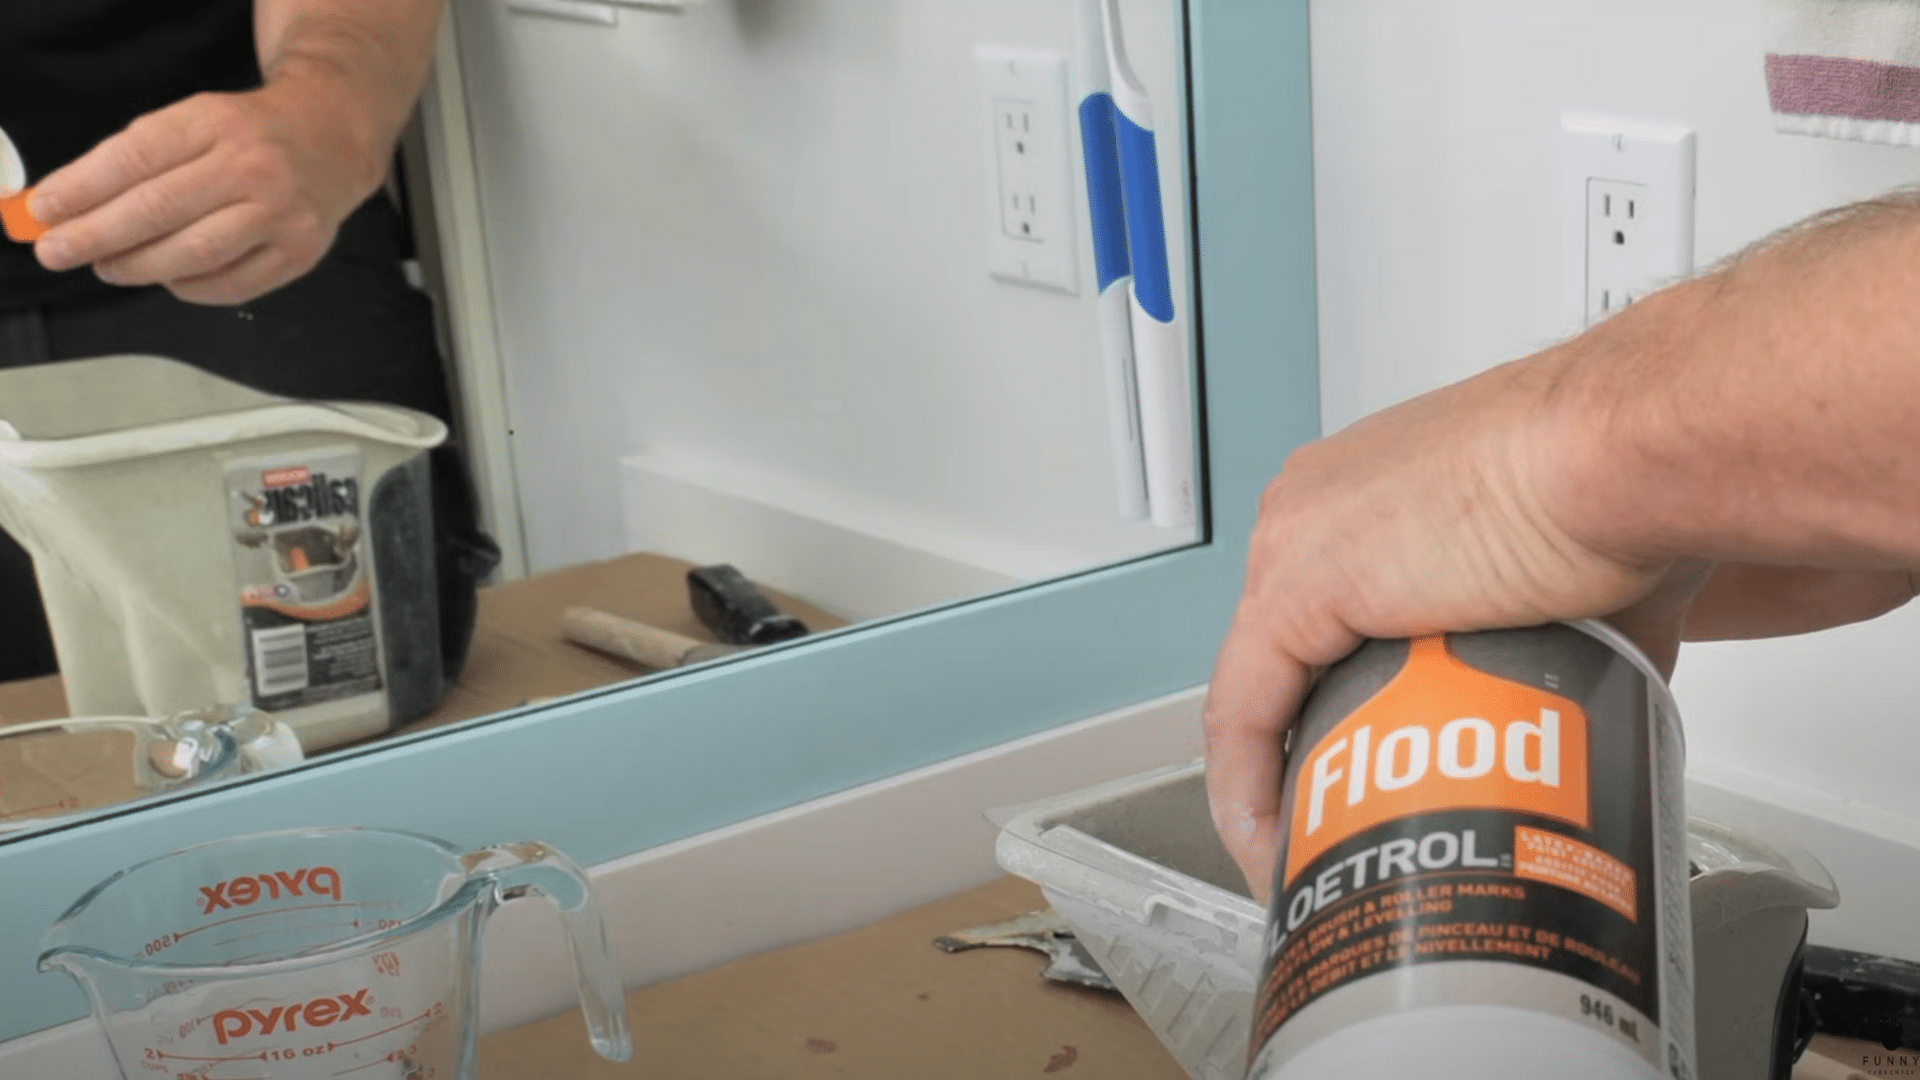
Mix a product like Floetrol (or a small amount of water) into your paint to slow down drying. This gives you more working time, especially helpful for detailed doors with multiple grooves and grain directions.
For a detailed explanation, check out the video below:
Tips for Painting Doors Like a Pro
Small details separate amateur paint jobs from professional-looking results. These tricks won’t cost extra money, but they’ll save hours of frustration and give you doors worth showing off.
- Remove the door completely: Paint it flat on sawhorses instead of hanging it. No drips, better coverage, and your back will thank you later.
- Sand lightly between coats: A quick scuff with fine sandpaper helps the next coat stick better. Wipe clean with a damp cloth before applying more paint.
- Paint in thin layers: Two thin coats are better than one thick coat every time. Thick paint runs, drips, and looks bumpy when it dries.
- Use a small roller for panels: Brushes leave marks, but a 4-inch foam roller gives smooth, even coverage on flat door panels.
- Don’t forget the edges: The top and bottom edges of doors are prone to collecting dust and moisture. A quick coat there prevents peeling and keeps the door looking finished.
Conclusion
Fresh paint turns tired doors into focal points that make your whole house feel updated. The process of painting interior doors takes patience, not perfection.
Choose high-quality paint, take your time with the preparation work, and avoid rushing between coats.
Your doors work hard every day. Give them a makeover that can handle the job. With the right approach, this weekend project will continue to look good for years to come.
Plus, you’ll have bragging rights every time someone compliments your handiwork.