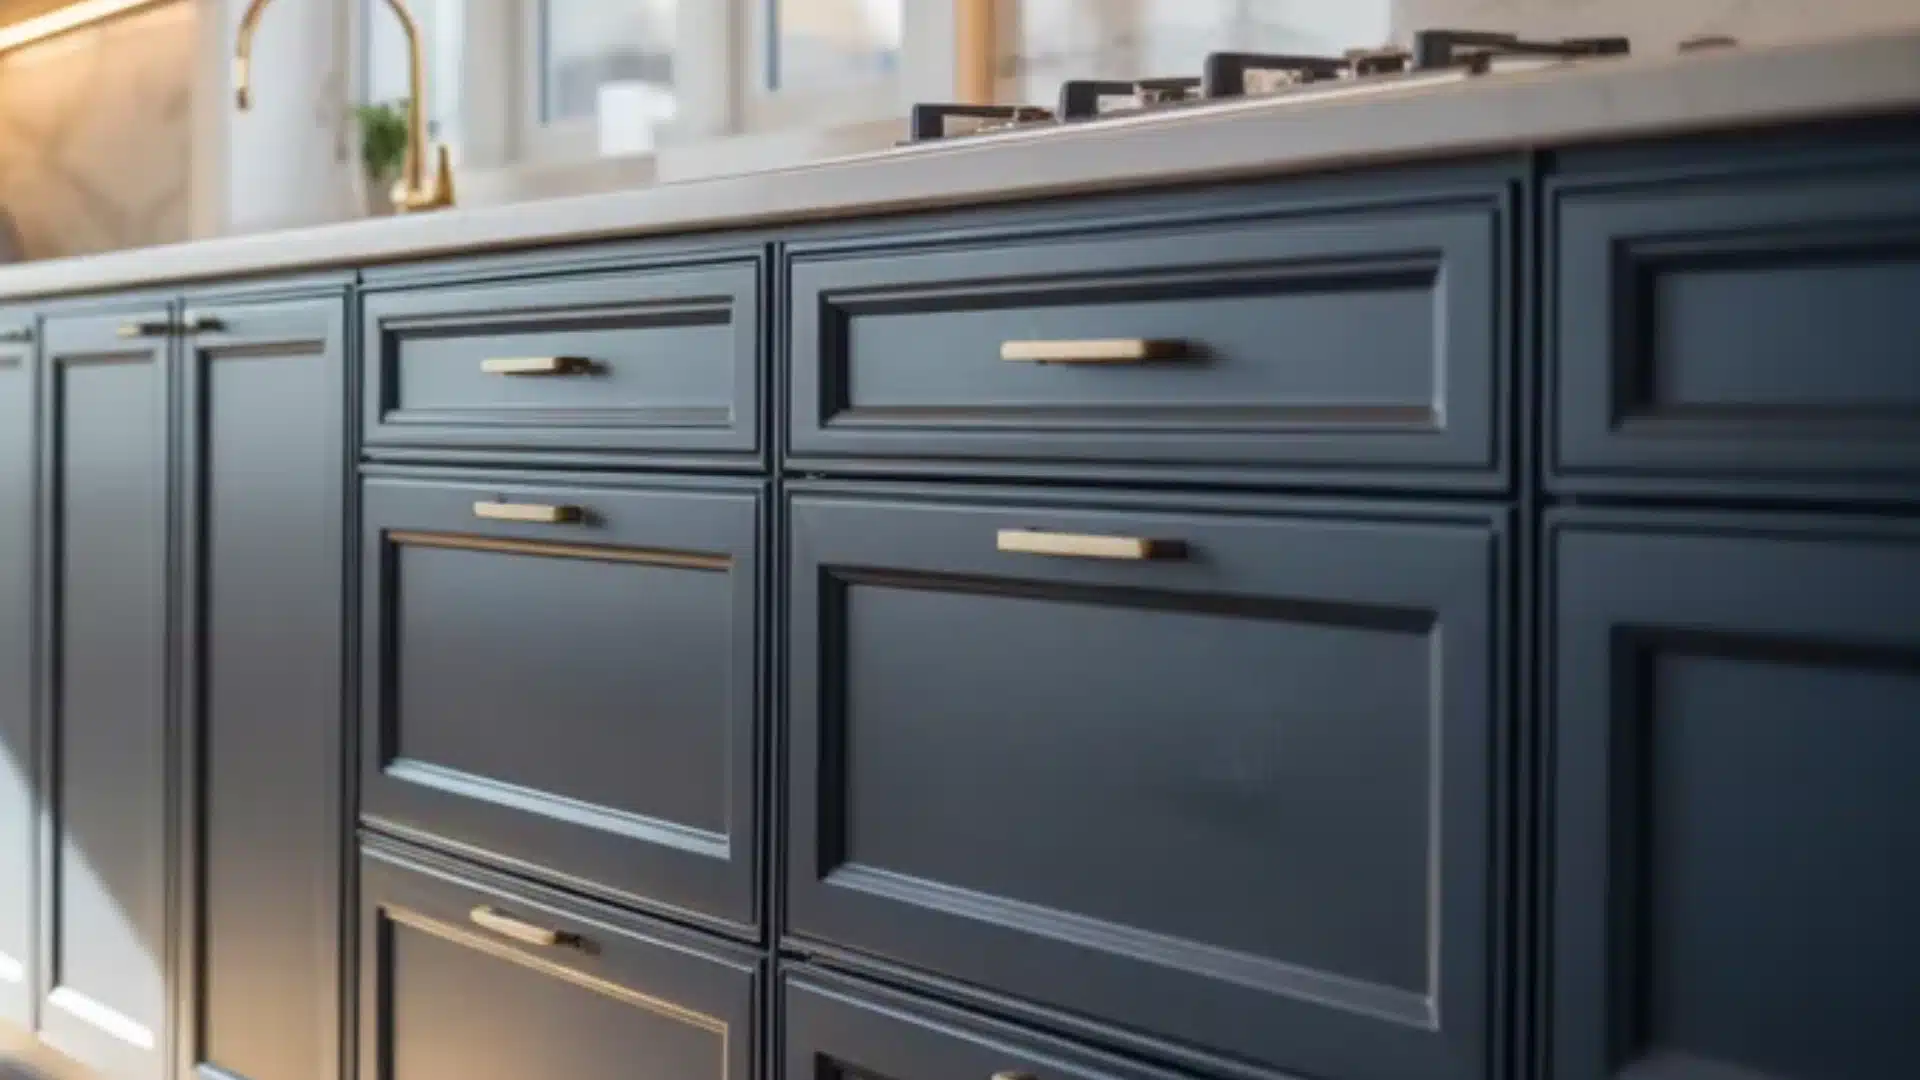
If your home has started to feel stale but a full renovation isn’t in the budget, paint is usually the answer.
Walls, doors, cabinets, ceilings, floors — the list of things to paint in your home is longer than most people realise, and the results are almost always worth the weekend.
Let’s get to it.
Things to Paint at Home (Beginner-Friendly)
These eight projects work even if you’ve never painted anything beyond a spare bedroom.
All you need is paint, a weekend afternoon, and some patience with painter’s tape.
1. Paint an Arch Accent Wall
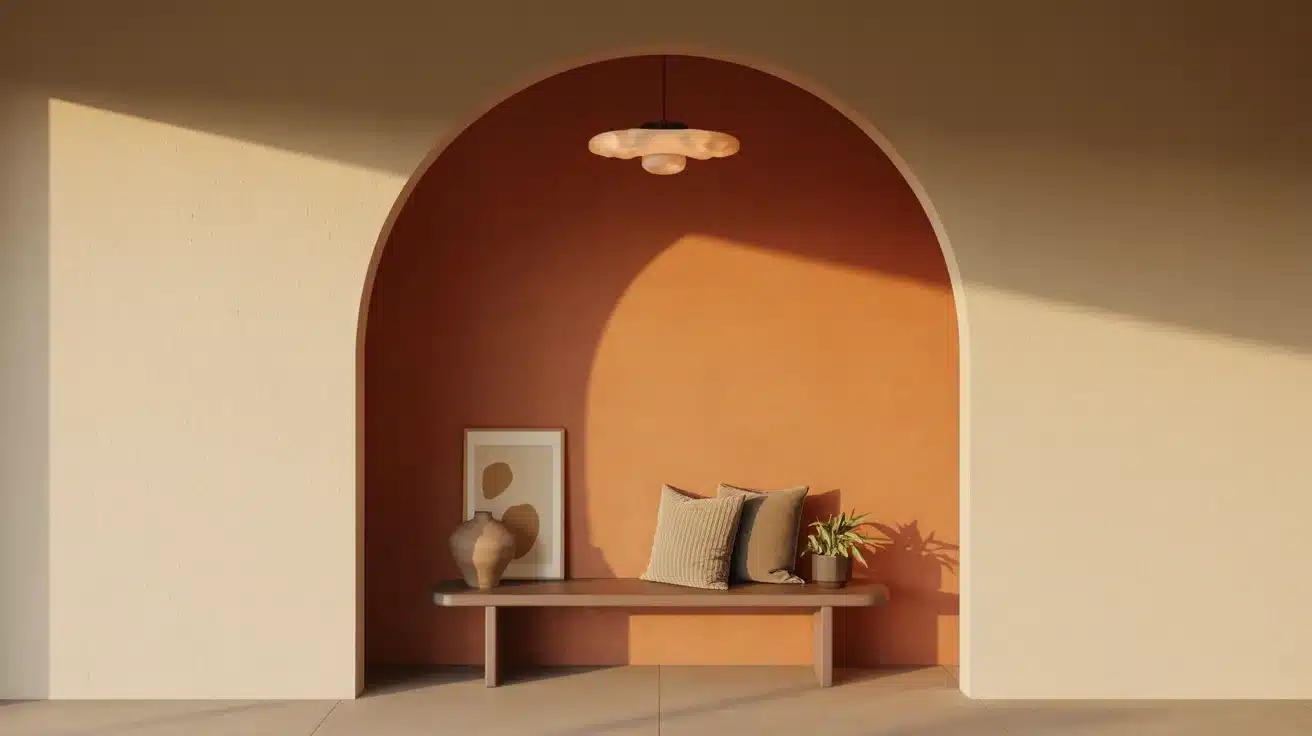
A painted arch is one of those projects that genuinely looks expensive for about $30. Done right, it reads like built-in architectural detail and not a DIY weekend decision.
Do it behind a bed, in an entryway, or inside a reading corner.
Estimated Time: 3-4 hours | Estimated Cost: $20-$40
What You’ll Need
- Wall paint in your chosen color (1 quart is enough)
- A pencil
- A long piece of string or twine
- A thumbtack or push pin
- A small level
- Painter’s tape (1.5 inch wide)
- A small angled brush (2 inches)
- A mini foam roller
- A pencil eraser or a damp cloth
Step-by-Step Instructions
- Pick a wall, move the furniture, and wipe it clean.
- Find the center of the wall and mark it lightly with a pencil.
- Tie a pencil to a string, pin it to your center mark, and draw a half circle.
- Use a level to draw two straight vertical lines down from each side of the arch.
- Press painter’s tape firmly along the outside of your pencil lines.
- Paint the edges first with a brush, then fill in the middle with a roller.
- Wait 2 hours, then add a second coat for a solid, rich finish.
- Peel the tape back slowly at a 45-degree angle while the paint is slightly wet.
- Erase any leftover pencil marks and step back to admire your work.
2. Paint Your Interior Doors a Bold Color
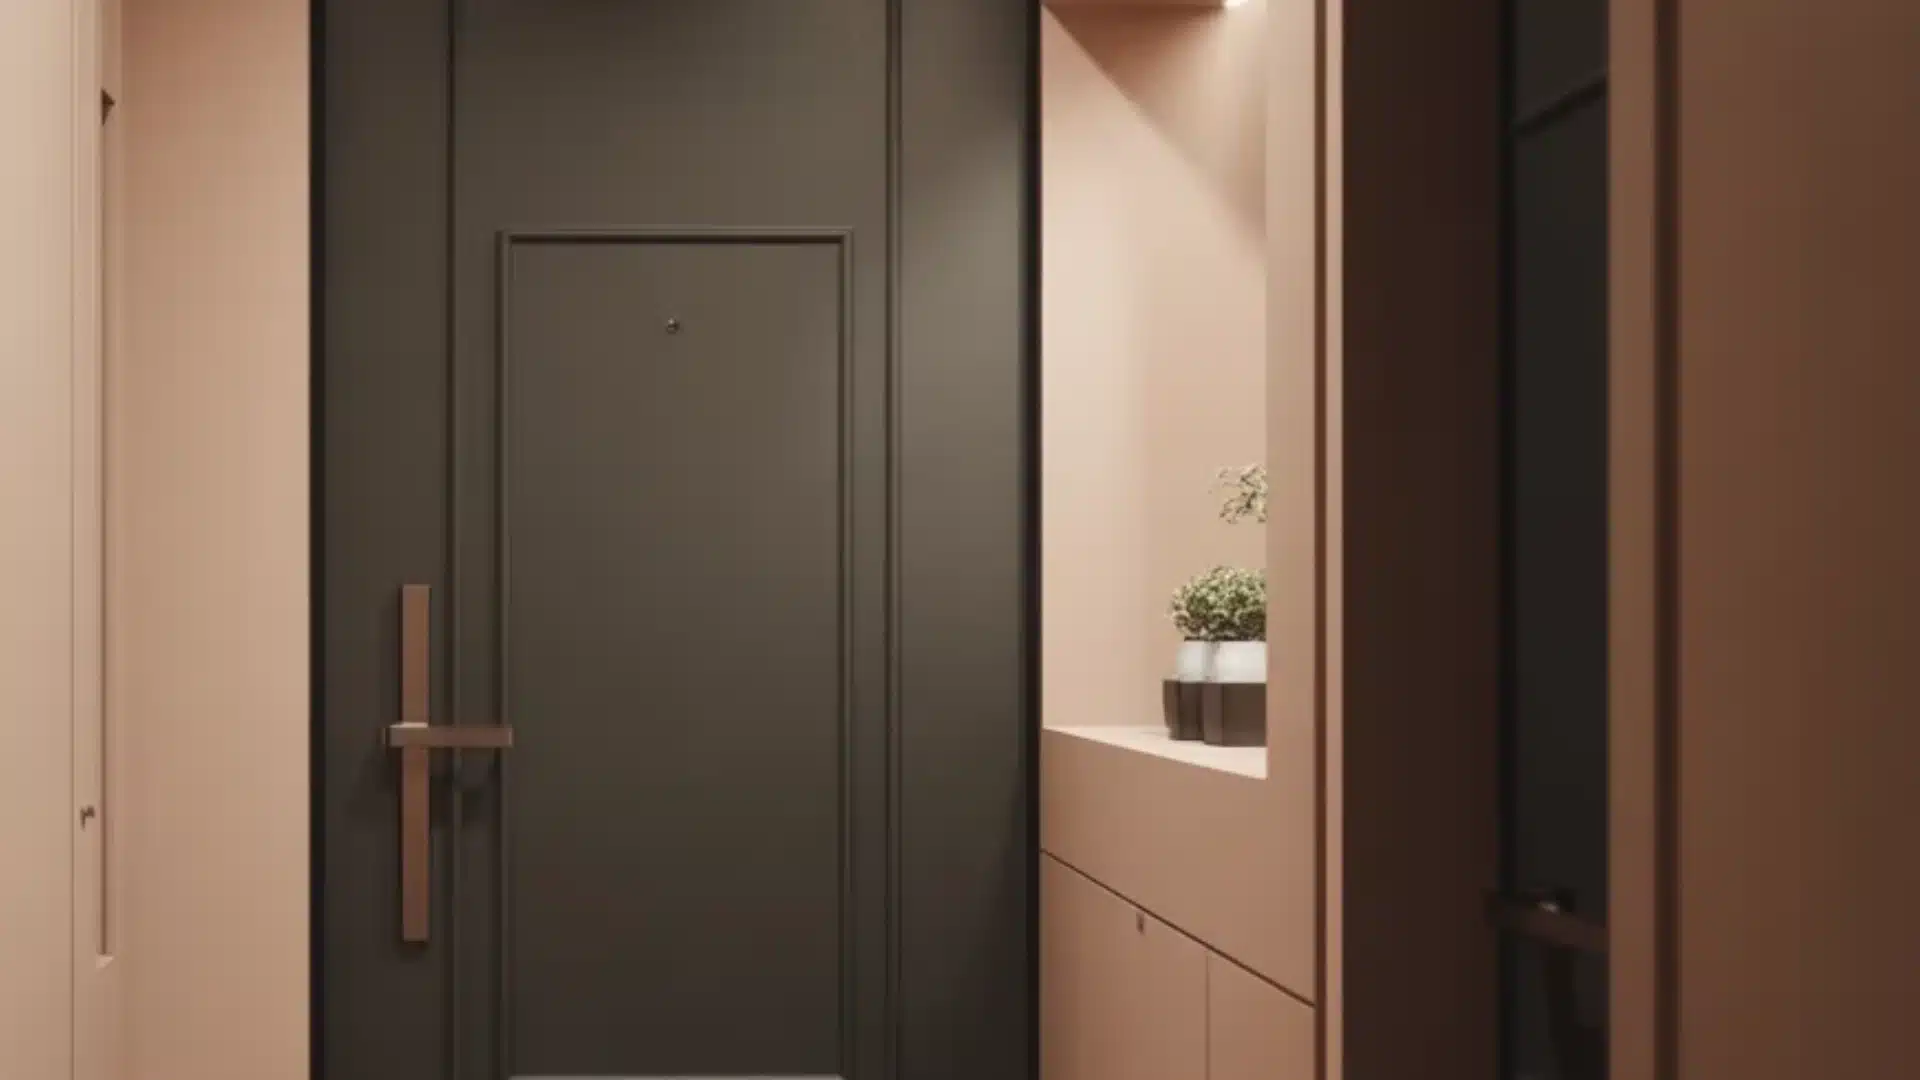
The door feels simple and plain, but a bold-colored door changes everything, adding personality to a room without touching a single wall.
Try a black, olive green, dusty blue door, or any other that feels like you.
Estimated Time: 4-5 hours | Estimated Cost: $30-$60
What You’ll Need
- Door paint in your chosen color (semi-gloss or satin finish)
- Painter’s tape
- A small angled brush (2 inches)
- A mini foam roller
- Sandpaper (120 grit)
- A screwdriver
- A drop cloth or an old sheet
- Liquid deglosser or TSP cleaner
Step-by-Step Instructions
- Remove door hardware, such as knobs and hinges, with a screwdriver.
- Lay the door flat on a drop cloth for easier, cleaner painting.
- Sand the door lightly with 120-grit sandpaper so the paint sticks well.
- Wipe the surface clean with a damp cloth and let it dry fully.
- Paint the recessed panels first using your angled brush.
- Use the foam roller to cover all flat sections in smooth, even strokes.
- Let the first coat dry for 2 hours before adding a second coat.
- Reattach the hardware once the paint is completely dry.
3. Paint Your Kitchen Cabinets
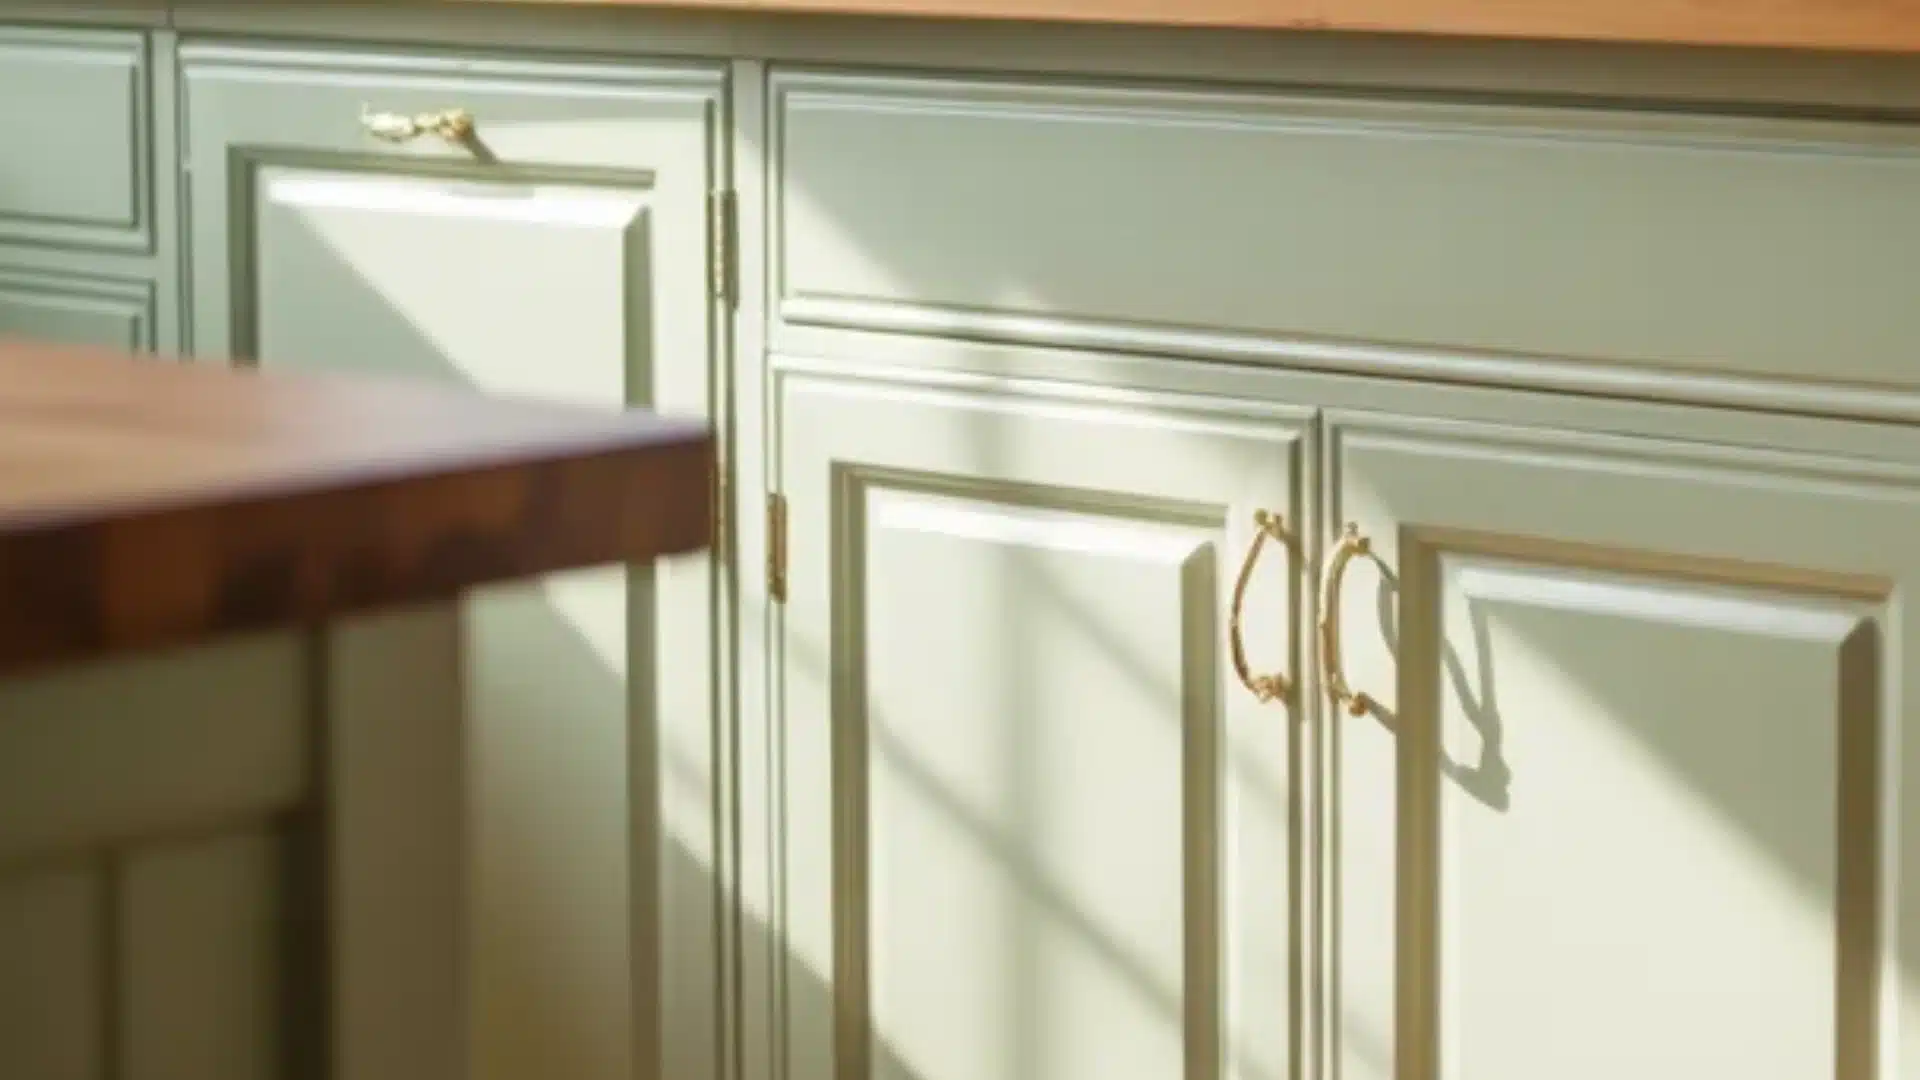
Painted cabinets are genuinely one of the highest-impact things to paint in any home.
I’ve watched outdated oak kitchens turn completely unrecognisable after a coat of sage green — no renovation required.
Creamy white, sage, or dark green, and navy blue are the colours that tend to photograph well and hold up over time.
Estimated Time: 2-3 days | Estimated Cost: $100-$200
What You’ll Need
- Cabinet paint (water-based alkyd or chalk paint)
- Painter’s tape
- A small angled brush
- A mini foam roller
- Sandpaper (120 and 220 grit)
- A screwdriver
- Degreaser or TSP cleaner
- Drop cloths
- Primer (for dark or very glossy cabinets)
Step-by-Step Instructions
- Remove all cabinet doors and hardware with a screwdriver.
- Clean every surface with a degreaser to cut through grease and grime.
- Sand lightly with 120-grit sandpaper so the new paint bonds well.
- Wipe away all dust with a damp cloth and let everything dry fully.
- Apply primer if your cabinets are very dark or glossy.
- Paint the cabinet frames first using your angled brush.
- Roll the flat door panels with a foam roller for a smooth, even finish.
- Sand lightly between coats with 220 grit for an ultra-smooth result.
- Apply a second coat and let everything dry for 24 hours before rehanging.
- Reattach all hardware and stand back to take in your new kitchen.
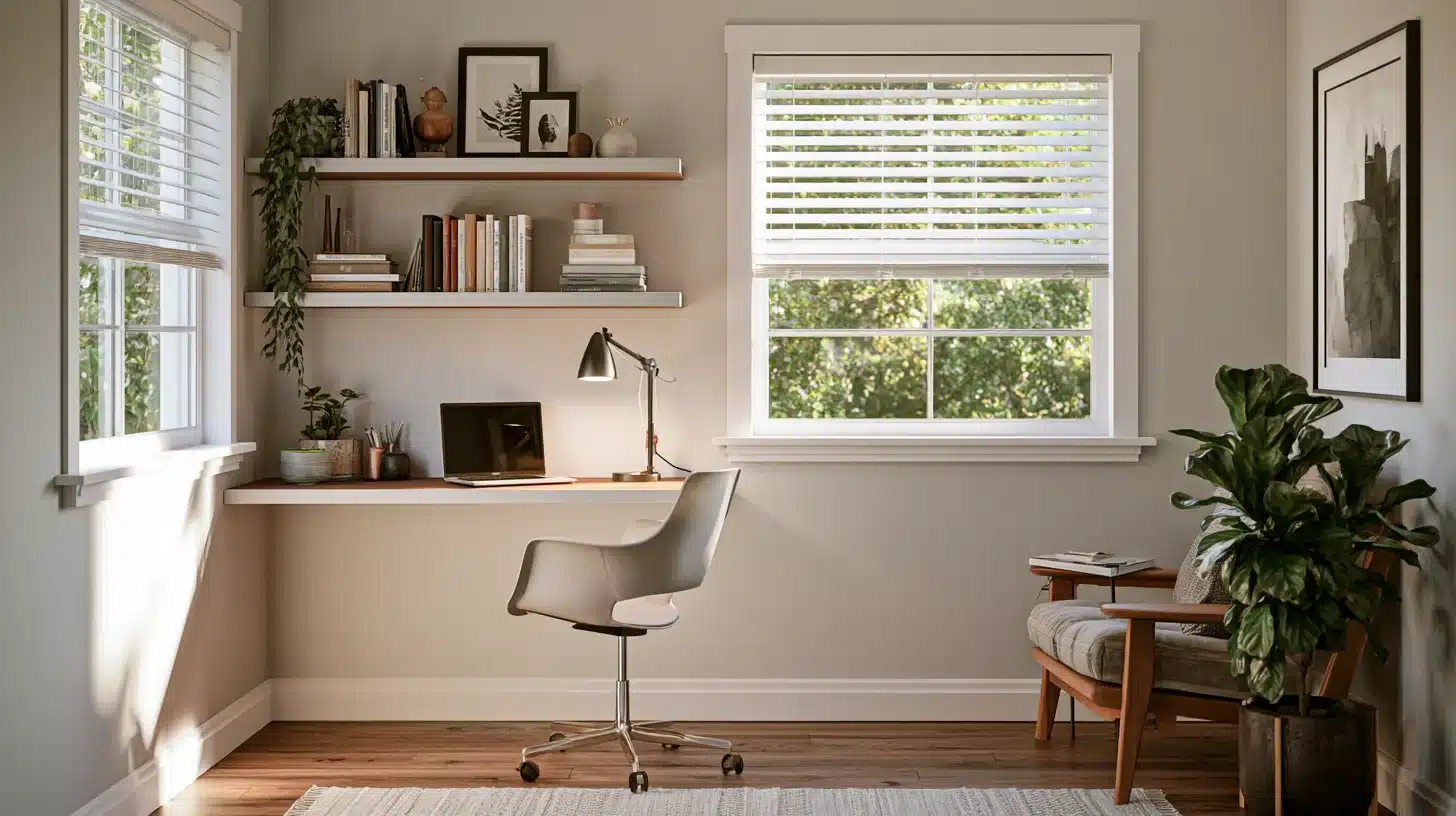
4. Paint Your Window Trim
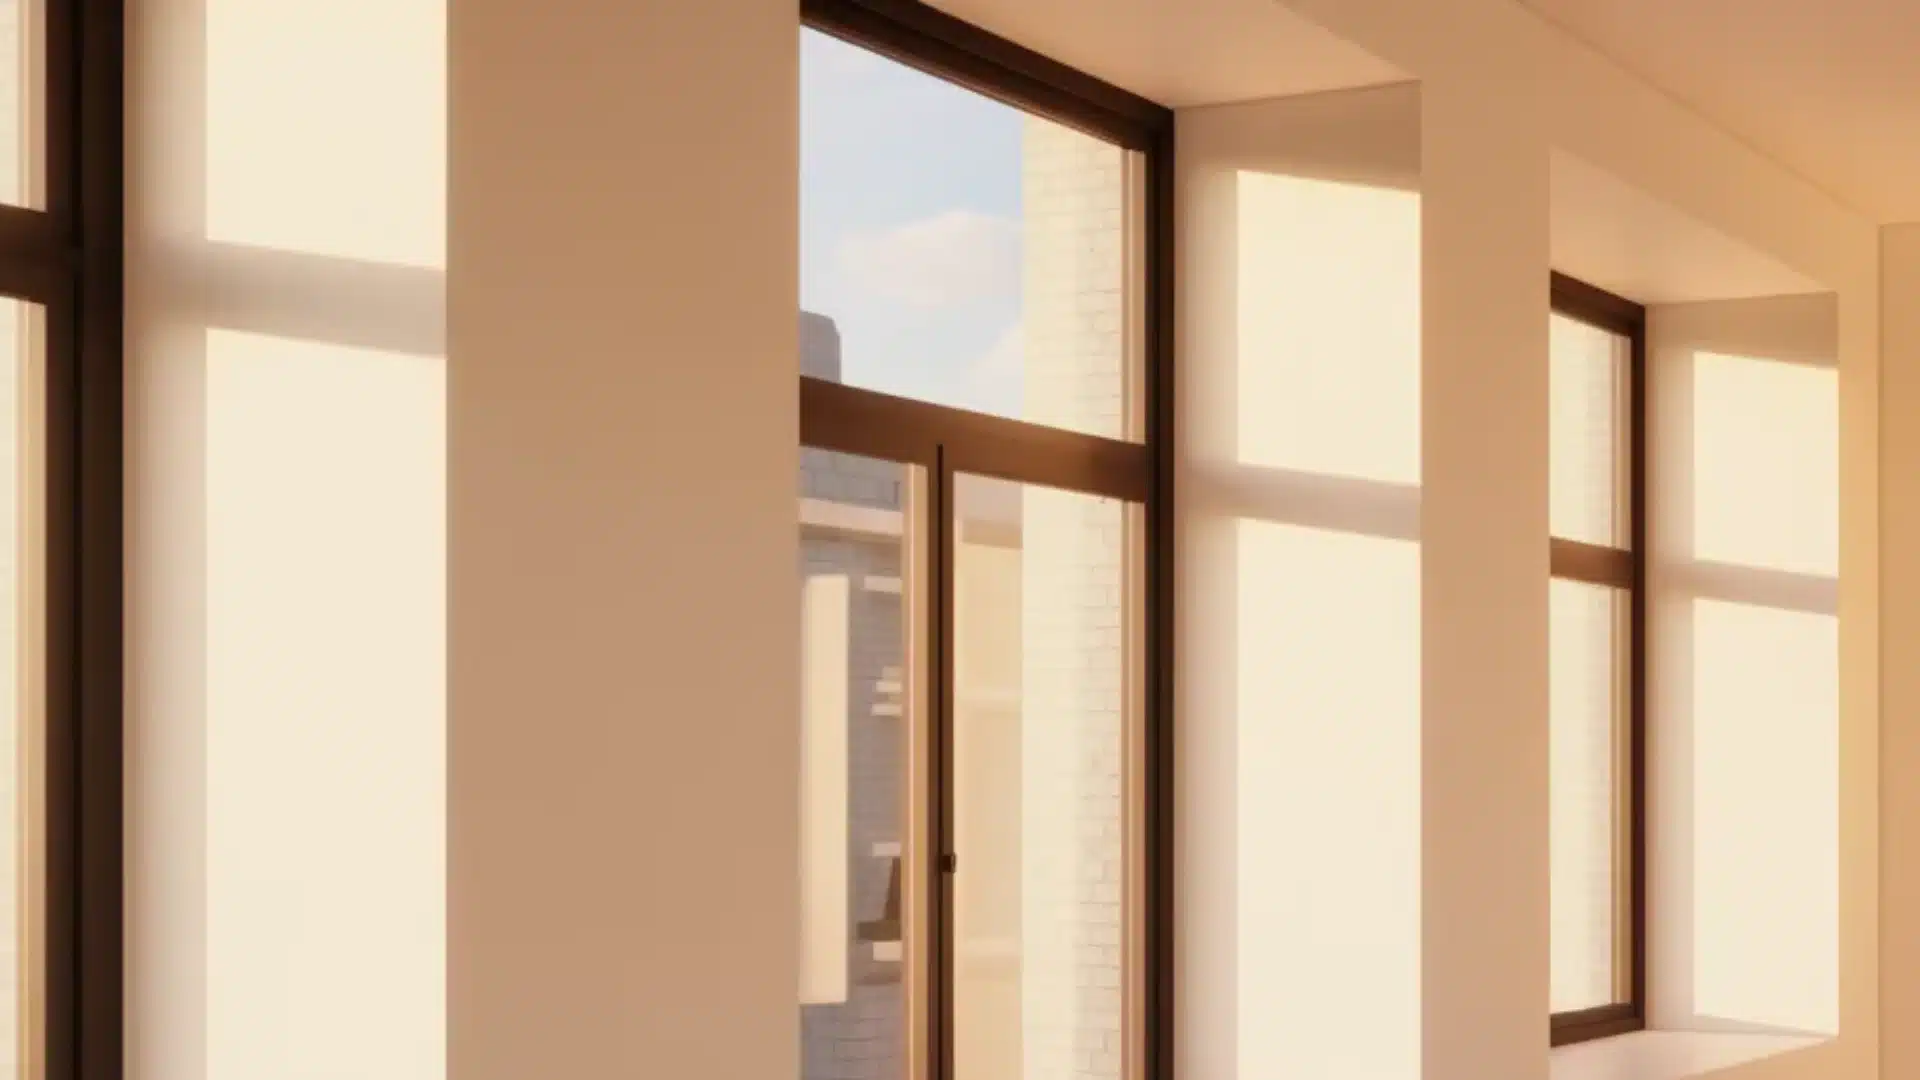
Window trim is something we often and always ignore. Painting your trim in a bold or contrasting color makes your windows look finished.
Try a black trim against white walls or a soft beige against a warm neutral.
Estimated Time: 2-3 hours | Estimated Cost: $15-$35
What You’ll Need
- Trim paint in your chosen color (semi-gloss finish)
- Painter’s tape (1.5 inch)
- A small angled brush (1.5 inches)
- Sandpaper (220 grit)
- A damp cloth
- Putty knife and wood filler
Step-by-Step Instructions
- Clean the trim with a damp cloth to remove all dust and dirt.
- Fill any cracks or gaps with wood filler and let it dry fully.
- Sand the trim lightly with 220-grit sandpaper for a smooth base.
- Apply painter’s tape along the wall edge and the window glass.
- Cut in carefully along all edges using your angled brush.
- Apply a thin, even first coat and let it dry for 2 hours.
- Add a second coat for a clean, polished finish.
5. Paint the Ceiling
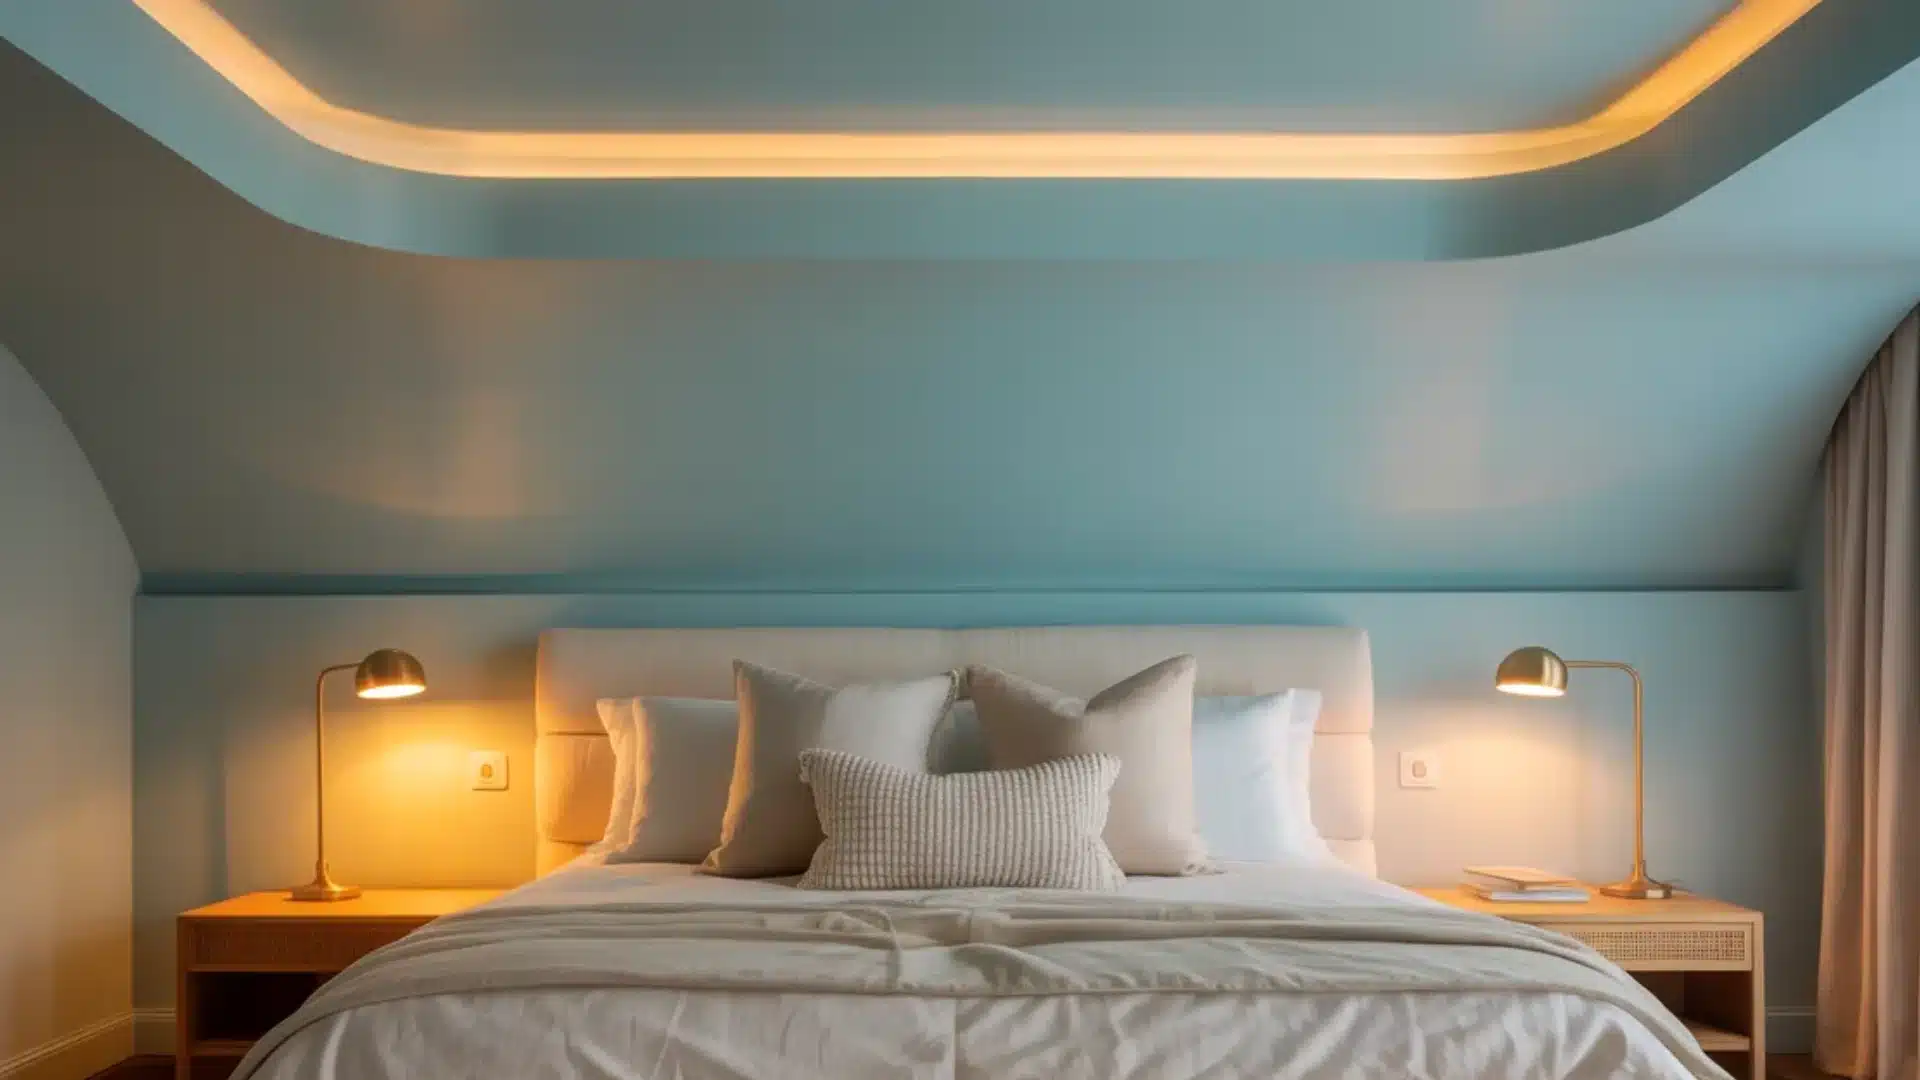
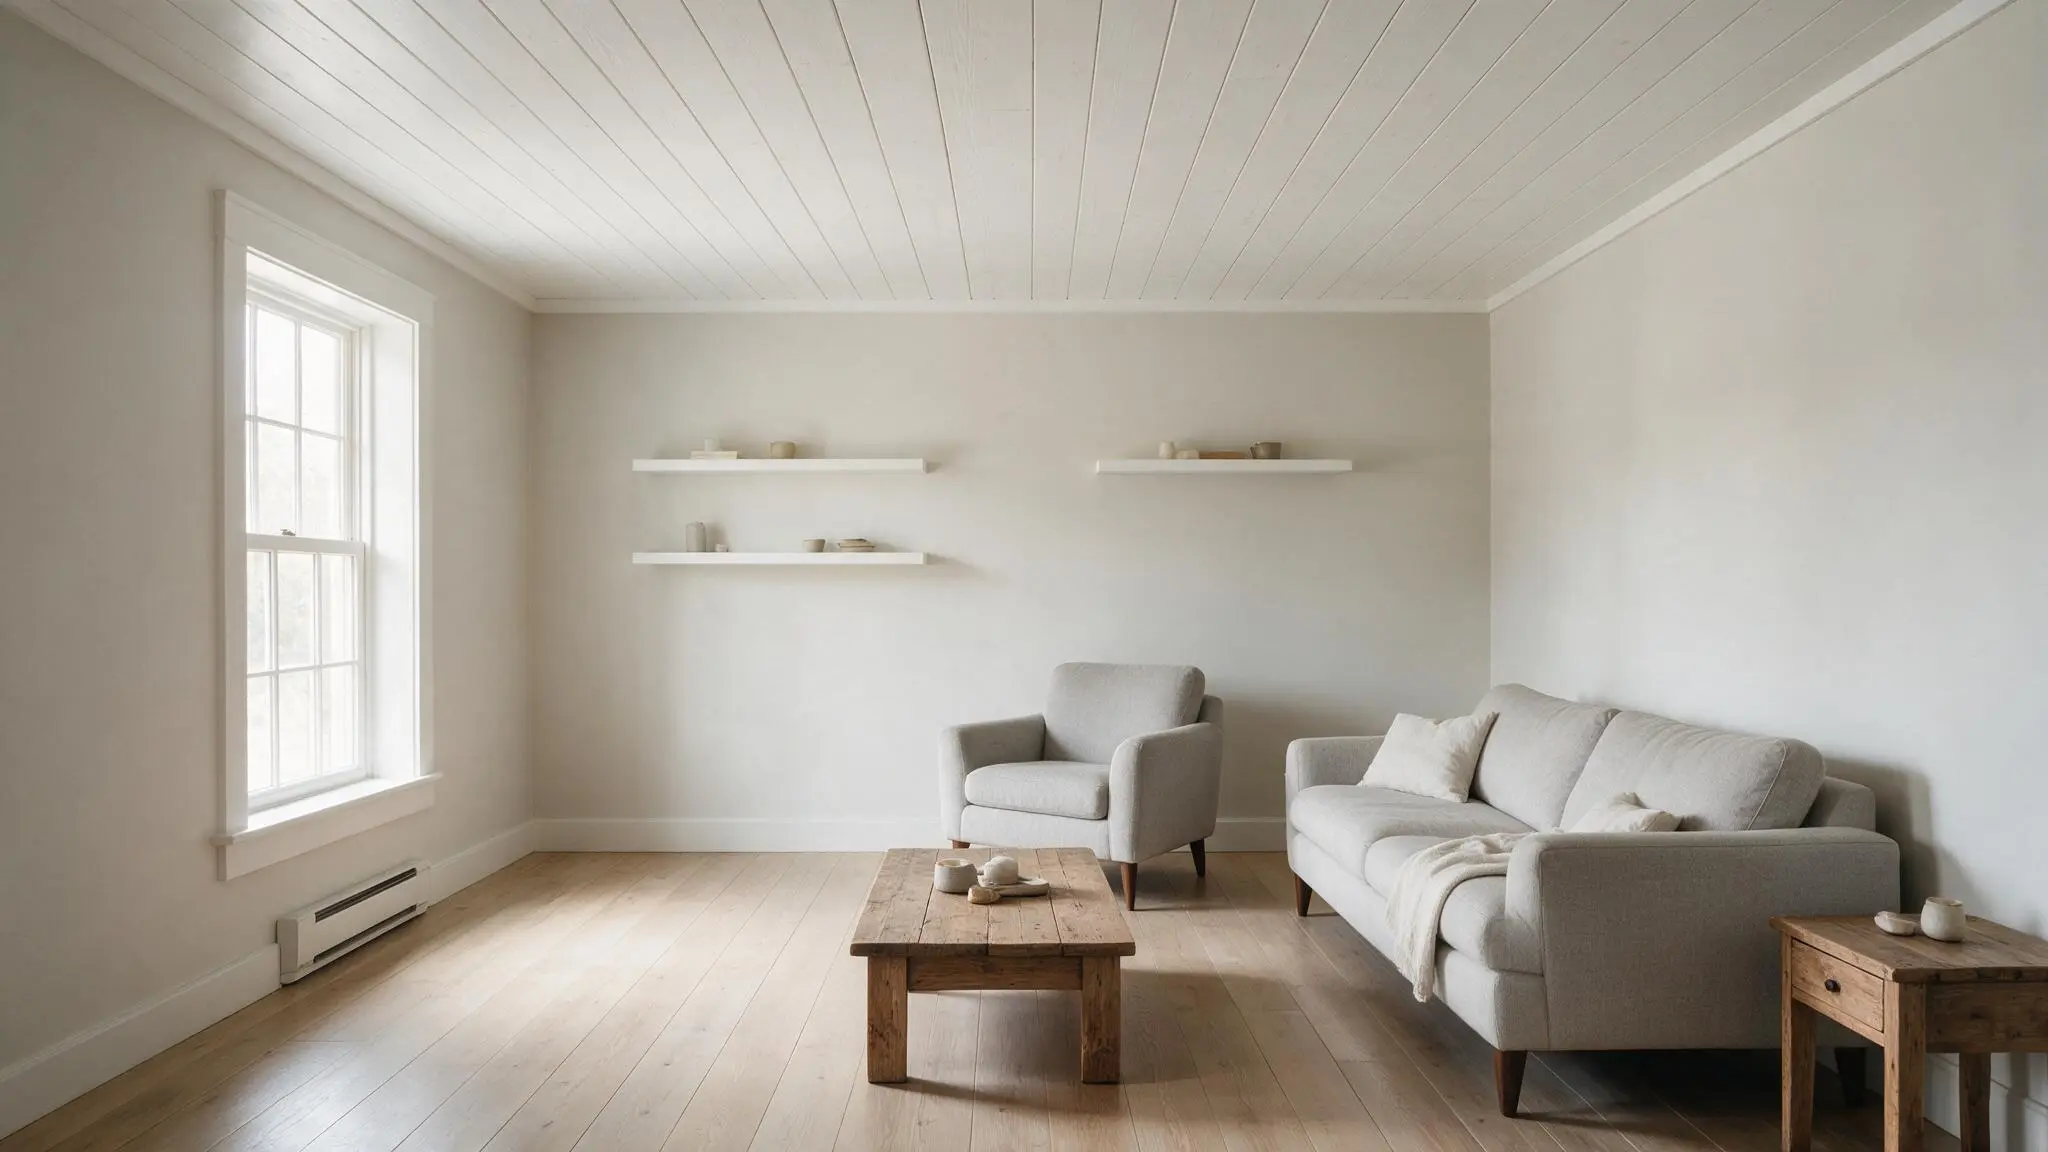
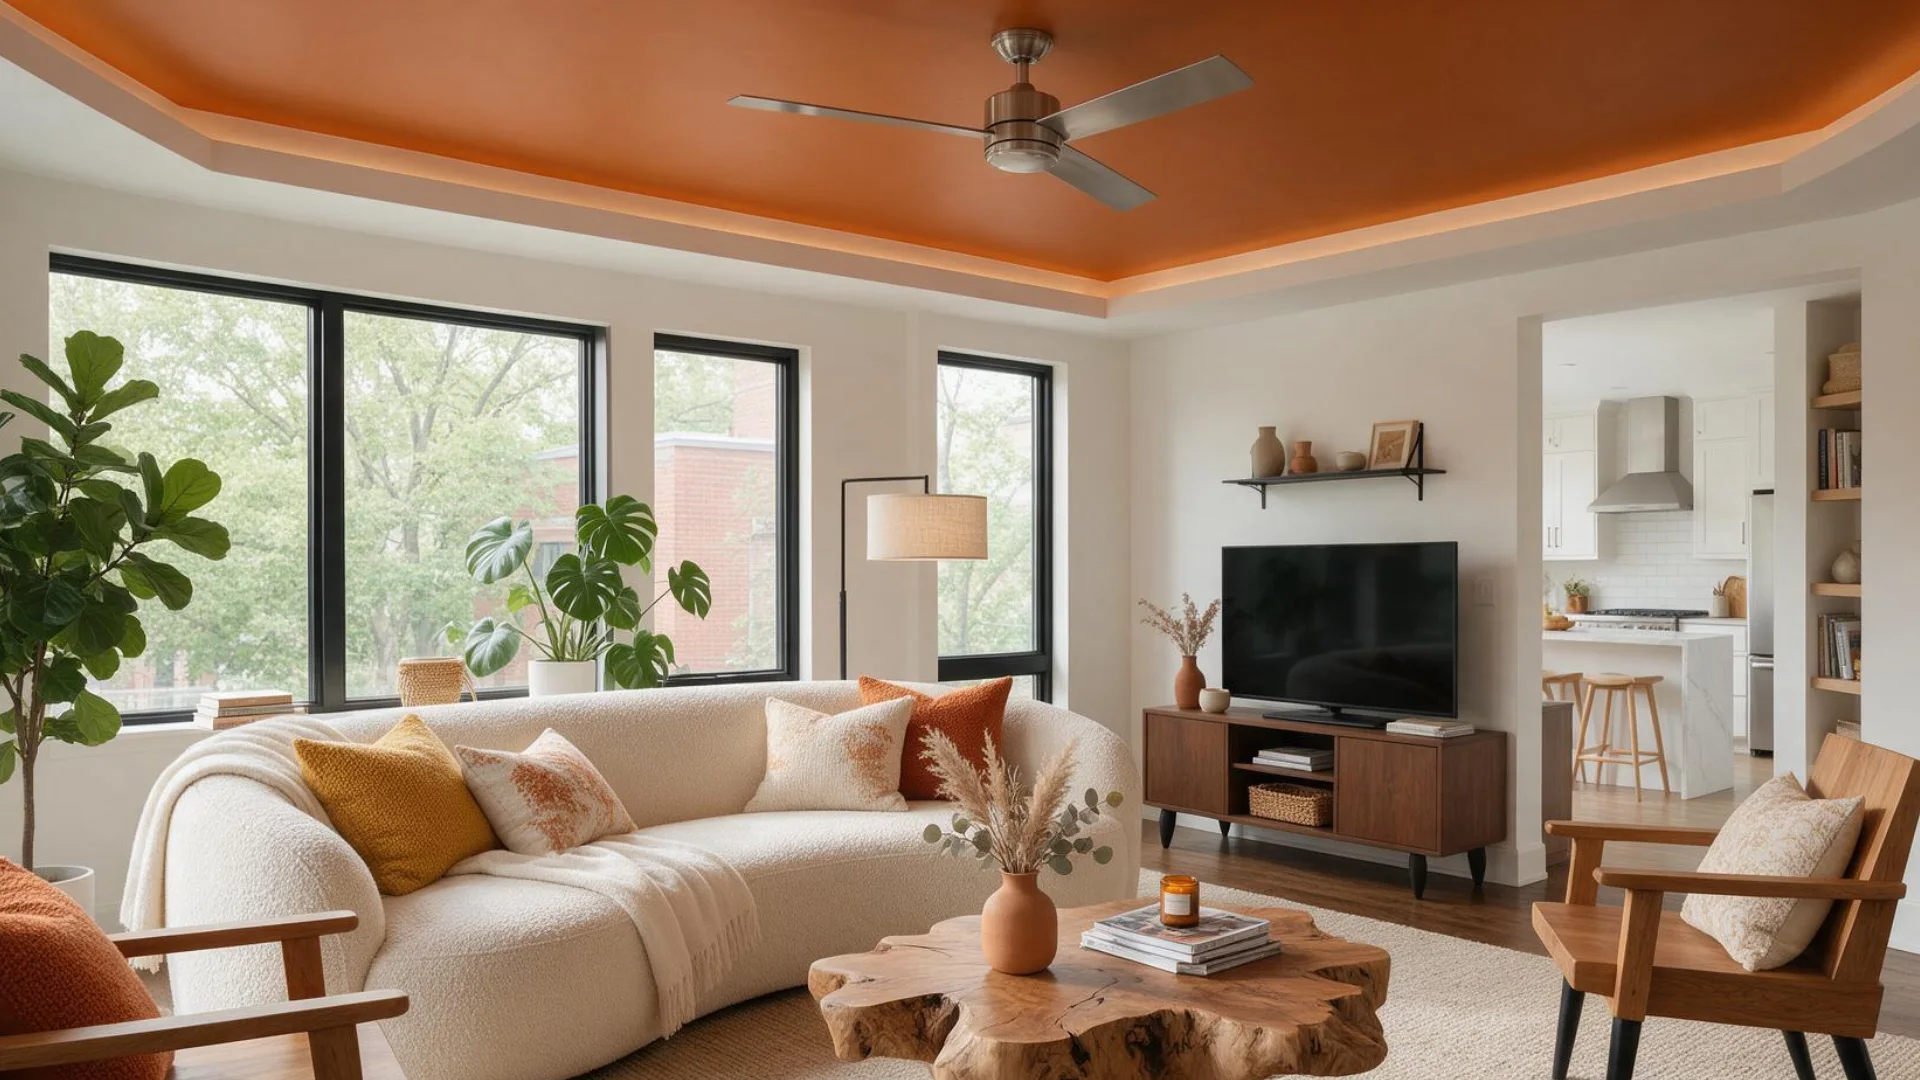
A painted ceiling makes a statement. A soft color wraps a room in warmth. And a bold one makes it feel dramatic.
Estimated Time: 4-6 hours | Estimated Cost: $30-$70
What You’ll Need
- Ceiling paint in your chosen color (flat or matte finish)
- A roller with an extension pole
- A small angled brush (2 inch)
- Painter’s tape
- Drop cloths
- Safety goggles
- A step ladder
Step-by-Step Instructions
- Move all furniture to the center and cover it with drop cloths.
- Tape along the top of all four walls where they meet the ceiling.
- Put on safety goggles to protect your eyes from drips.
- Cut in around all edges with your angled brush first.
- Attach the roller to your extension pole for easy overhead reach.
- Roll paint in a W pattern across the ceiling for even coverage.
- Work in small sections so the edges stay wet as you go.
- Let the first coat dry fully before rolling on the second coat.
- Remove the tape slowly and touch up any thin spots with a small brush.
- Step back and let the ceiling become the star of the room.
6. Paint a Reading Nook

A reading nook should be comfy, quiet, and calming, and painting is the easiest way to make it feel that way.
Try terracotta, olive green, and warm brown, as these colors pull you in and feel calming.
Estimated Time: 2-3 hours | Estimated Cost: $15-$30
What You’ll Need
- Wall paint in a warm, deep color (1 quart is usually enough)
- Painter’s tape
- A small angled brush (2 inch)
- A mini foam roller
- Drop cloth
- Sandpaper (120 grit) for glossy walls
Step-by-Step Instructions
- Clear the nook fully and lay a drop cloth on the floor.
- Tape along all edges where the nook meets the rest of the room.
- Lightly sand glossy walls so the new paint sticks properly.
- Wipe walls clean with a damp cloth and let them dry completely.
- Cut in along all corners and edges with your angled brush.
- Fill in the larger sections using your mini roller in smooth strokes.
- Add a second coat after 2 hours for a deep, color-drenched finish.
- Peel the tape back slowly and enjoy your newly comfy corner.
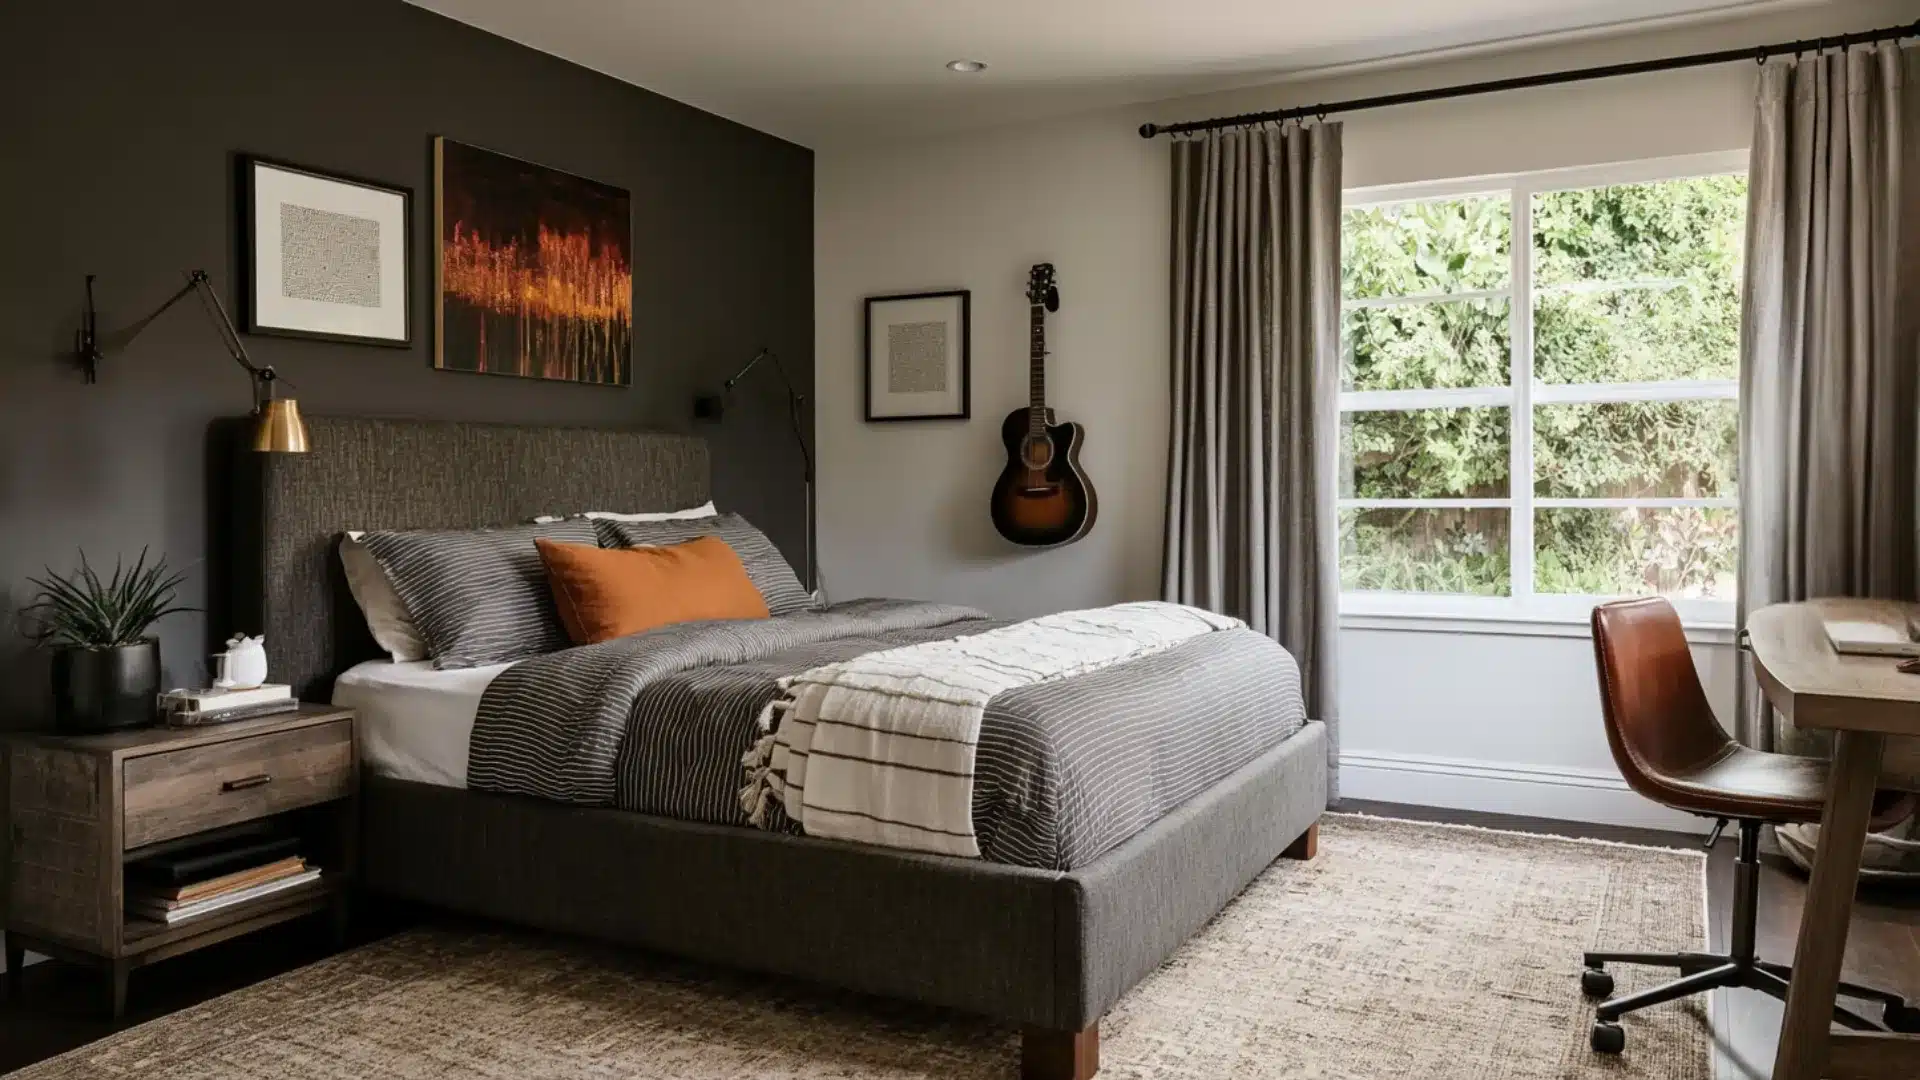
7. Paint a Faux Headboard
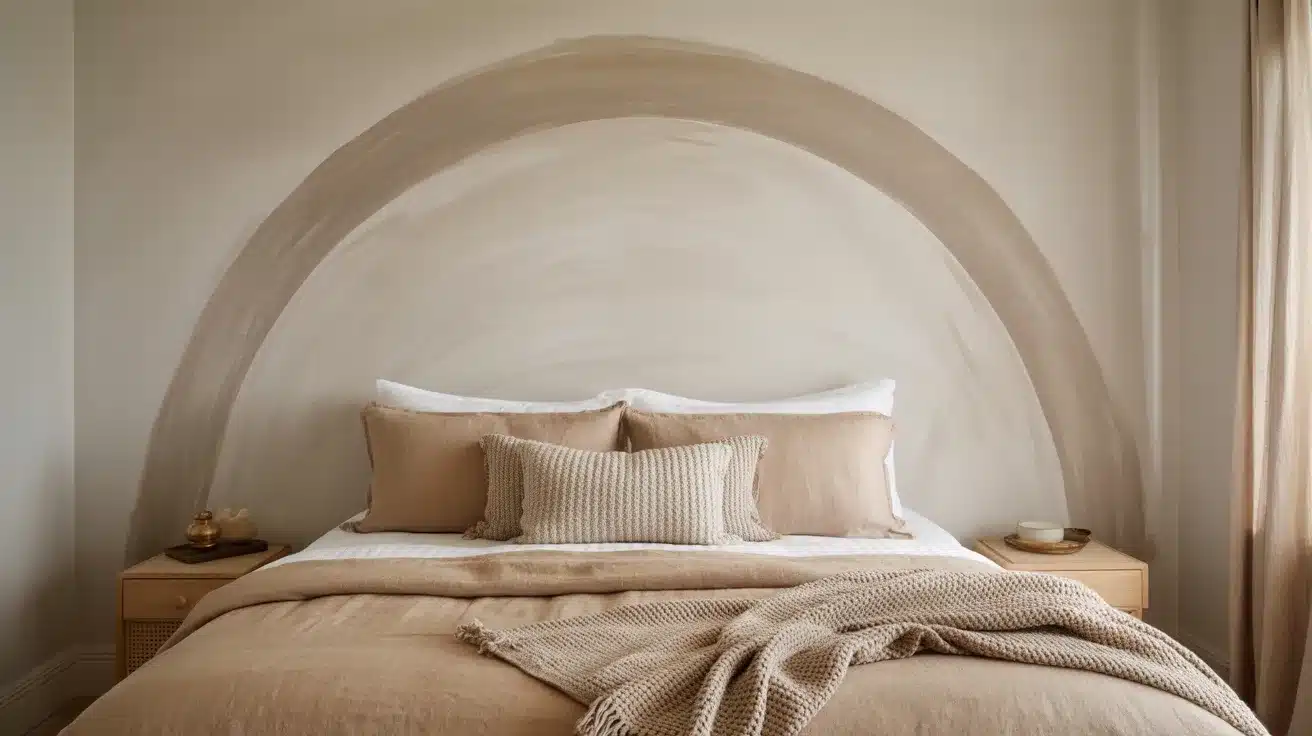
This is one of my favorite renter-friendly bedroom tricks if you don’t have a headboard.
You paint the shape of a headboard directly onto the wall behind your bed. And when you move out, paint it back over.
Estimated Time: 2-4 hours | Estimated Cost: $15-$35
What You’ll Need
- Wall paint in your chosen color (1 quart is plenty)
- Painter’s tape
- A pencil and ruler
- String and a thumbtack (for arch shapes)
- A small angled brush
- A mini foam roller
- A level
Step-by-Step Instructions
- Position your bed first, so you know exactly where the shape should go.
- Lightly mark the width of your headboard on the wall with a pencil.
- Use a string and a thumbtack to make an arch, or a ruler for straight edges.
- Check every line with a level to make sure nothing looks crooked.
- Apply painter’s tape carefully along the outside of your pencil lines.
- Paint the edges with your angled brush, then fill in with a roller.
- Add a second coat after 2 hours for full, even coverage.
- Peel the tape back slowly and move your bed back into place.
- Add pillows and bedding to complete the finished look.
8. Paint Your Stair Risers
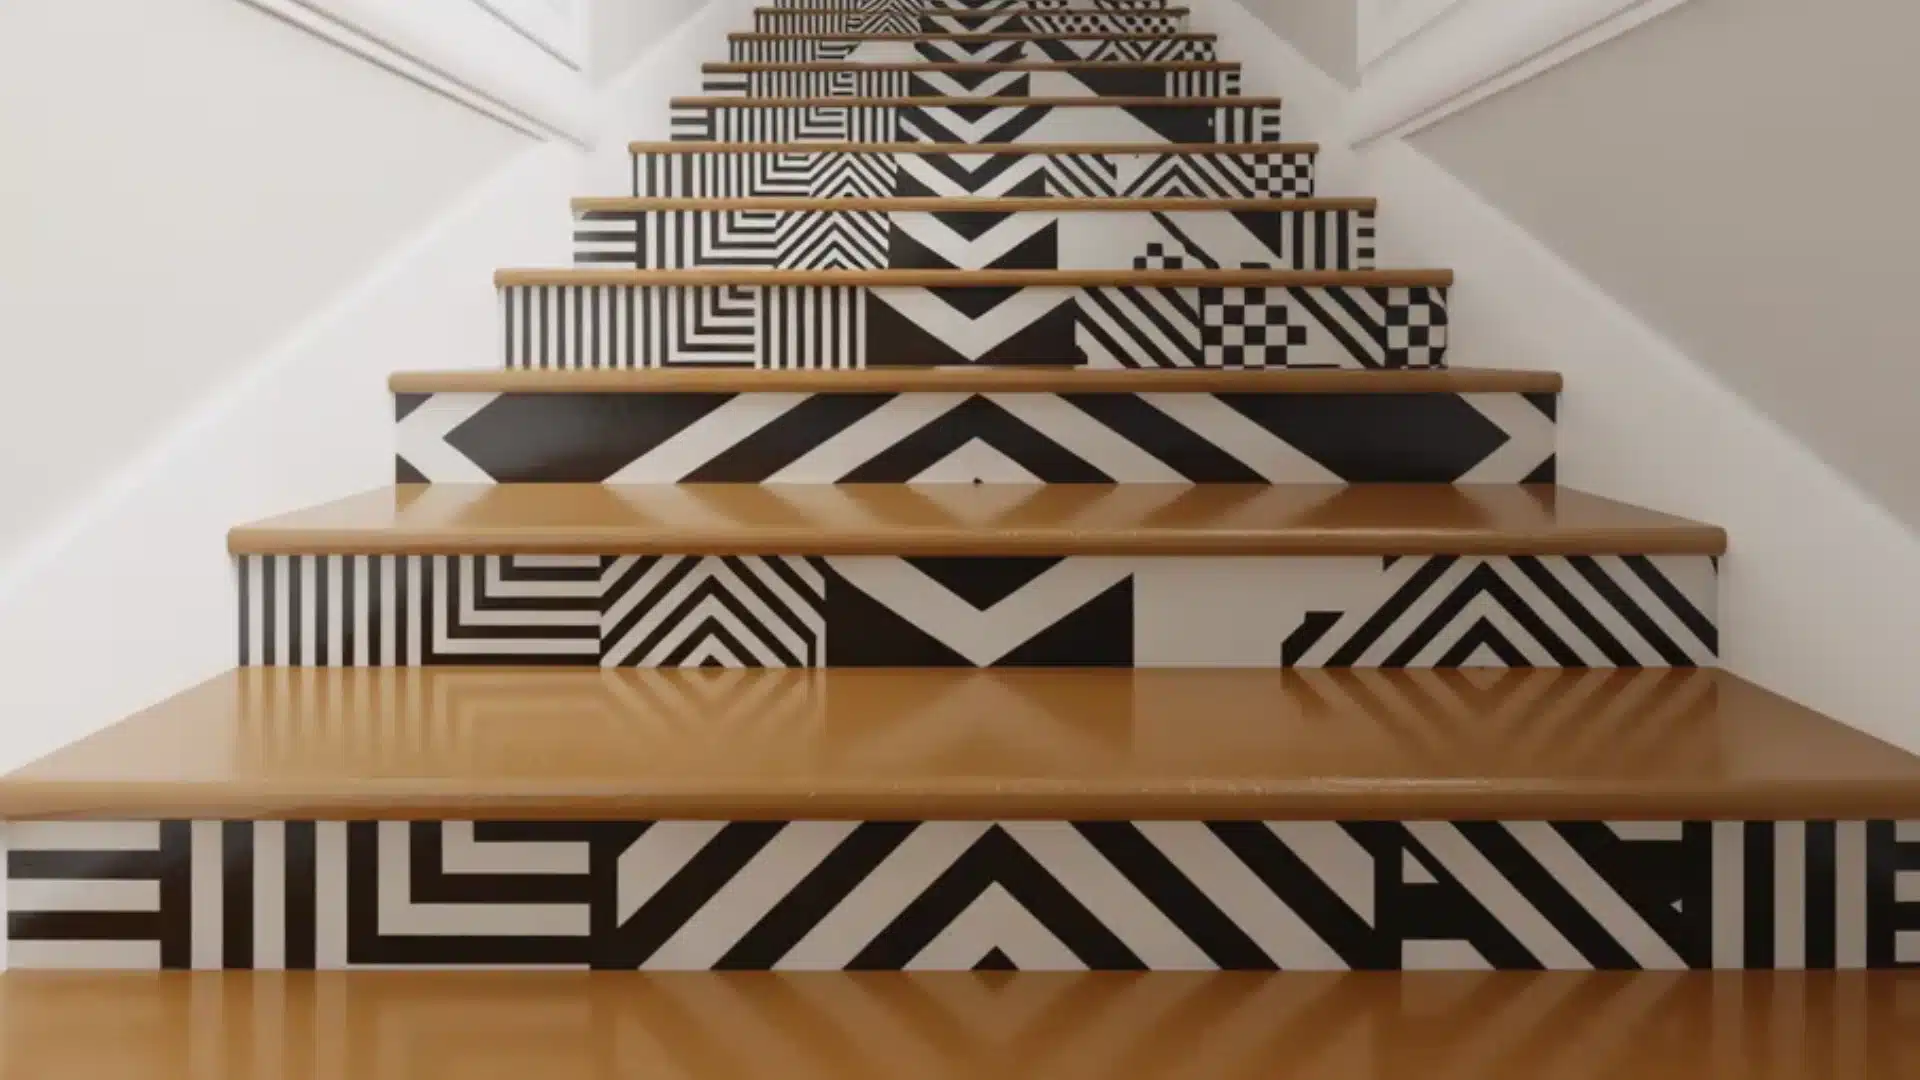
And when your home feels a little basic, and you wonder what should I paint next? it’s the stair risers!
Painting your stair risers is such a simple way to add personality to your home. Go for monochrome, geometric, or tile-inspired options.
Estimated Time: 4-6 hours | Estimated Cost: $25-$50
What You’ll Need
- Porch and floor paint in your chosen color
- Painter’s tape
- A small angled brush
- Sandpaper (120 grit)
- A damp cloth
- Primer (recommended for bare wood)
Step-by-Step Instructions
Follow these simple steps, and you’ll be done before the day is over. I’ve kept everything easy to follow so you don’t have to guess what comes next.
- Sand each riser lightly with 120-grit sandpaper for better adhesion.
- Wipe away all dust with a damp cloth and let the risers dry.
- Apply primer to bare wood risers and let it dry completely.
- Carefully tape along the top and bottom edges of each riser.
- Paint each riser with smooth, even brush strokes.
- Let the first coat dry for 2 hours before applying the second.
- Cure for 24 hours before walking on the stairs again.
Things to Paint for People with a Little Experience, Yet Cool!
If you’ve already tackled a wall or two and want something with a bit more technique, these three projects are worth the extra effort.
9. Create a Faux Limewash Wall
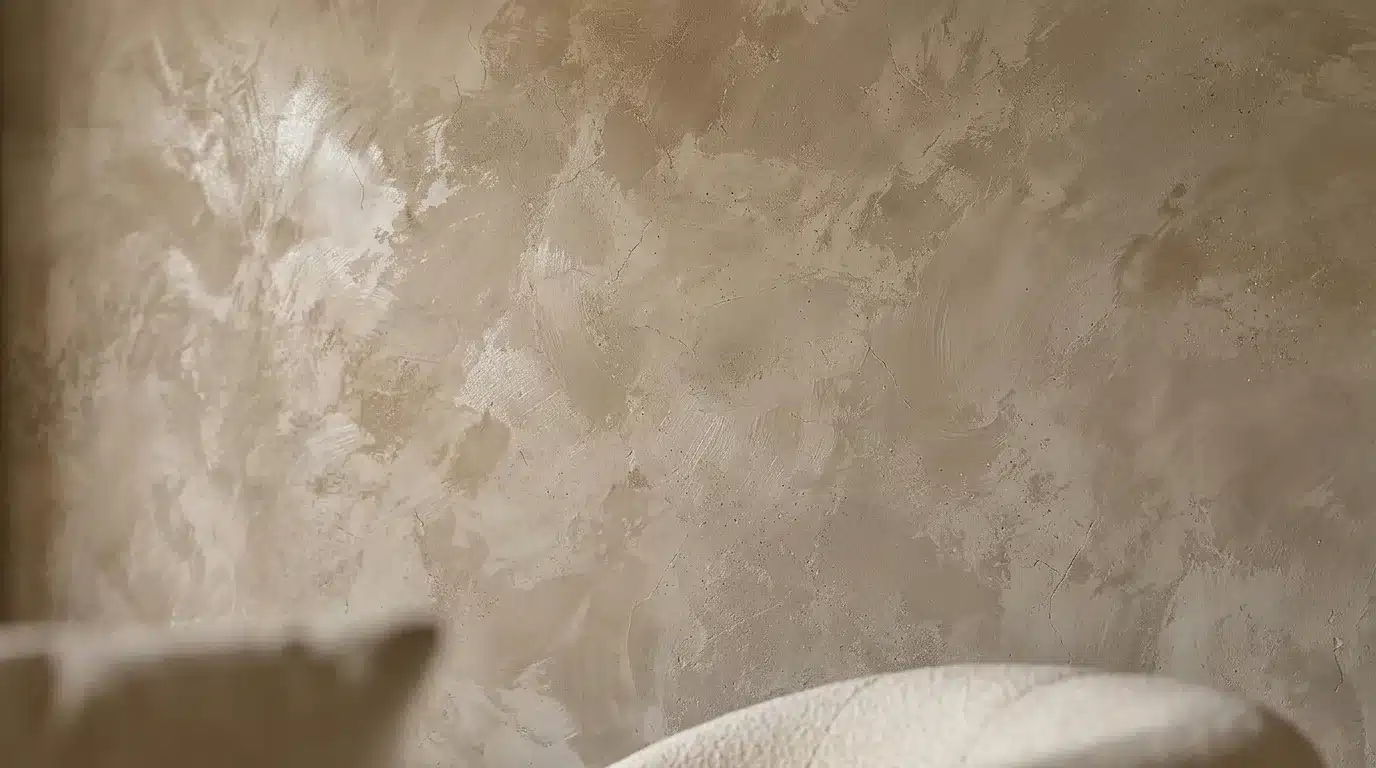
Limewash walls have dominated interior design for the past few years for good reason – that soft, layered finish makes a room feel like it has actual history.
And you don’t need actual limewash to get it.
A chalk paint or dedicated limewash-effect paint, applied with the right technique, gets you surprisingly close.
Estimated Time: 6-8 hours | Estimated Cost: $50-$120
What You’ll Need
- Limewash paint or chalk paint in your chosen color
- A large chip brush or Venetian plaster brush
- A bucket of clean water
- A sea sponge or a dry cloth
- Painter’s tape
- Drop cloths
- A mixing stick
Step-by-Step Instructions
- Clean and dry your wall completely before you start.
- Tape off all edges, trim, and outlets with painter’s tape.
- Mix your paint with a small amount of water to thin it slightly.
- Dip your chip brush and apply paint in random, sweeping X-shaped strokes.
- Work in small 2-foot sections so the paint stays wet.
- While still wet, use a damp cloth to softly blend and smear the paint.
- Leave some areas thinner and some areas darker for a natural finish.
- Let the first layer dry fully before adding a second layer.
- Use a dry brush to lightly blend the second layer while still wet.
- Step back often to check the look and soften any harsh edges.
- Seal with a matte wax or clear sealer once fully dry for protection.
10. Paint a Checkerboard Floor
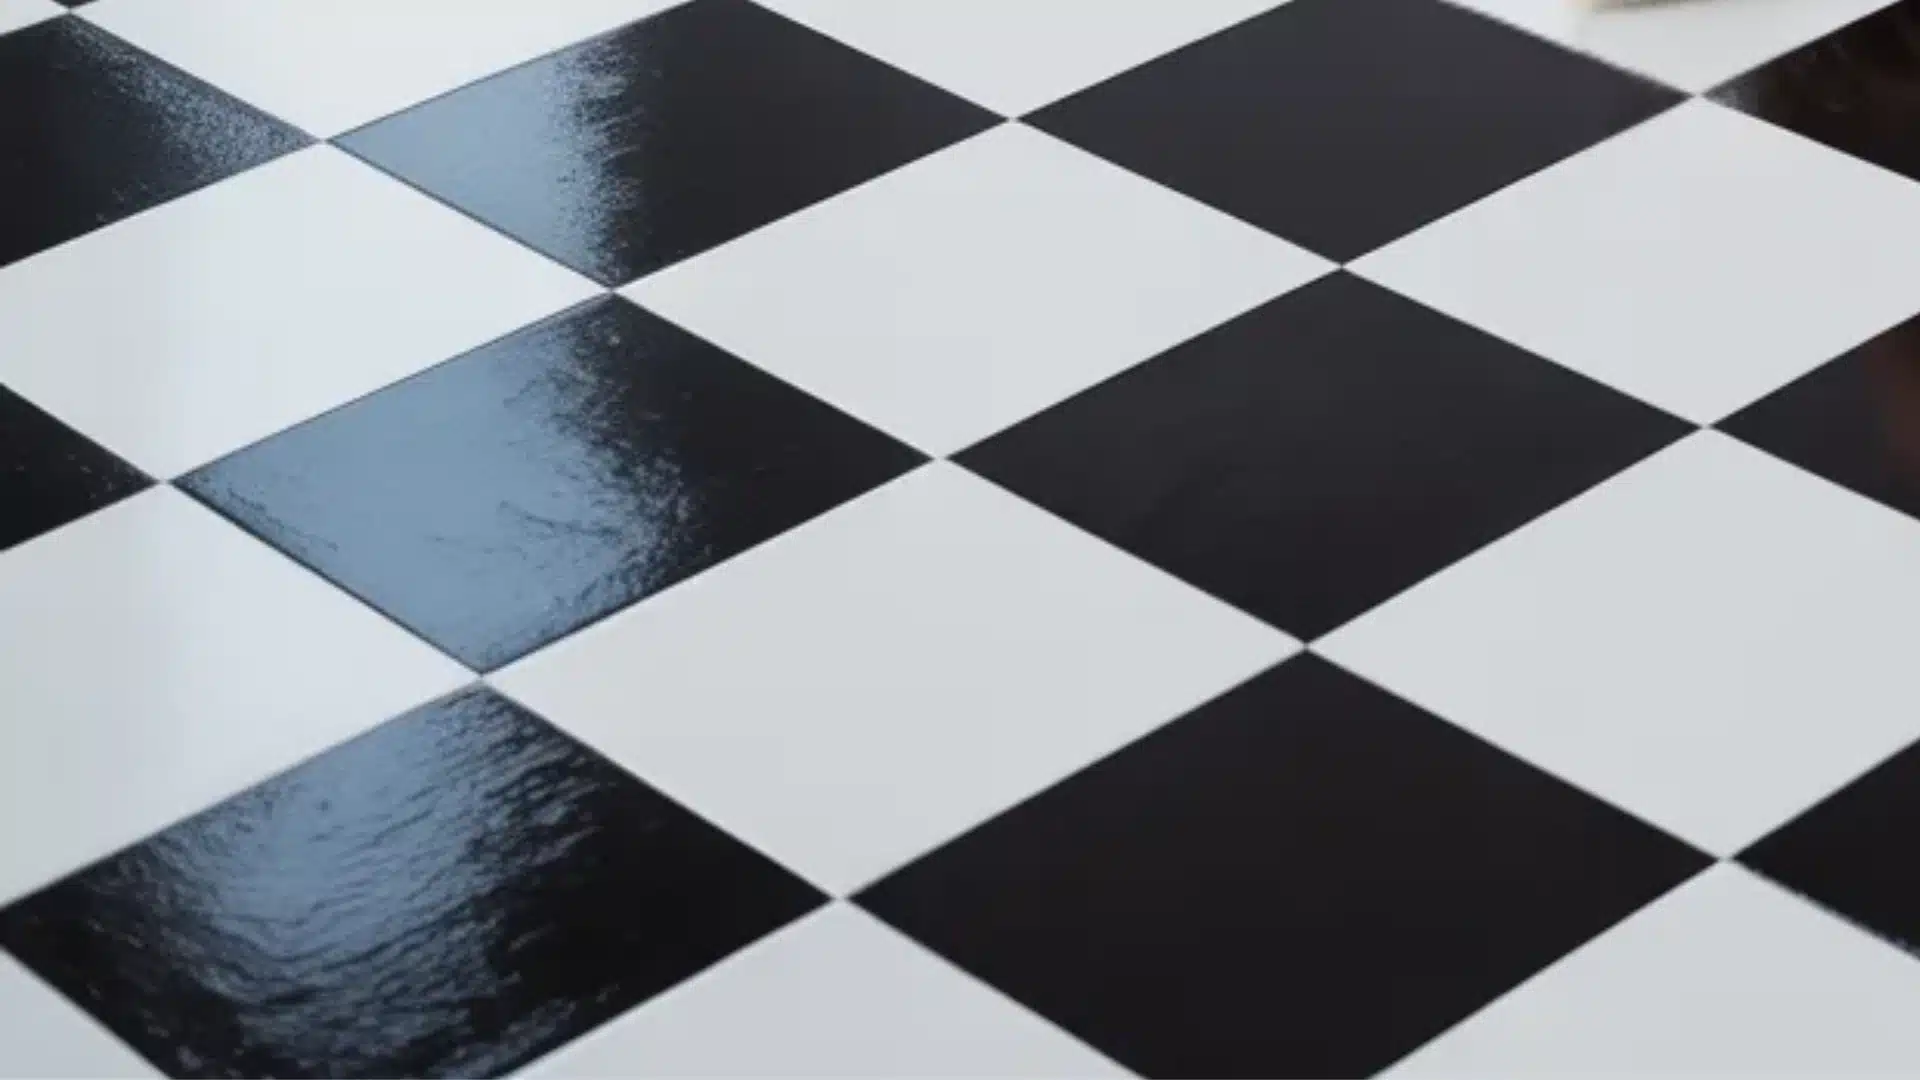
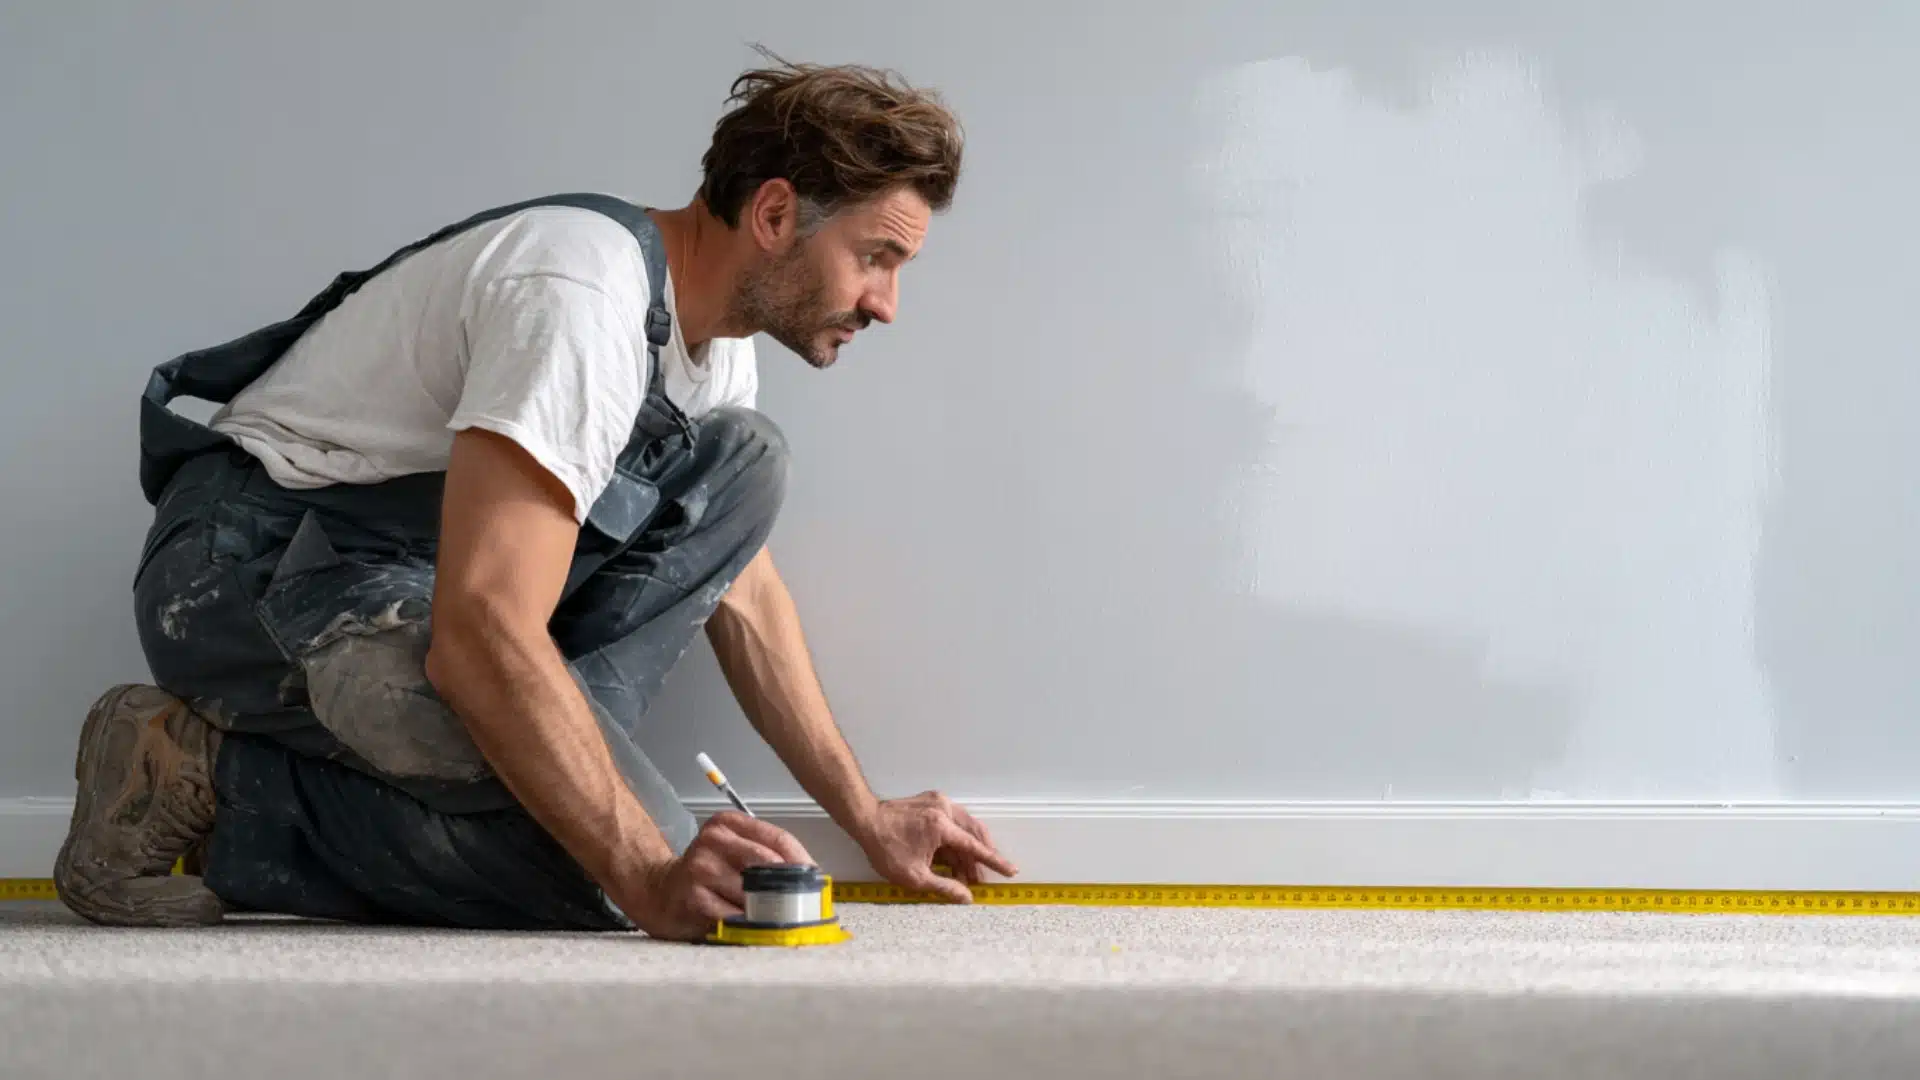
A checkerboard floor feels bold and classic. It works in bathrooms, kitchens, laundry rooms, and patios. Just getting those squares perfects needs to be carefully done by measuring and taping.
Estimated Time: 2-3 days | Estimated Cost: $80-$150
What You’ll Need
- Floor paint in two contrasting colors
- Painter’s tape (1 or 2 inch)
- A tape measure and chalk line
- Pencil and ruler
- A small foam roller
- Floor primer
- Polyurethane sealer
- Sandpaper (120 grit)
Step-by-Step Instructions
- Sand the floor lightly and clean it so it’s completely free of dust.
- Apply floor primer and let it dry for the full time on the label.
- Measure the floor and decide on your square size — 12 inches works well.
- Snap a chalk line grid across the entire floor using your chalk line tool.
- Mark every alternate square lightly with a pencil.
- Apply painter’s tape along all four sides of your first color squares.
- Paint all the taped squares with your first color using a foam roller.
- Let it dry completely before carefully removing the tape.
- Tape and paint the remaining squares in your second color.
- Let the second color dry completely before touching any edges.
- Apply two coats of polyurethane sealer for a durable, long-lasting finish.
- Wait a full 24 hours before walking on the floor again.
11. Color Drench an Entire Room
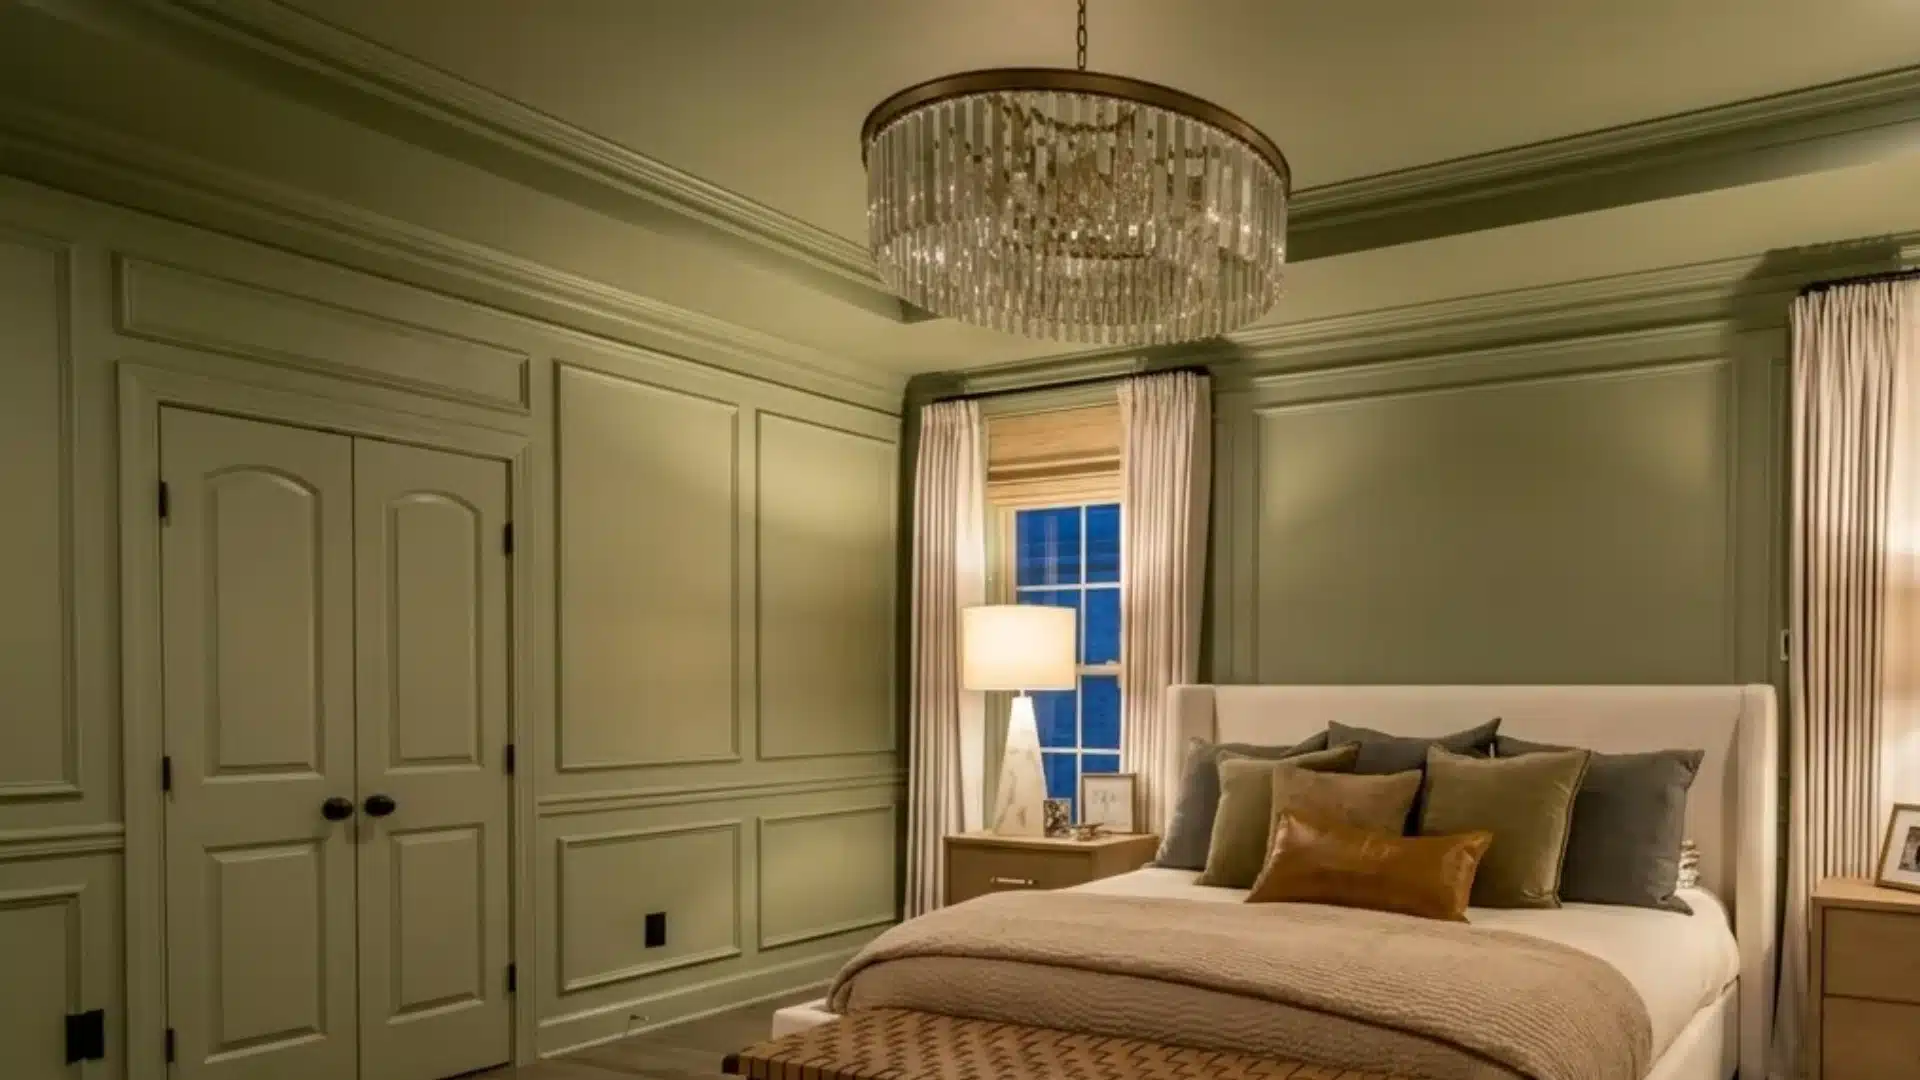
Color drenching — painting the walls, ceiling, trim, and doors all in the same colour is one of those techniques that sounds chaotic and looks incredible.
The eye stops hunting for contrast and the room just feels calm.
Estimated Time: 1-2 days | Estimated Cost: $100-$250
What You’ll Need
- Paint in one single color (enough for walls, ceiling, trim, and doors)
- A roller with an extension pole
- A small angled brush (2 inches)
- A trim brush for doors and molding
- Painter’s tape
- Drop cloths
- A step ladder
- Safety goggles
Step-by-Step Instructions
- Clear the room fully and cover the floor with drop cloths.
- Start with the ceiling first, using your roller and extension pole.
- Cut in along the ceiling edges with your angled brush before rolling.
- Move to the walls next and work from top to bottom.
- Use your trim brush to carefully paint all molding and baseboards.
- Paint all doors last, using a small foam roller for a smooth finish.
- Let the entire first coat dry before going back over anything.
- Apply a second coat to the ceiling and walls for full coverage.
- Touch up the trim and doors with a second coat using a small brush.
- Remove all tape and drop cloths once everything is completely dry.
- Bring furniture back in and let the room speak for itself.
Related read: What is Color Drenching?
Ending Note!
So that was it, some really cool ideas for painting when you get bored.
Boredom and a creative mind can make wonders. These things to paint are easy and I’ve explained them with really simple steps.
And I really hope you like them, and if you want more such ideas – you know where to go!!
Comment below!
People Also Ask
1. Do I Always Need to Use Primer Before Painting?
Not always. But primer helps a lot when you are painting over dark colors, bare wood, or very glossy surfaces.
2. How Many Coats of Paint do I Really Need?
Some need two coats for an even finish. Dark or bold colors may need a third coat. Always let each coat dry fully before adding the next one.
3. What Type of Paint Finish Should I Use for Walls?
Matte or eggshell finish for most walls. Use satin or semi-gloss for trim, doors, and cabinets since these areas get more wear.