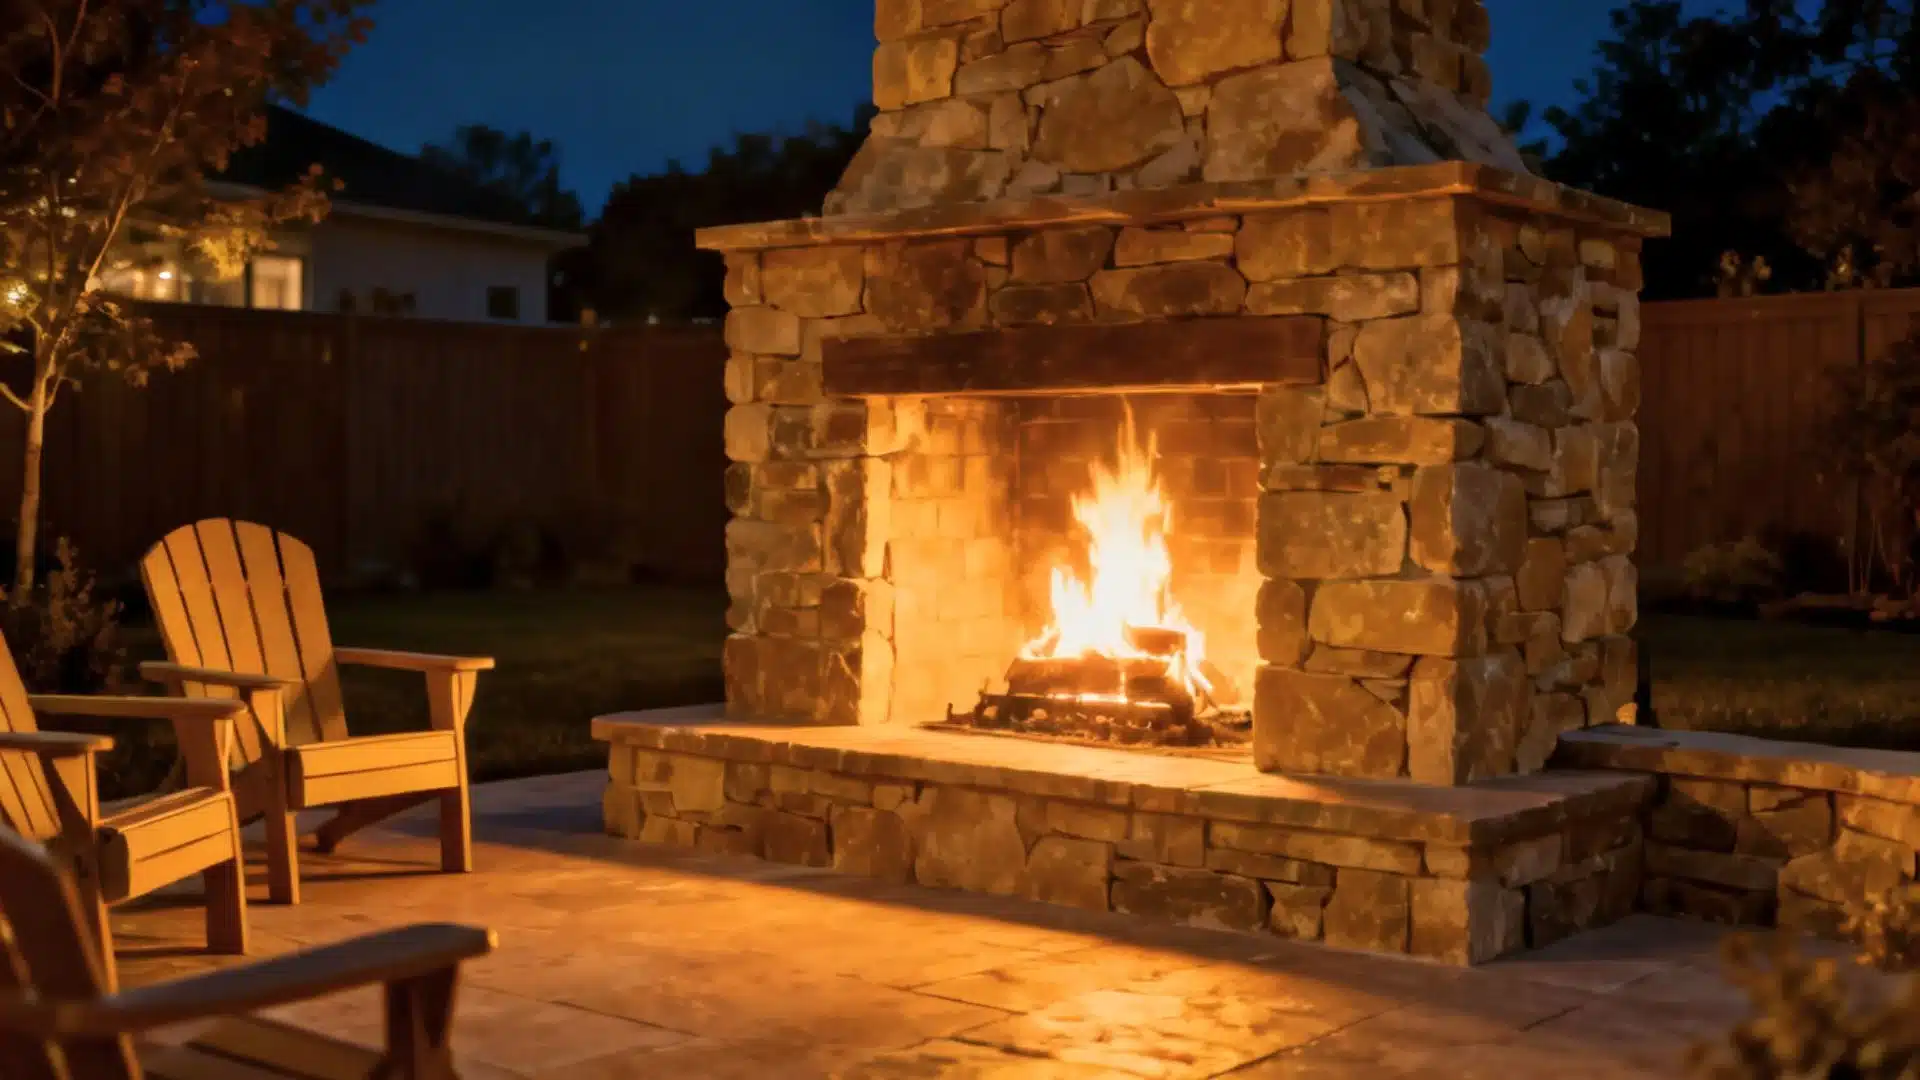
There’s something about a real fire crackling in the backyard on a cool night. I used to think building one was way out of my league. Turns out, it wasn’t.
A few years back, I tackled my own outdoor fireplace. I learned how to build an outdoor fireplace, and it was perfect, not really. But it works, and my family gathers around it every weekend now.
Honestly, it’s become my favorite spot in the whole yard. Maybe you’re staring at an empty corner of your patio, wondering if you could pull this off too. Well, you can.
I’ll walk you through the whole thing, from the foundation to the first fire. No pro masonry skills are needed, just a solid plan and a free weekend or two.
Before You Build: The Planning Part
The planning is the boring bit. But skipping it is how people end up with a fireplace they can’t legally use.
Check local codes and permits: Before you buy a single brick, call your local building office. Many towns require a permit for outdoor fireplaces.
Pick a safe spot: Next, find the right location. Keep your fireplace at least 10 feet from your house and any other structures. Steer clear of low branches too.
Wood, gas, or electric: The fuel you pick shapes your entire build. Wood gives you that real crackle and smell. Gas is clean and easy. Electric is the simplest of all, though it misses the true fire feel.
Size, style, and budget: Lock down the size and your budget before anything else. Measure your space and sketch a rough design with the dimensions. A basic DIY masonry build typically runs $1,000 to $3,000 in materials. A kit-based build sits closer to $500 to $1,500. Hiring it out can push past $10,000.
Materials and Tools You’ll Need for an Outdoor Fireplace
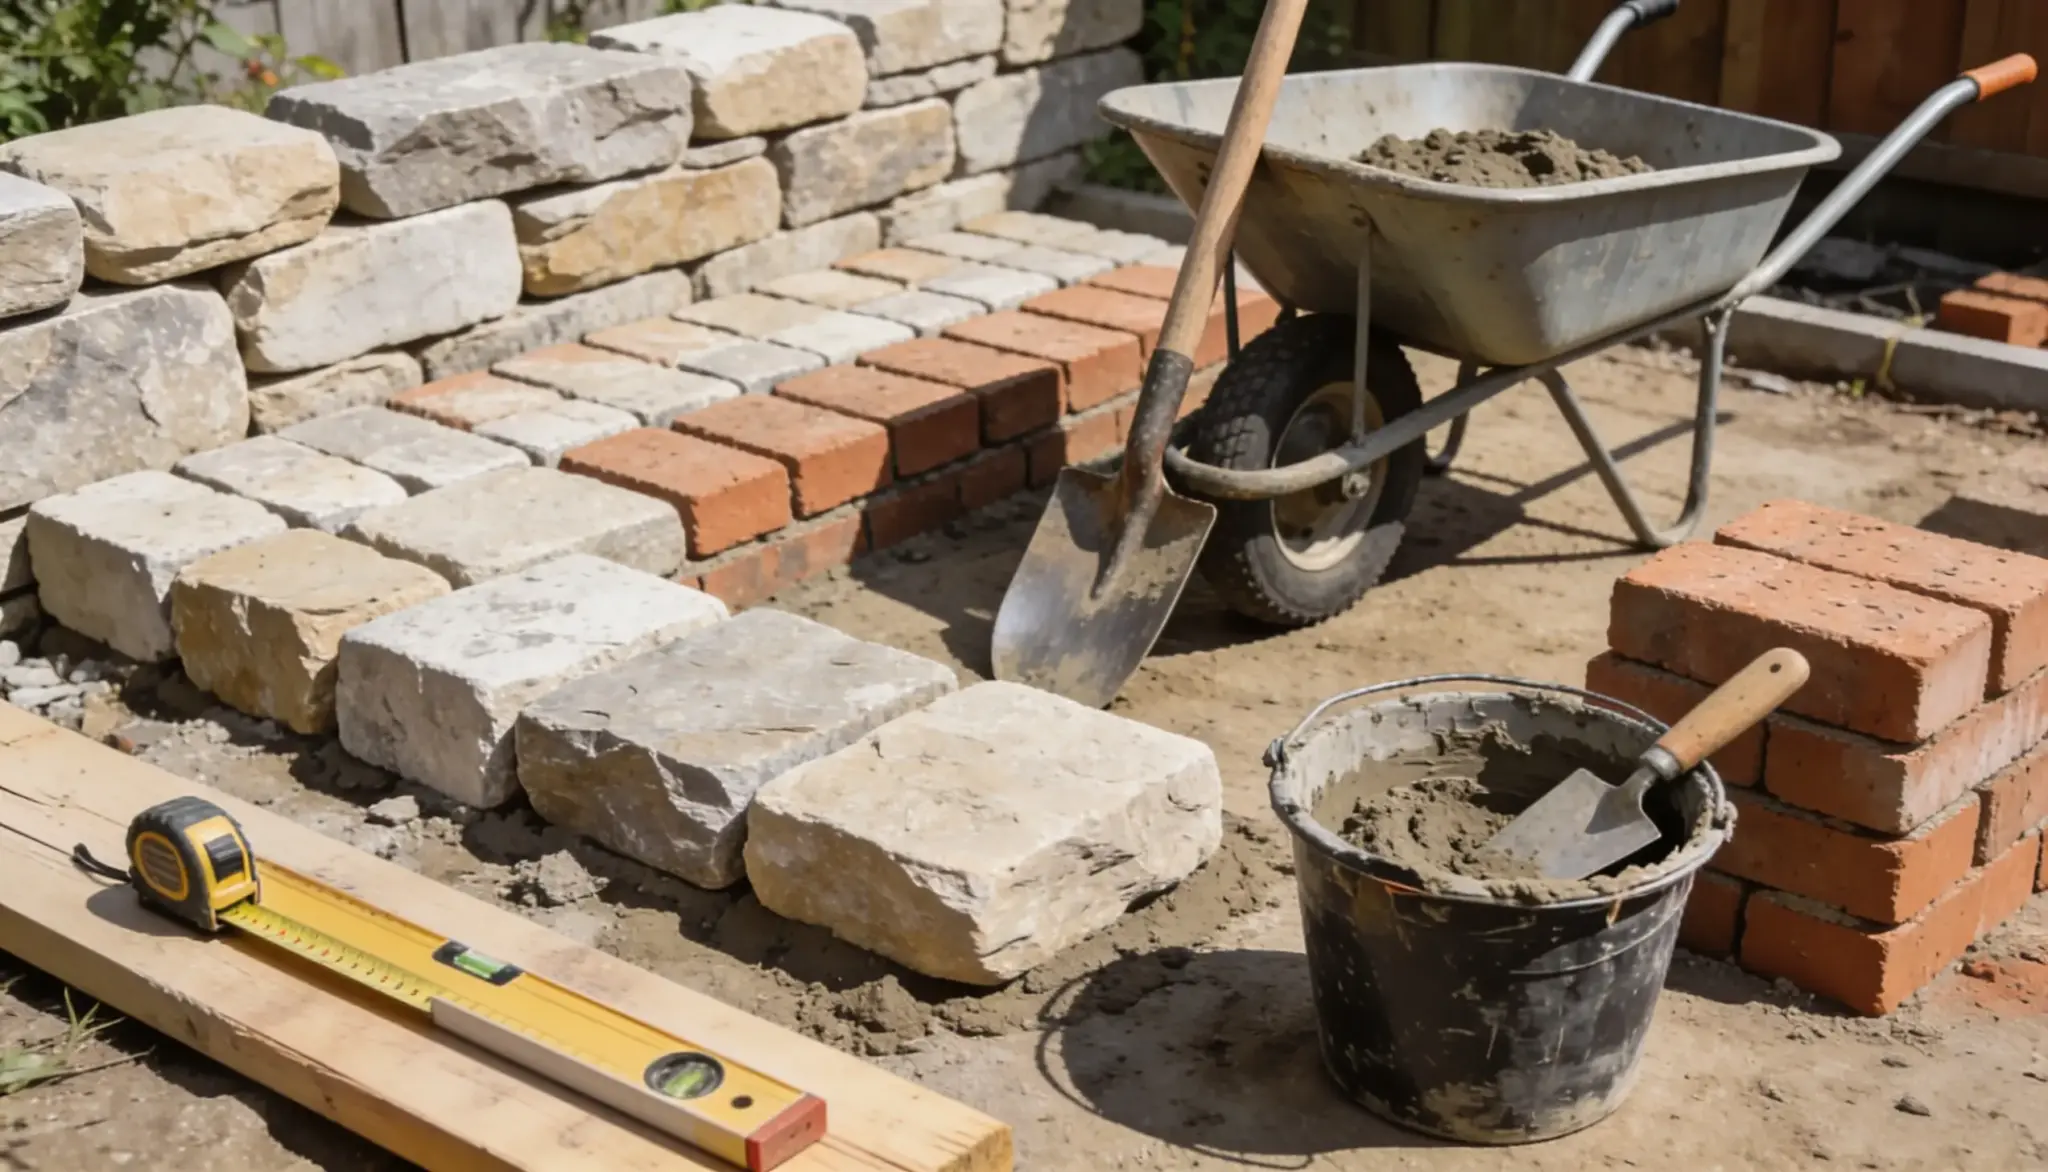
Get everything on this list before you start. Stopping mid-build for a forgotten supply is how weekends die.
Materials
- Concrete or gravel (foundation)
- Concrete or cinder blocks (base)
- Firebrick (firebox lining)
- Refractory mortar and regular mortar
- Lintel and angle iron
- Flue pipe or chimney kit
- Stone or brick veneer
- A cap for the top
- Metal lathe (only for stucco or thin stone)
Tools
- Shovel
- Level and square
- Rubber mallet
- Trowel and mortar bag
- Tape measure, stakes, and string
- Wheelbarrow or bucket
- Gloves and safety glasses
Popular Outdoor Fireplace Designs to Inspire Your Build
I scrolled through a ton of backyard photos before mine clicked.
Here are the styles that come up again and again.
Classic Stone
Natural stone never goes out of style. Some folks mix horizontal and vertical stones for real texture and depth. It blends right into a garden setting and looks great whether the fire is lit or not.
Stone also handles heat and weather like a champ, so it holds up for years. You can go with full stones or thinner veneer over a block base.
Board-formed Concrete
I kept coming back to this one. The concrete gets poured against wood boards, so it picks up the grain pattern when you peel them away.
The result has a clean, modern edge that feels custom. It pairs really well with simple patios and newer homes.
One thing I learned: the wood you choose changes the texture, so test a small section first.
Brick
Brick is timeless and tough as nails. It pairs naturally with traditional homes, older patios, and cottage-style yards. You can lay it in a tidy running bond or try a herringbone pattern for extra character.
Brick also takes high heat well, which makes it a smart pick for a wood-burning firebox. It does take patience to lay neatly, but the payoff is worth it.
Kit-based Builds
A pre-made kit is your friend. It handles the tricky firebox and draft engineering for you, so the fire vents properly.
Then you just wrap it in your own veneer for the final look. I’d point any first-timer here without hesitation. It takes the guesswork out and lowers the odds of a smoky, frustrating result.
Built-in Extras
Want more than just a fire? Think about a mantel, side wood storage, or even a tucked-in spot for a TV.
Some people add bench seating so the whole family can gather close on cool nights. These touches turn a simple fireplace into a real outdoor hangout.
How to Build an Outdoor Fireplace in 7 Simple Steps
Take one step at a time and don’t rush. I built mine over a couple of weekends, and the slow pace actually helped.
Step 1: Lay the Foundation
Everything rests on this, so its important to get it right. Dig down about six inches, or below your frost line. Fill the hole with gravel and pack it tight.
Then pour four inches of concrete on top. Do not pour directly on soil — it needs that gravel base underneath to drain properly.
Check that it’s level, then let it cure for a day or two.
Step 2: Build the Base
Once the concrete is solid, start laying your blocks. Begin at the center and work outward. Use your level often to keep every row even.
Spread mortar between the blocks as you go. Offset each row so the seams don’t line up, since that makes the whole base stronger.
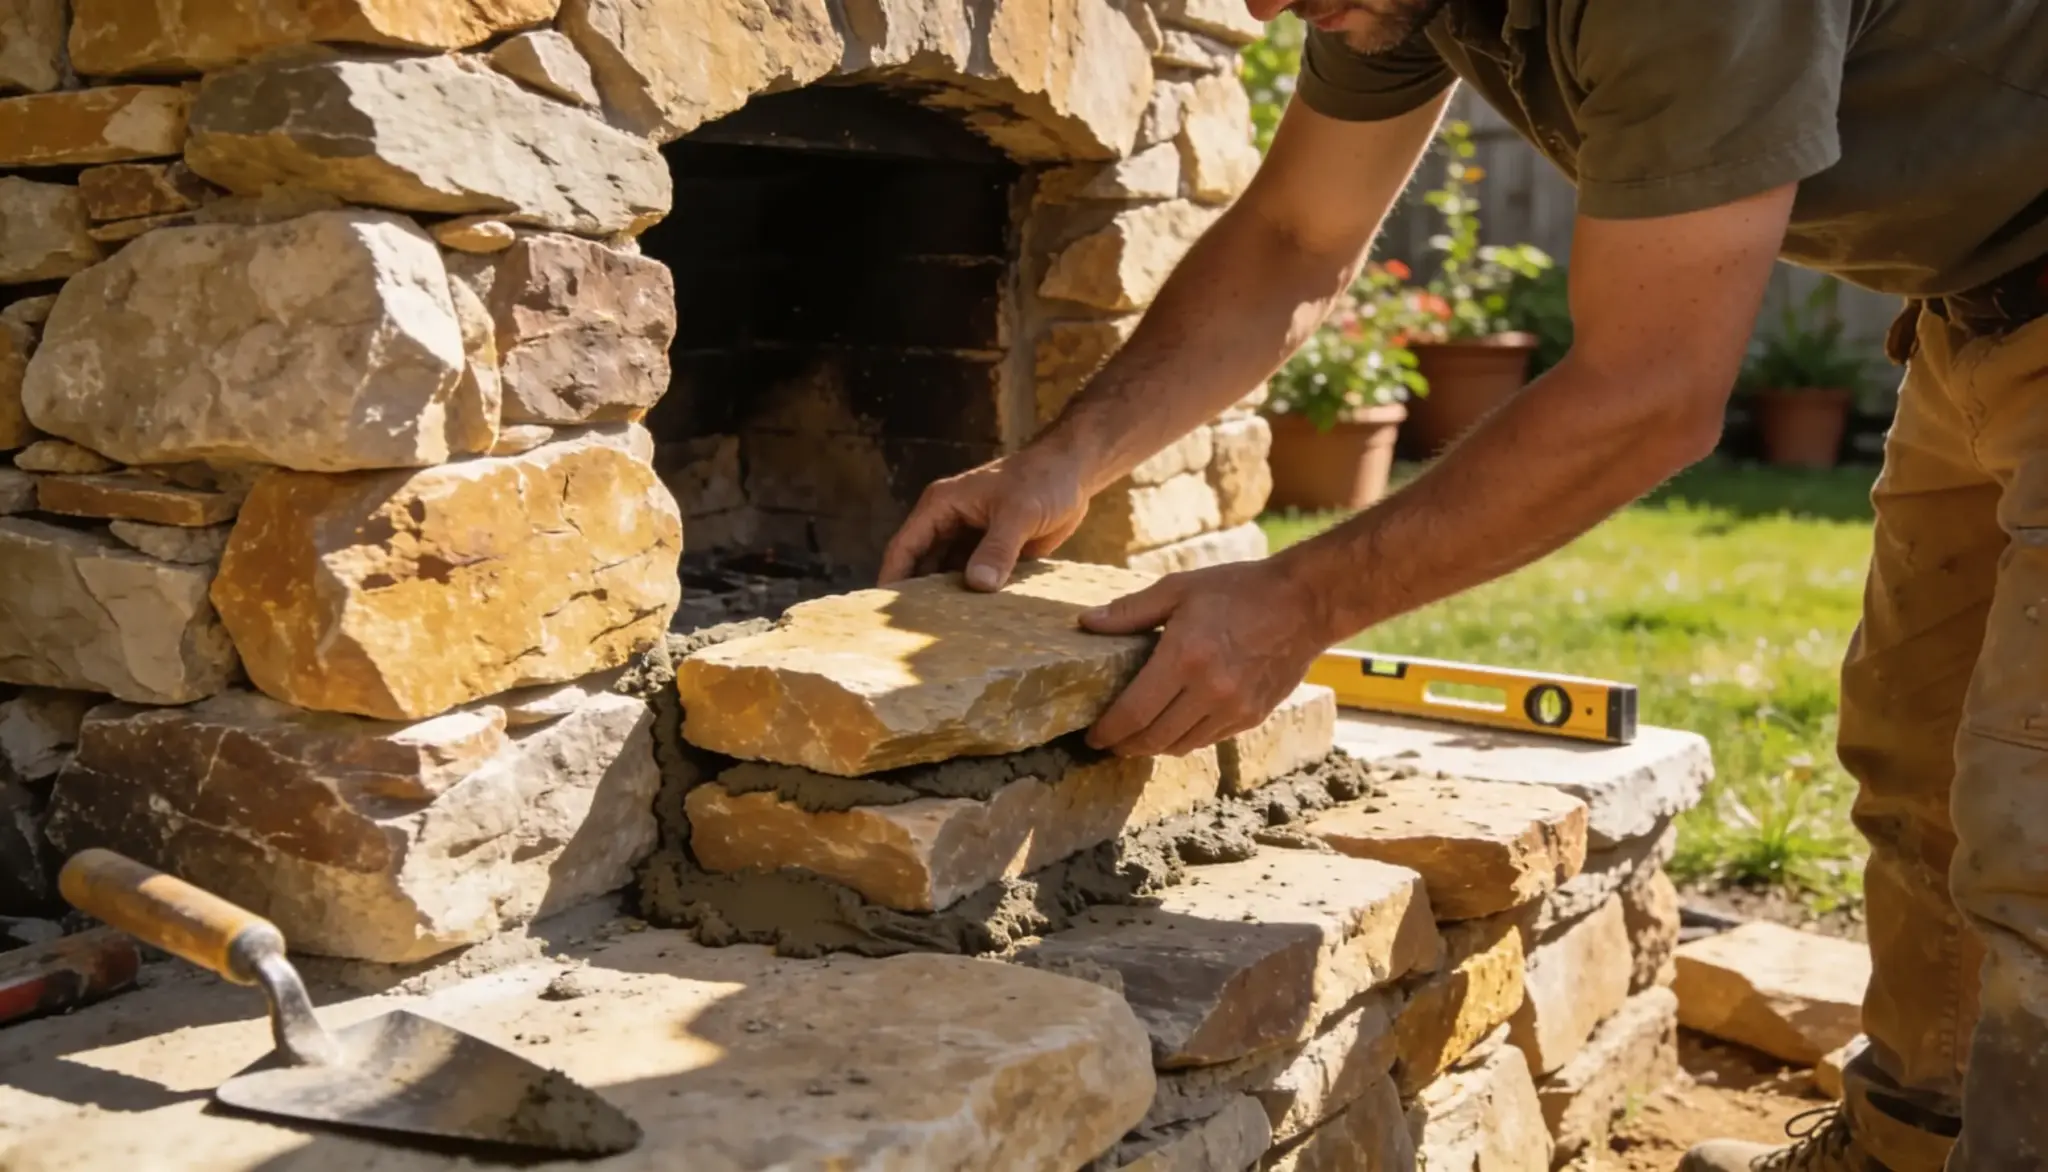
Step 3: Build And Line the firebox
The firebox is the heart of the whole thing. Keep it square, level, and plumb as you build. Start from the outside corner and work in.
Then line the inside with firebrick using refractory mortar. Regular mortar will crack under heat. Refractory mortar is rated for temperatures up to 2,000°F and is not optional here.
That firebrick layer protects your structure from the intense heat.
Step 4: Set the Lintel And Throat
Now you’ll bridge the firebox opening. Place a lintel block across the top to carry the weight. Set your angle iron flush with the lintel for support.
Add the throat pieces above that. This shapes the path that pulls smoke up and away.
Step 5: Stack the Flue and Chimney
Here’s where a good draft happens. Stack your flue pipes one by one until you hit your chosen height. Grab a buddy for this part because the pieces are heavy.
Double-check your local code for max chimney height.
The standard rule is the 2-10 rule: the chimney must rise at least 2 feet above anything within 10 feet of it. A proper chimney keeps smoke off your face and out of your eyes.
Step 6: Add the Veneer
Time to make it look good. Wrap the structure in stone or brick veneer using the same refractory mortar. Work from the bottom up, pressing each piece in firmly.
Wipe away extra mortar with a wet cloth while it’s still soft. Take your time here, since this is the part everyone sees.
Step 7: Cap it And Cure
Now its almost done. Add the cap to the top to finish the chimney and keep rain out. Then walk away.
Cure time depends on how you built it. Full masonry builds need about 30 days. Kit-based builds using refractory cement can be ready in 72 hours.
Either way, lighting it too soon can crack the mortar joints and undo everything.
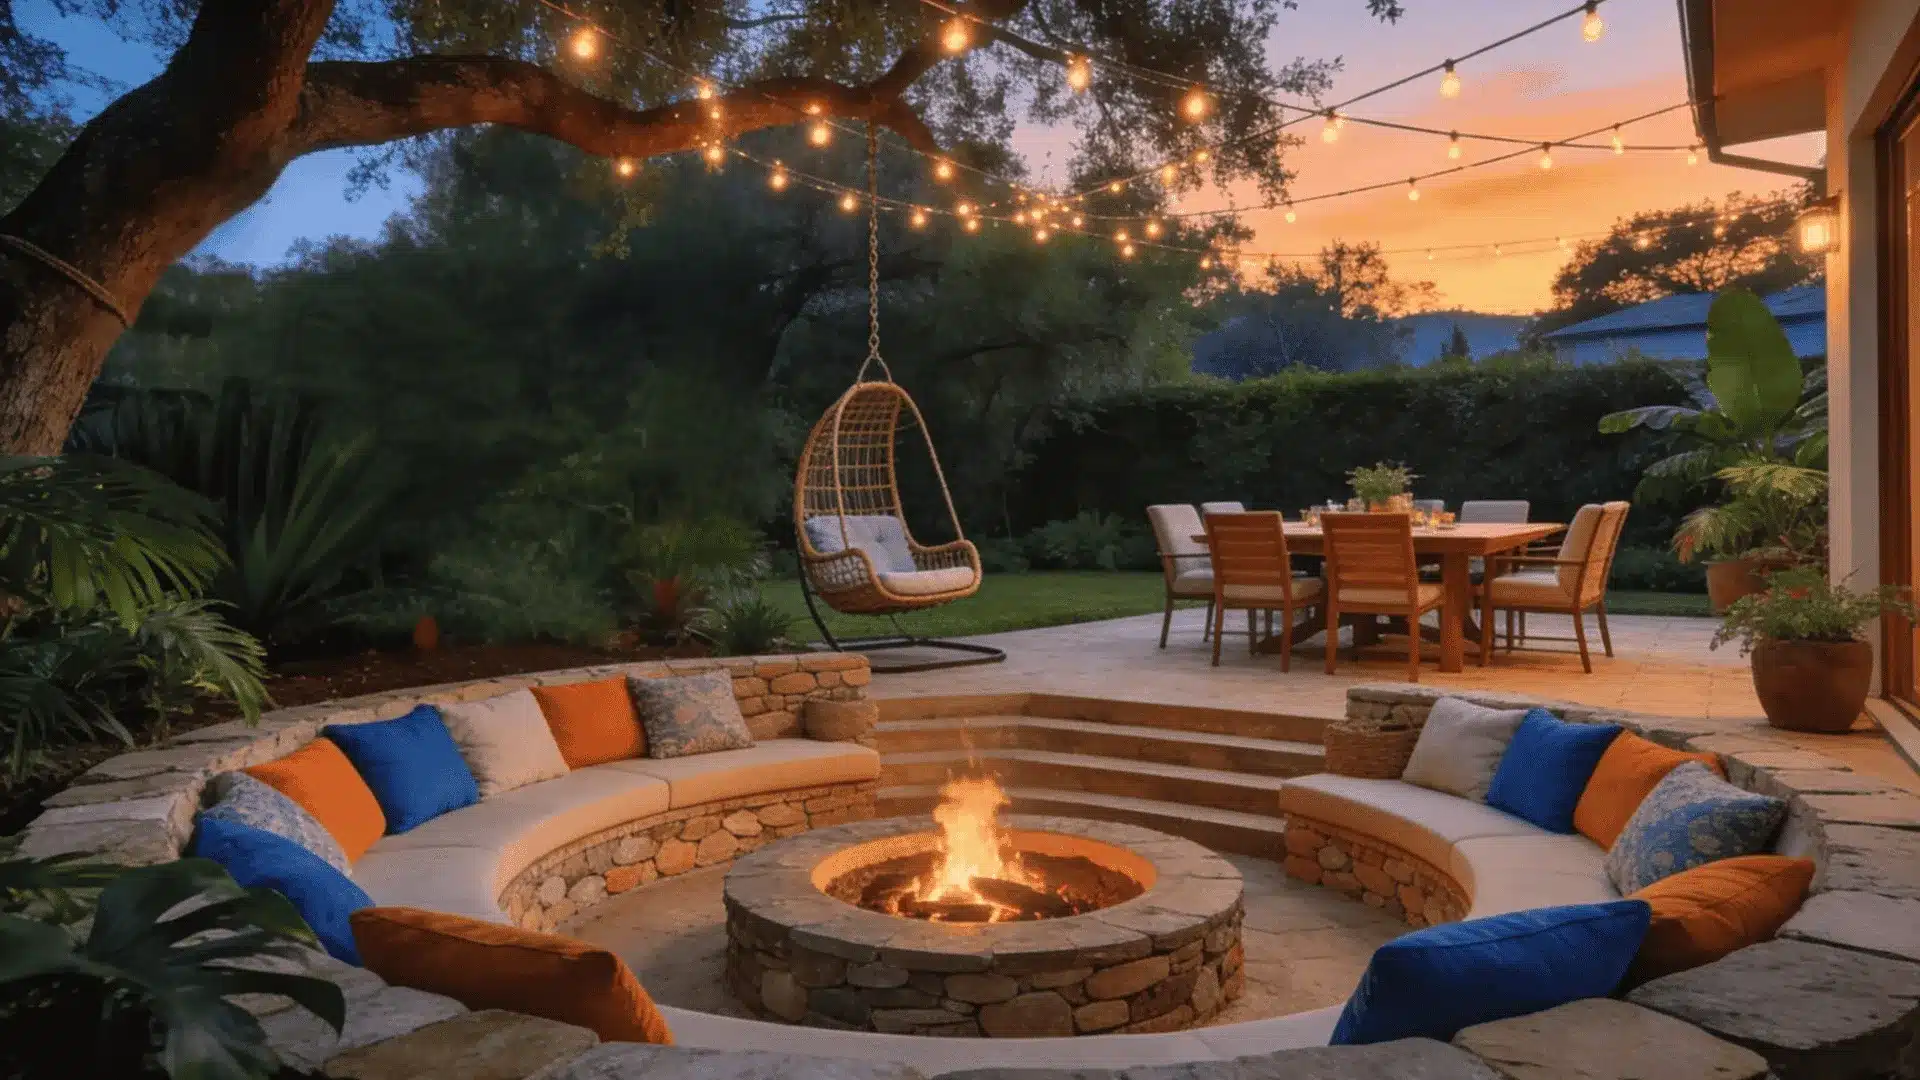
Read next: How to Arrange Outdoor Furniture
How Much Does it Cost to Build an Outdoor Fireplace?
| Build Type | Materials Cost | Notes |
|---|---|---|
| Kit-based build | $500 to $1,500 | Includes insert, chimney stack, and refractory cement. Add veneer on top. |
| Full masonry build | $1,000 to $3,000 | Brick, block, firebrick, mortar, flue pipe. Costs more if you use natural stone veneer. |
| Contractor-installed | $5,000 to $15,000+ | Varies widely by region, size, and finish material. |
Kit builds are the sweet spot for most first-timers. You spend less, the draft engineering is handled for you, and the build time drops from a couple of weekends to a single day.
Full masonry costs more and takes longer, but you get complete control over the size, shape, and materials.
If you want something that looks truly custom and you have the patience to lay it properly, it is worth the extra spend.
One thing most people underestimate: veneer adds up fast. Natural stone can run $15 to $30 per square foot. Manufactured stone veneer sits closer to $6 to $12. That difference matters on a structure this size.
Contractor pricing varies too much to pin down precisely, but getting two or three quotes before deciding to DIY is worth the hour it takes.
Outdoor Fireplace vs. Fire Pit
Both give you a backyard fire.
The choice comes down to how you want to use the space and how much you want to spend.
A fire pit is cheaper, faster to build, and more flexible. You can gather around all sides of it, move it if needed, and put one together in a weekend for a few hundred dollars.
It is the better pick if you want something low-commitment or if your yard is still a work in progress.
An outdoor fireplace costs more and takes longer, but it earns its place even when the fire is not lit.
It gives the yard a focal point, a sense of architecture, and something that genuinely looks finished. It also directs heat forward rather than radiating it in all directions, which makes it better for smaller seating areas where everyone faces the same way.
If you are building an outdoor living space you plan to keep for years, a fireplace is worth the extra work.
If you just want fire on a Friday night, a pit gets you there faster.
How to Make Your Outdoor Fireplace Look Custom-Built
A fireplace can work great and still look a little plain. The finishing touches are what make it feel special.
Mix your veneer textures: Don’t stick to one flat look. Blend stone sizes, or mix horizontal and vertical pieces for depth. I played with my layout on the ground first before mortaring anything.
Build in wood storage: A side nook for firewood looks intentional and saves you trips. It keeps logs dry and close at hand. Plus, stacked wood adds its own cozy, lived-in charm.
Light it up: Soft lighting changes the mood after dark. Tuck in some warm LED strips or hang a lantern nearby. It makes the space usable long after the fire dies down.
Add a real mantel: A solid wood or stone mantel instantly lifts the whole thing. It gives you a spot for candles, photos, or a string of lights. I used a reclaimed wood beam, and it became everyone’s favorite detail.
Frame it with the space: A small patio, a couple of chairs, or a planter ties it all together. The fireplace should feel like part of the yard, not a random block of stone.
Wrapping Up
So there you have it. Now you know how to build an outdoor fireplace from the first scoop of gravel to that final cure. It takes some sweat, sure. But none of these seven steps is out of your reach.
The biggest thing I learned? Patience pays off. Rushing the foundation or the cure is what trips most people up.
Go slow, check your level often, and lean on a kit if the firebox feels scary. Before long, you’ll be the one fielding “you built that?” questions from impressed neighbors.
Trust me, that first fire makes every sore muscle worth it. If you are ready to get started, grab your sketch, call your local building office, and pick your first free weekend.
Frequently Asked Questions (FAQs)
1. How Far Should an Outdoor Fireplace Be from the House?
Keep it at least 10 feet from your house and any other structures. Stay clear of low branches and fences, too.
2. What is the 2 + 10 in For Fireplace?
The chimney must rise at least 2 feet above anything within 10 feet of it. This helps the smoke draft properly.
3. What Are the Drawbacks of An Outdoor Fireplace?
It costs more than a fire pit and needs real masonry skill. Wood-burning ones also mean regular cleaning and ash cleanup.
4. Can I Build an Outdoor Fireplace Without a Permit?
Sometimes, but don’t assume. Many towns require one, so call your local building office before you start to avoid fines later.