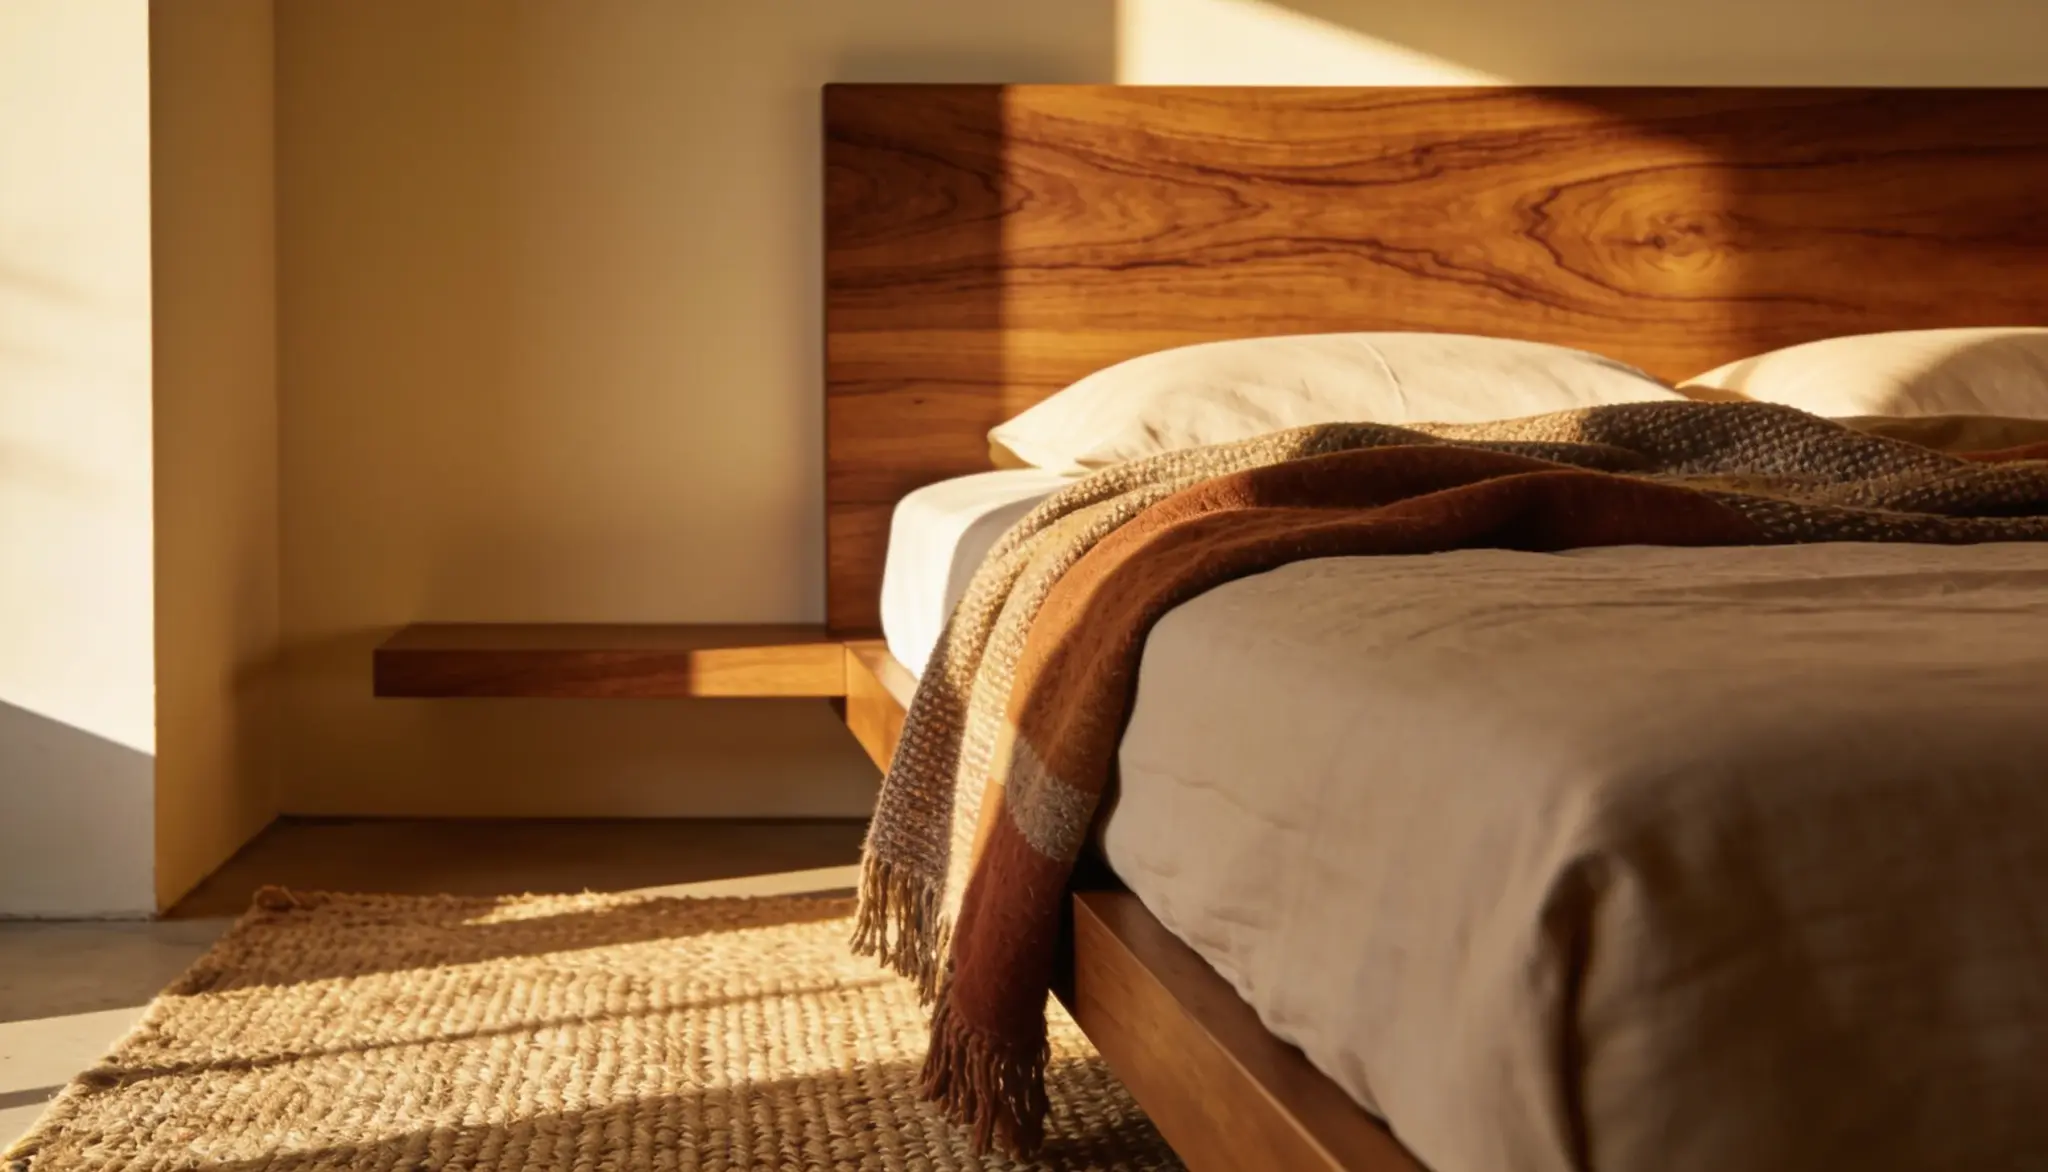
The headboard is often what people notice first when they walk into a bedroom.
Learning how to make a headboard doesn’t take fancy tools or a big budget.
A good DIY headboard can change the whole room without a full renovation, and most of these builds cost less than a store-bought one anyway.
The following mix of ideas covers rustic wood, soft upholstery, boho cane, and more. Pick the one that matches your style and your schedule, then get building.
Tools You’ll Need
Most DIY headboards use the same basic tools, no matter which style you pick.
- Measuring Tape: Check your mattress width and wall space before you start. This keeps the headboard from leaving gaps on either side.
- Sandpaper or a sanding block: Smooth out any rough edges. This stops splinters from catching on sheets or clothes.
- Stud finder: Find the studs in your wall before you drill. A mount only holds weight if it’s screwed into a stud.
- Drill and screws: Attach the headboard to the wall studs or bed frame. A loose headboard can tip or fall, especially with kids or pets around.
- Paint, stain, or sealant: Test your color on a scrap piece first. Colors often look different once they dry.
- Staple gun: Handy for fabric, cane, or wallpaper builds. These styles skip wood cutting completely.
How to Make a Headboard?
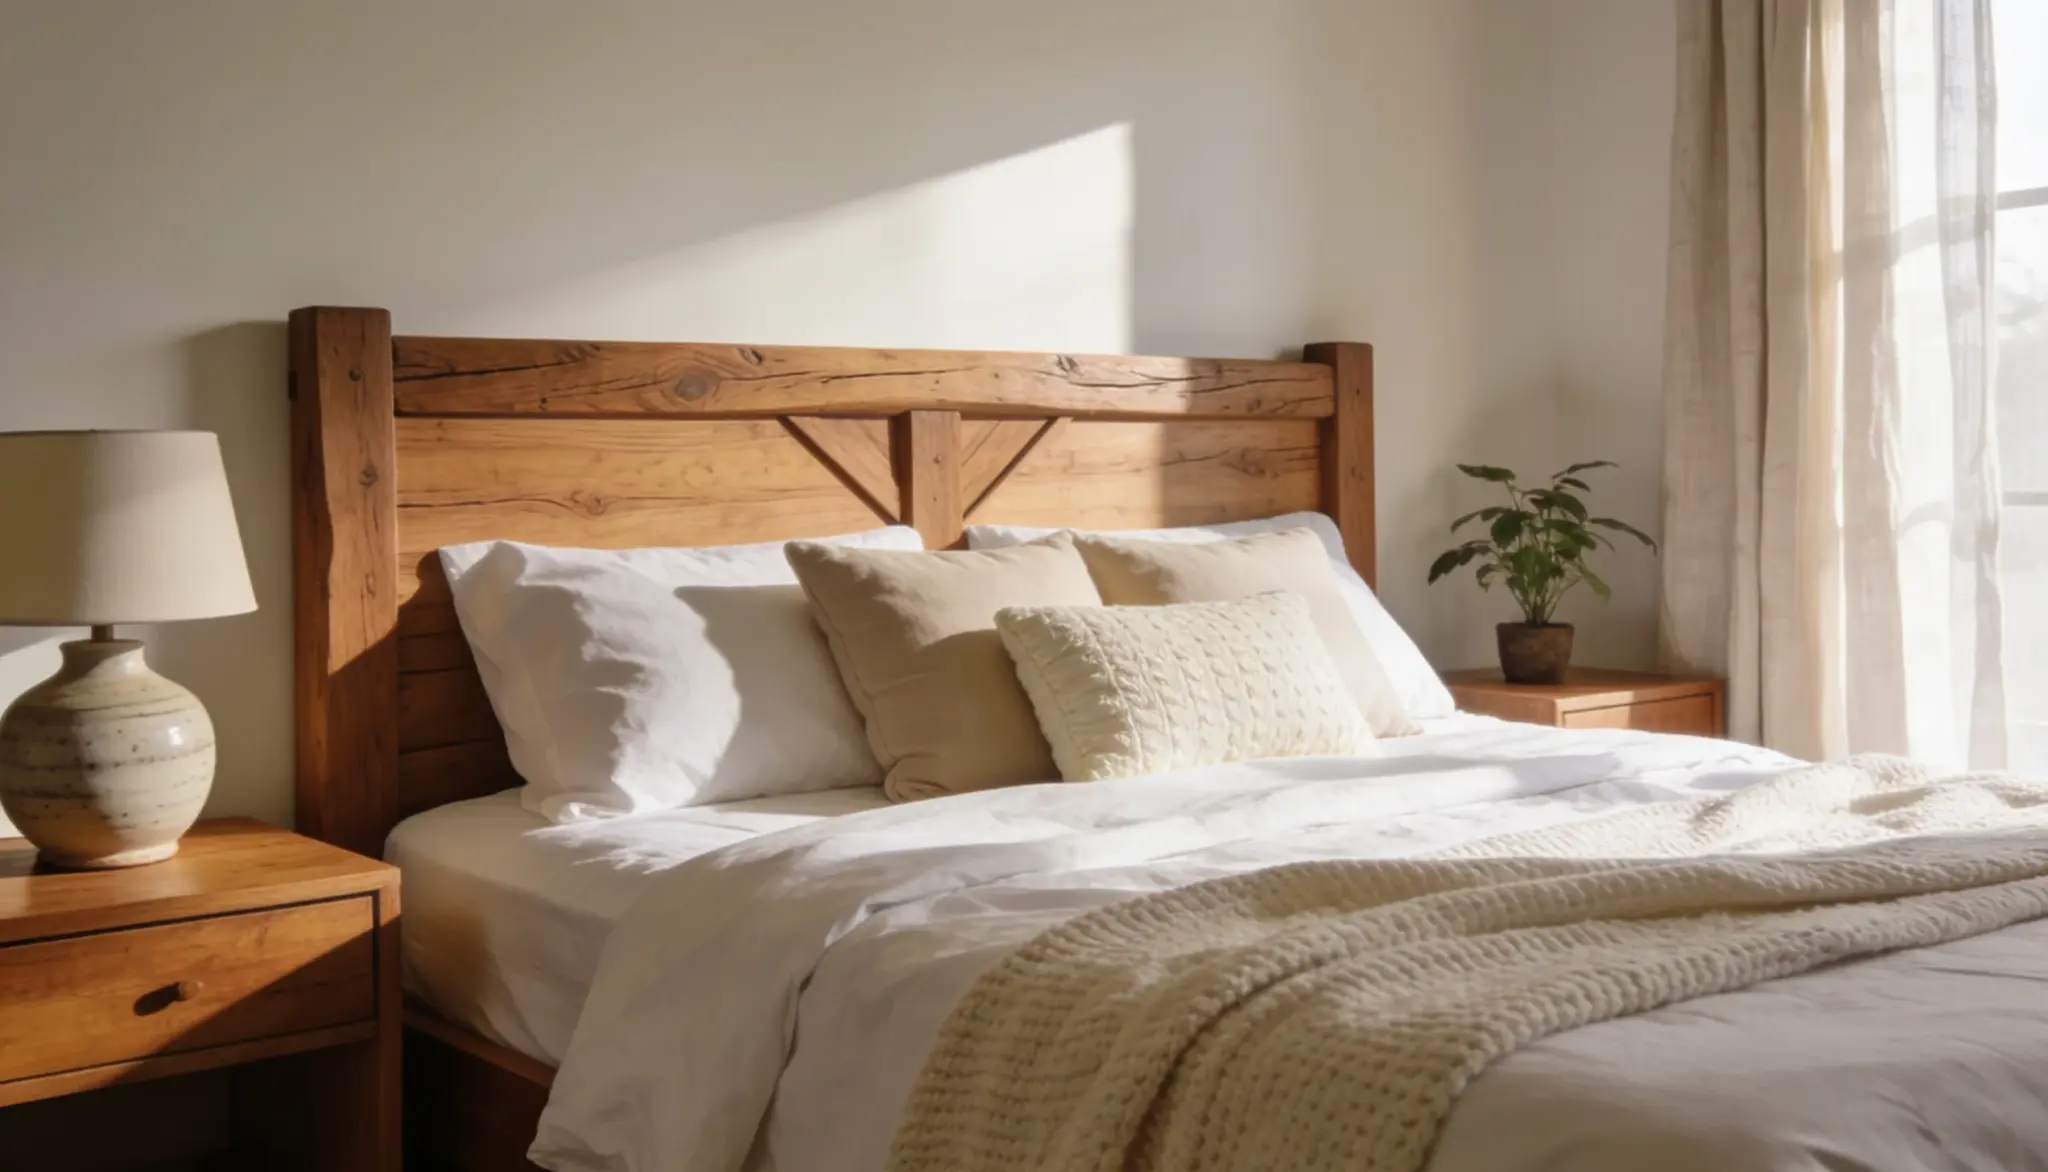
Most headboards start the same way, no matter the style you pick. Break the process into a few steps. It stops feeling like a big project.
1. Pick a Design
Start with a design that fits your room and your skill level. Think about how much time you have too.
A rustic wood build looks great, but it takes longer than a painted shape or a wallpaper accent. Pick your bedroom style first. Then match it to a design from this list.
2. Measure Your Bed Width
Grab a tape measure. Check the width of your bed before you buy or cut anything. This keeps your headboard from looking too narrow or too wide.
Pick a height too. Most headboards are 36 to 48 inches tall, measured from the top of the mattress.
Taller headboards make a bold statement. Shorter ones keep the room feeling open.
3. Prep Your Material
Gather what your design needs: wood, fabric, or wallpaper. Cut wood to size and check it for rough spots.
Cut fabric with a little extra room, so it wraps around the foam and plywood. Wallpaper just needs a clean, flat surface.
Get this step right early. It saves you from having to redo work later, especially with wood, where a wrong cut is hard to fix.
4. Sand, Paint, or Seal
Finish the surface before you attach anything. Sand wood until it feels smooth, so rough edges don’t catch on sheets or clothes.
Paint or stain if you want color. Test it on a scrap piece first. Fabric panels skip sanding, but they still need a clean seam so the staples don’t show.
This step takes patience; let the paint dry fully.
5. Attach a Mounting System
Decide how the headboard will stay up. A French cleat works well for wall-mounted styles.
It evenly distributes the weight and keeps the panel flat against the wall. Brackets work better if you’re attaching the headboard to the bed frame.
Either way, aim for wall studs, not just drywall. Drywall alone won’t hold much weight over time.
6. Mount It and Step Back
Check that it’s level and secure once it’s up. Give it a gentle push to make sure it doesn’t wobble.
This is also a good time to check the height and spot one more time before you settle back into the room.
You don’t need fancy tools for every style. Some just need paint, tape, or a staple gun, and you can finish those in an afternoon.
DIY Headboard Ideas to Try
Every style below fits a different room and skill level. Scan through these to find the design that matches your space and the amount of time you want to spend.
1. Reclaimed Wood
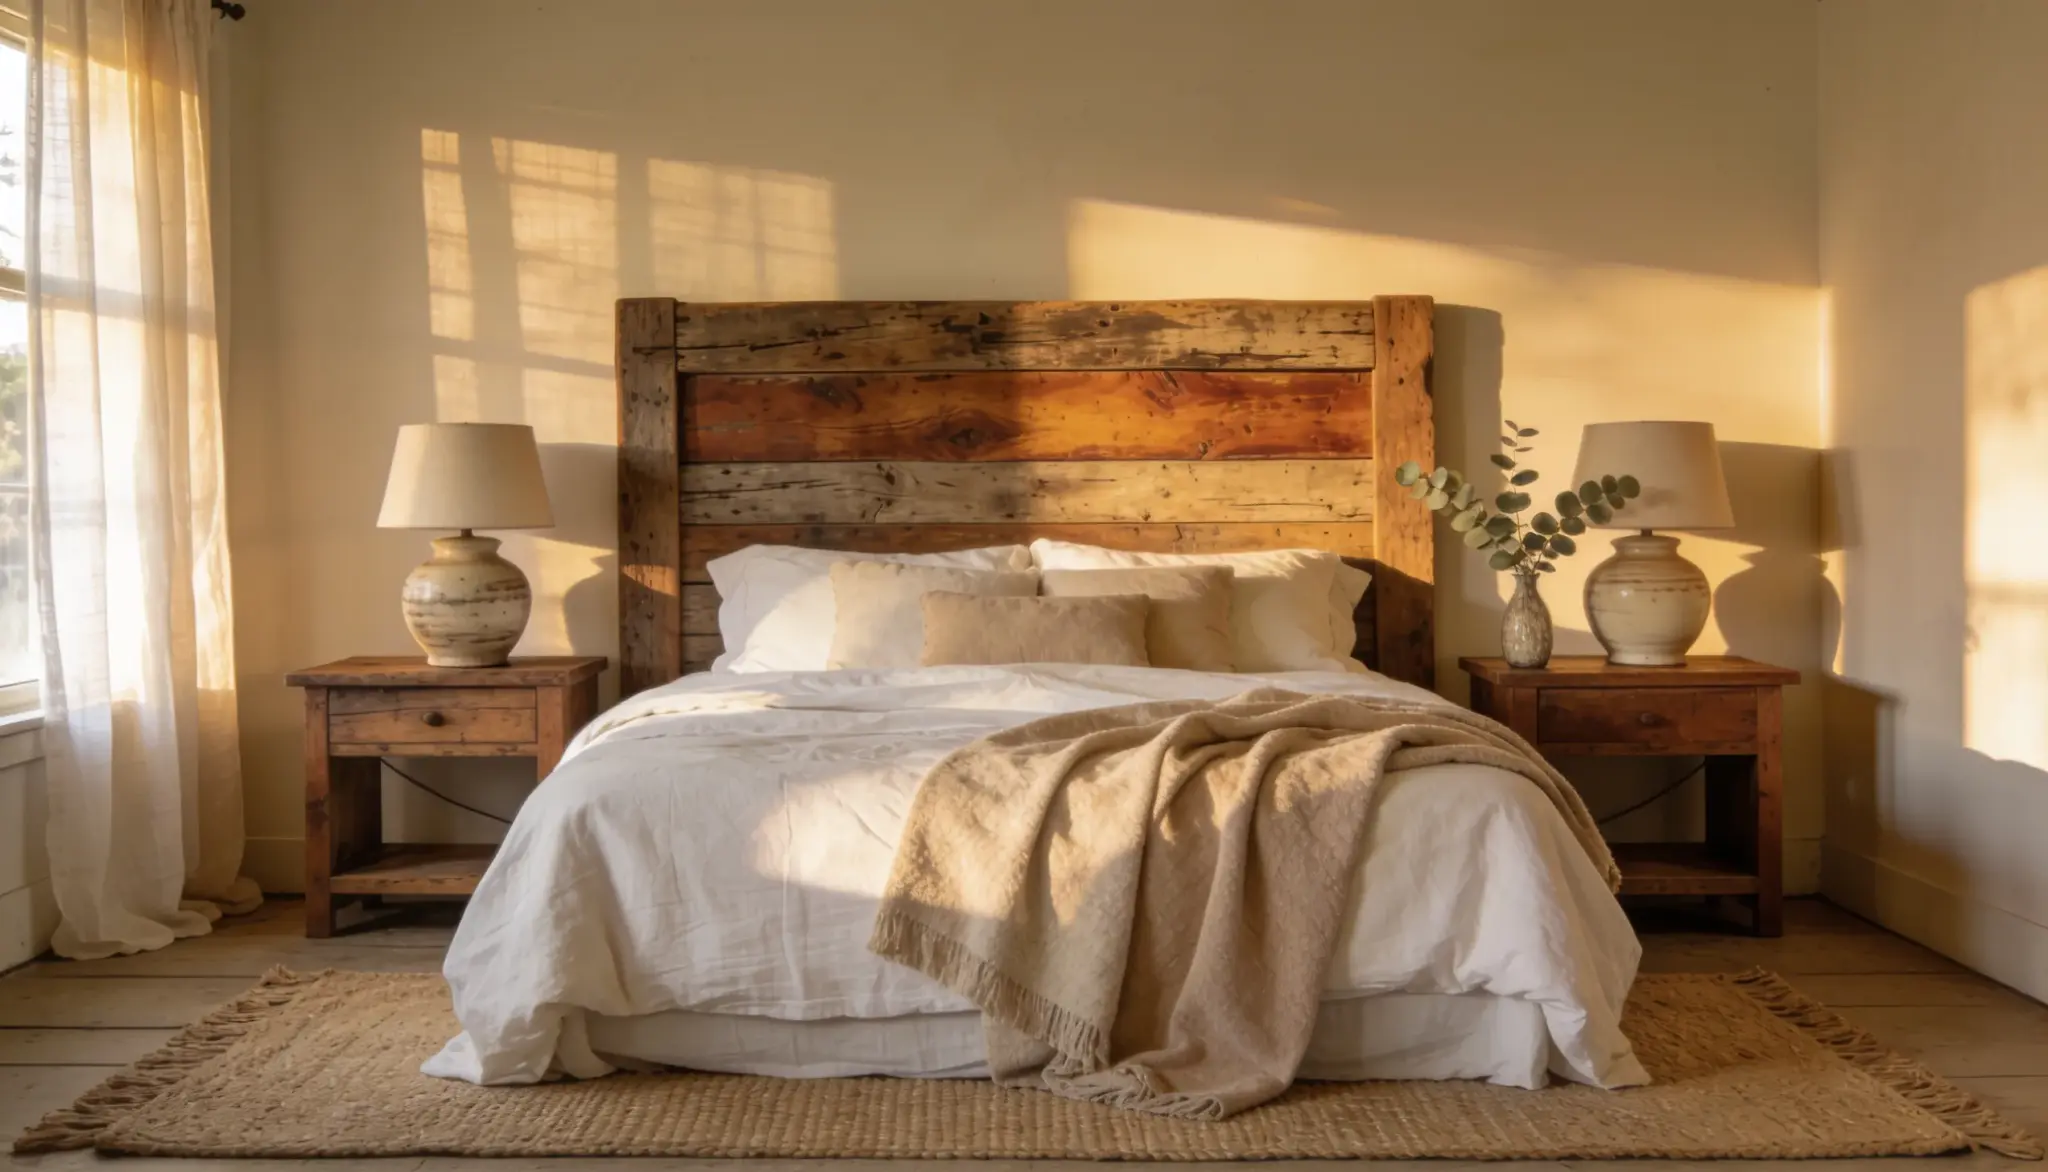
Old barn boards, fence panels, or leftover lumber all work well here. Sand each board smooth before sealing, so no splinters catch on sheets.
A clear coat helps protect the wood and keeps its natural texture visible.
The Farmhouse and industrial bedrooms both take to this look easily, and the boards don’t need to match perfectly to look good.
2. Upholstered Fabric Panel
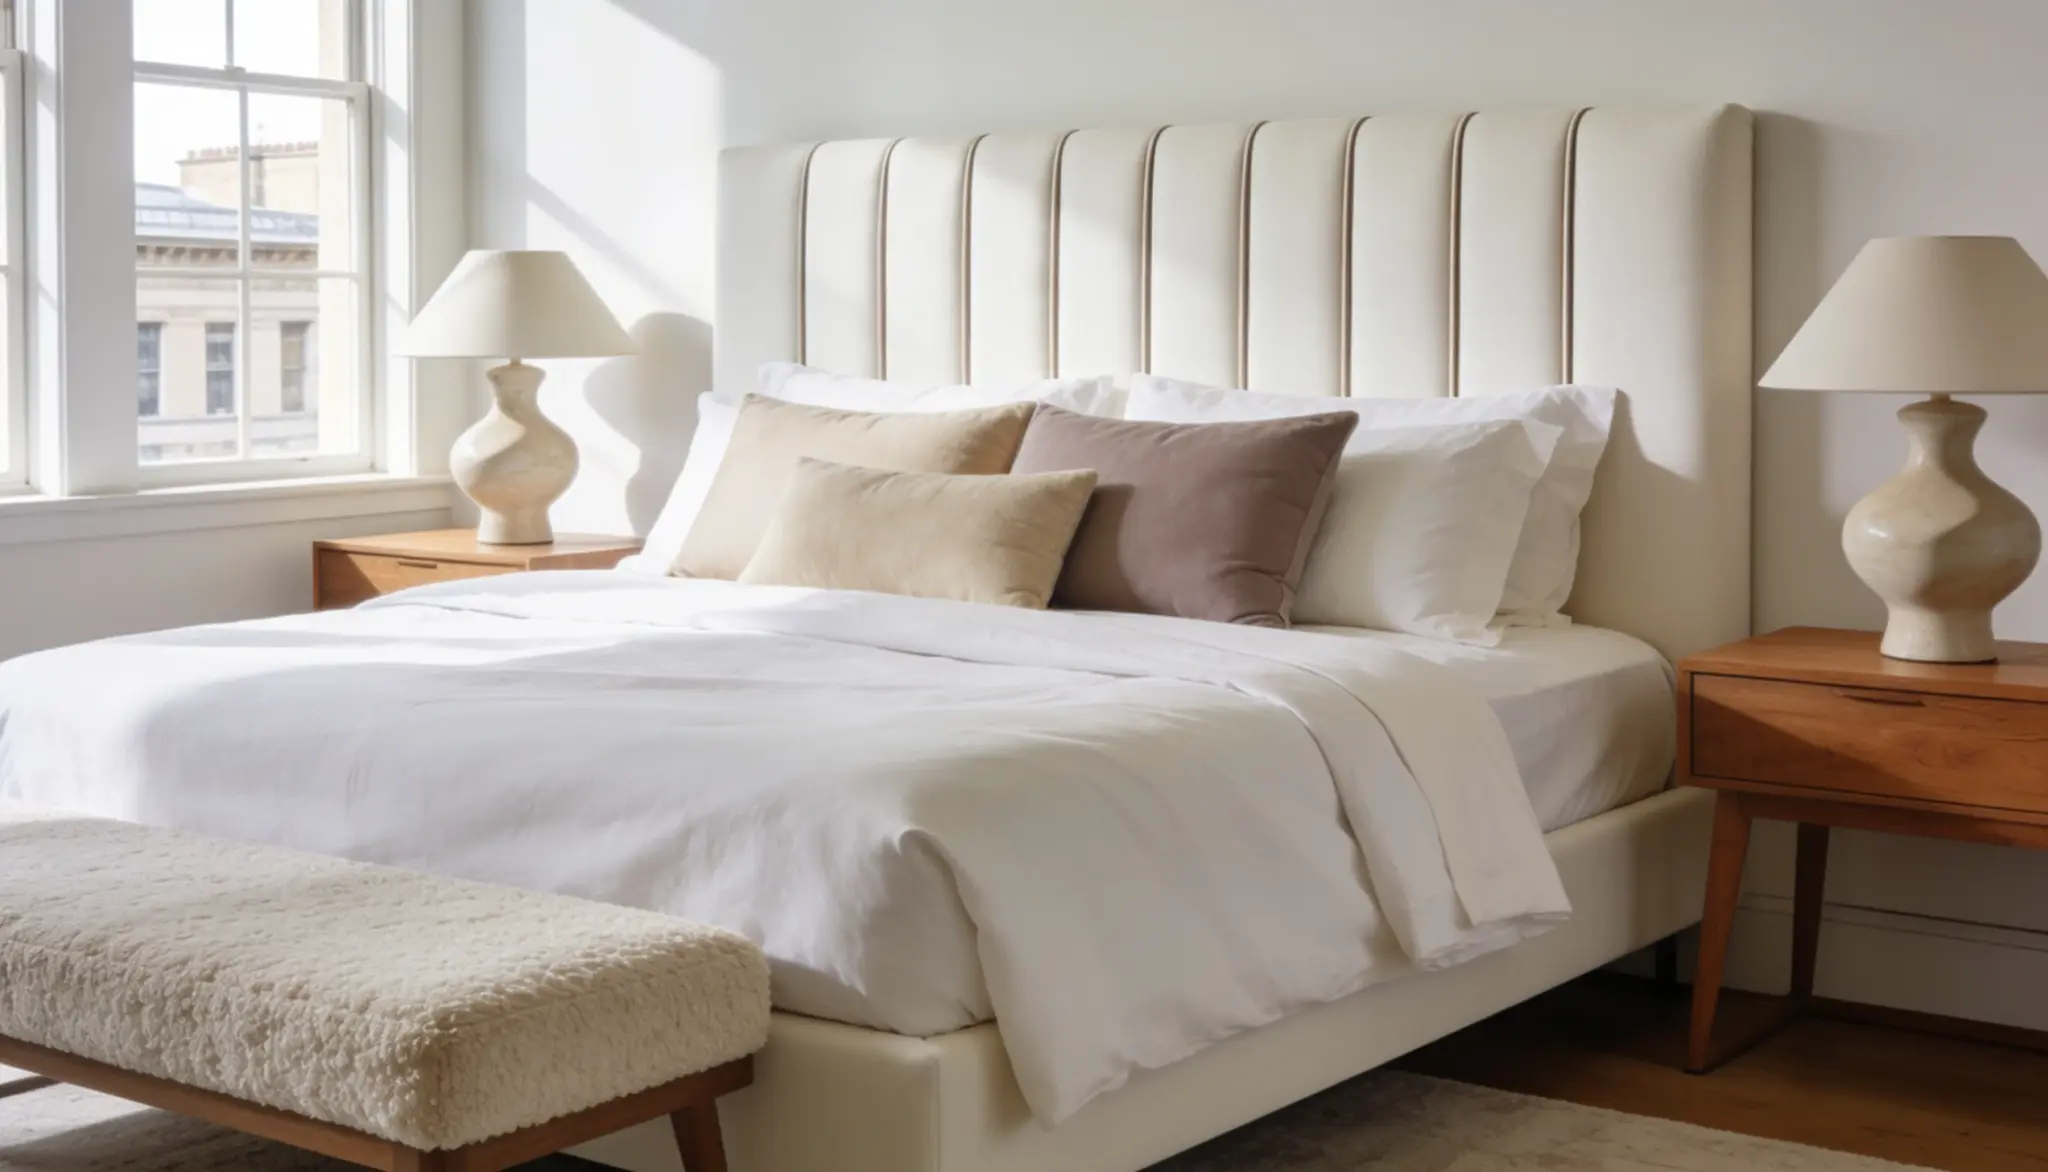
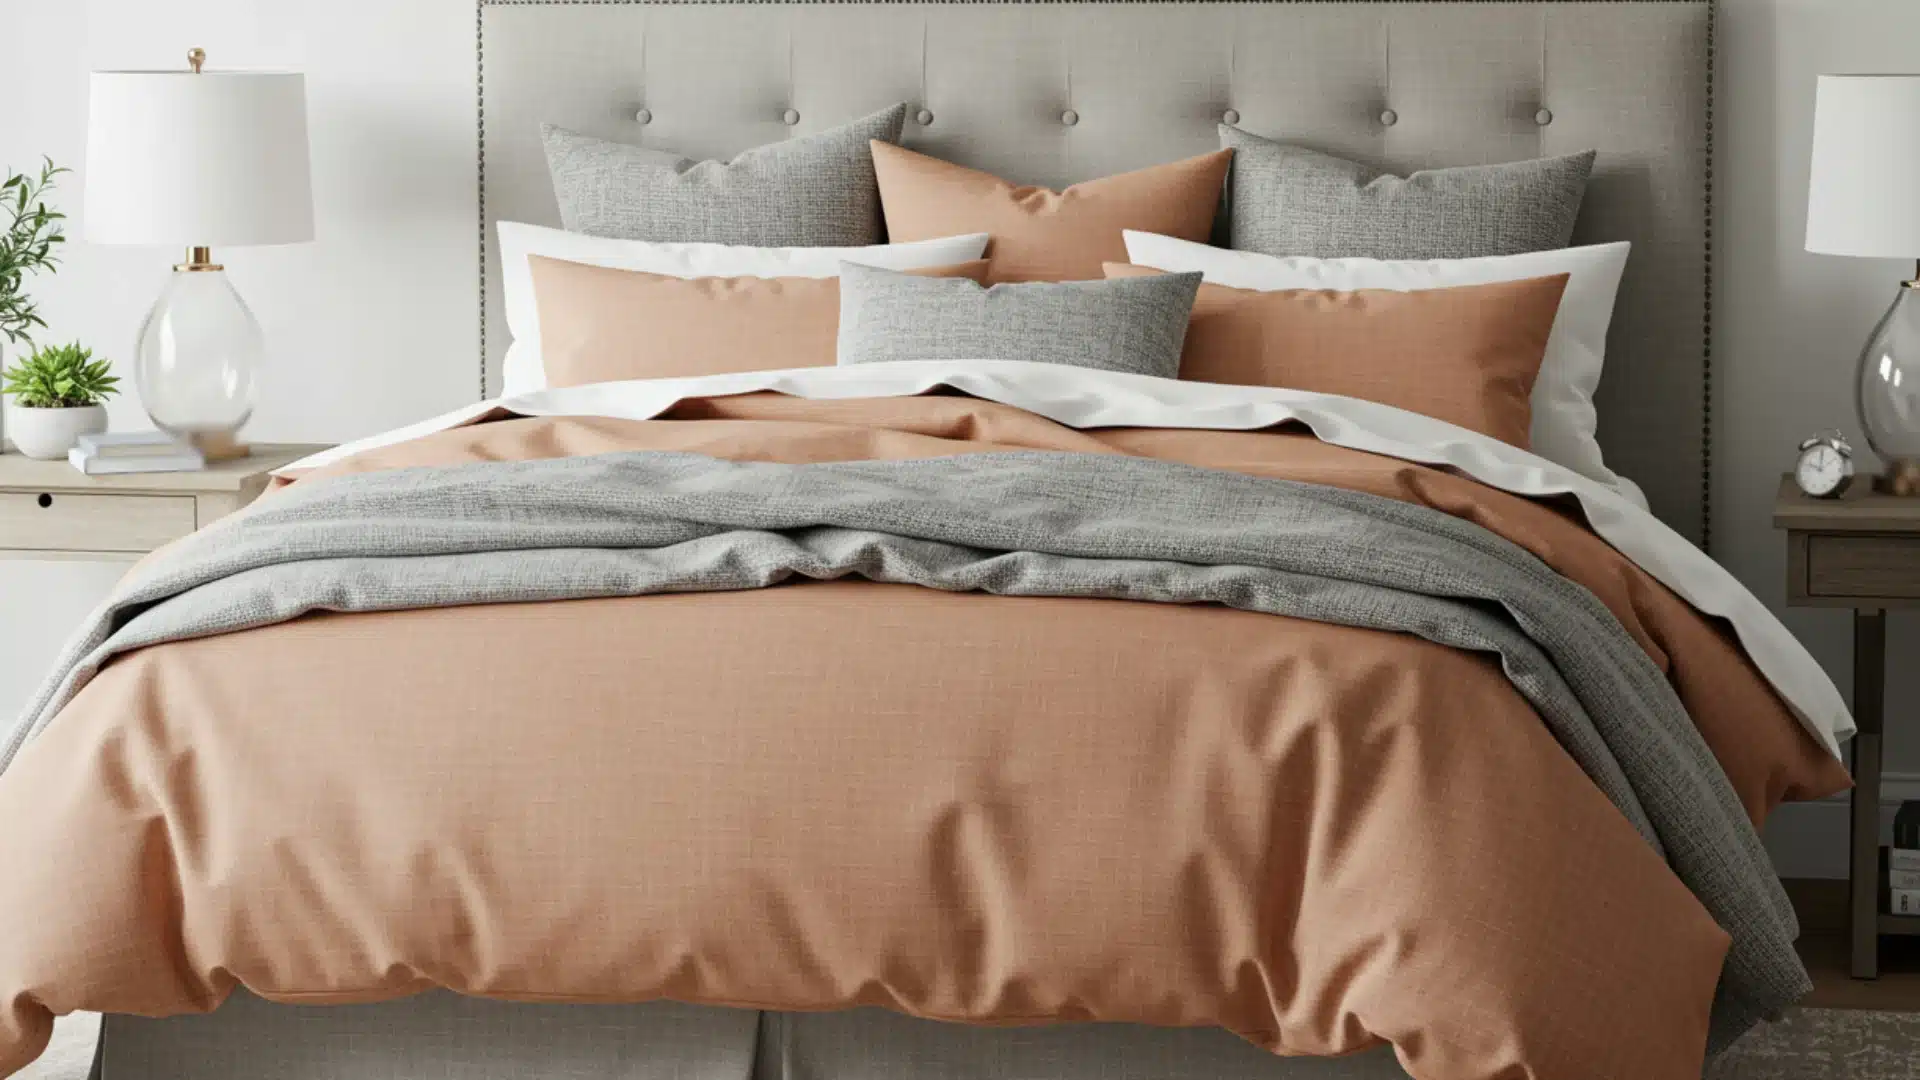
Staple linen, velvet, or cotton fabric over foam and plywood for a soft, no-sew build. It’s a comfortable pick if you like to lean back and read in bed.
Add buttons if you want a tufted finish. Choose a durable fabric if pets or kids share the bed, since lighter materials show marks quickly.
3. Shiplap Boards
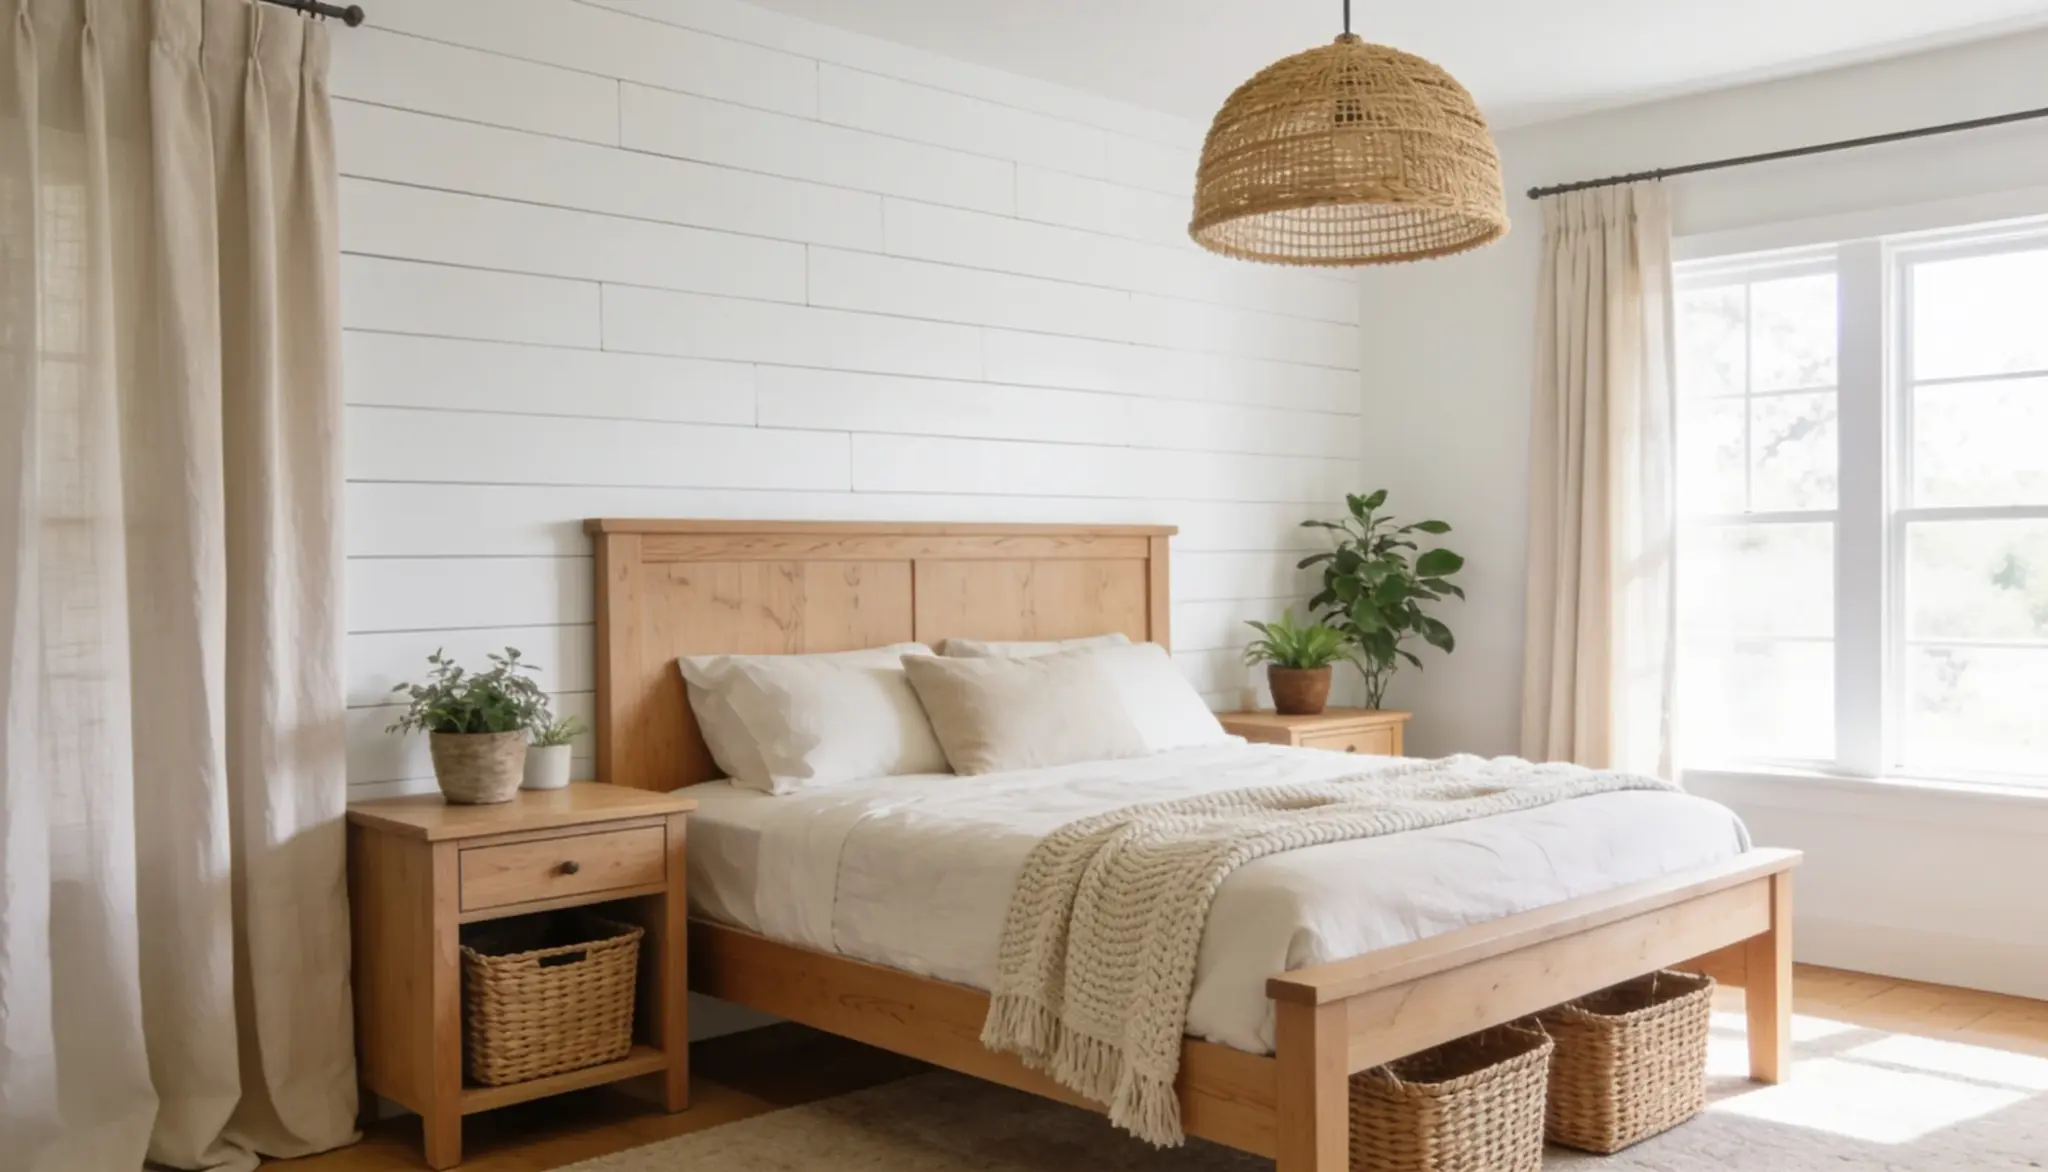
Horizontal boards widen a room. Vertical boards make the ceiling feel taller. Both options use the same basic boards, so the direction you choose depends on the effect you want.
Paint white for the classic farmhouse look, or stain the wood if you want something warmer and more rustic.
4. Pallet Wood
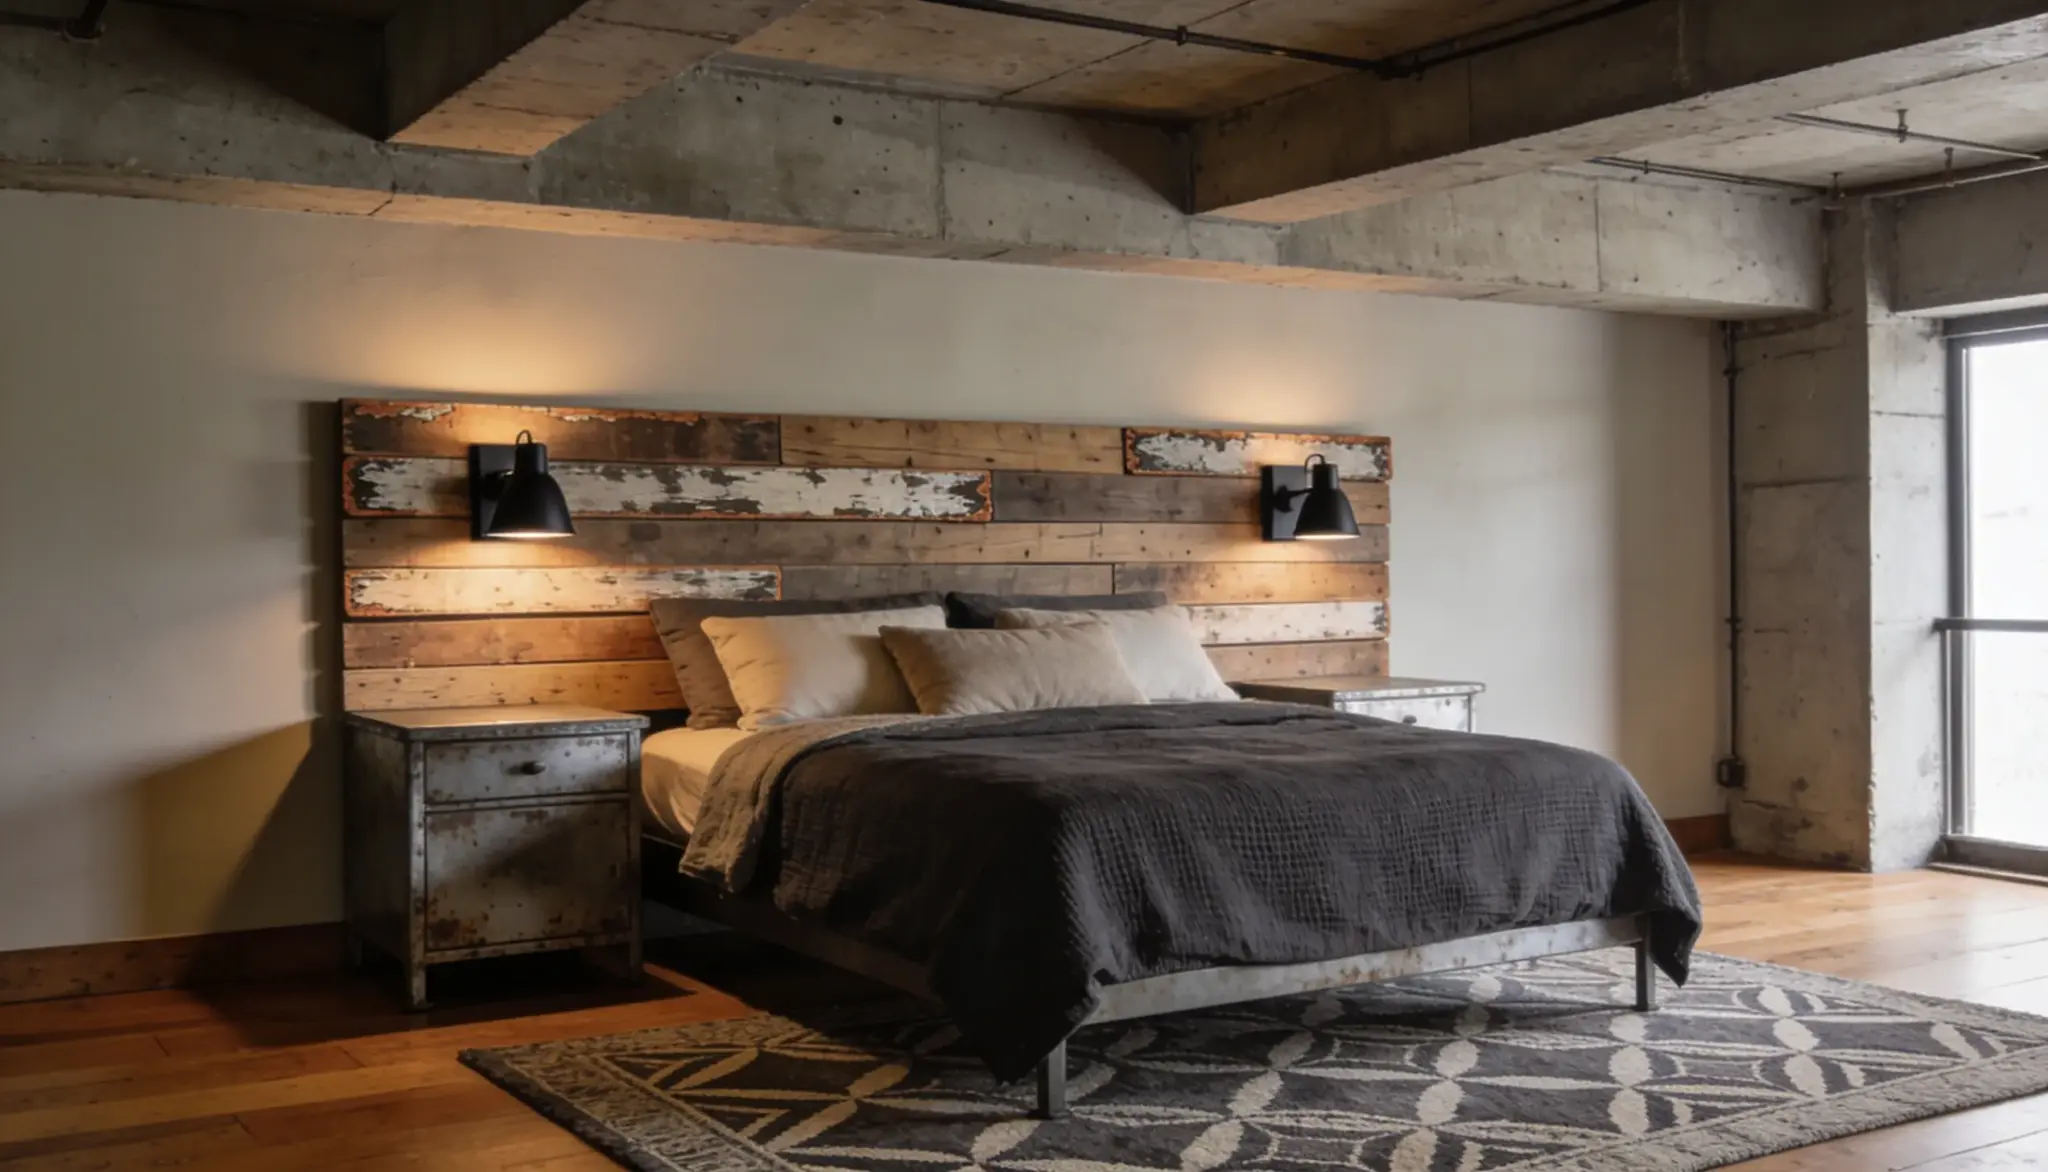
Check the stamp on the pallet first. “HT” means heat treated and safe to use. “MB” means it was treated with chemicals, so skip it and find another one.
Sand the wood well, since pallets often have rough edges from shipping and stacking.
A light stain brings out the grain nicely once the wood is smooth.
5. Slatted Wood
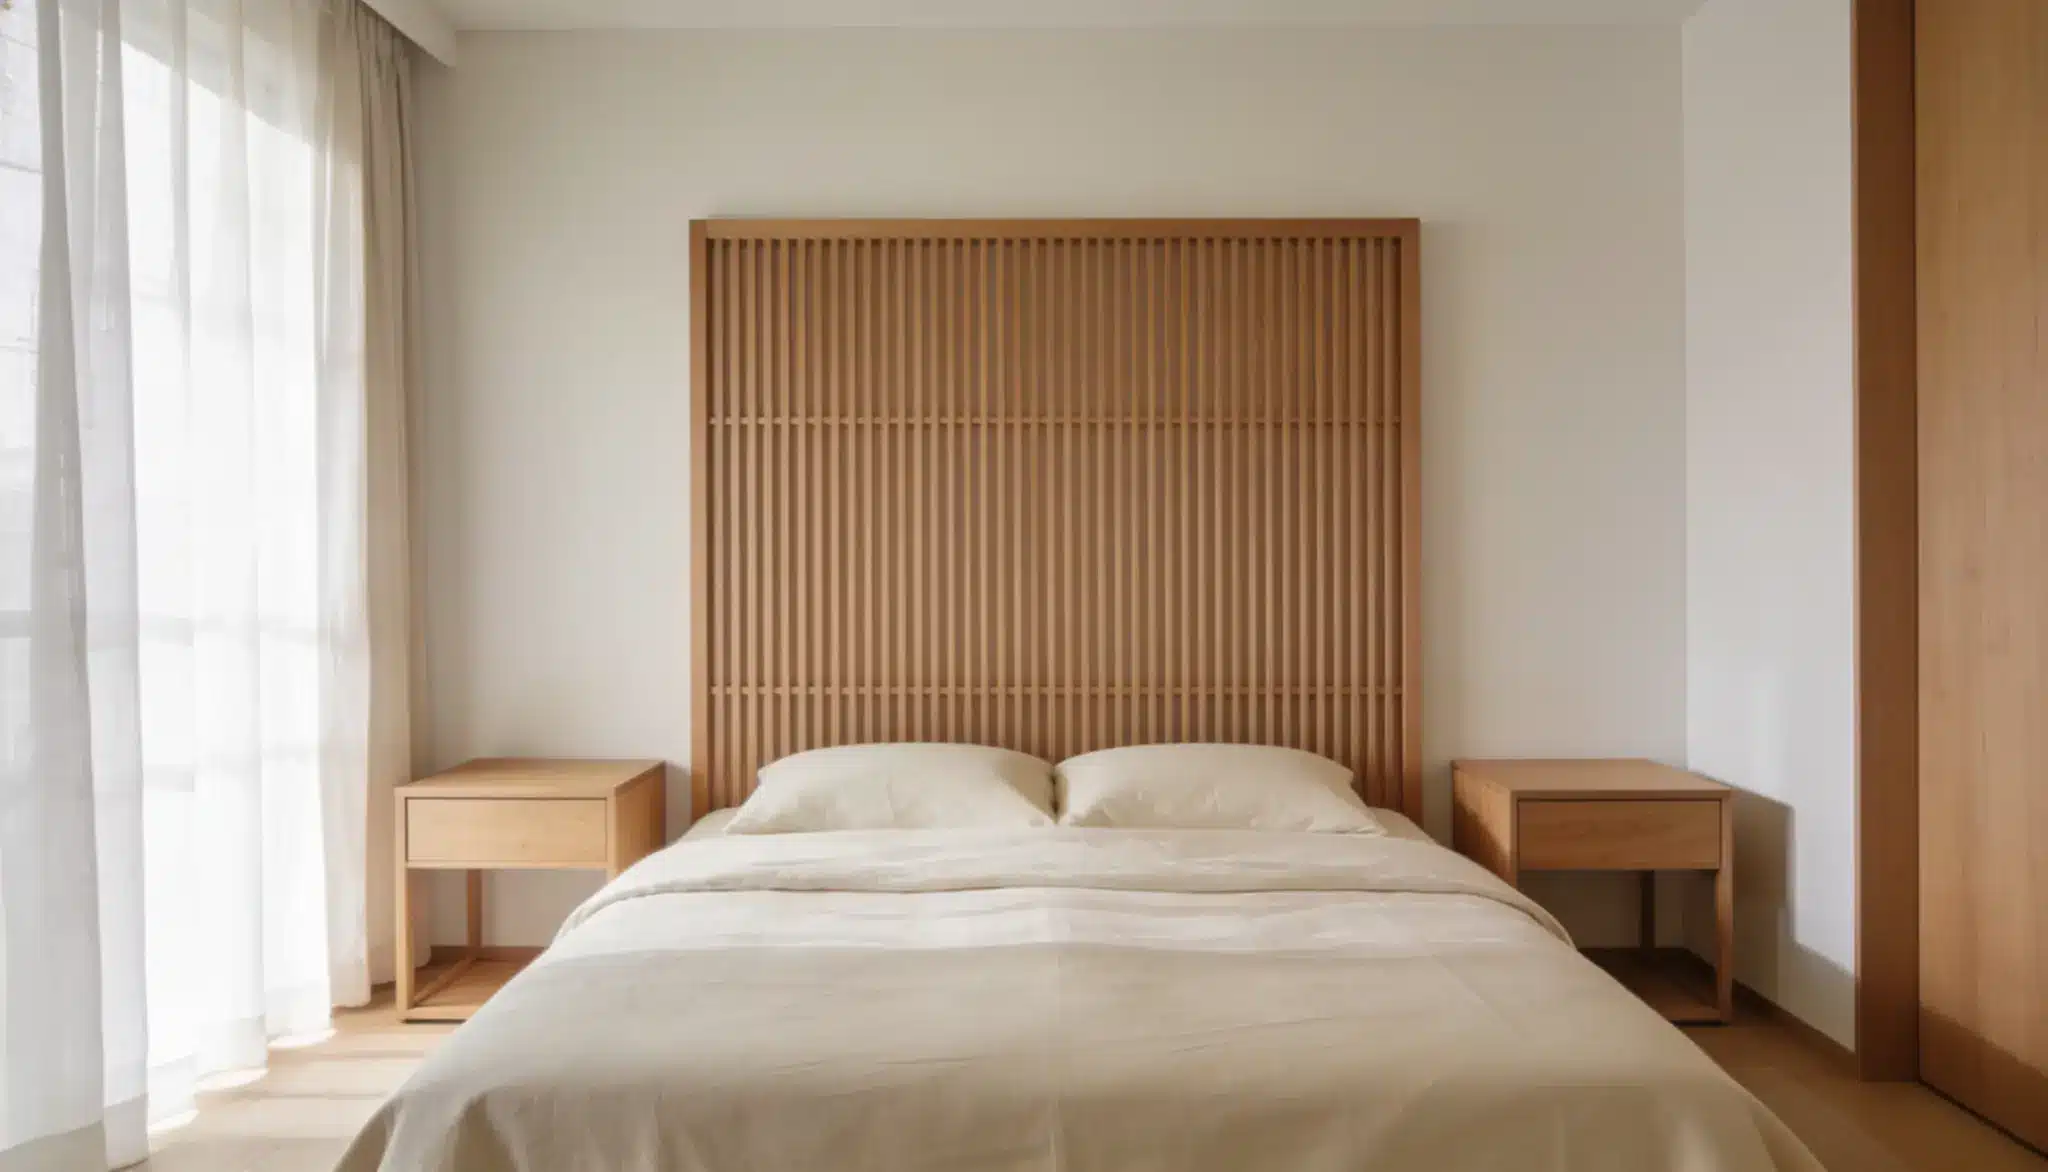
Space slats about 1 to 2 inches apart and mount them to a plywood backing for stability. It gives a built-in look without much bulk.
Measure twice. Uneven spacing throws off the whole design, and it’s hard to fix once the slats are attached.
6. Painted Geometric Shape
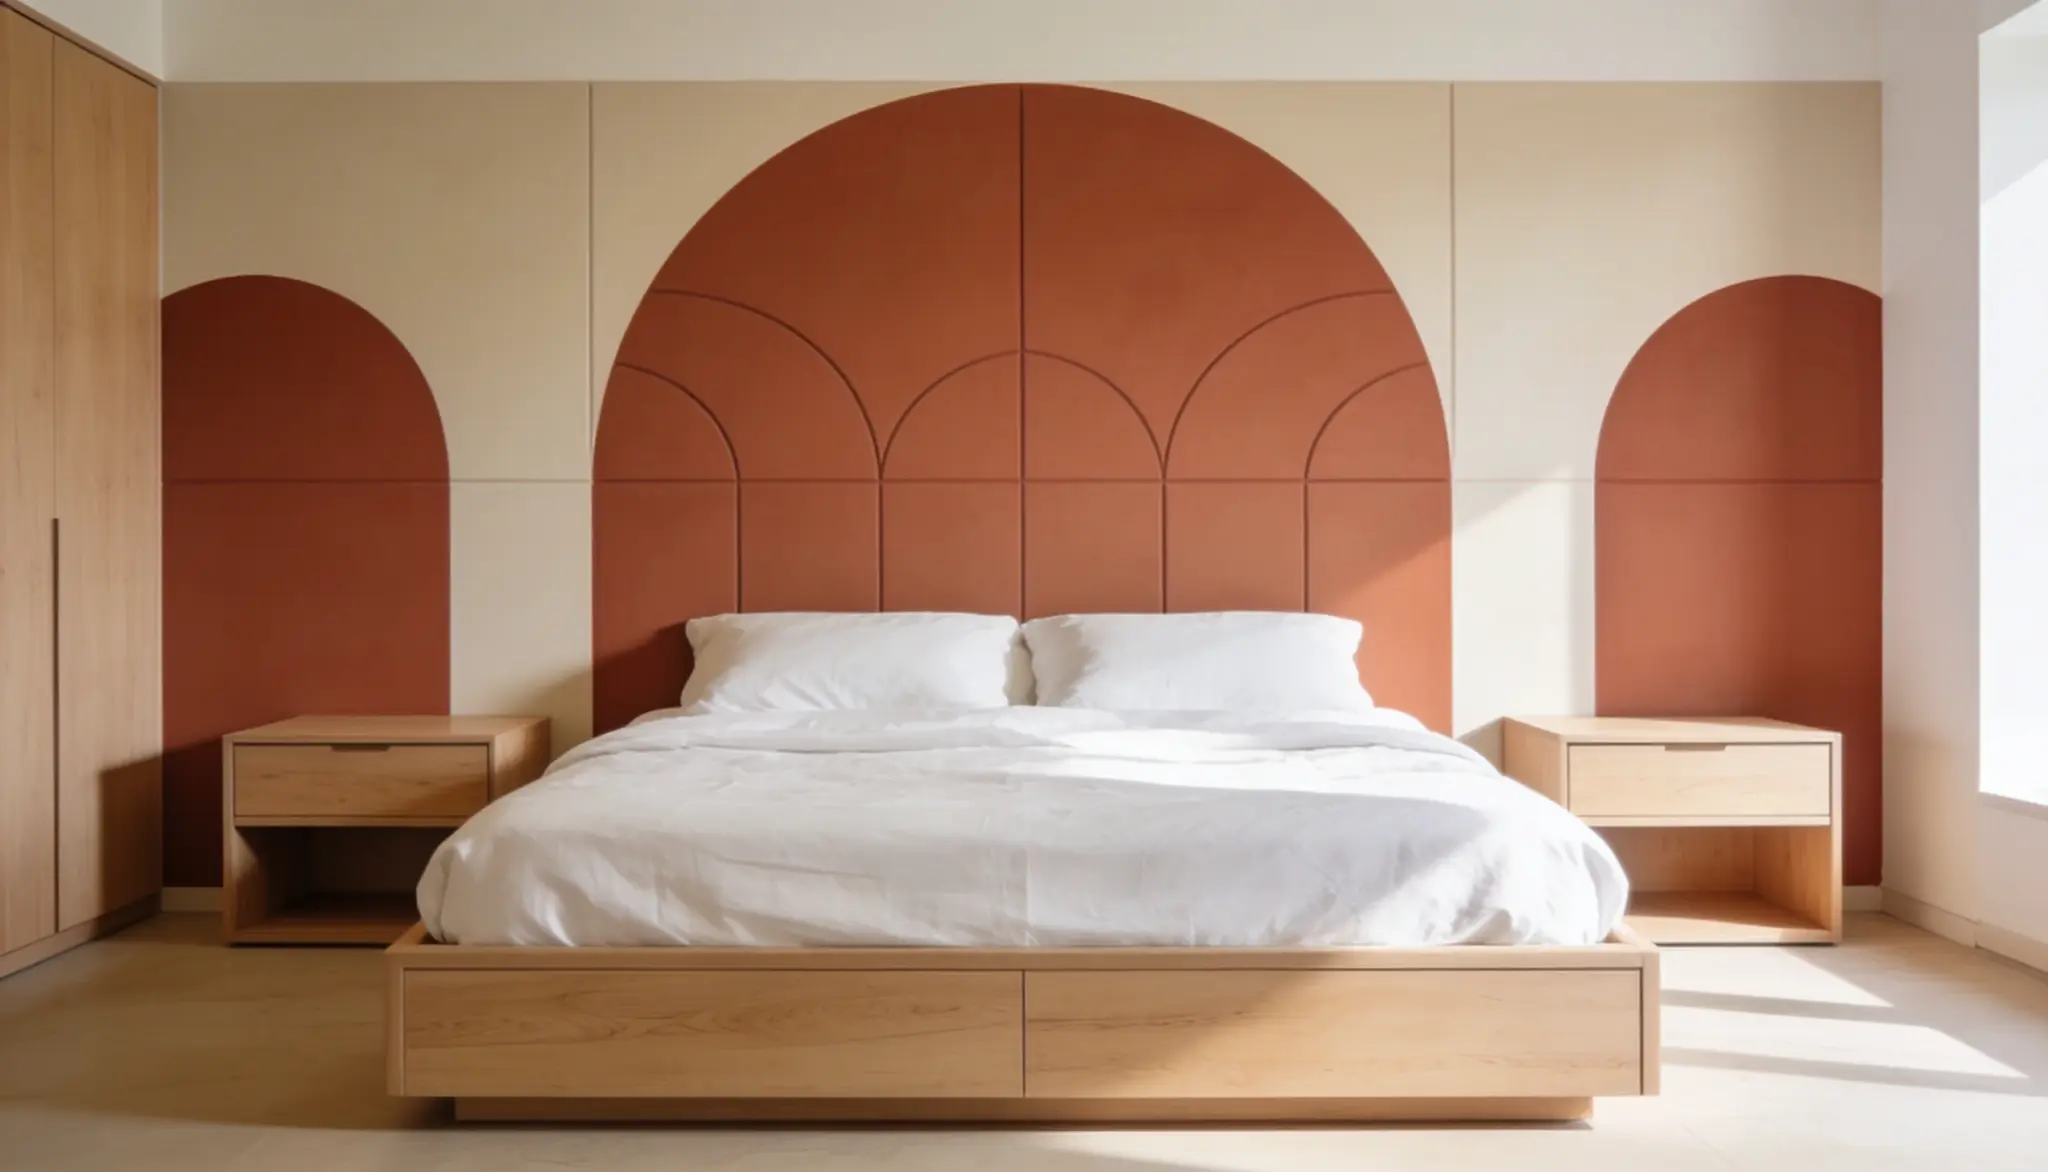
Painter’s tape and two colors are all you need here. No wood, no tools, and almost no cleanup once you’re done.
Renters especially like this one, since it paints over easily before a move and doesn’t damage the wall underneath.
7. Rattan or Cane
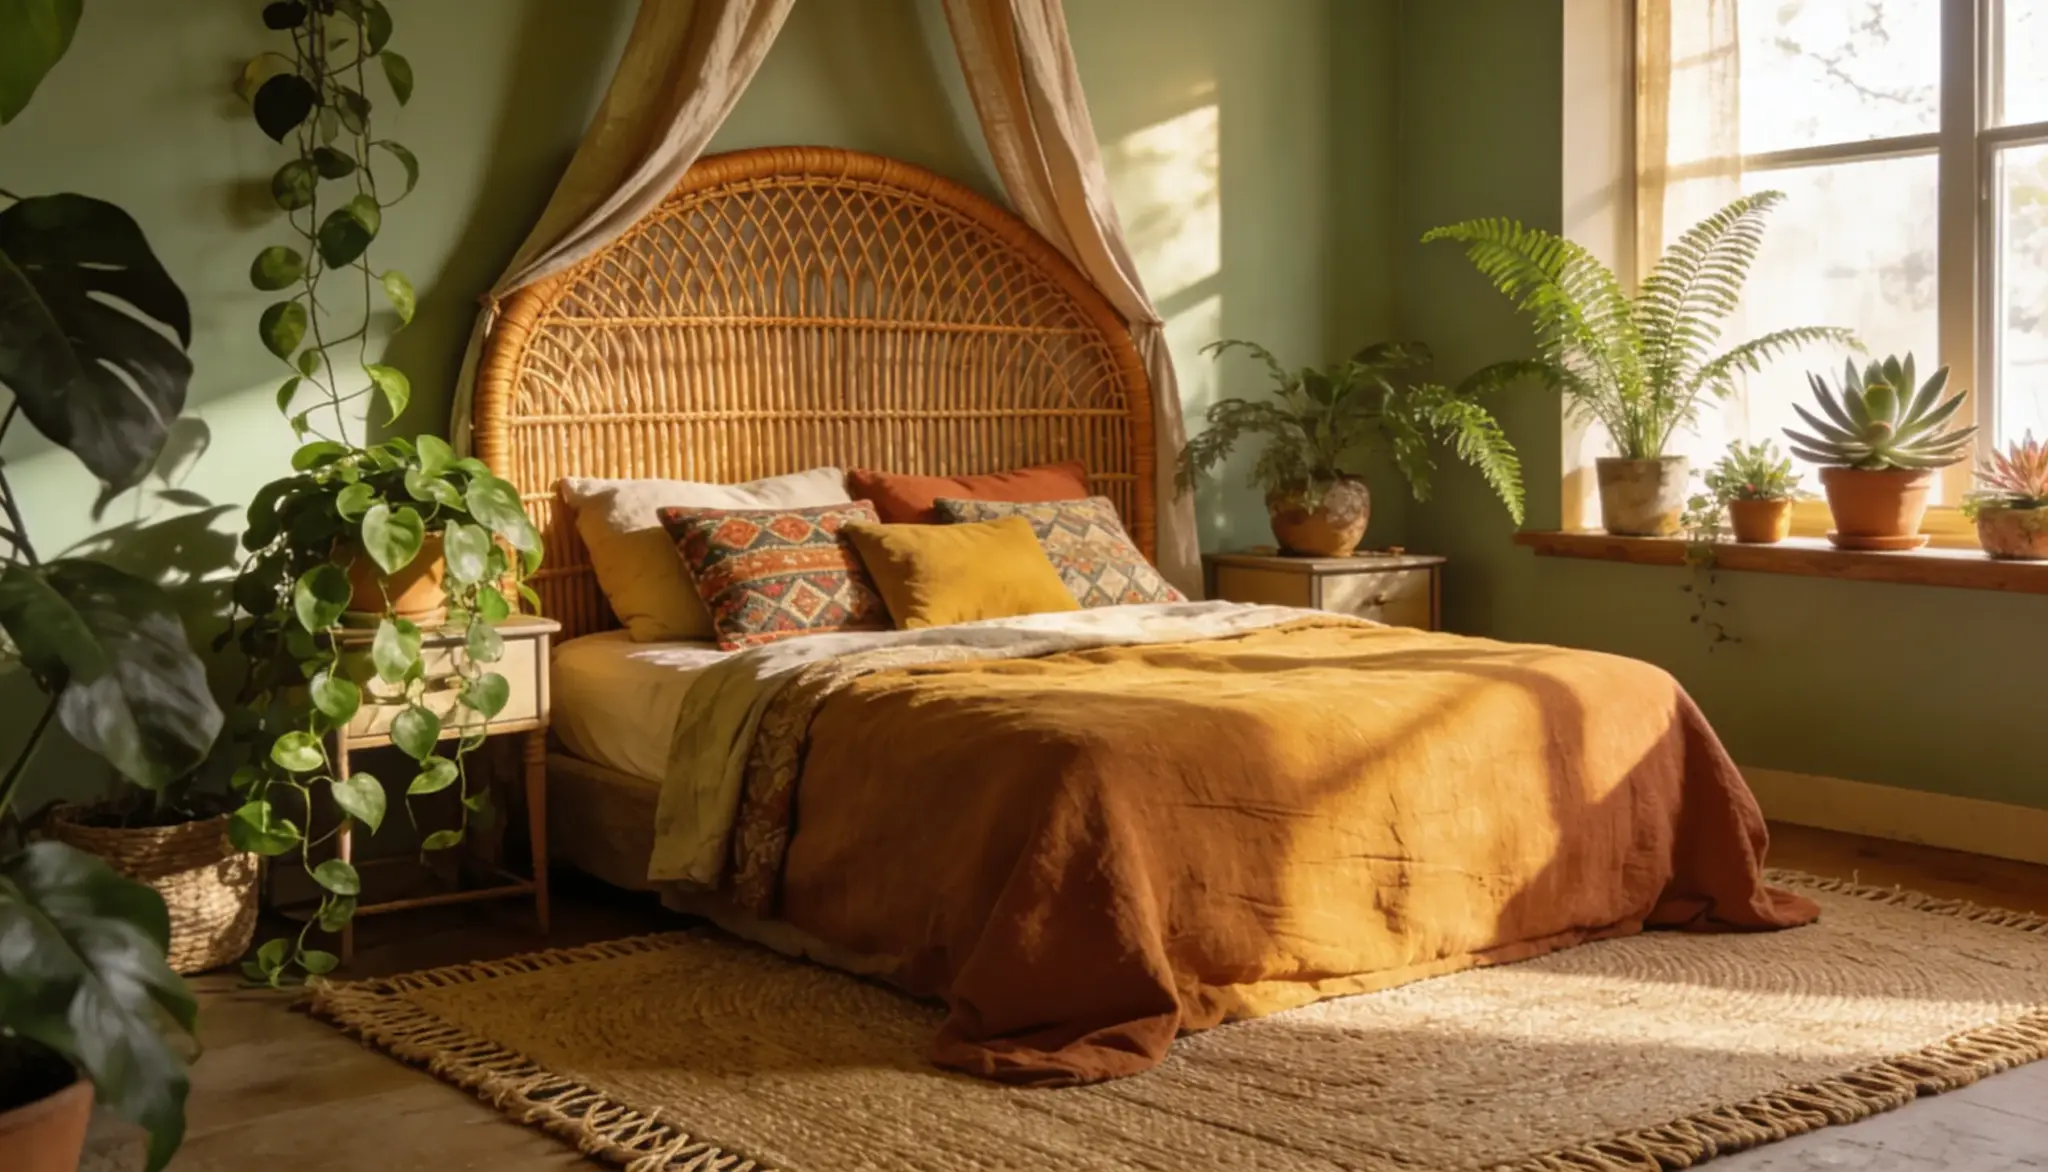
Attach cane webbing to a simple wood frame with a staple gun. The airy look suits warmer climates or sunlit rooms especially well.
Soak the cane in warm water first, so it stretches without cracking as you work. Plants and warm wood tones pair nicely with this one.
8. Wallpaper Accent
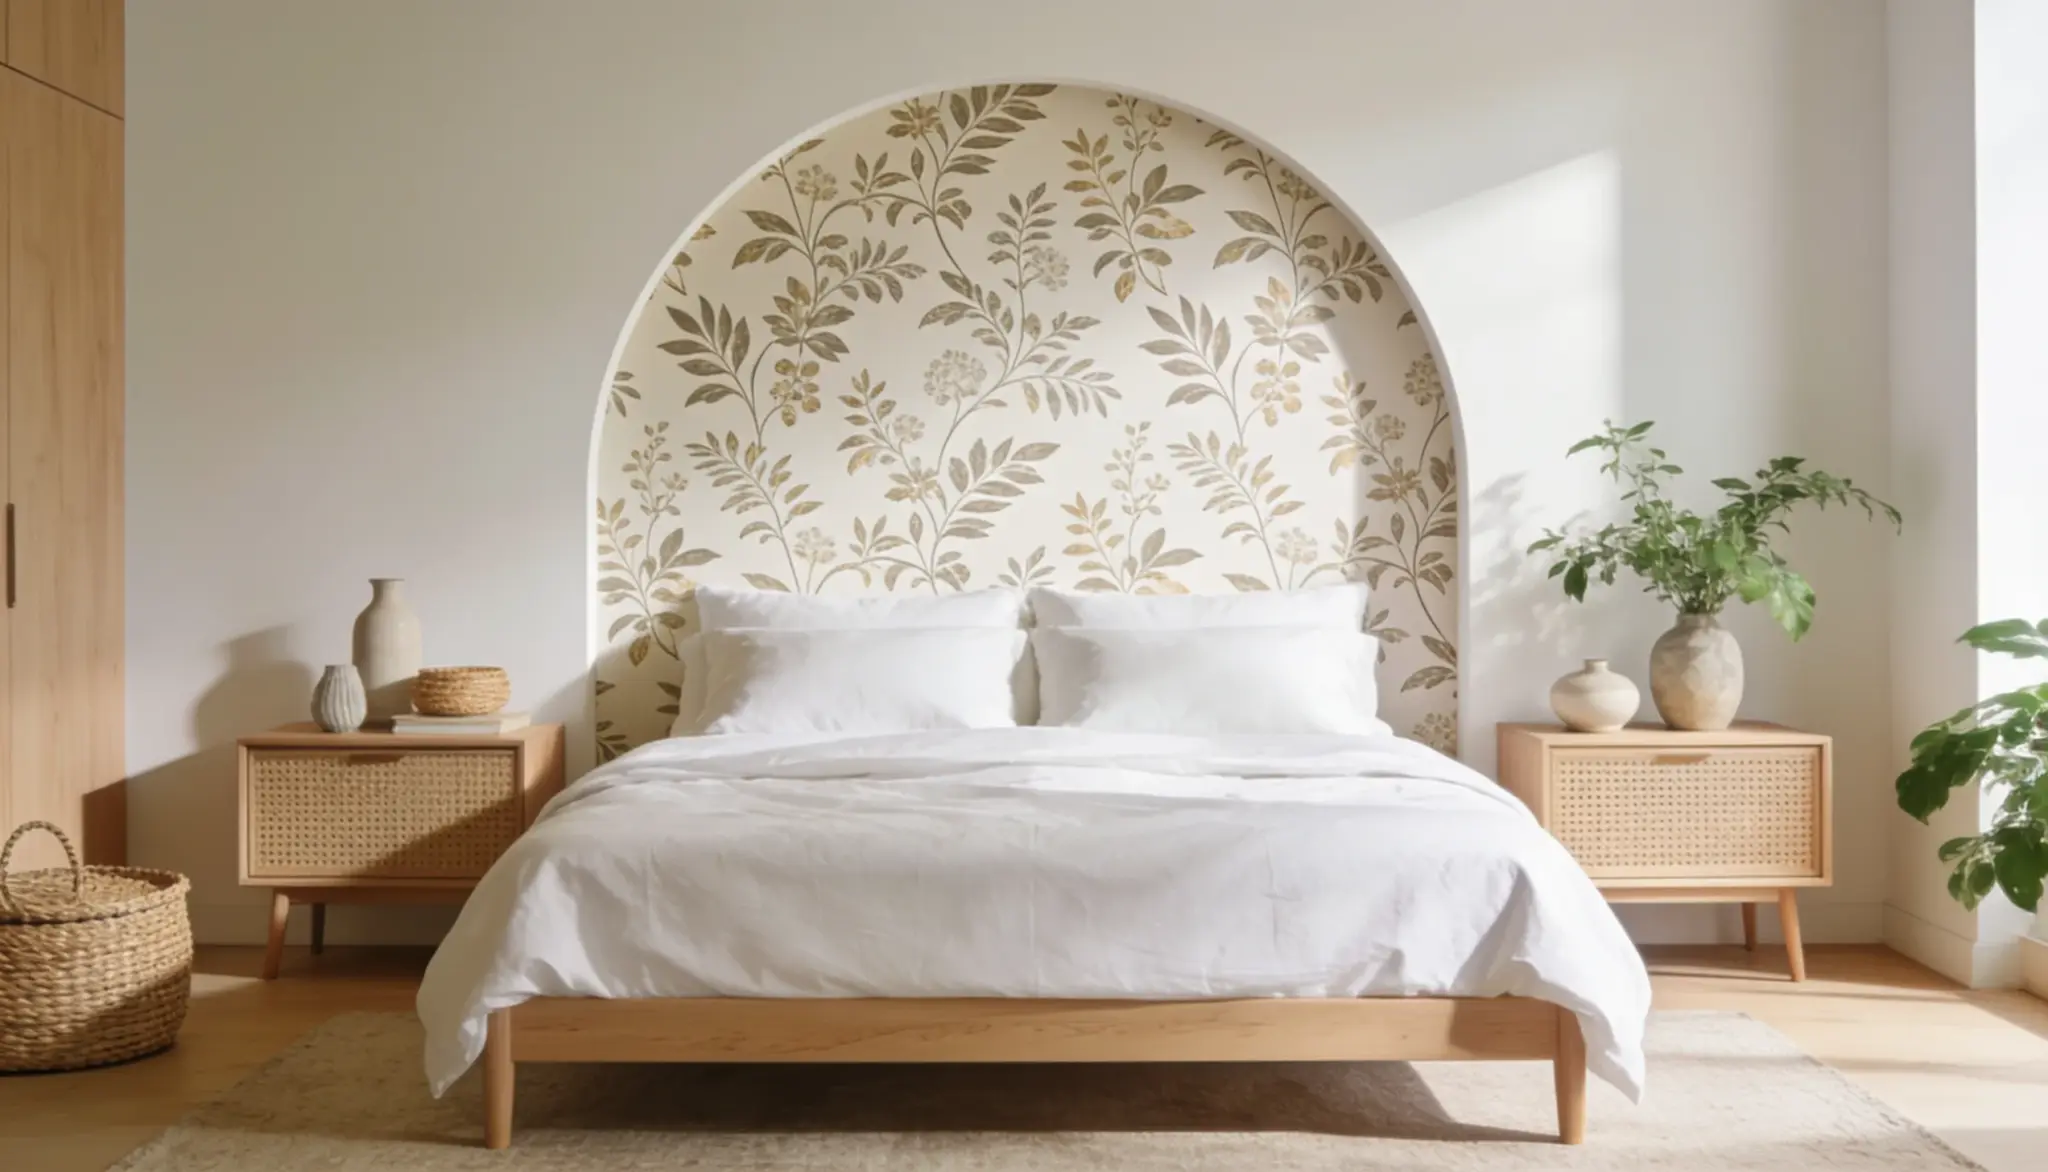
Peel-and-stick wallpaper cut into a headboard shape needs zero tools. It’s the simplest option here if you’re short on time or renting.
Pick a bold print for contrast against your bedding. Of everything on this list, this one finishes quickest, often in under an hour.
9. Floating Wall-Mounted Panel
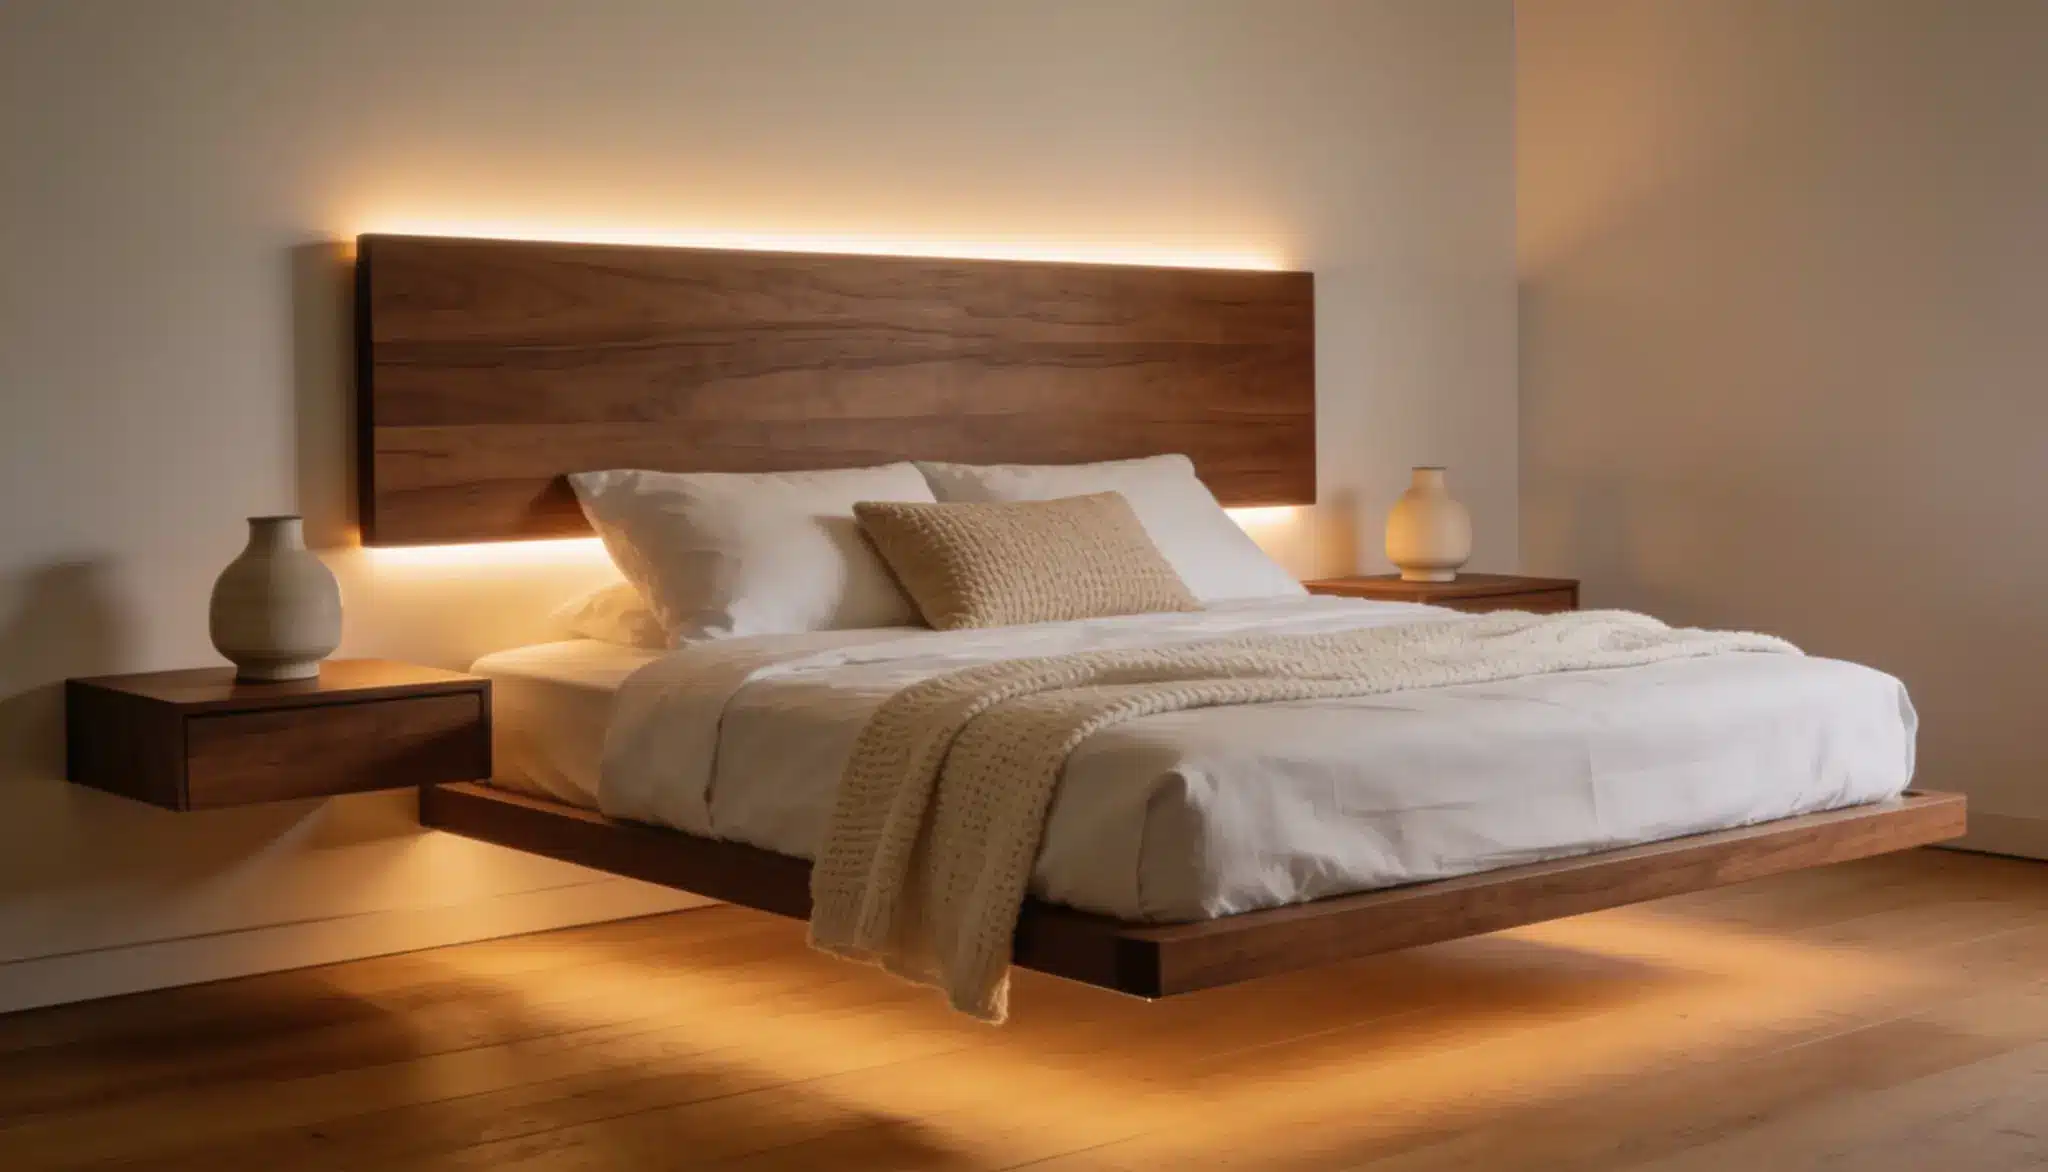
Mount a slim panel to the wall with a French cleat for a sturdy hold. It skips the bed frame entirely, which helps if you plan to change your bed setup later.
Add an LED strip behind it for a soft glow at night, which doubles as a nice reading light.
10. Vintage Door
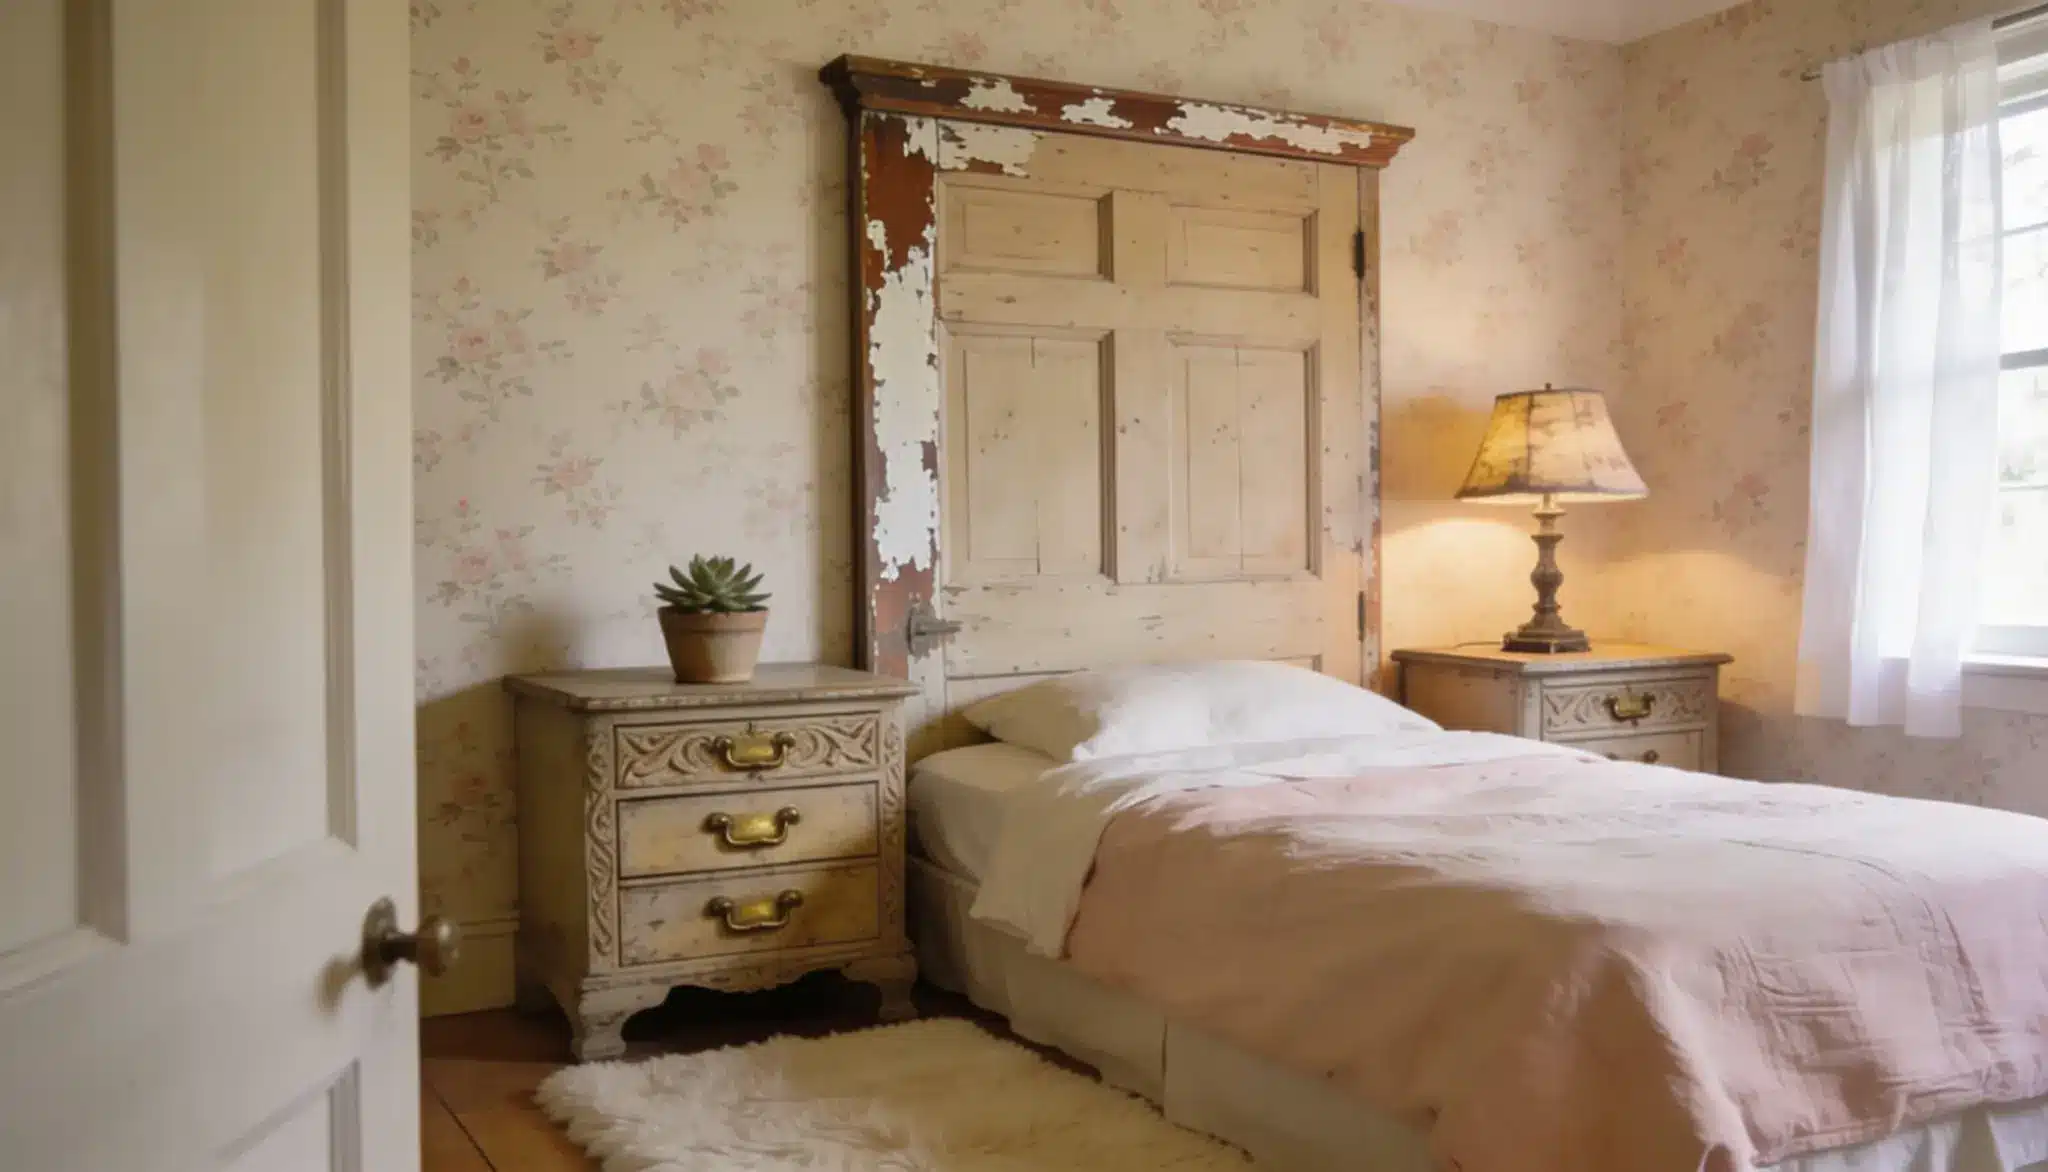
An old door from a salvage yard or flea market needs almost no building. Look for one close to your bed’s width, and trim the sides if needed.
Distress the finish for a cottage feel, or paint it clean and fresh. Secure it firmly to wall studs either way, since doors are heavier than most other options.
11. Arched Wood Panel
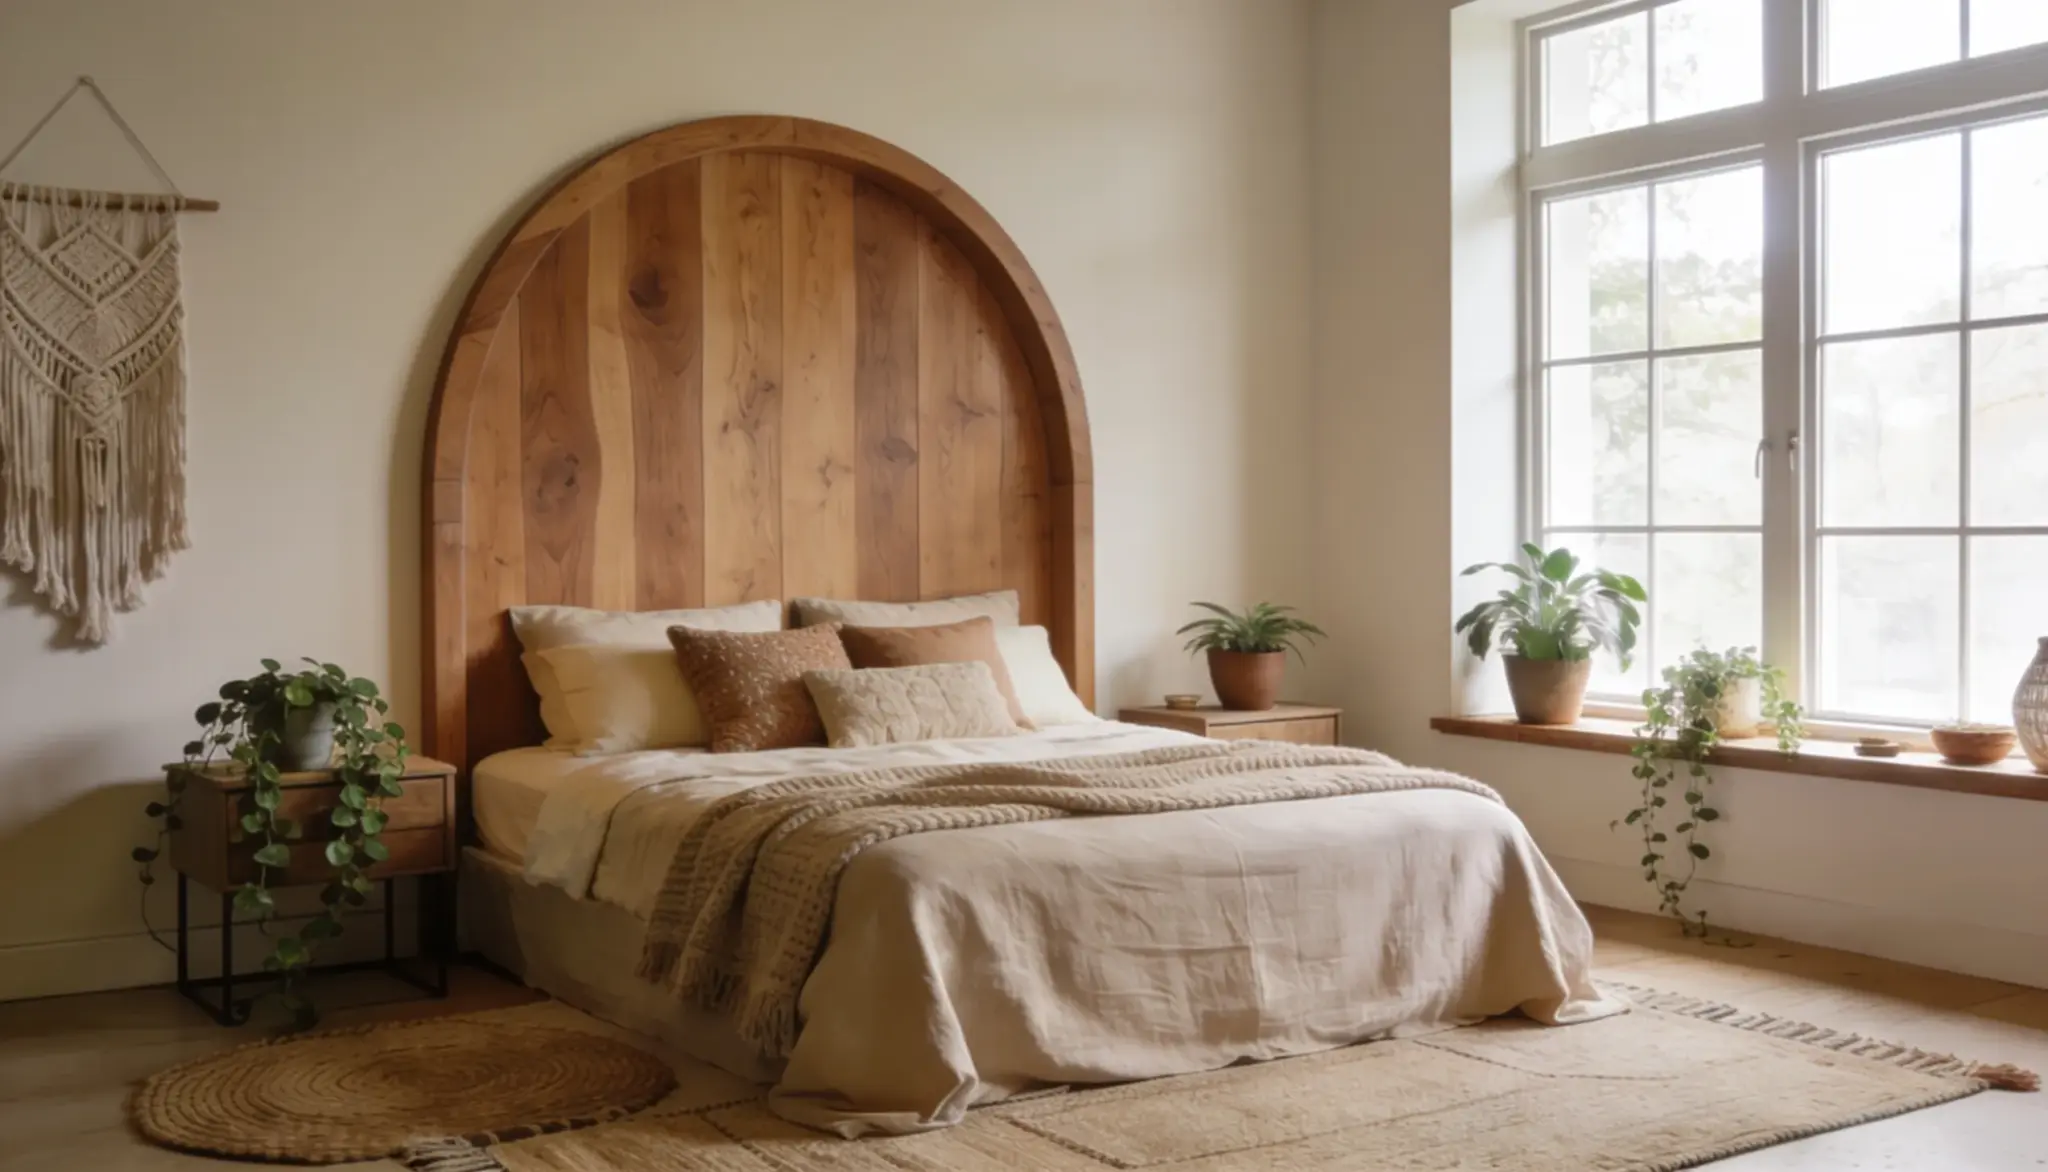
Curved plywood gives a softer shape than a standard rectangle. It takes a little more patience to cut, but the shape stands out more than a flat panel.
Paint it bold or leave the wood bare. Modern and boho rooms both take to this shape well.
Pick a Design and Get Started
From your first design to your fifth, these ideas cover pretty much every way to make a DIY headboard, using everything from simple paint and paper to full wood builds.
Some take an afternoon. Others take a weekend. Either way, you don’t need to be a woodworker to pull one off.
Pick the one that fits your bedroom, gather your materials, and start building this weekend.
Your headboard doesn’t have to be perfect. It just has to look like you made it on purpose.
Frequently Asked Questions (FAQs)
1. What’s the Easiest DIY Headboard to Make?
A painted geometric design or wallpaper accent. Both need no wood cutting or power tools.
2. Can I Attach a Headboard Directly to The Wall?
Yes. Use a French cleat or heavy-duty brackets, and anchor into wall studs, not just drywall.
3. What Wood Works Best for A DIY Headboard?
Pine is easiest for beginners. Oak and reclaimed barn wood cost more but last longer.
4. How Tall Should a DIY Headboard Be?
Most run 36 to 48 inches tall from the top of the mattress. Taller ones serve as focal points.