If you’re an artist whose art supplies sit in boxes, and the desk doubles as an easel, a filing cabinet, and a snack table, this blog is exactly what you need.
A cramped corner kills focus just as fast as bad lighting kills your mood, and a buried brush can stop a session before it even starts.
The fix is simpler than it sounds. Art studio design doesn’t require an interior design degree. It just needs seven clear steps.
This covers everything from choosing the space and planning the layout to selecting furniture, lighting, and storage. Plants, ventilation, and a few personal touches round out what a functional studio really needs.
By the end, a workspace comes together around your process instead of working against it.
How to Design Your Art Studio Step by Step
A great studio doesn’t happen by accident. A great studio doesn’t happen by accident. It comes from a series of decisions made in a certain sequence.
Skipping any of these steps tends to create a flaw in the lighting, storage, or the way the entire room flows.
Get the order right, and the space just works.
Step 1: Choose the Right Art Studio Space
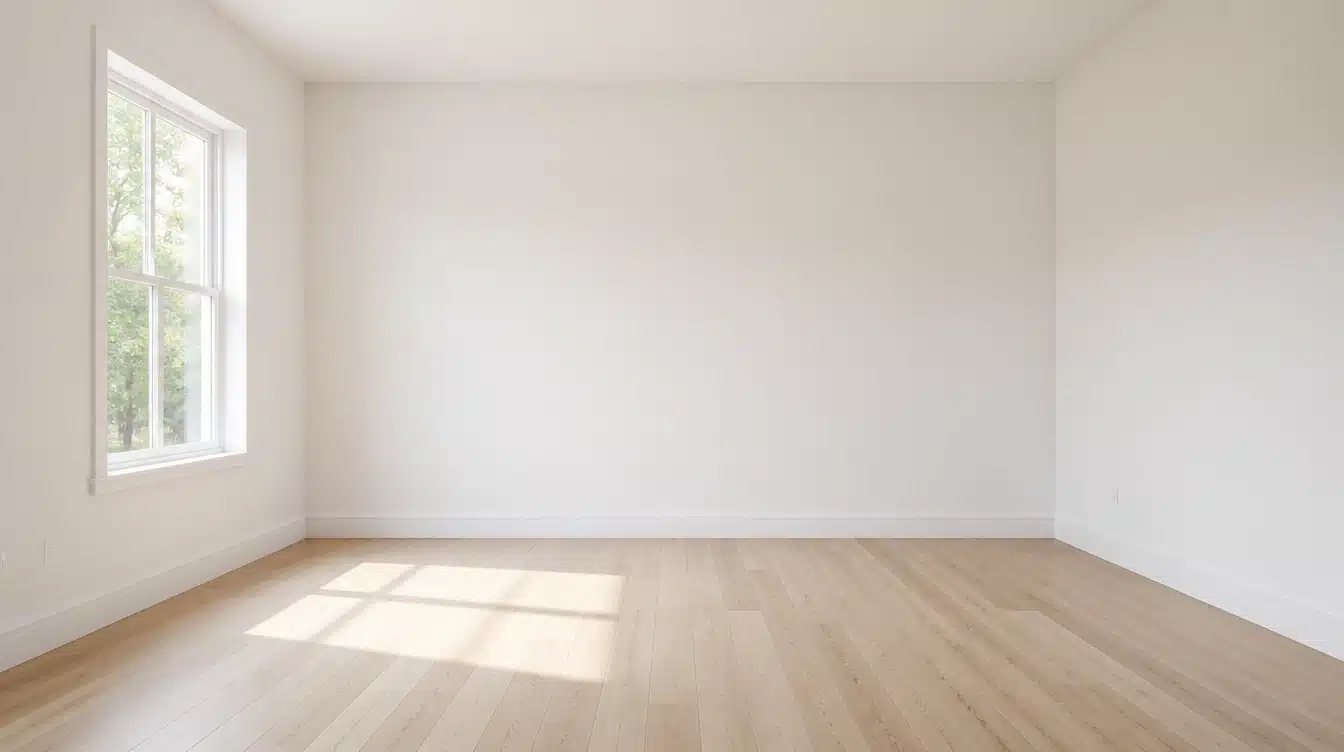
Every studio idea falls apart in the wrong room. Nail this first choice, and everything else falls into place much more easily.
Look for a spot with real light and room to breathe. A spare bedroom works, so does a garage corner, or even a covered porch, as long as daylight reaches it for part of the day.
Run any spot through a quick check before settling on it:
- Does natural light hit the space at different times of day?
- Is there room for a table, storage, and space to move?
- Can the area stay away from noise and family traffic?
- Does the floor handle spills and stains without much fuss?
Step 2: Measure and Plan the Studio Layout
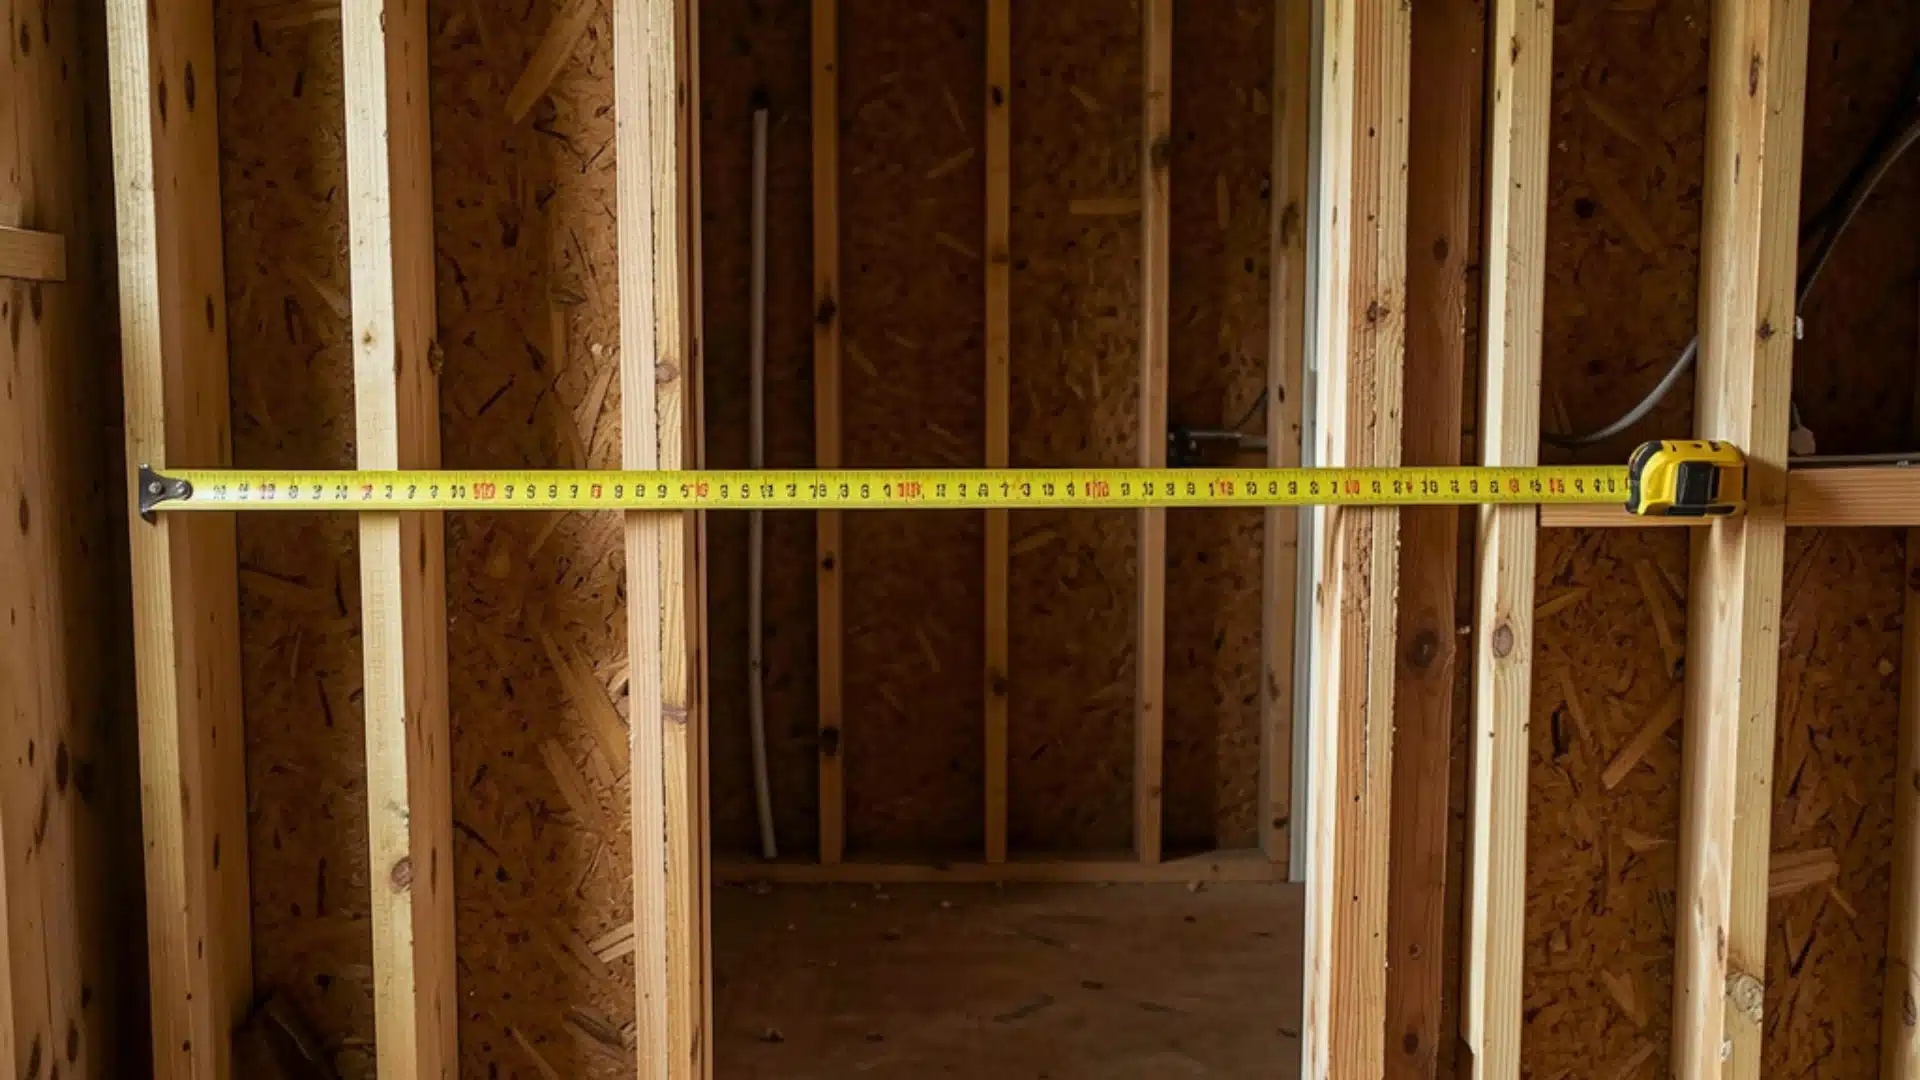
Grab a tape measure before buying any furniture for your studio. Note the room’s length, width, and ceiling height, along with window and door spots.
Sketch a rough layout on paper, marking where daylight falls throughout the day.
Keep these basics in mind:
- Leave enough space to walk between furniture pieces.
- Keep wet work areas away from paper and canvas storage.
- Put the main work surface near the best natural light.
Step 3: Create Work Zones and Choose Functional Furniture
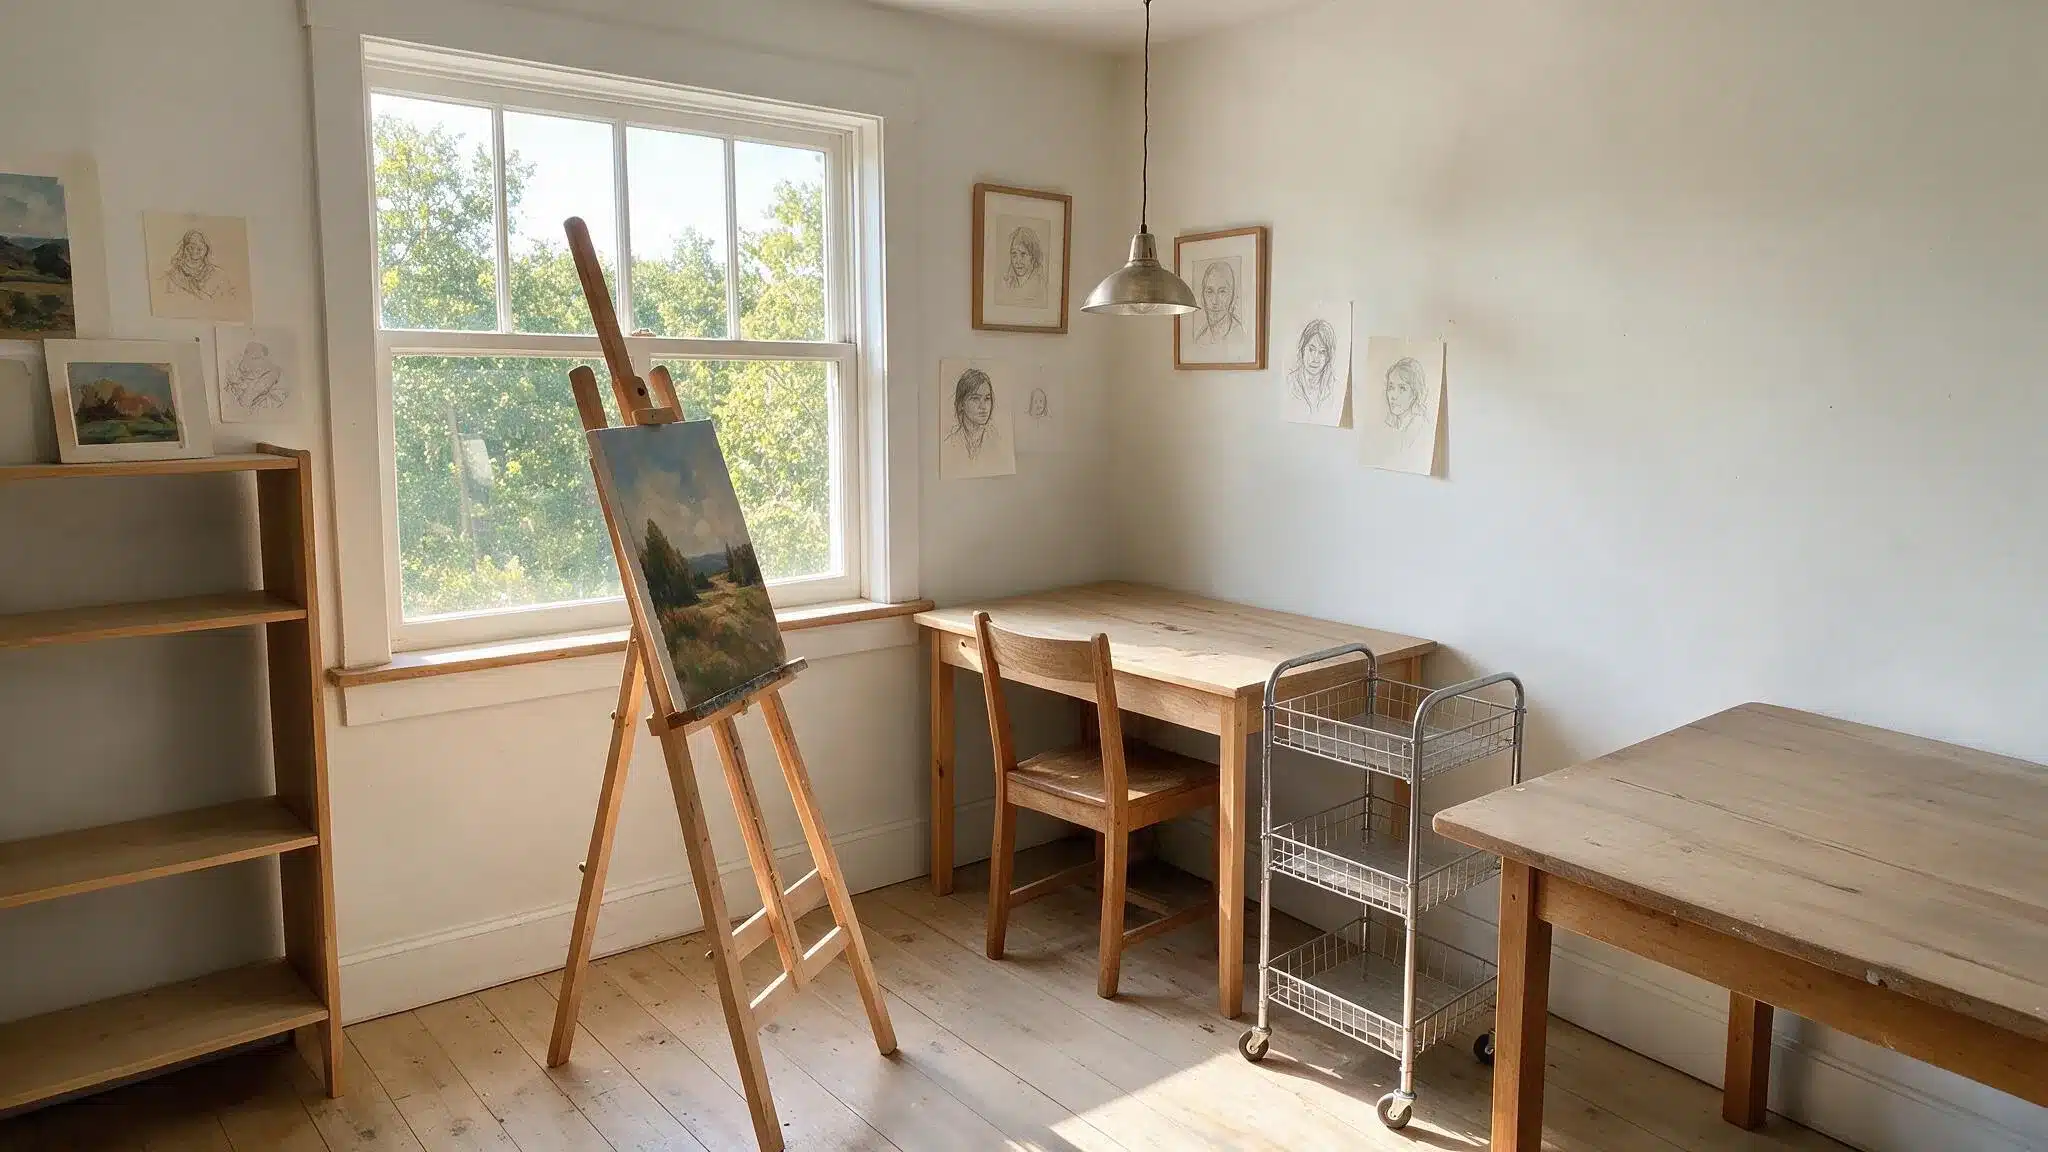
Painting, drawing, and cutting all need their own corner, since each task comes with a different setup and mess.
A wet zone handles painting and cleanup, while a dry zone covers drawing and planning, and a cutting zone gives blades and mats a sturdy surface of its own.
The right furniture pulls those zones together. Think a sturdy table or easel, a chair built for long hours, and rolling shelves for easy rearranging.
Furniture with wood and metal handles spills and scratches far better than fabric or laminate. Keep tools within reach of each zone to save time.
Step 4: Set Up Art Studio Lighting
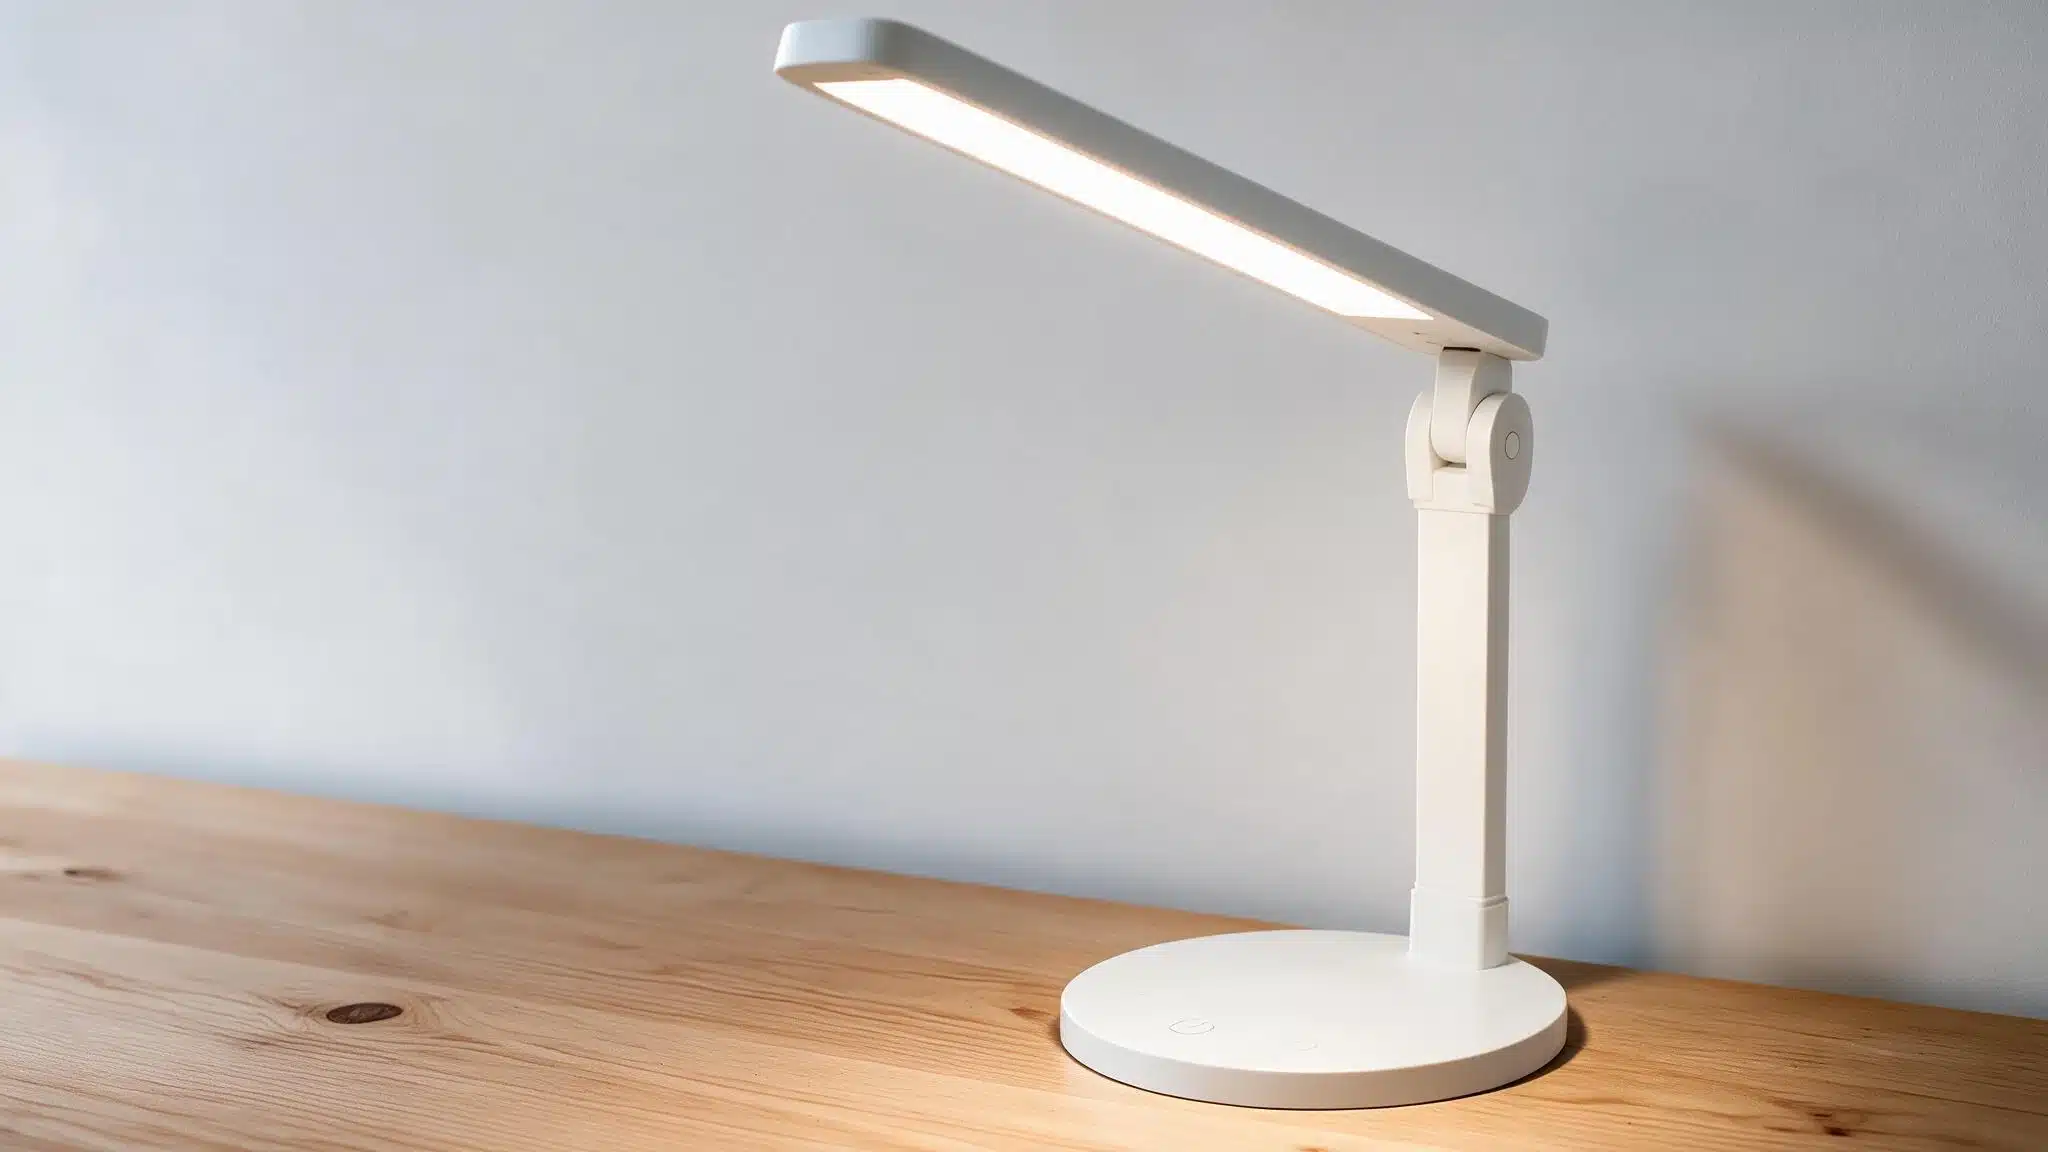
Natural light shows the truest color, so it helps to face the work table toward a window whenever that’s possible.
On cloudy days or during evening sessions, a daylight LED lamp keeps colors accurate, while an adjustable arm lamp reduces shadows across the work surface.
Step 5: Organize Art Supplies and Storage
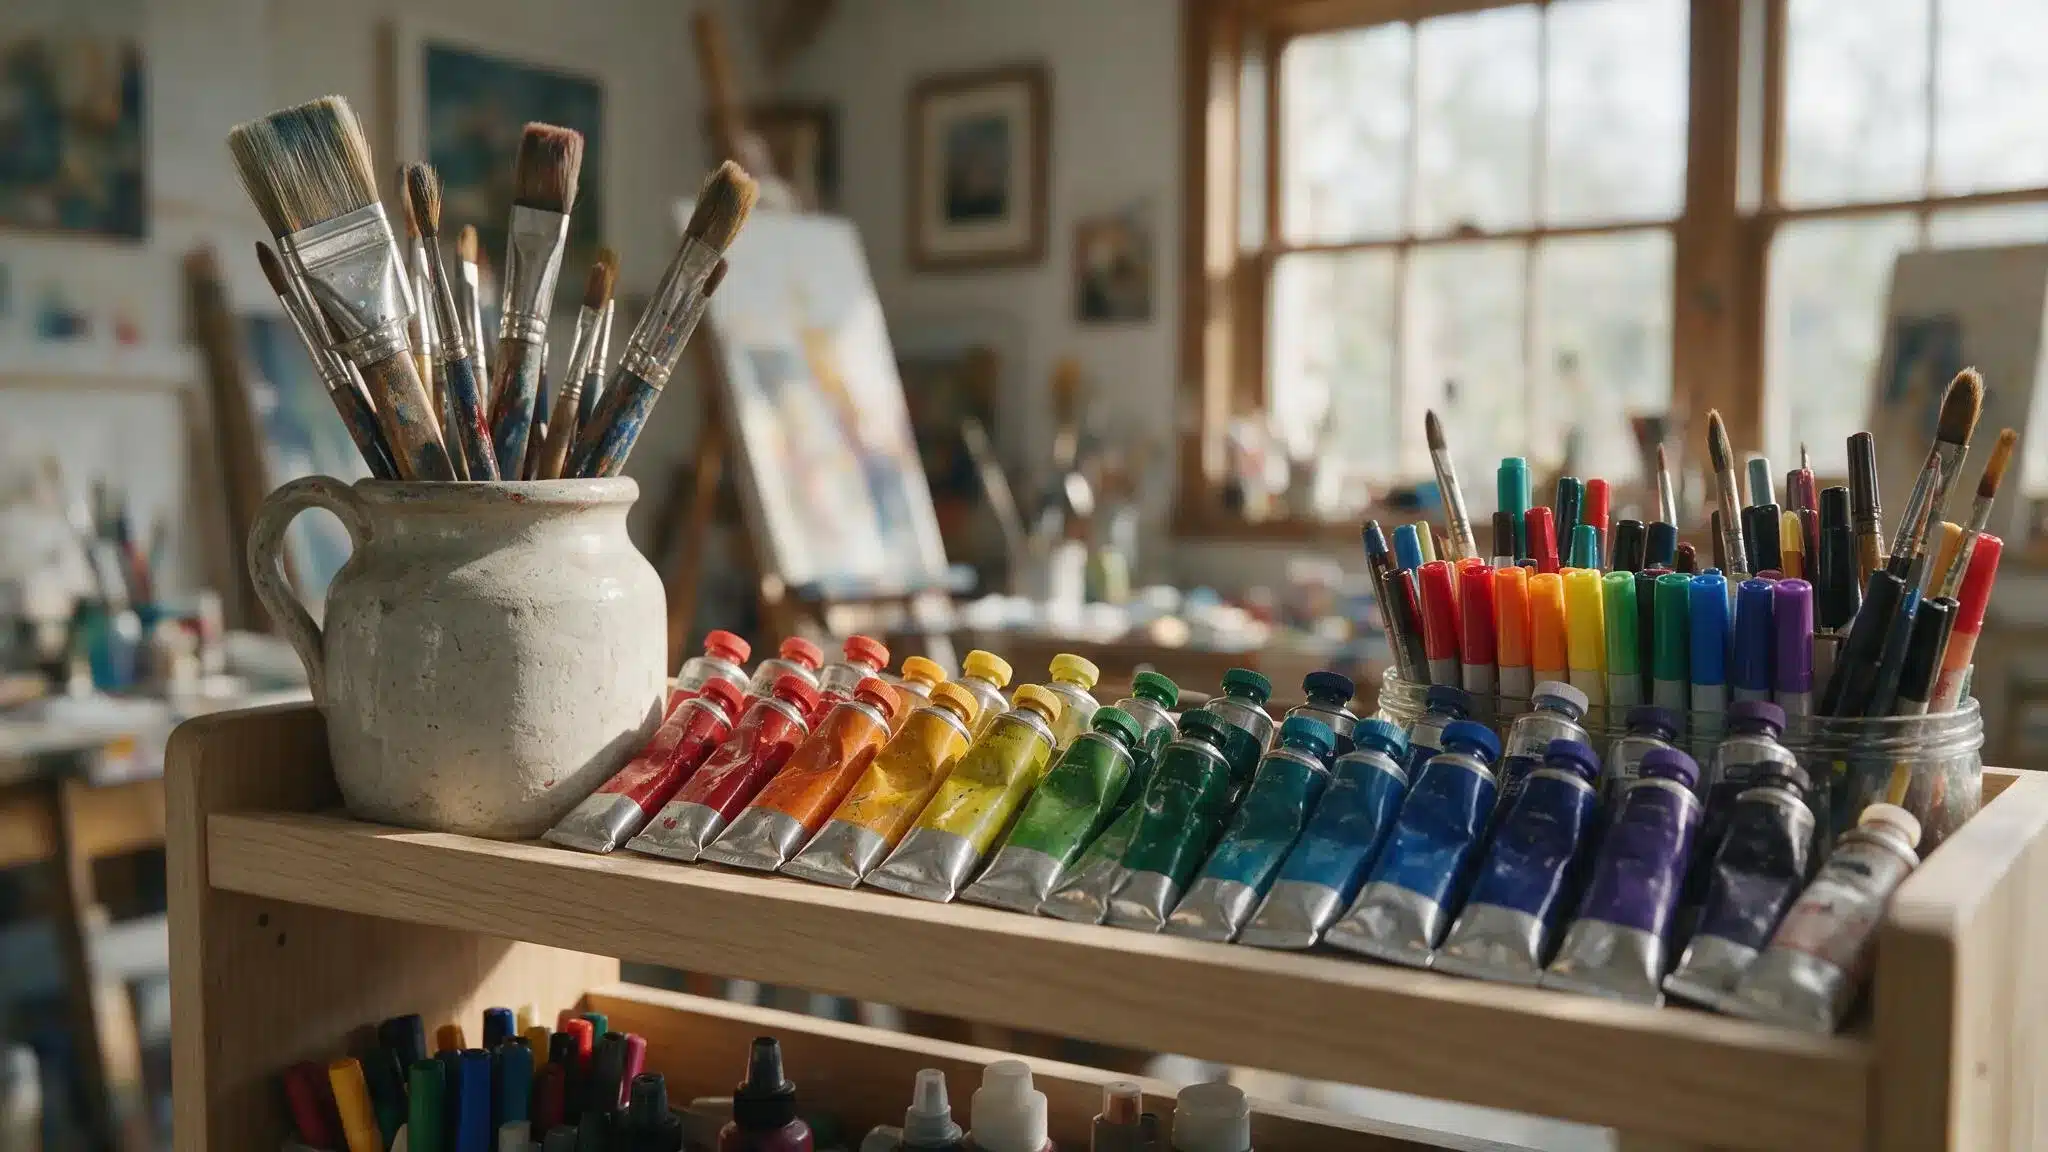
Supplies pile up fast, but a simple system keeps the mess in check.
Keep brushes and pencils close, store paper and canvas flat, and sort paints by color on open shelves. Anything used once in a blue moon can get boxed and tucked away.
A little sorting now means way less digging later.
Step 6: Test and Adjust Your Art Studio Setup
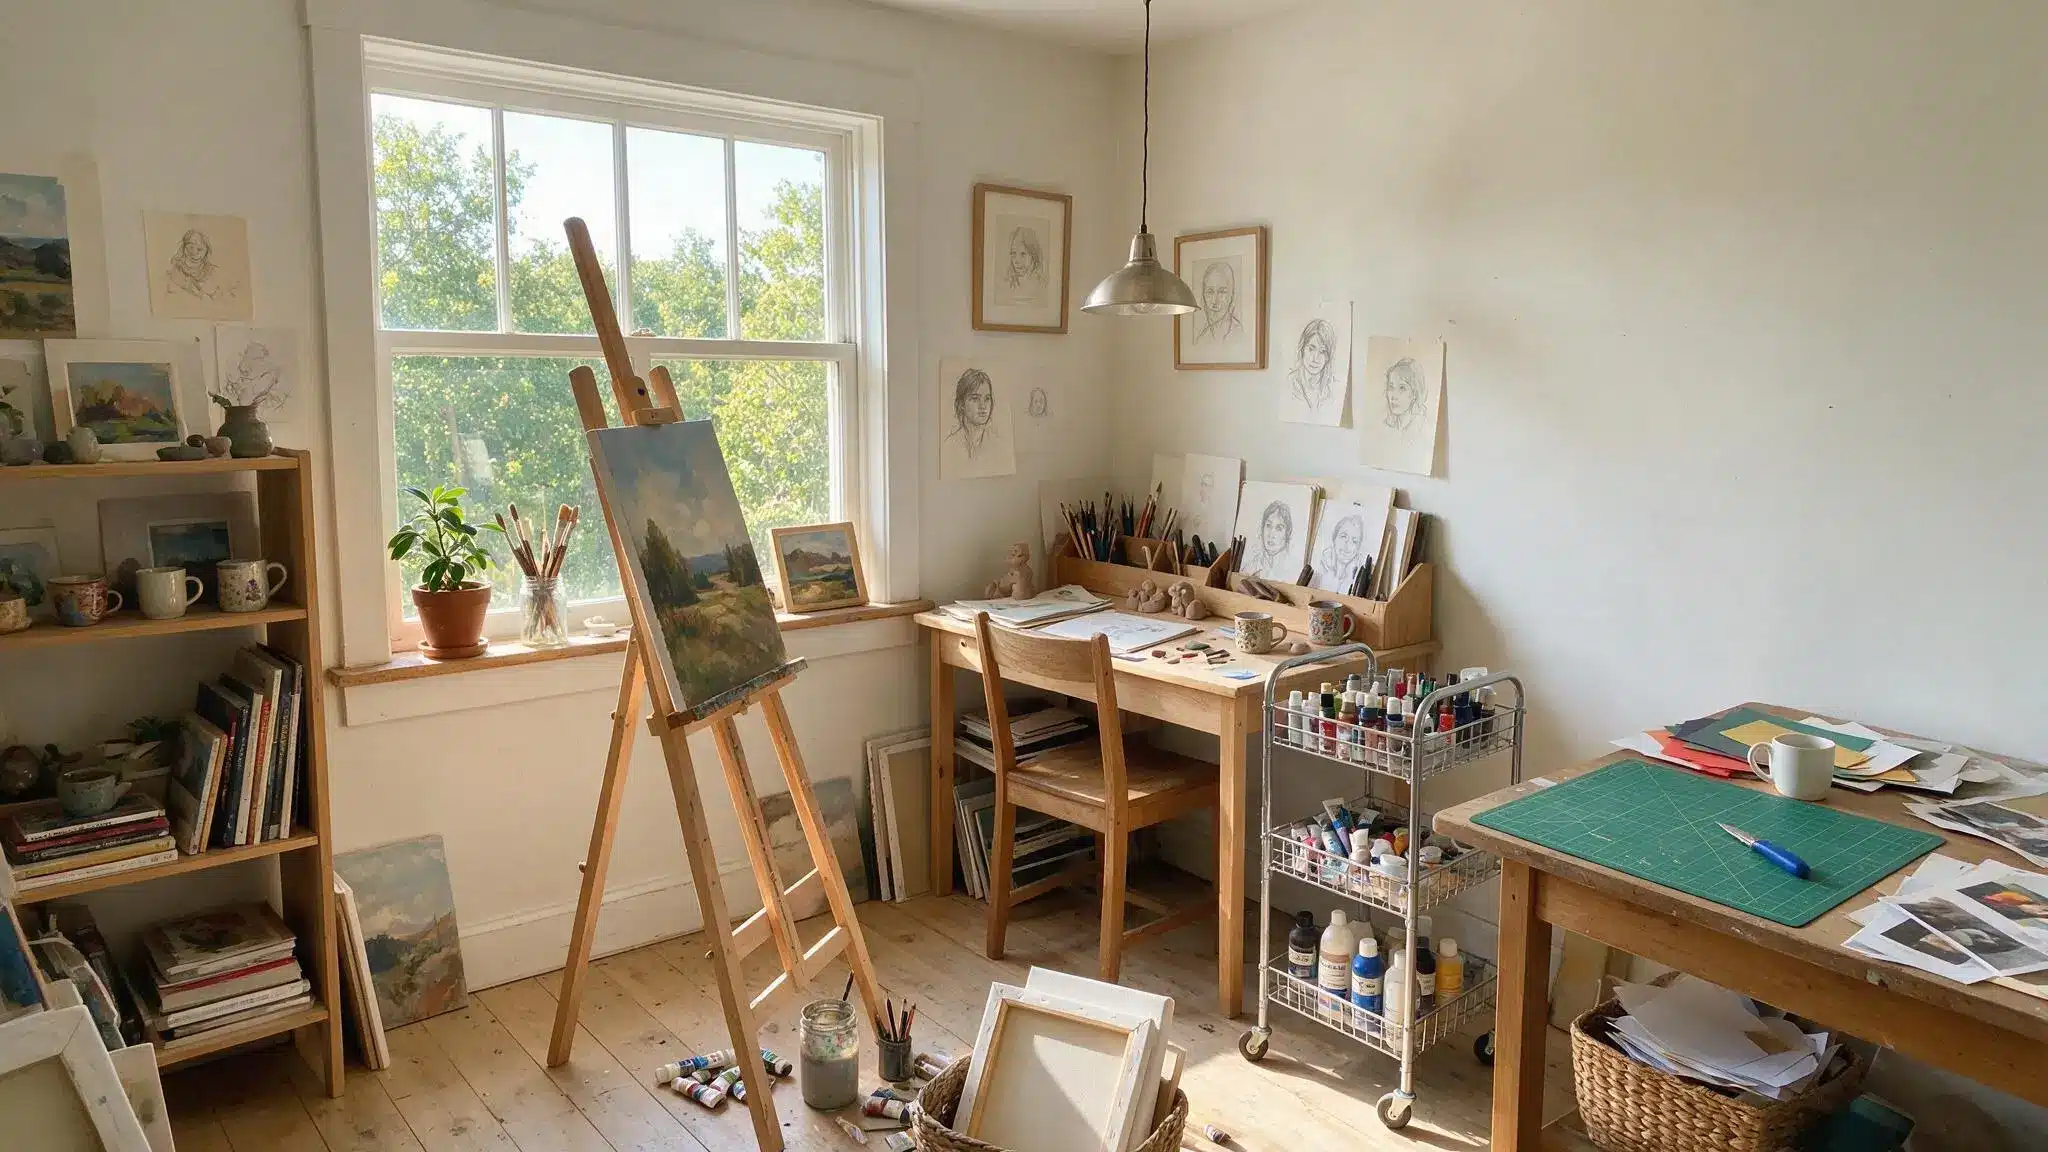
A studio never feels finished after just one afternoon of setup. Spend a real work session in it before calling it done.
Pay attention to how it actually feels:
- Does the light hold up once evening rolls around?
- Is anything just out of reach that gets grabbed all the time?
- Does moving between zones feel tight or awkward?
Small fixes solve most of this. Nudge a lamp, shift a shelf, or swap out a chair, and things start clicking into place. A studio worth using gets better the more you live in it.
Ergonomic Art Studio Furniture Ideas
A few smart furniture picks make hours in the studio feel a lot easier on the body. These five ideas cover the pieces that actually make a difference.
1. Adjustable-Height Drafting Table
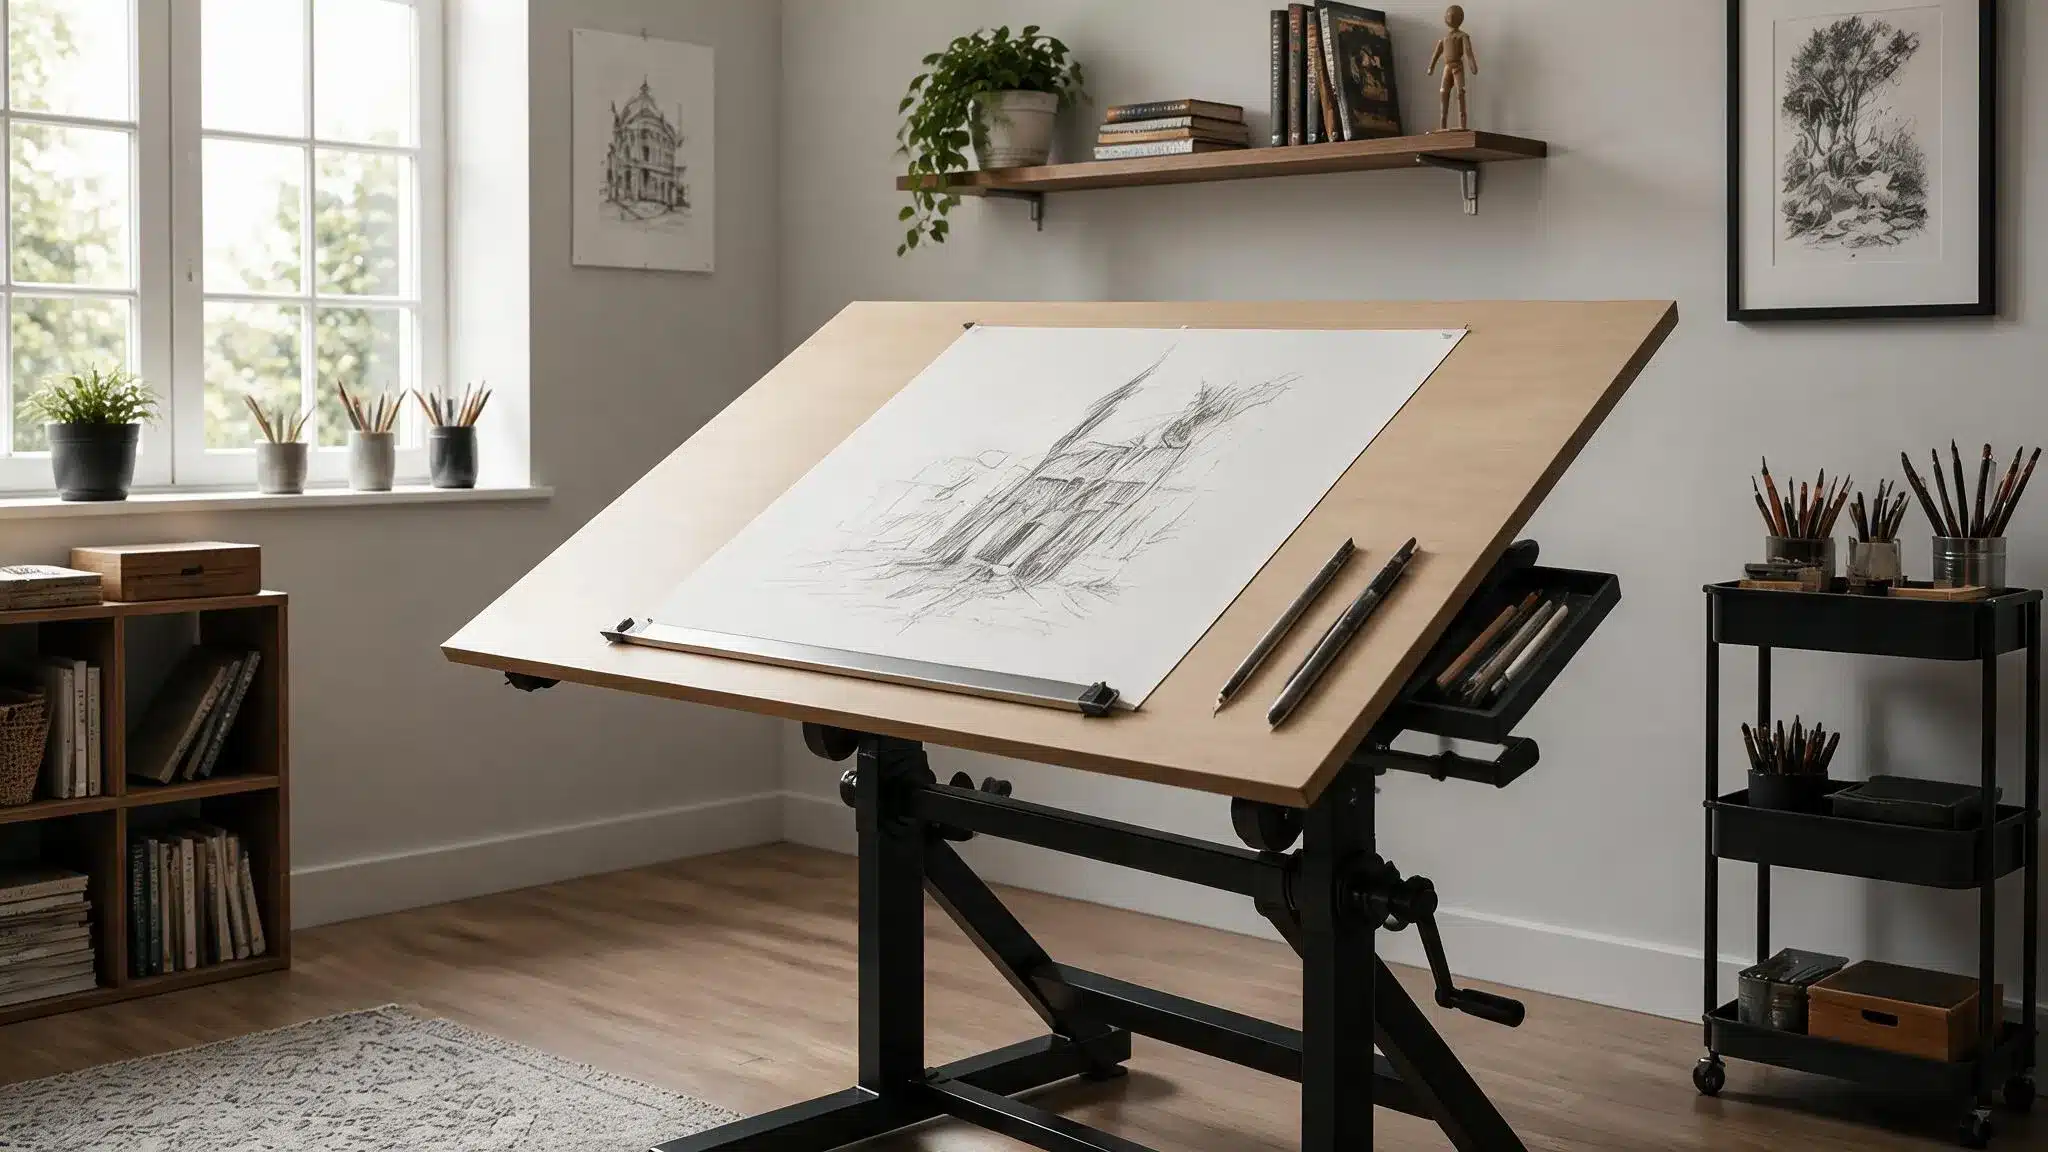
A table that moves up and down fits both sitting and standing work. Switching positions throughout the day keeps the back from stiffening up.
Look for one with a tilting top, since angled surfaces make detailed work a lot easier on the neck.
2. A Supportive Studio Chair or Stool
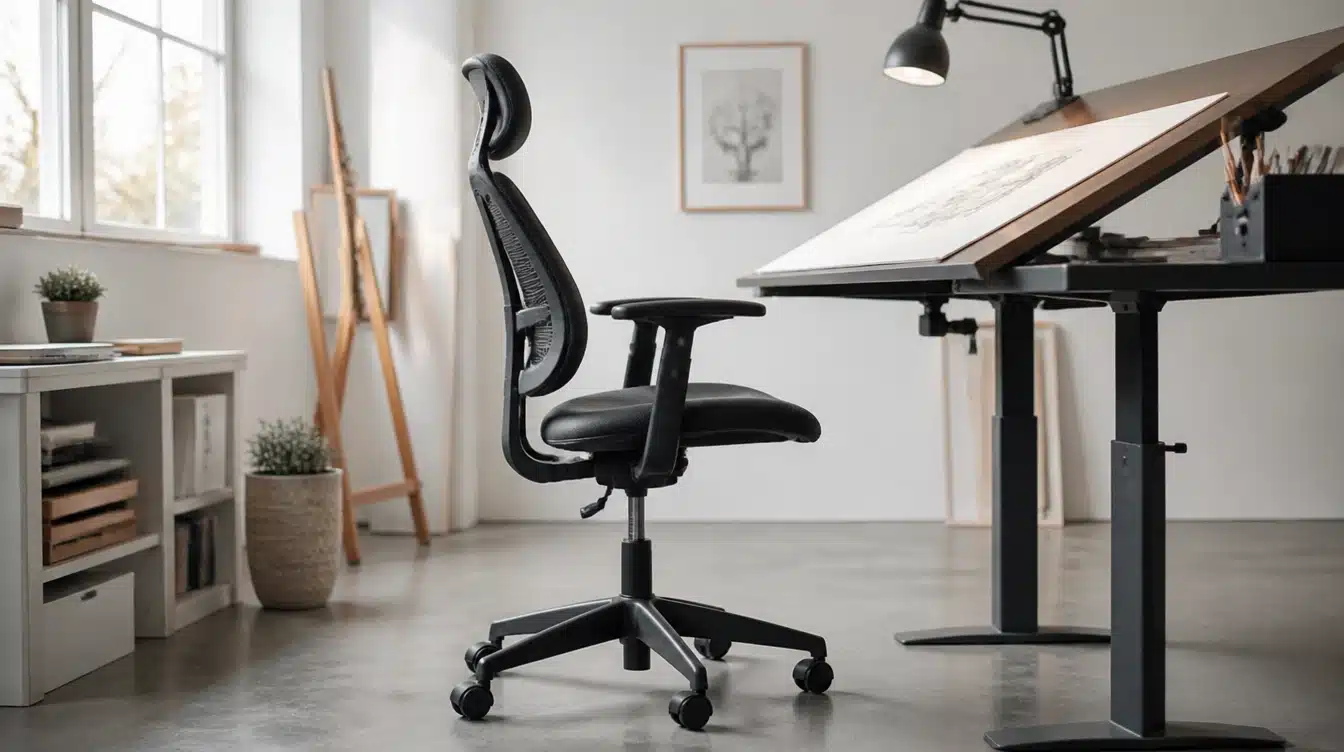
Long hours at the table take a toll without the right seat.
A chair with real back support beats a plain stool every time. Adjustable height helps it match the table, keeping shoulders relaxed instead of hunched over for hours.
3. Wall-Mounted Shelving
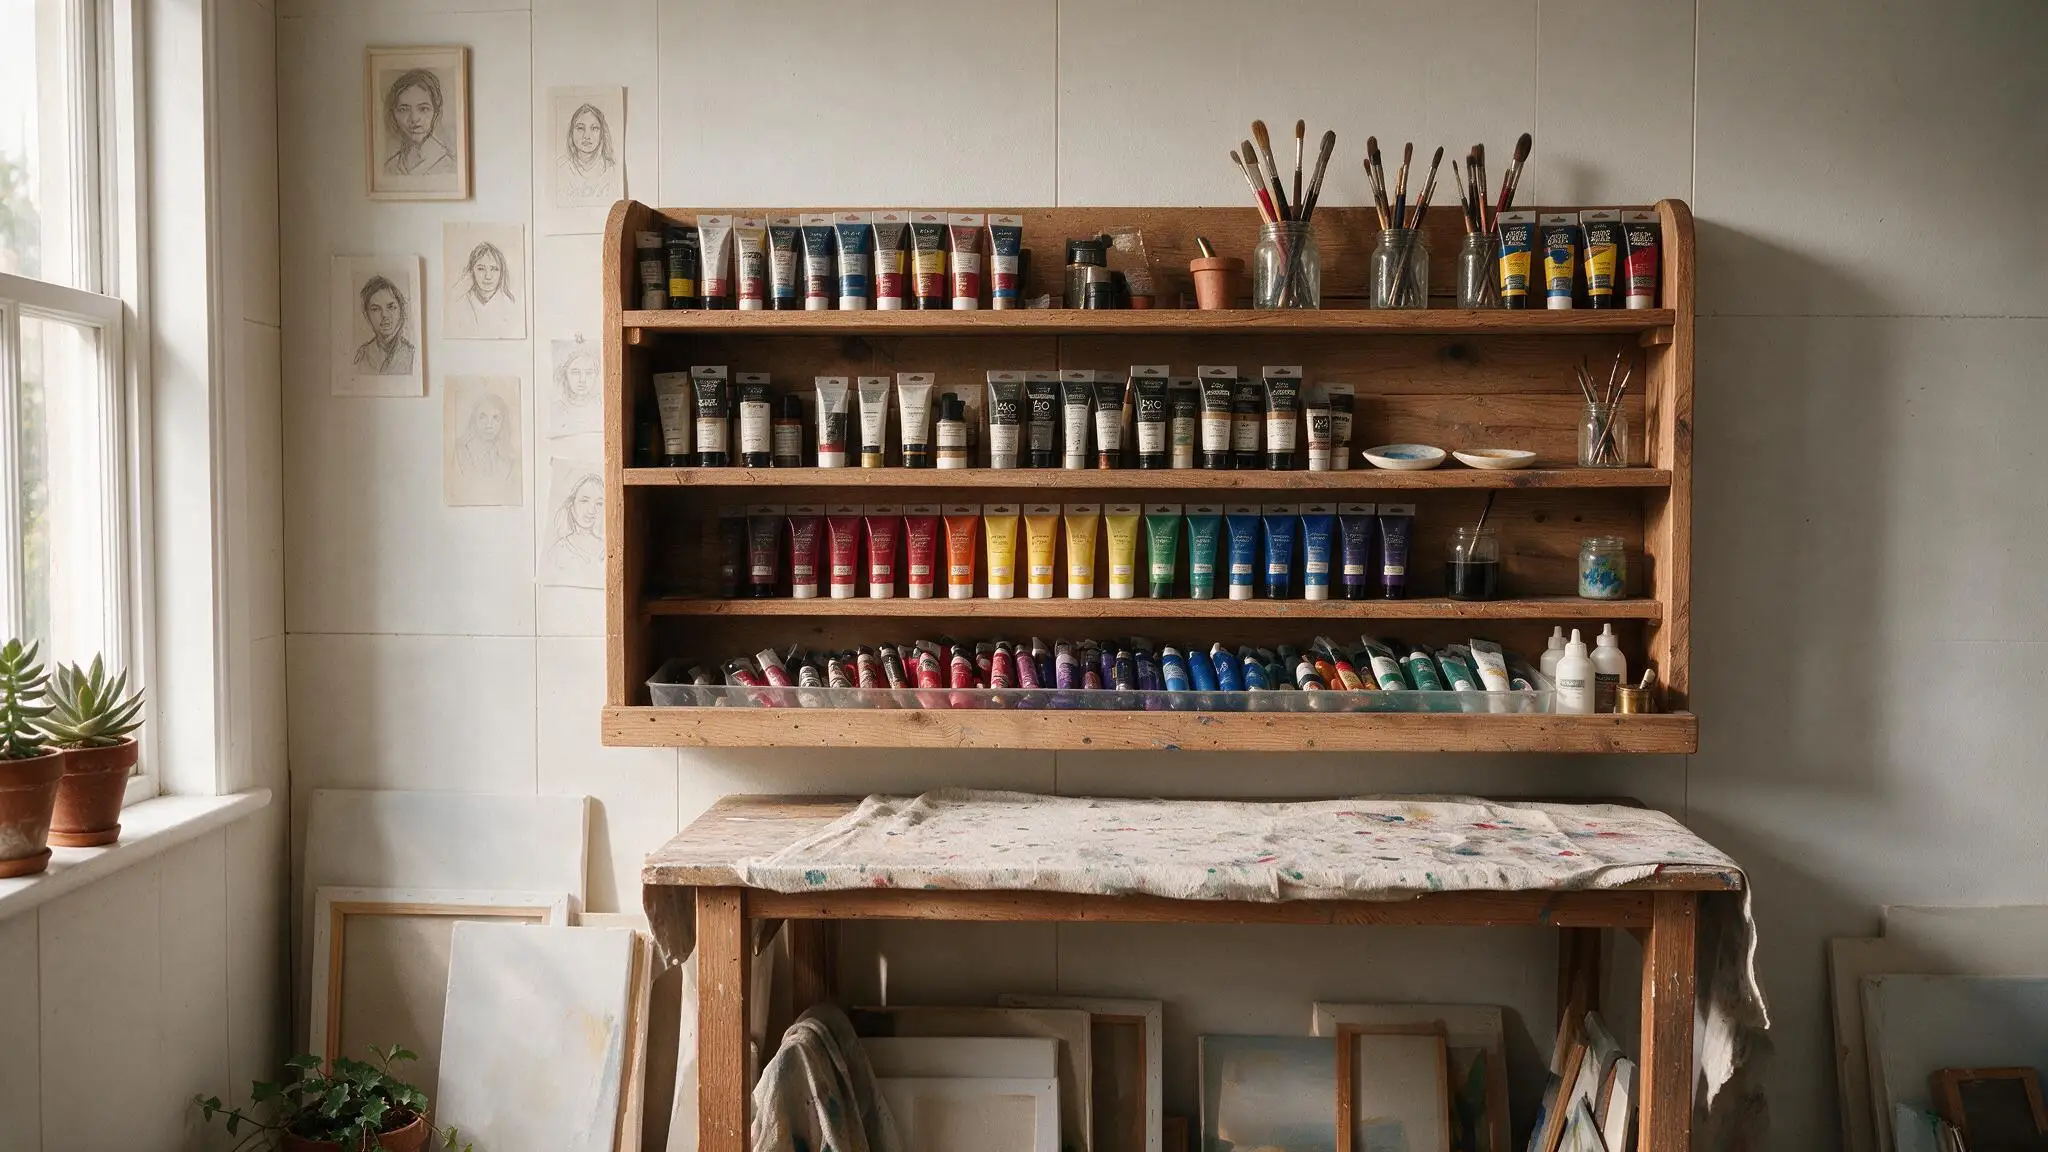
Wall shelves free up floor space while keeping supplies within easy reach. Mount them at the right height to avoid bending or stretching for everyday items.
Open shelving also makes it simple to see what’s running low before starting a project.
4. An Anti-Fatigue Floor Mat
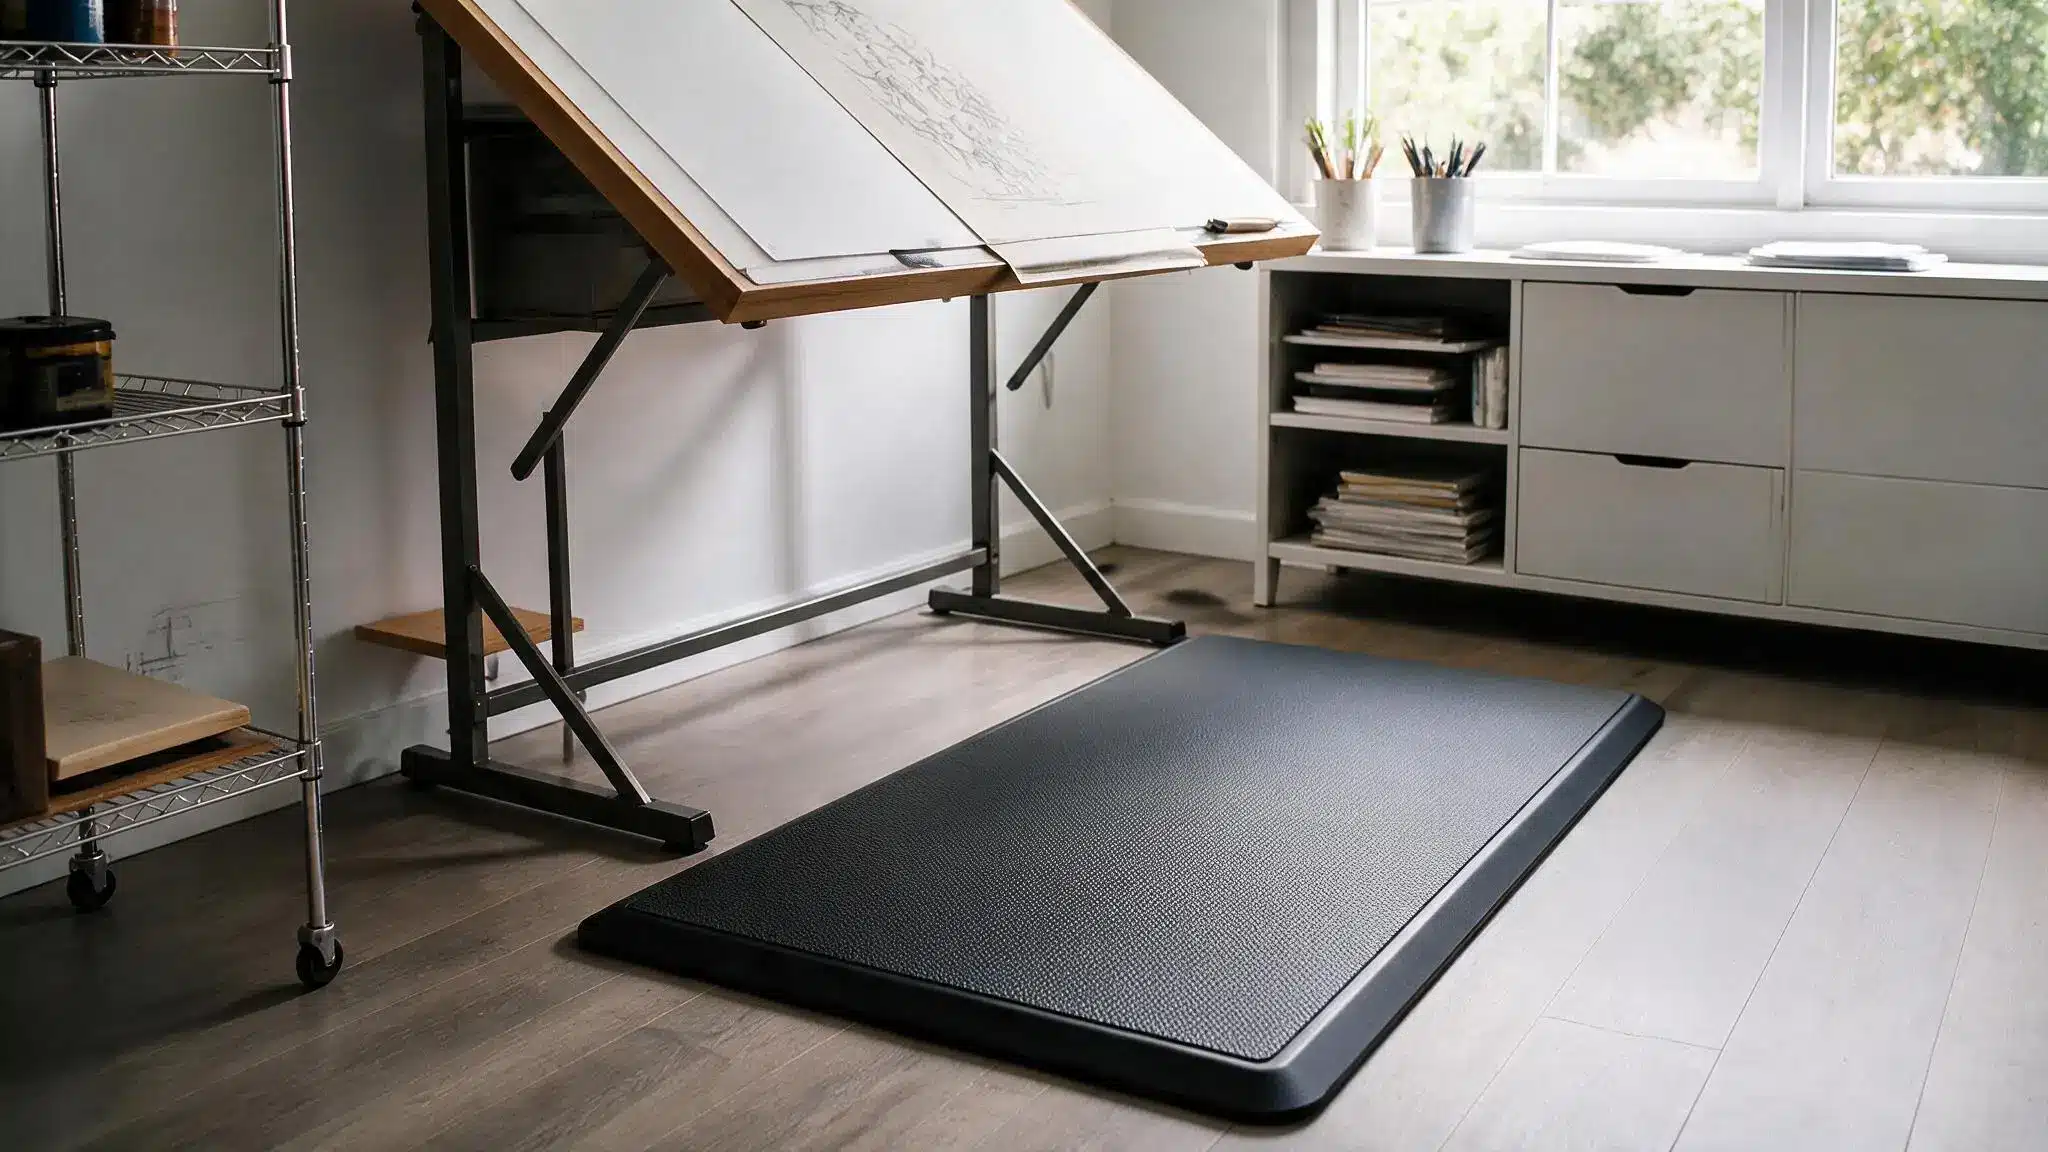
Standing for hours at an easel or table wears out feet and legs fast.
A cushioned mat under the main work area softens that impact throughout the day. It’s a small addition that makes long sessions feel a lot less tiring.
Art Studio Design Ideas for a Creative and Functional Space
Once the basics are sorted, it’s time for the fun part: making the space actually feel like yours. These ideas cover color, layout, and little touches that turn a plain room into a studio worth spending hours in.
Mix and match whichever fits the space best.
5. Use a Cohesive Color Palette to Shape the Studio Atmosphere
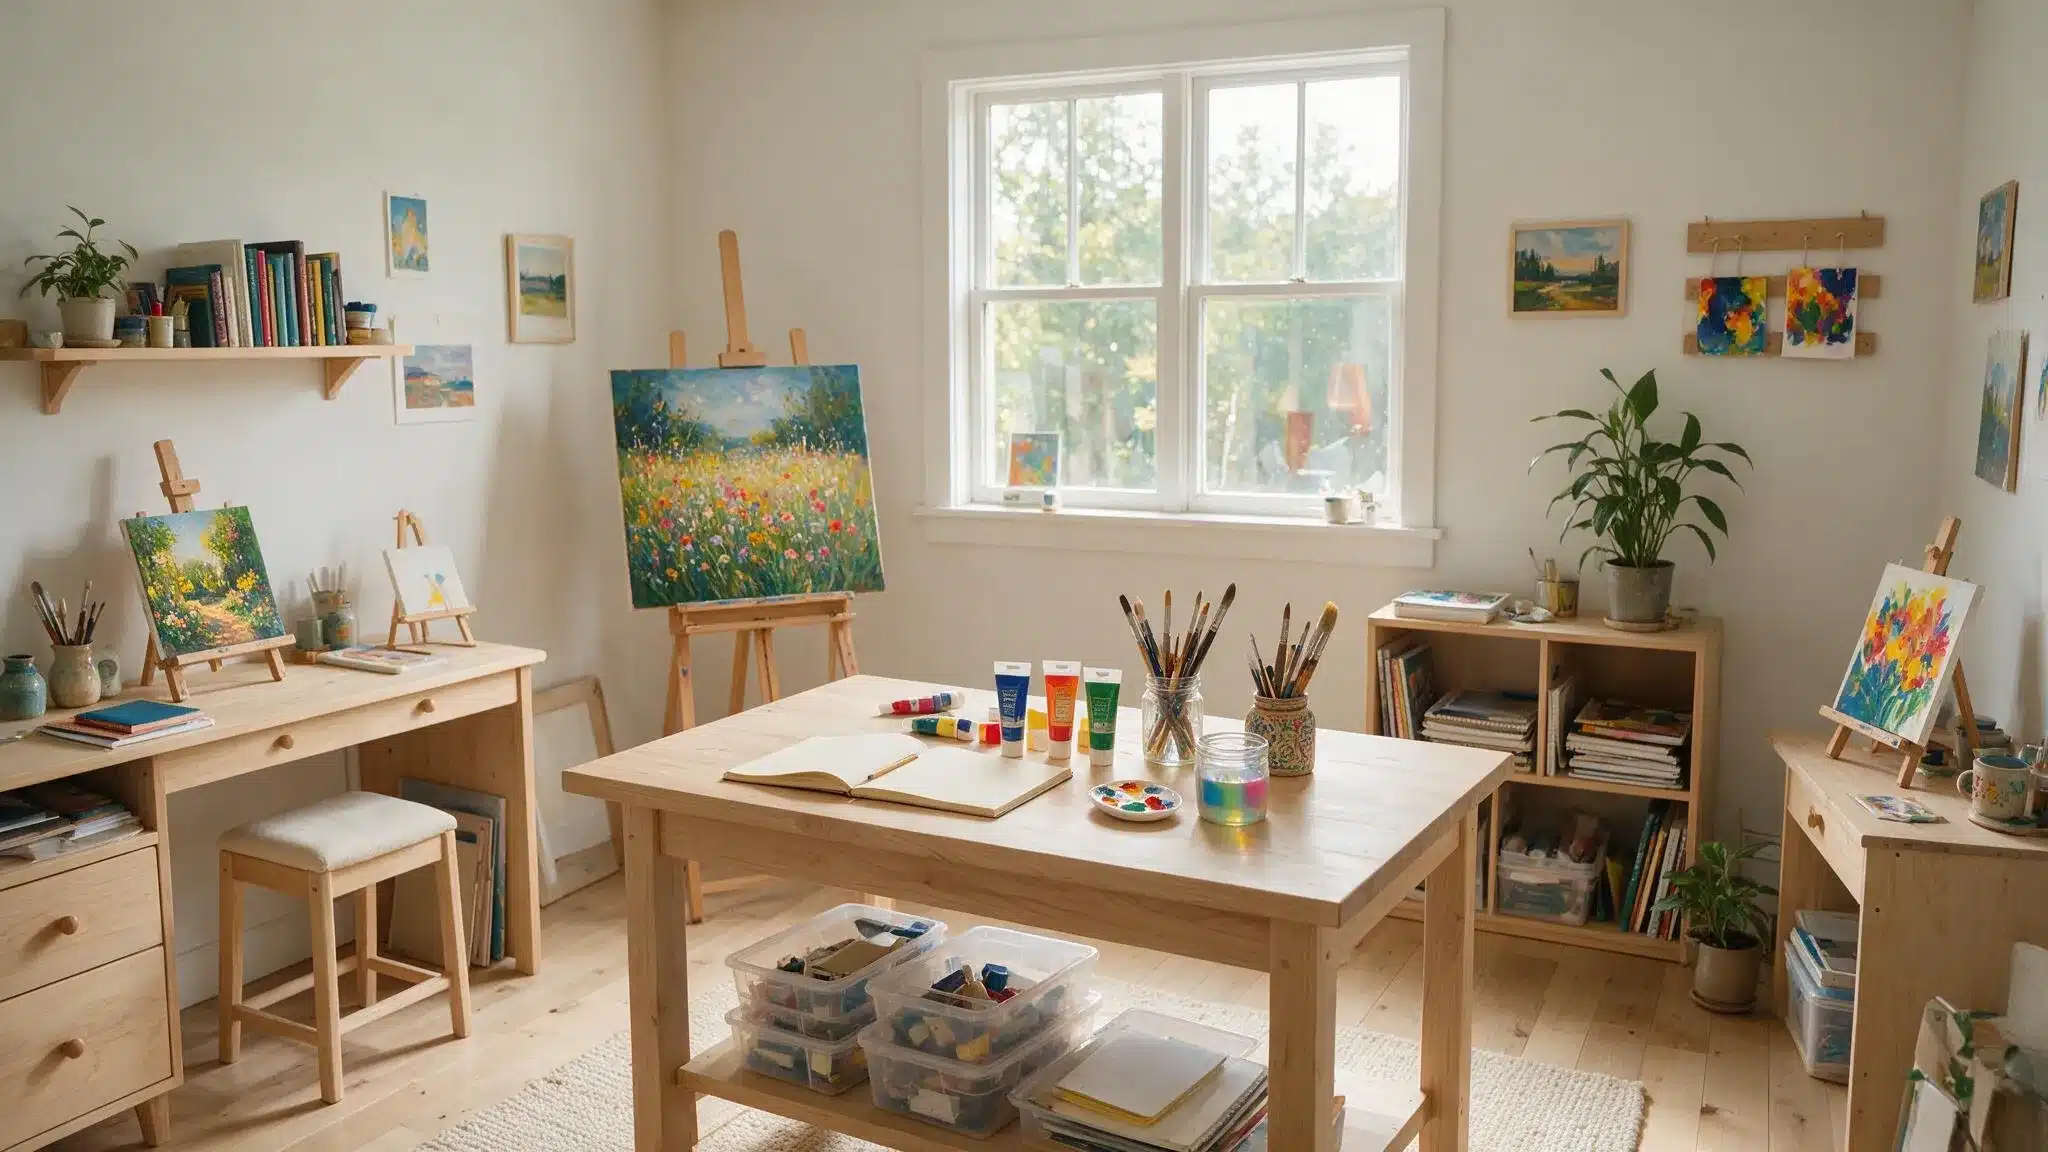
Color sets the studio’s mood before a single brush touches canvas.
Sticking to two or three shades across walls and furniture keeps things simple and lets the artwork bring in color.
Soft neutrals keep things calm, while one bold accent wall adds energy without taking over the room.
6. Create an Inspiration Wall for Artwork, References, and Mood Boards
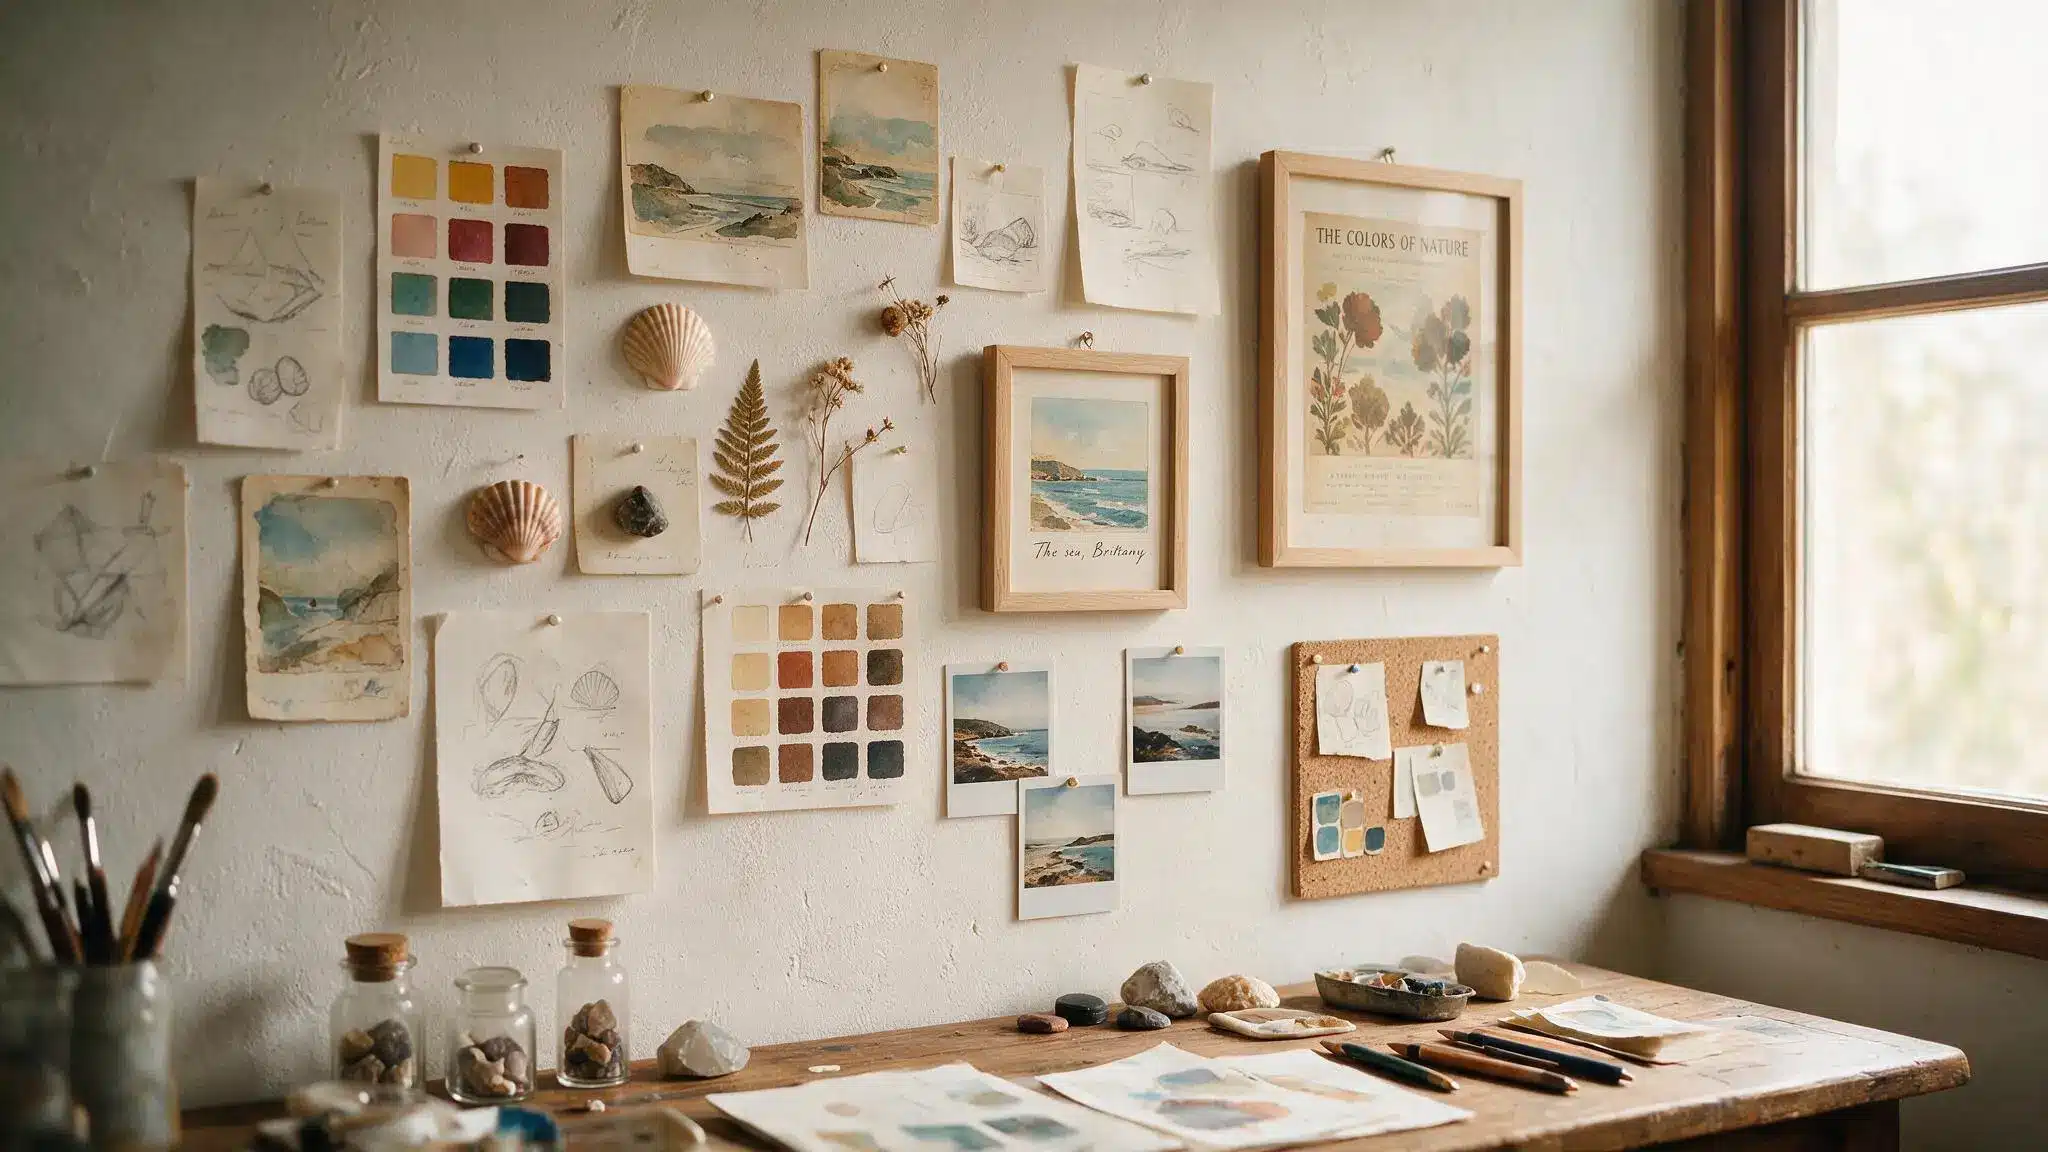
An inspiration wall keeps ideas visible instead of buried in a sketchbook.
Pin up sketches, reference photos, and swatches on a corkboard or open wall, and let it grow over time. Seeing past work next to new ideas sparks fresh direction fast.
7. Maximize Space With Smart Small Art Studio Design Ideas
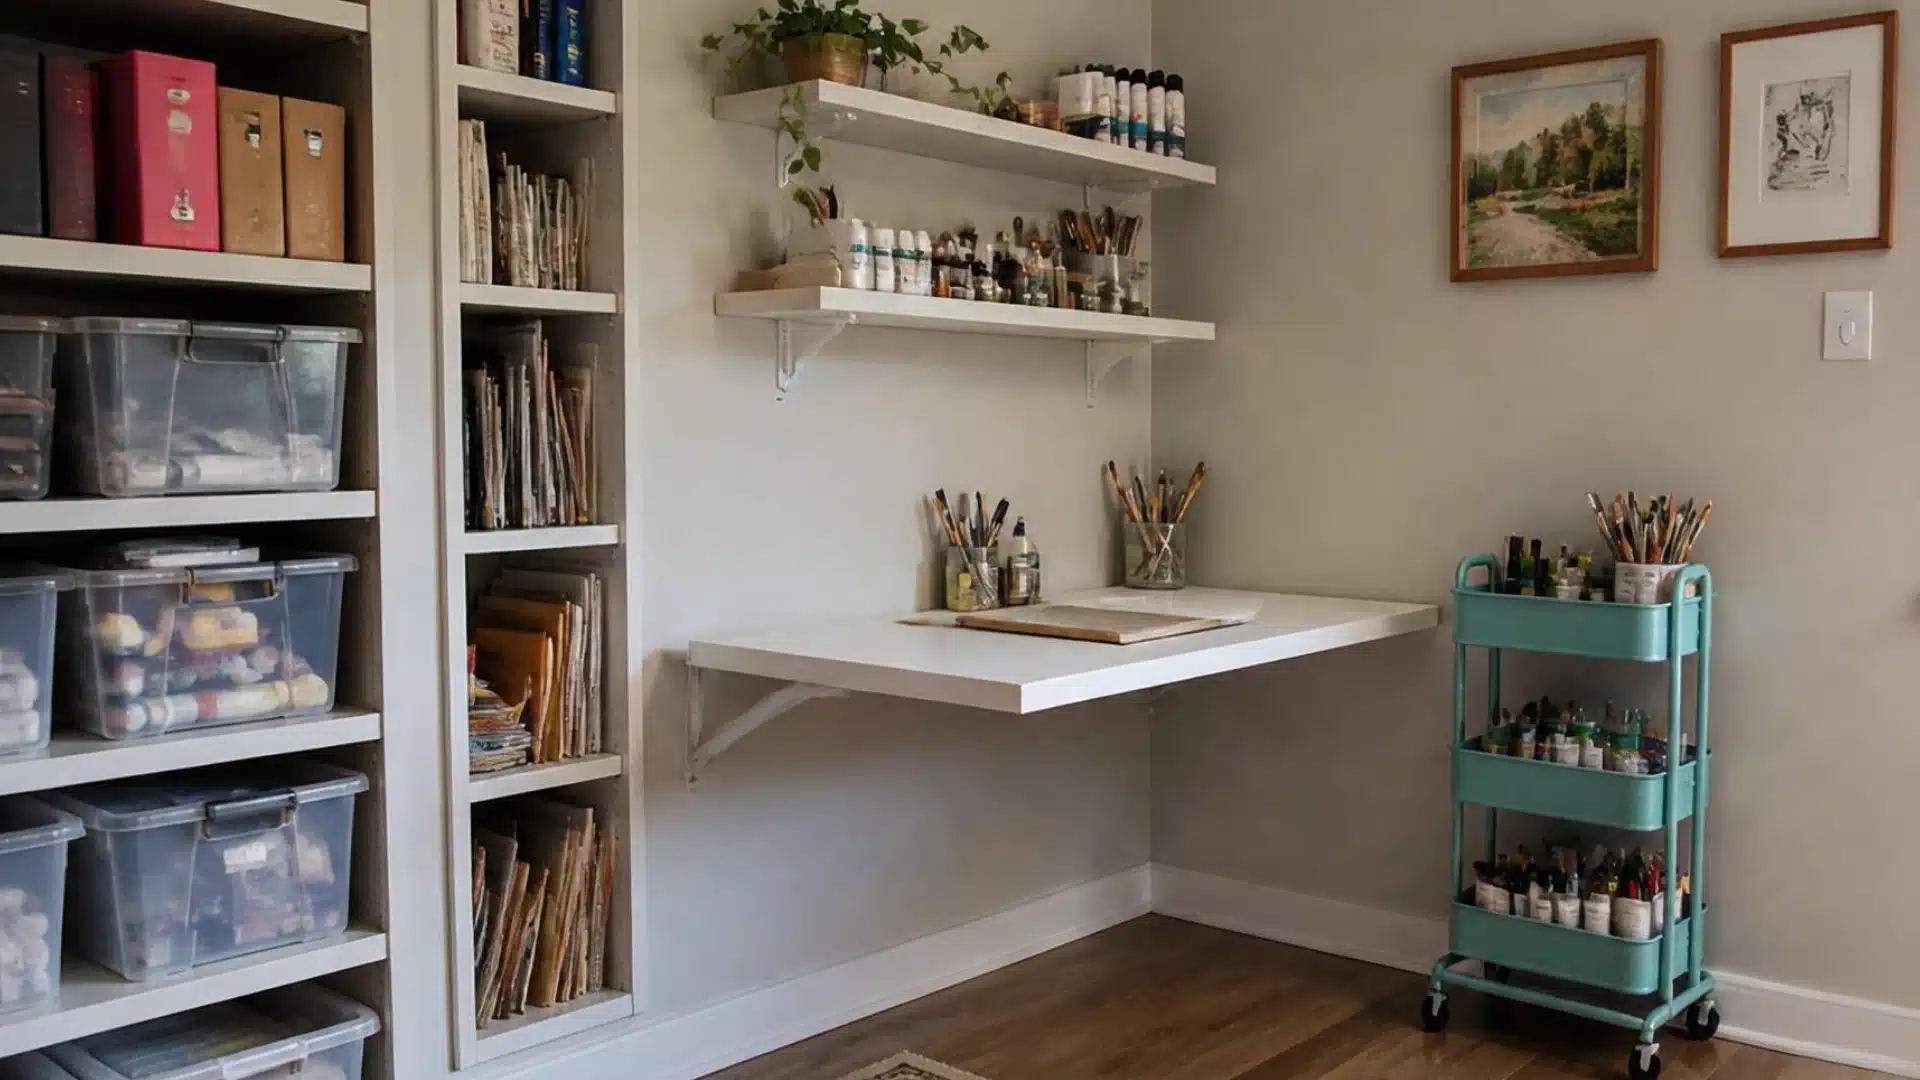
A small art studio can still function like a full one, with the right layout choices. Every inch just needs to work harder.
A few smart small art studio ideas make a real difference:
- Fold-down tables that tuck against a wall when not in use
- Vertical storage on the walls instead of floor-hogging cabinets
- Stackable bins that slide under a table or shelf
- Wheeled carts that roll out of the way after each session
A small space feels a lot bigger once clutter has somewhere else to go.
8. Use Mirrors to Make a Small Art Studio Feel More Open
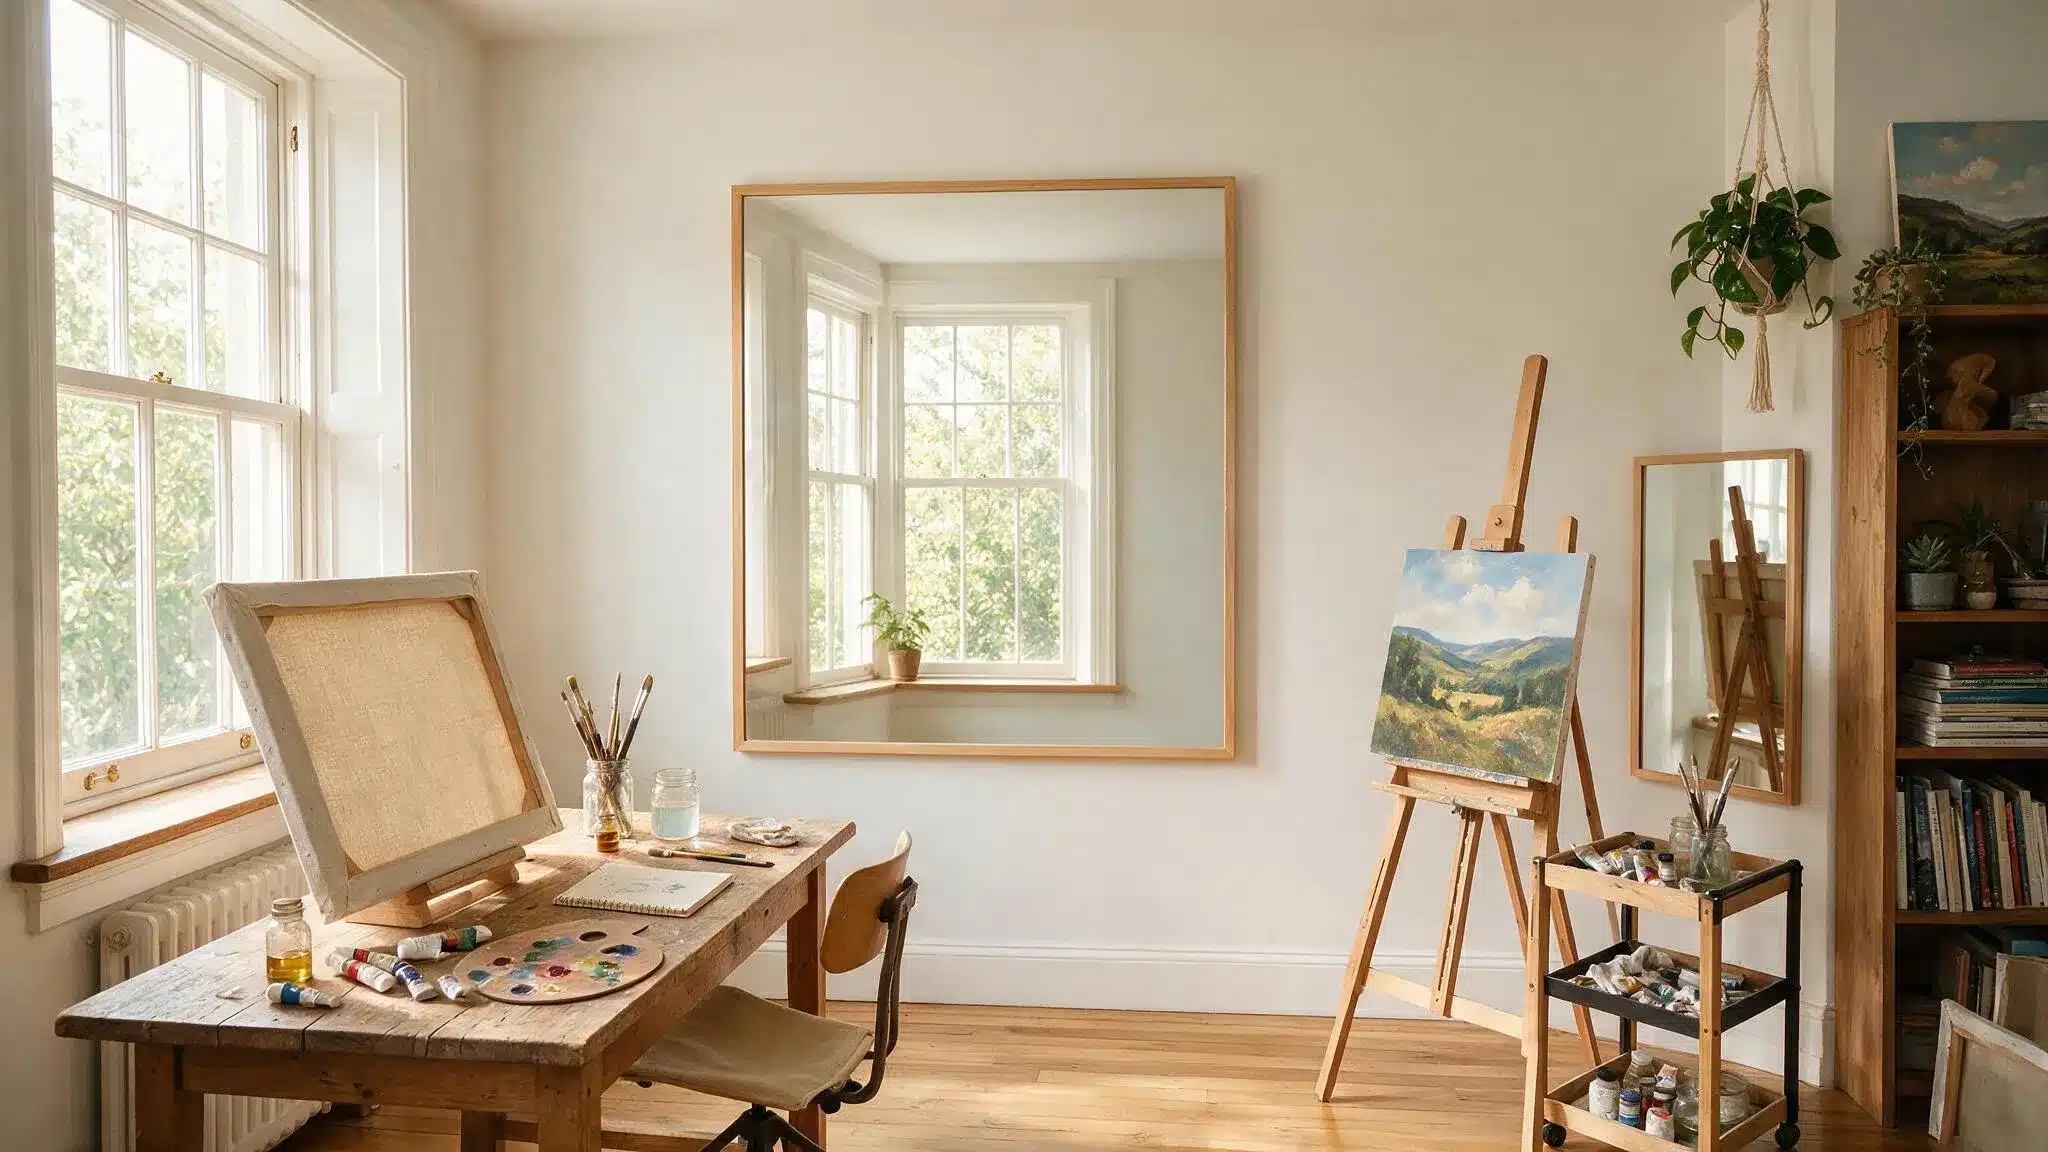
A small studio can feel bigger with the right mirror placement.
Hanging one across from a window bounces natural light deeper into the room.
A mirror near a dim corner brightens the area instantly. Mirrors also help catch reflections while working on detailed pieces.
9. Define Creative Zones With Rugs or Floor Markings
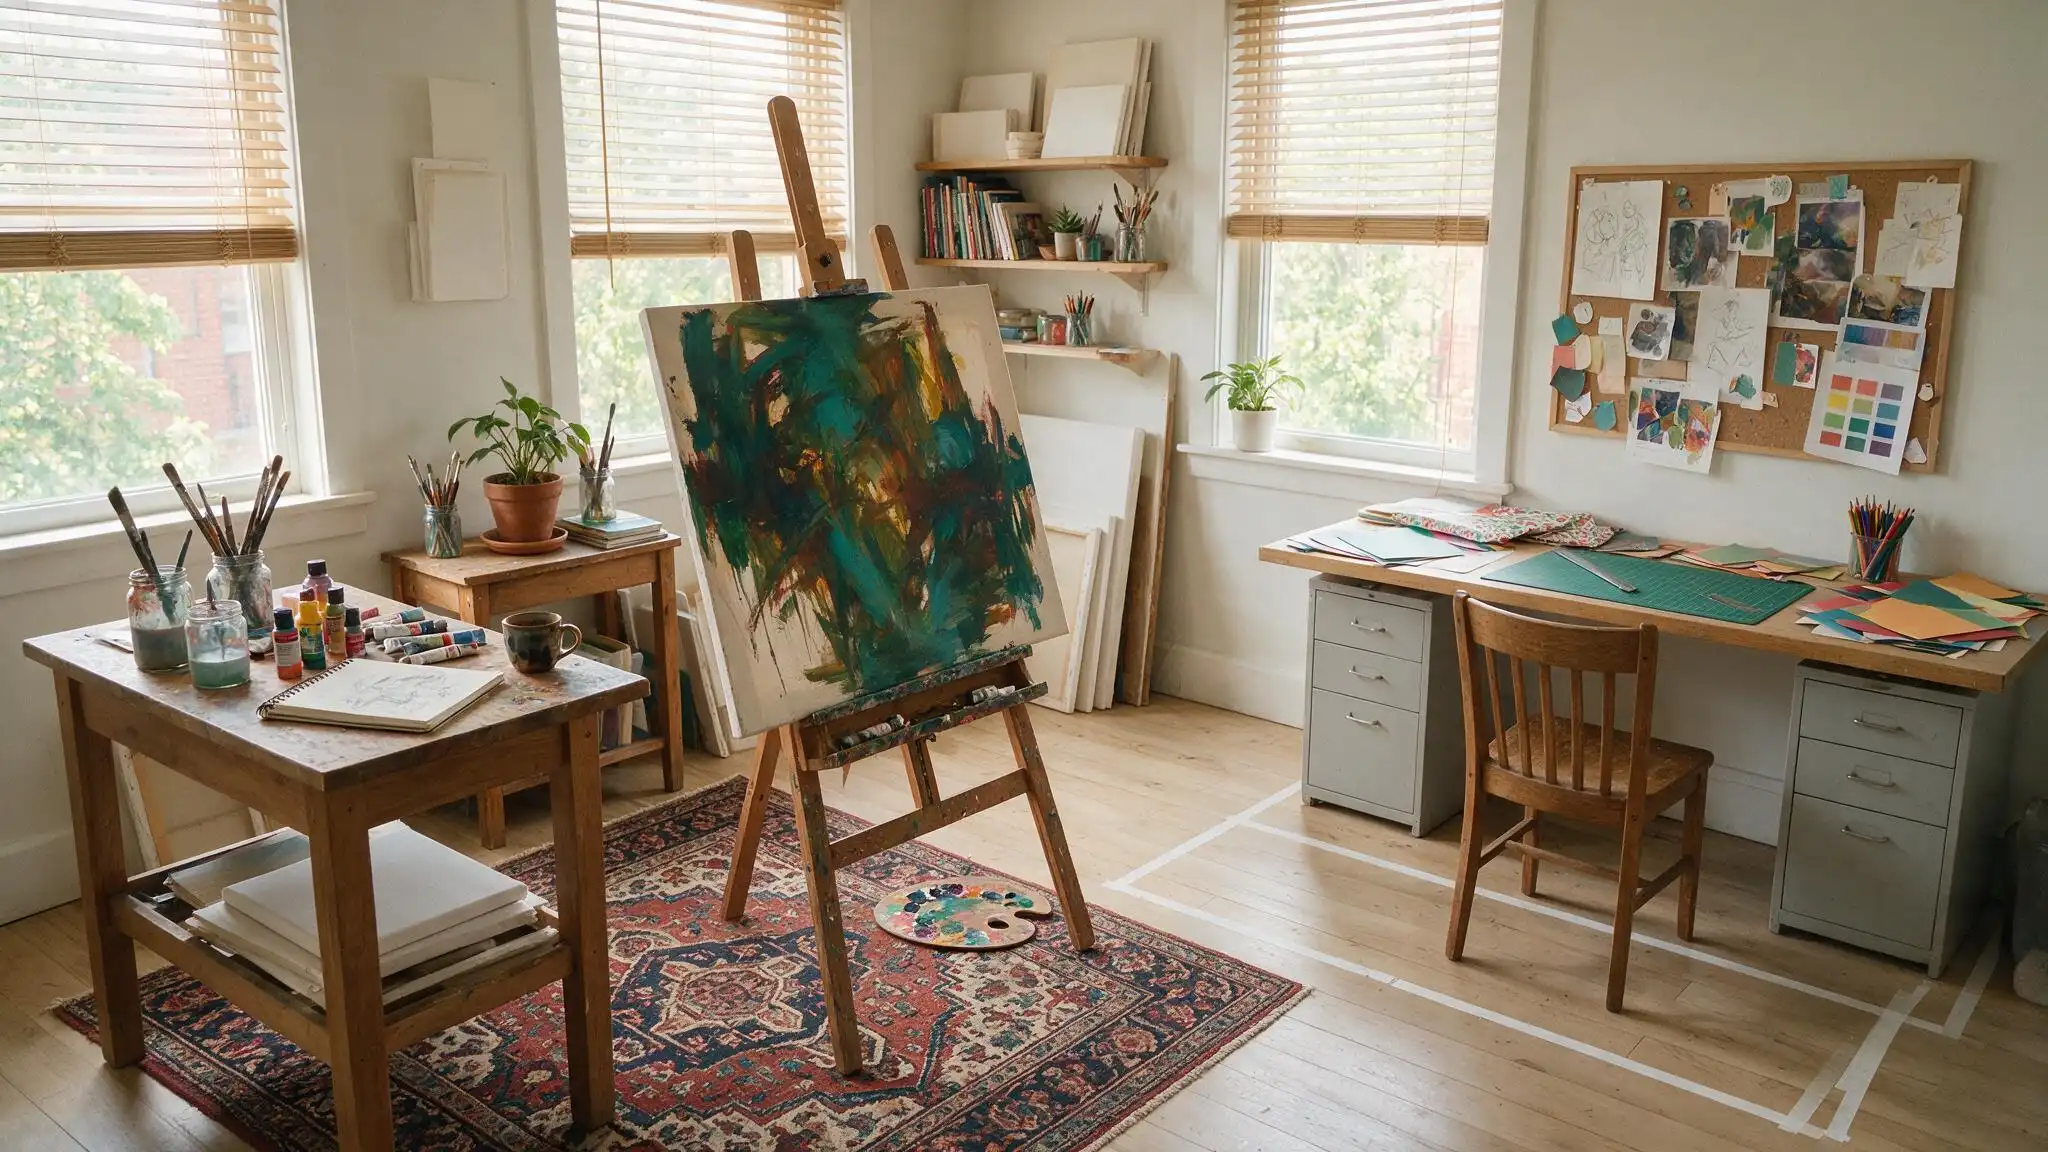
A rug or a strip of tape can mark off a zone without adding a single wall. Lay a rug under the painting area to separate it.
The floor does the organizing, and the room still feels open.
10. Add Plants and Natural Elements for a Calmer Workspace
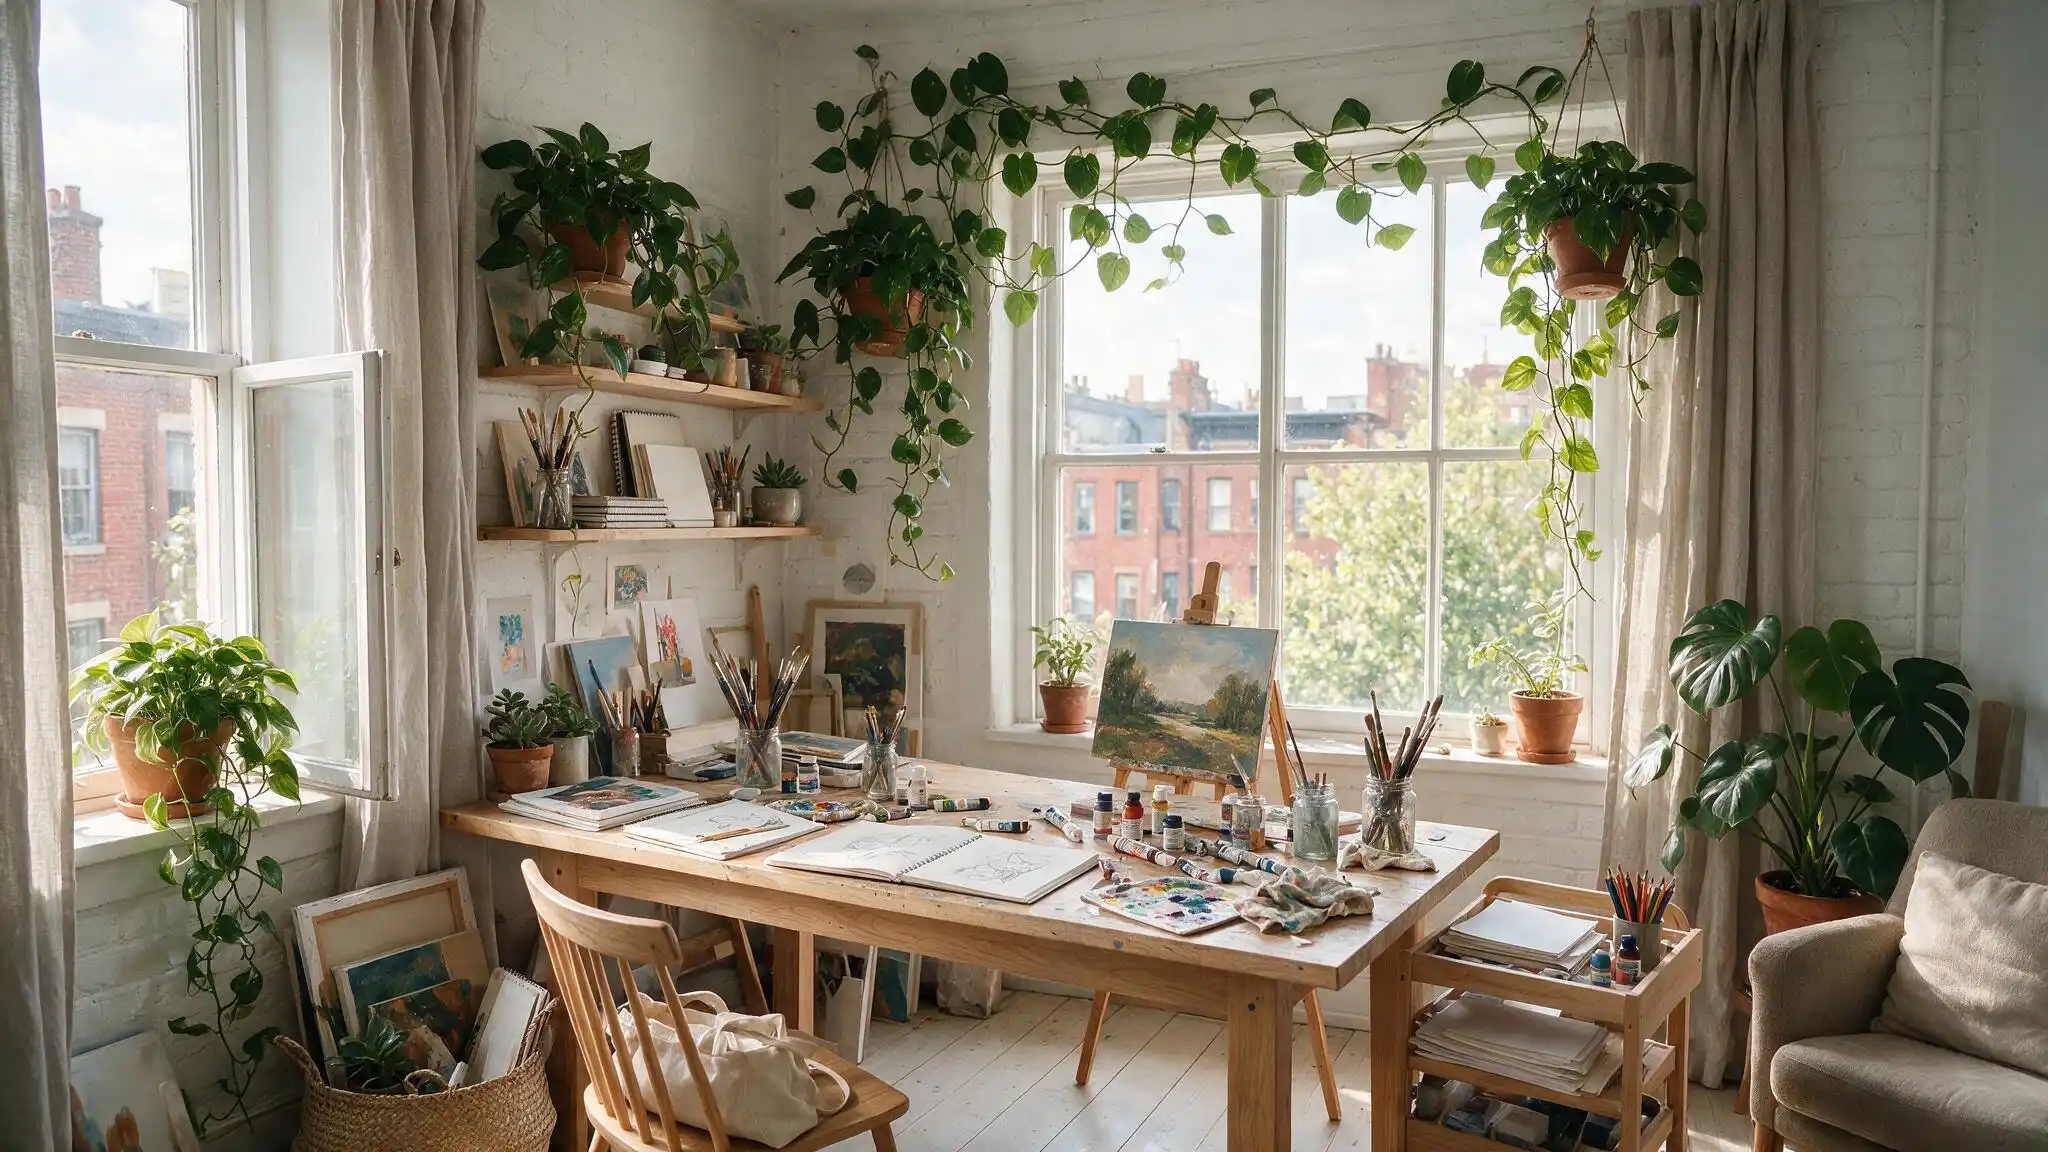
A few plants soften a room that’s otherwise full of tools and clutter. Low-maintenance options like succulents or pothos survive even a busy work schedule.
Wood accents or a woven basket add texture too, and the whole space starts to feel calmer to sit in.
11. Personalize the Studio With Art, Books, and Meaningful Decor
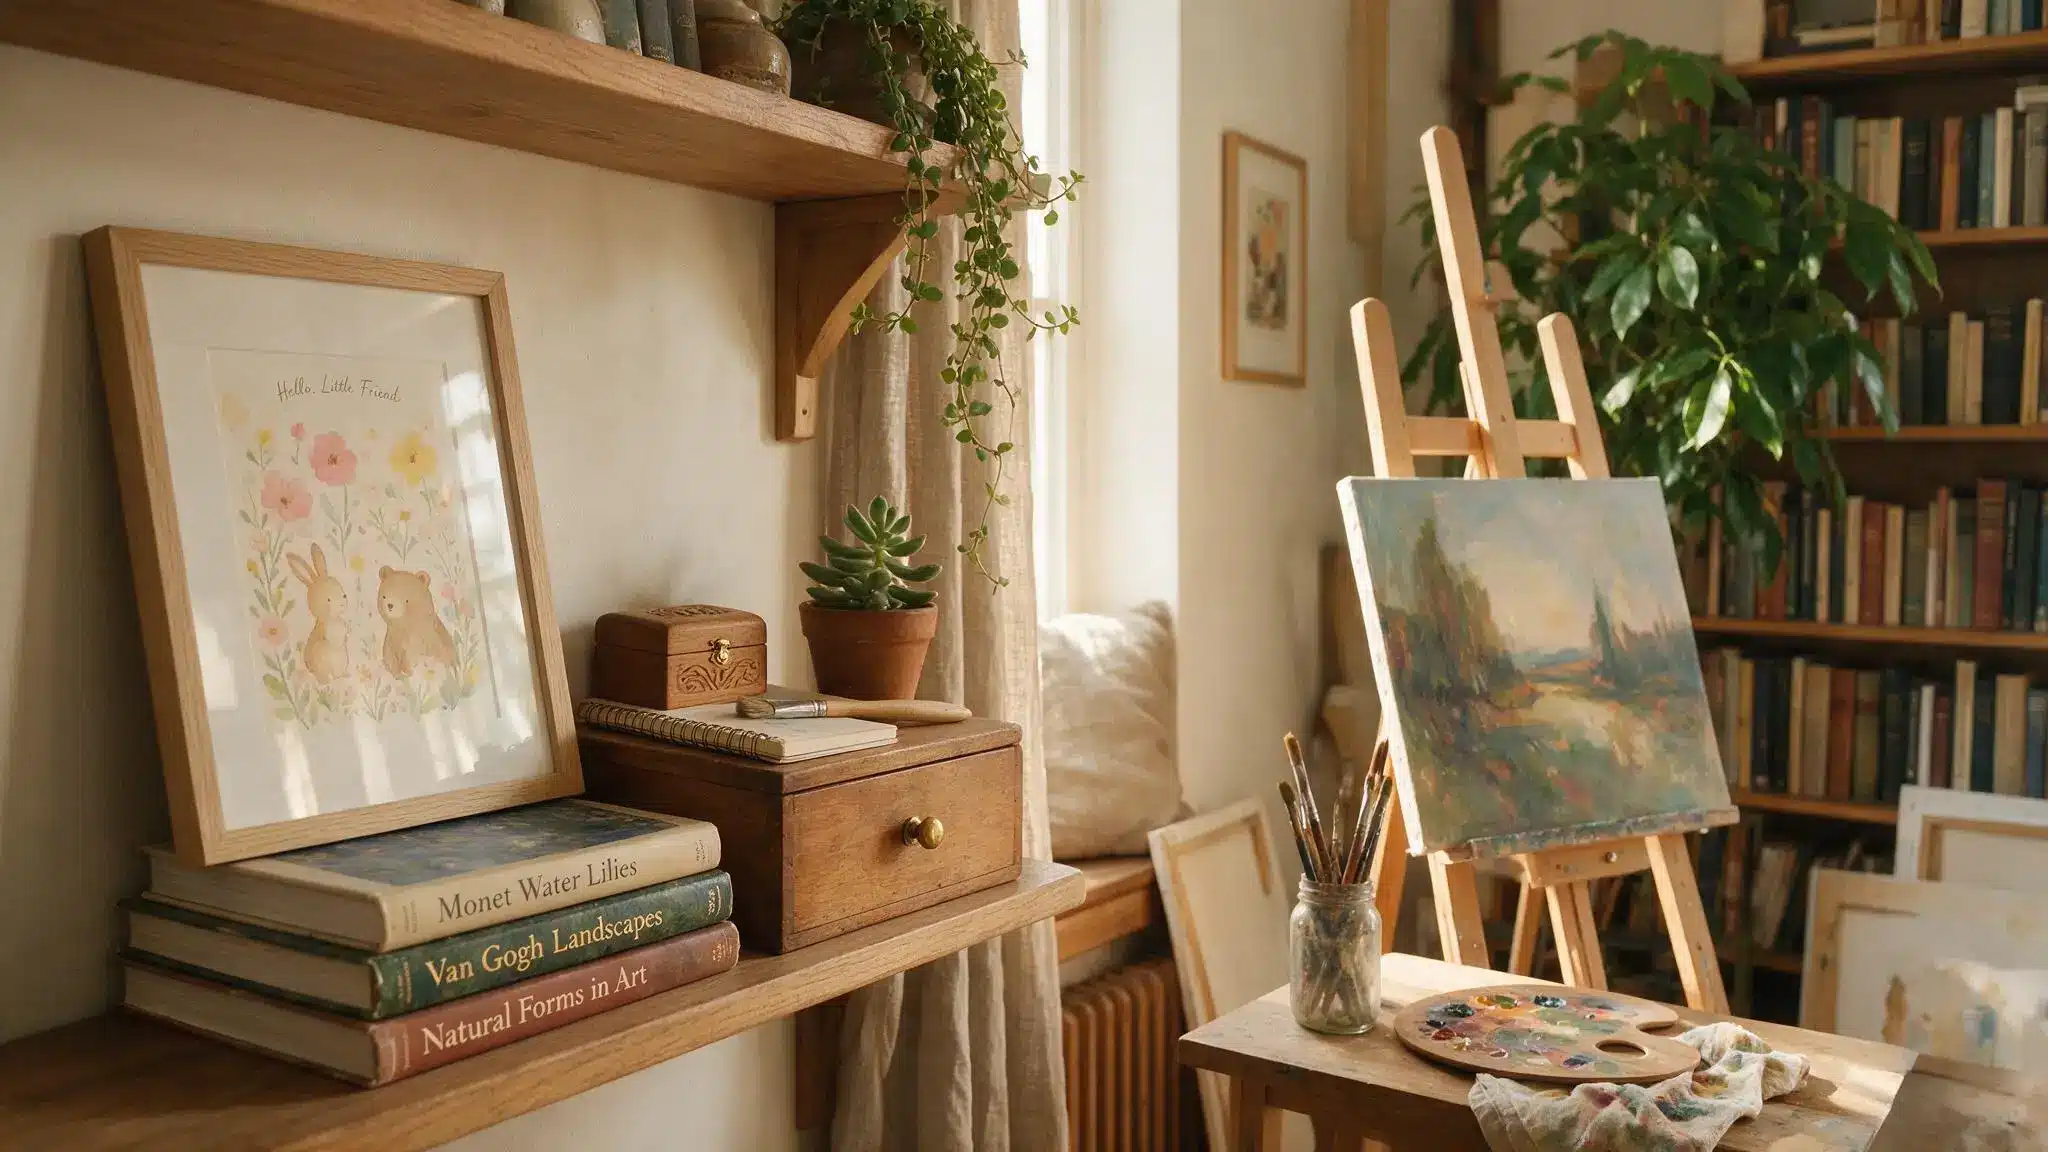
A studio should feel like it belongs to the person using it, not a showroom. A favorite print, a stack of books, or a small keepsake on the shelf turns a plain room into a personal one.
Those little touches make the hours spent there feel a lot better.
Conclusion
Getting how to design your art studio right isn’t about big budgets or fancy gear.
It comes down to smart choices about space, light, storage, and comfort, all working together. Every studio looks a little different, based on the room and the artist using it.
What matters most is a setup that supports actual work instead of getting in the way.
Once the basics click into place, the space stops feeling like a leftover corner. It starts feeling like where the real work happens.
Frequently Asked Questions (FAQs)
1. How Much Space Do I Need for a Home Art Studio?
A 10×10 foot room works for most hobbies. Larger mediums like sculpture or big canvases benefit from more square footage.
2. What’s the Best Flooring for an Art Studio?
Vinyl, tile, or sealed concrete handle spills best. Add a drop cloth over carpet if replacing the floor isn’t an option.
3. Can I Set Up an Art Studio in a Small Bedroom?
Yes. Fold-down tables, wall storage, and a mirror make a small bedroom work well as a functional studio space.