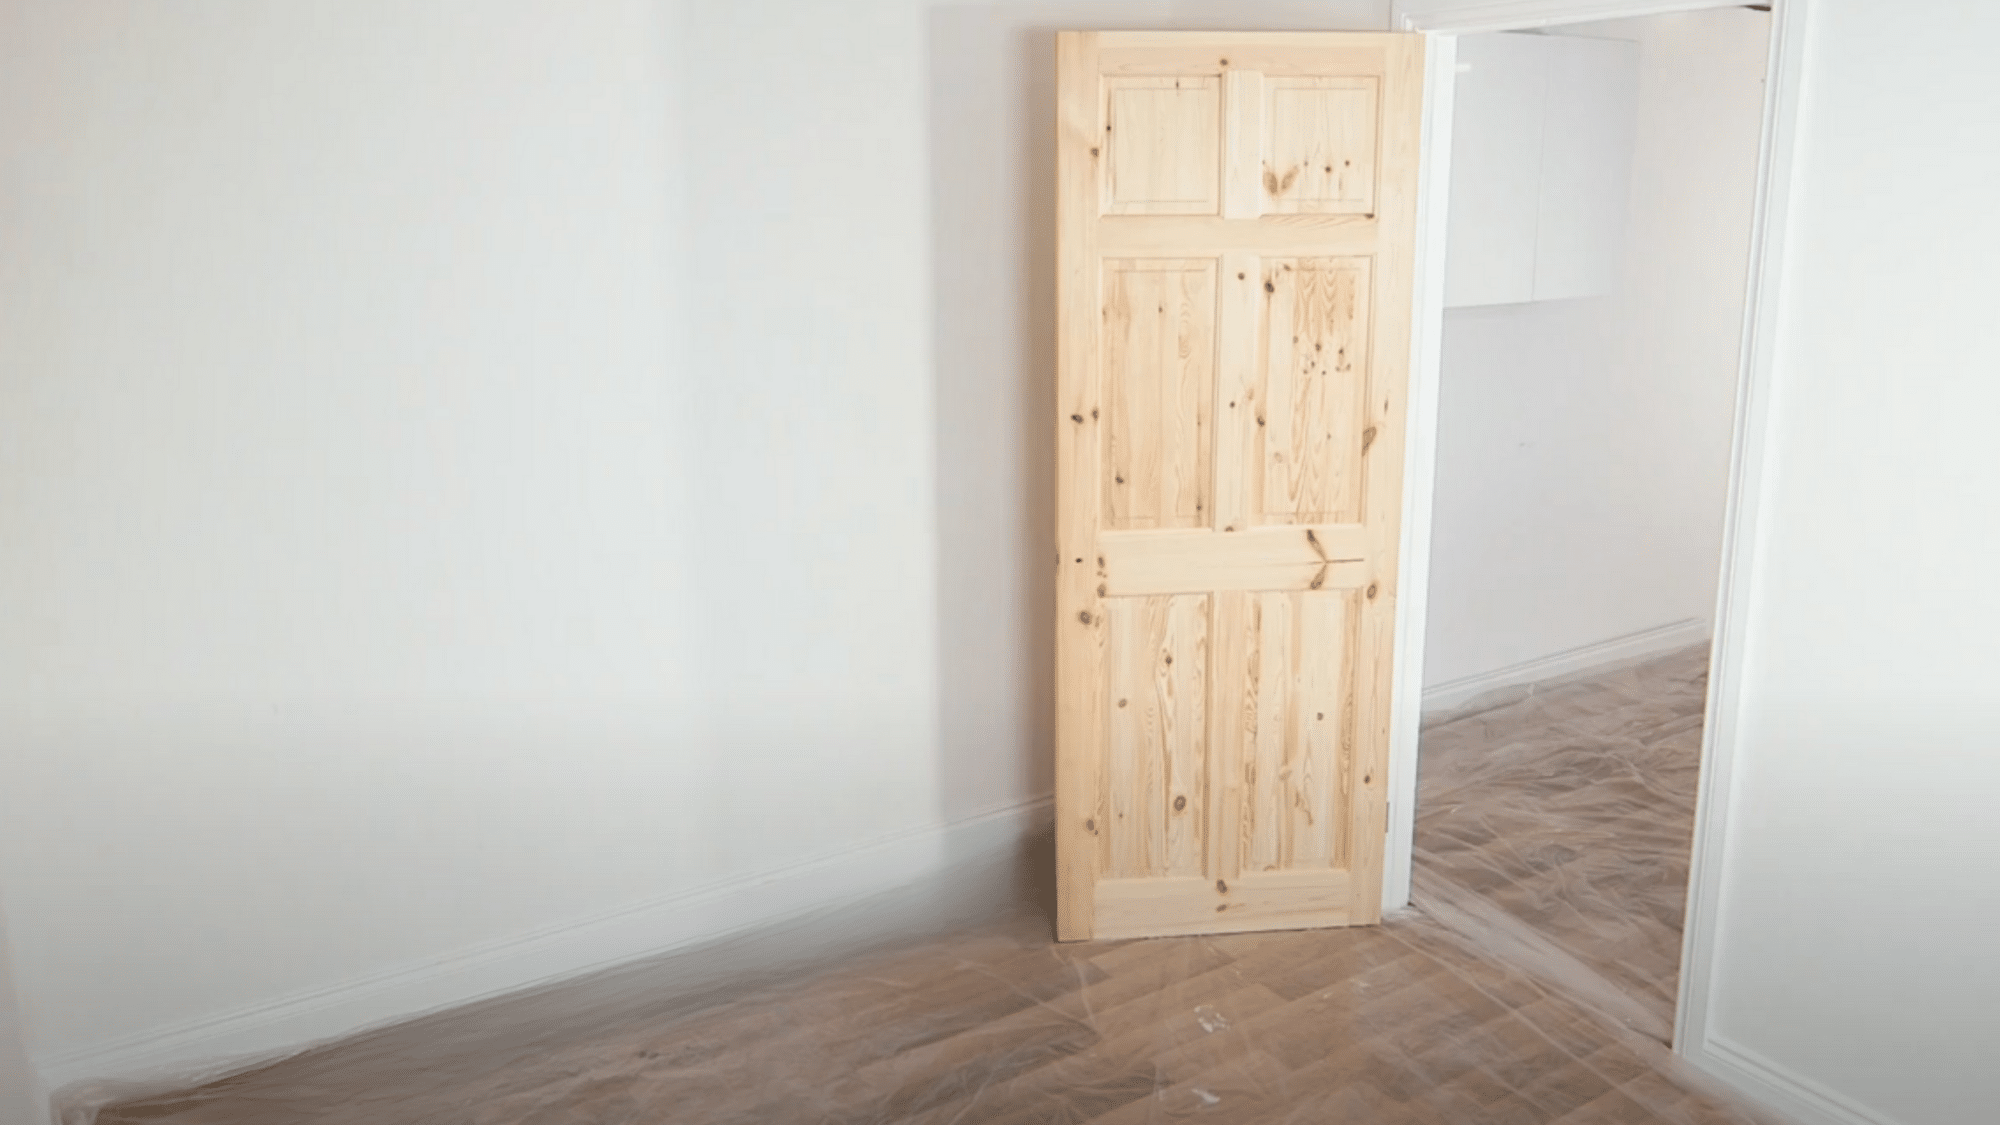
Not every home project has to send you running for a contractor. Some, like painting a door, are surprisingly satisfying once you know the rhythm.
Imagine this: you grab a brush, smooth out each stroke, and watch a tired, scuffed surface turn fresh again.
It’s quick enough for a weekend and satisfying enough to make you pause and admire your work. With the right prep, steady hands, and a few clever tips, you can turn an ordinary door into something worth noticing.
Ready to grab that brush and see how to paint a door so it looks flawless every time?
Materials and Tools that You’ll Need
Before starting the project, gathering the right supplies is essential.
Having everything ready makes the job easier and faster. Preparing materials first means no interruptions midway through the work.
| Item | Purpose |
|---|---|
| Door paint (latex or oil-based) | Covers the door surface |
| Primer | Helps paint stick better |
| Paintbrushes (2-3 inches) | For edges and detailed areas |
| Foam roller | For smooth, flat surfaces |
| Sandpaper (120-grit) | Smooths rough spots |
| Painter’s tape | Protects hardware and trim |
| Drop cloth | Keeps floors clean |
| Paint tray | Holds paint while working |
| Clean rags | Wipes drips and mistakes |
| Screwdriver | Removes door hardware |
Prep Your Way to Pro Perfection
Preparing the door is the most crucial step. Good prep work makes the difference between a messy job and a professional finish. Taking time here saves effort later.
- Remove or Protect Hardware: Take off handles, locks, and hinges if possible. If removal isn’t easy, cover them with painter’s tape. This keeps hardware clean and paint-free.
- Clean and Test the Surface: Wipe down the entire door with a damp cloth. Remove dust, grease, and dirt. A clean surface helps paint stick properly.
- Sand for Smoothness: Use 120-grit sandpaper to smooth rough areas. Sand lightly in circular motions. This creates a better base for the new coat.
- Prime if Necessary: Apply primer on bare wood or stained surfaces. Skip this step only if repainting with similar colors.
- Set Up Your Workspace: Lay down drop cloths to protect floors. Learning how to paint doors properly starts with a well-organized space.
How to Paint a Door Step-by-Step for Streak-Free Techniques
Following the right order makes all the difference. Each step builds on the previous one. These techniques help achieve a smooth, streak-free finish that looks professionally done.
Step 1: Prep and Protect Your Workspace
Lay down a plastic sheet on the floor and nearby furniture. Remove or tape off all hardware and hinges. A clean, protected workspace prevents accidental spills and keeps the area organized.
Step 2: Brush the Recessed Areas First
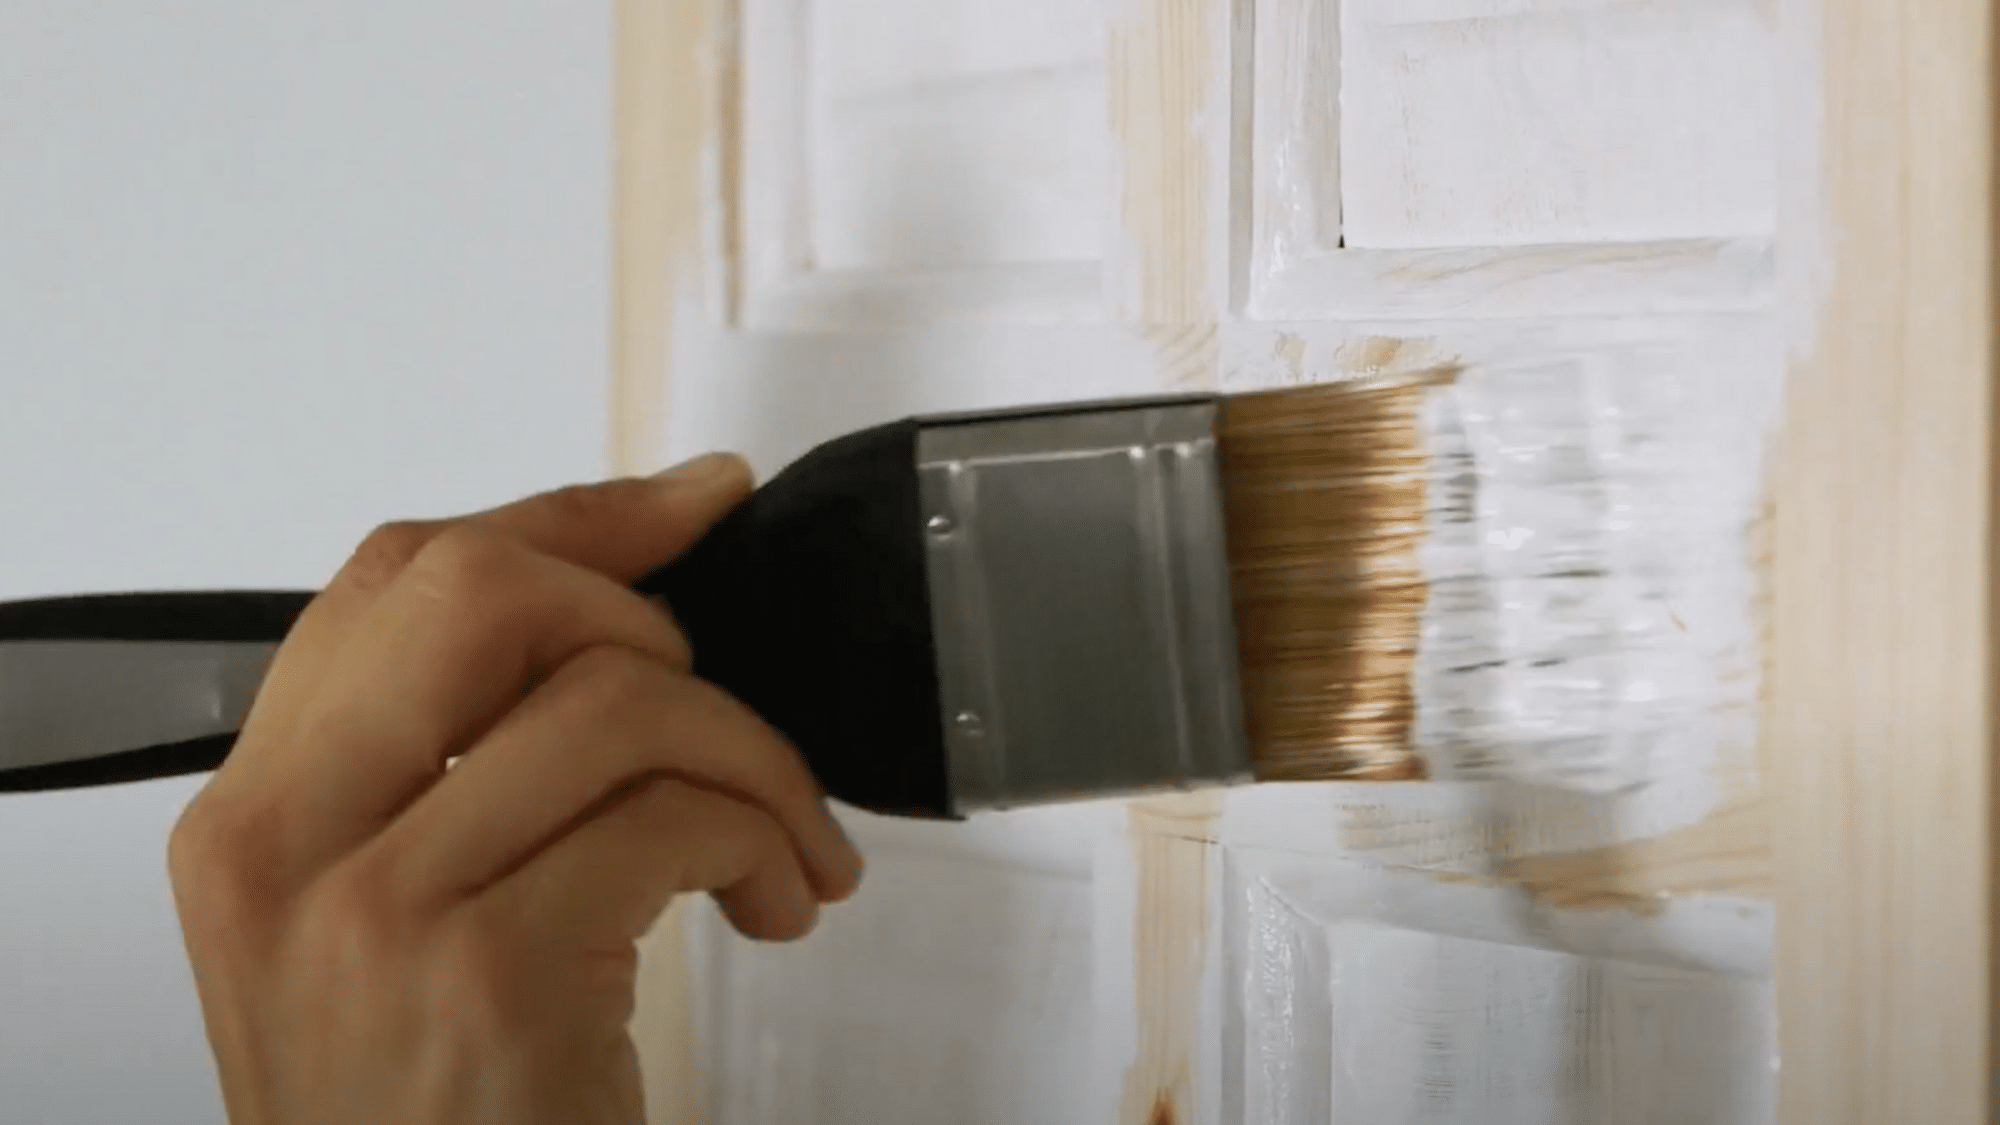
Start with a brush on grooves, panels, and edges. Work carefully into corners and detailed sections. This prevents drips from ruining the flat surfaces later.
Step 3: Roll the Flat Surfaces for Even Coverage
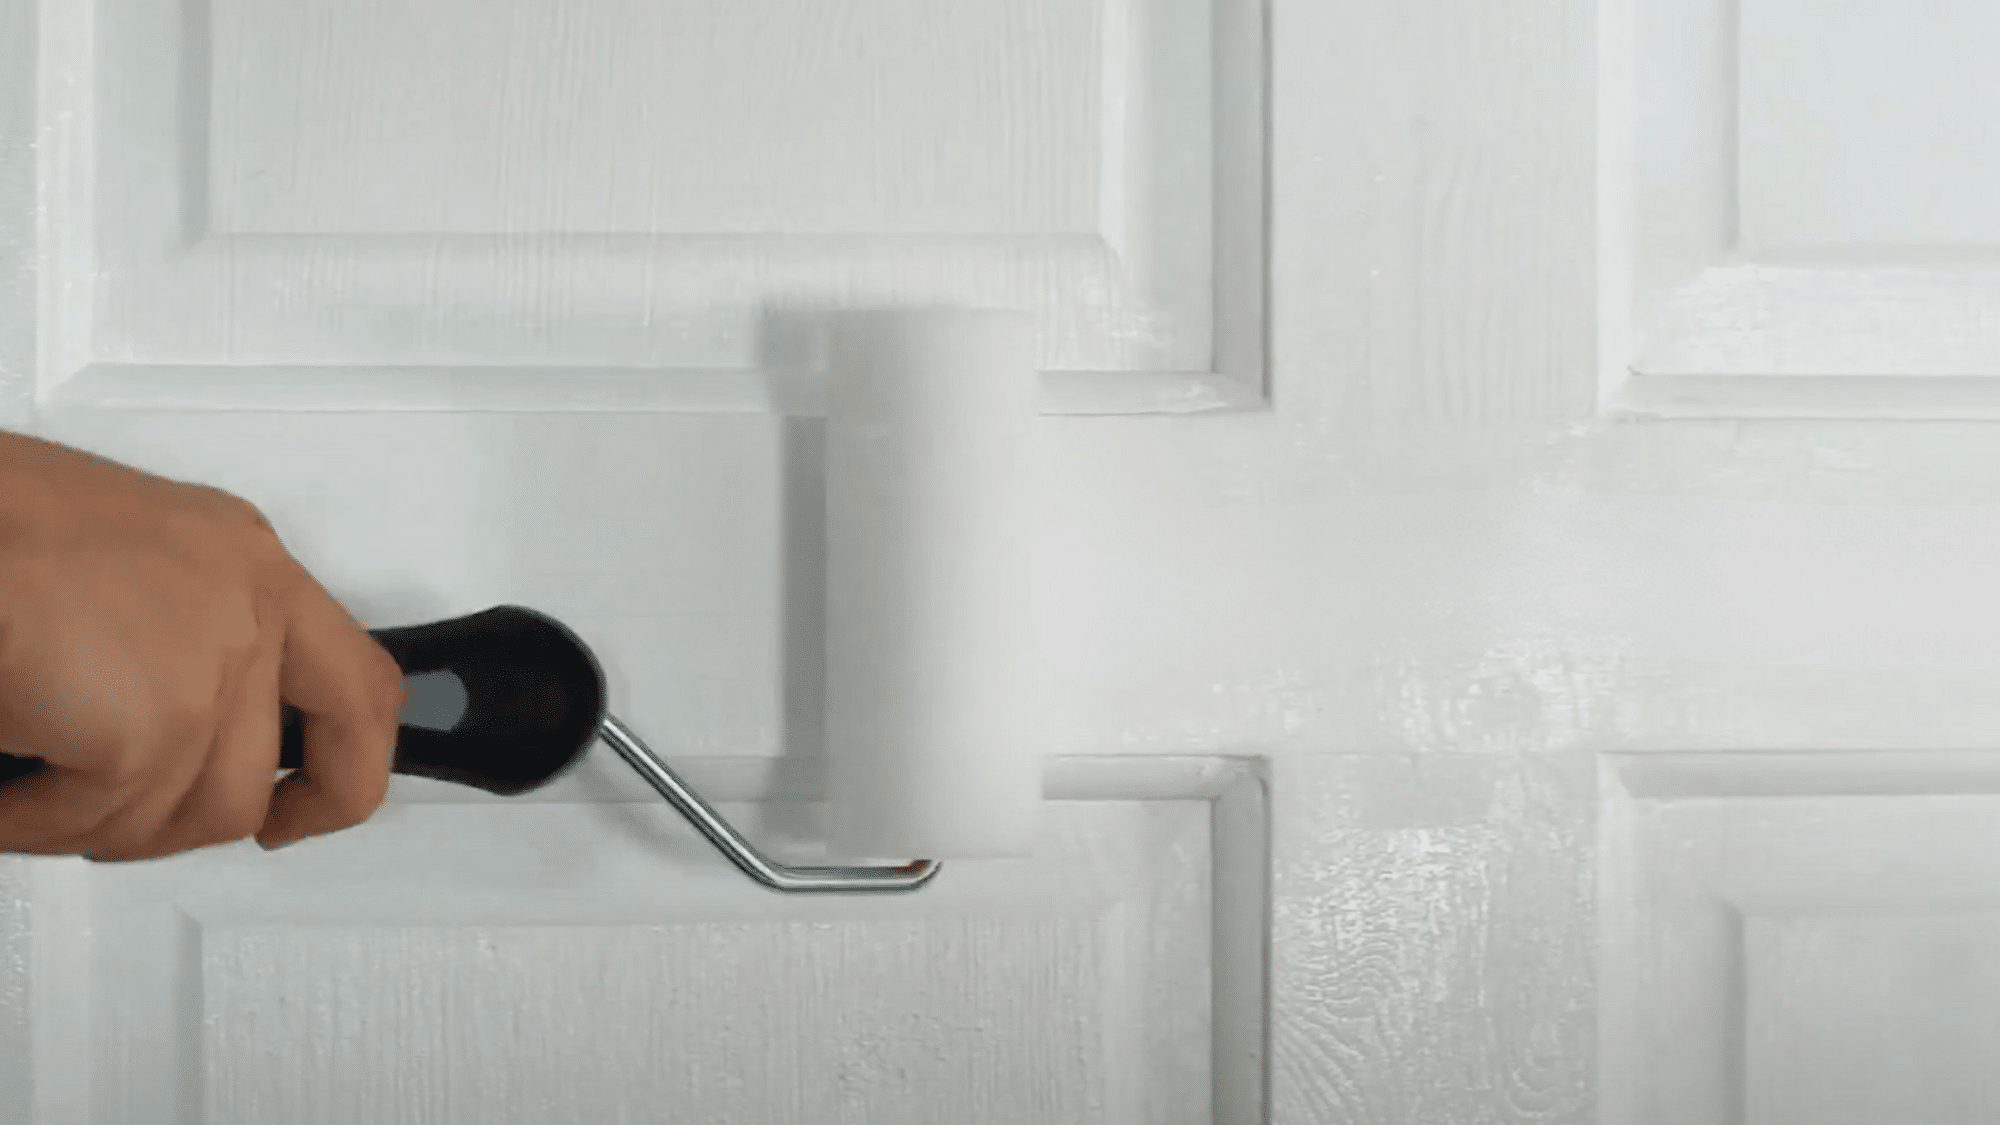
Use a foam roller on large, flat areas of the door. Roll in horizontal or vertical strokes, side to side or from top to bottom. This method creates a smooth finish without brush marks.
Step 4: Apply a Second Coat if Needed
Wait for the first coat to dry completely. Check for thin spots or uneven areas. A second coat ensures full coverage and a richer, more vibrant color.
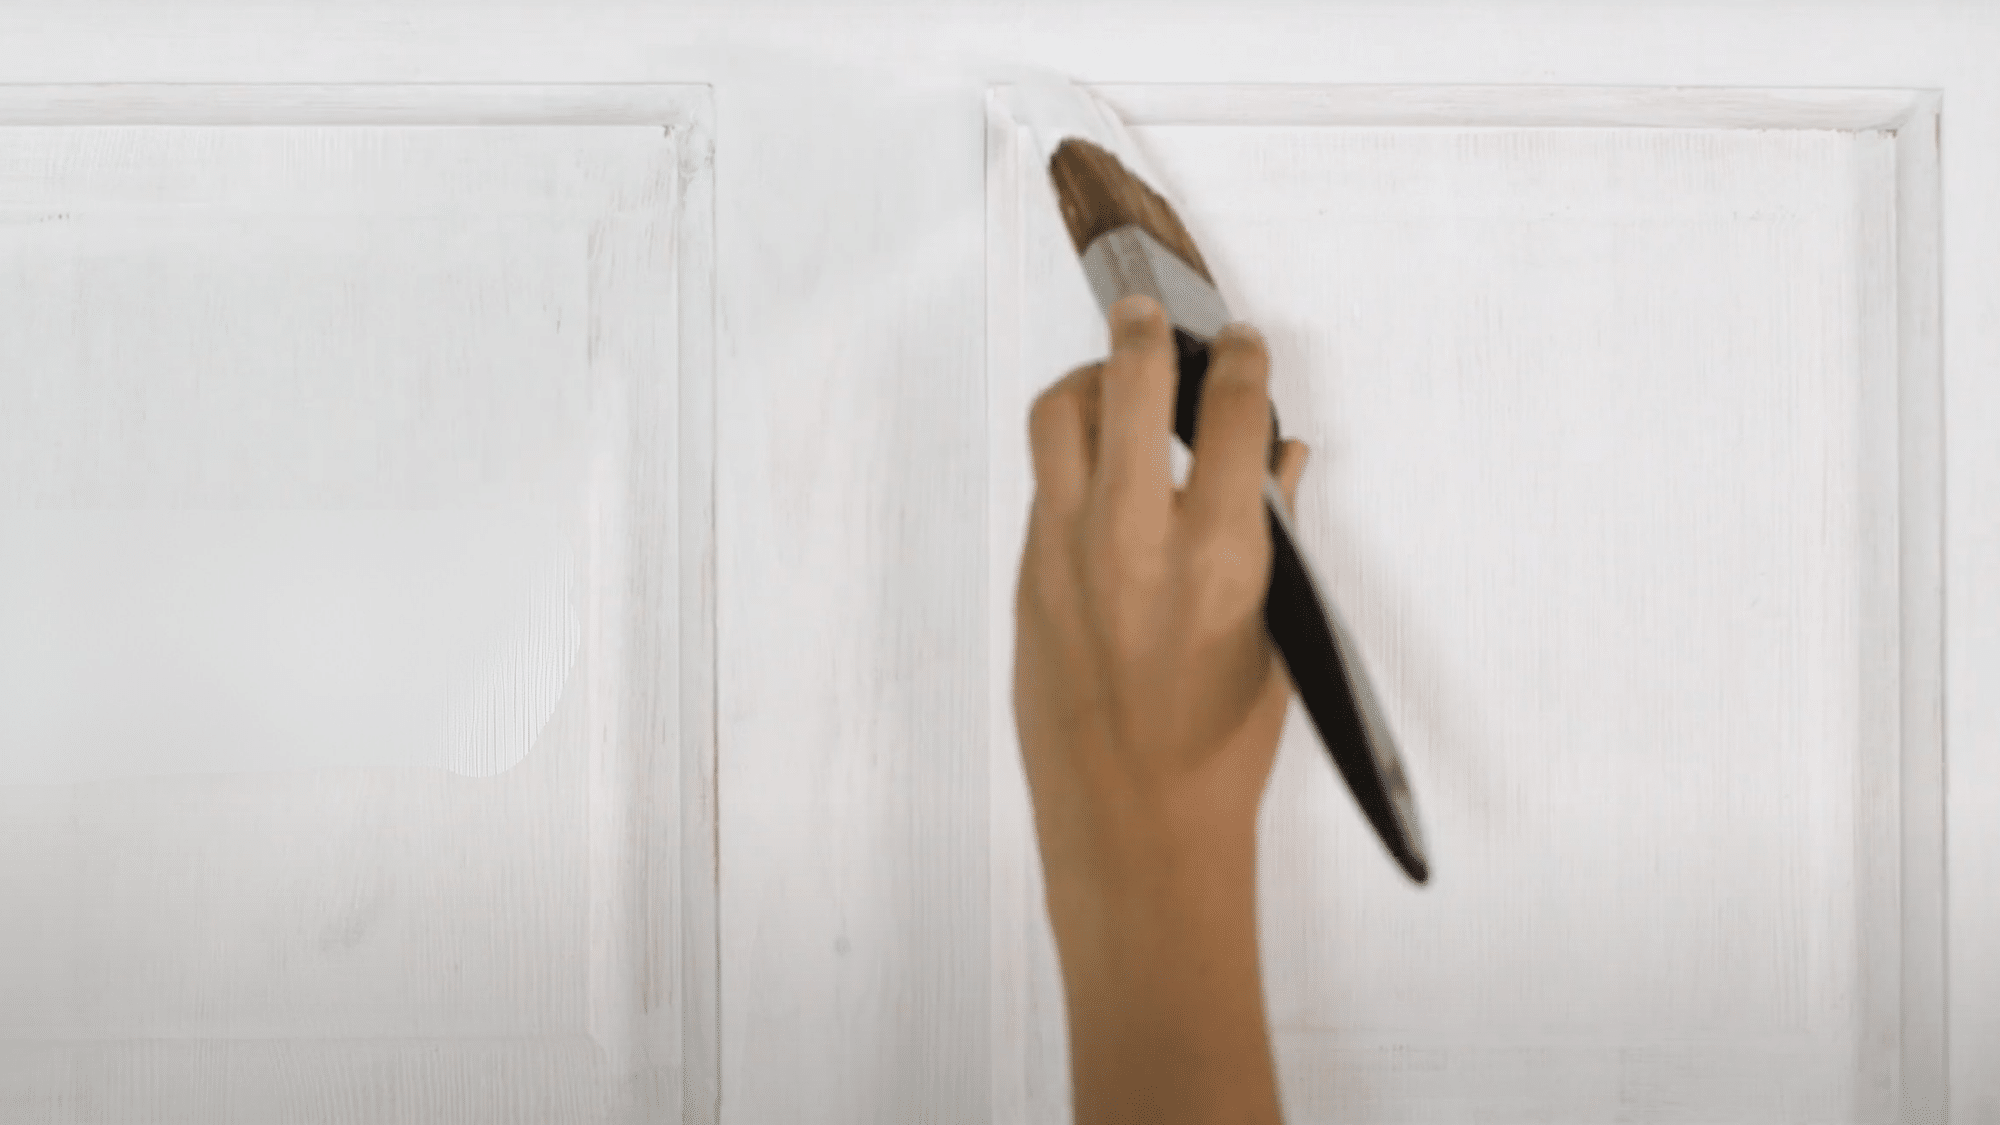
Step 5: Final Touches and Drying
Inspect the door for any missed spots or drips. Touch up small areas with a brush if needed. Allow the door to dry for at least 24 hours before reattaching the hardware.
For more detailed steps, check out the YouTube video by B&Q
Finishing Touches for Durability
The job isn’t complete until the door is fully protected. Adding finishing touches ensures the paint lasts longer and maintains its appearance over time. These final steps make a real difference in quality.
Let the door dry completely before handling it. Most paints need 24 to 48 hours to cure properly. Rushing this step can ruin all the hard work.
Reattach all hardware once the surface is dry to the touch. Tighten screws carefully to avoid chipping fresh paint. Check that handles and locks work smoothly.
Apply a clear protective coat if the door gets heavy use. This extra layer guards against scratches and wear. High-traffic areas benefit most from this protection.
Knowing how to paint a door well means thinking beyond just applying color. Proper finishing steps keep the surface looking fresh for years. The result is worth the patience and care invested.
Pro Tips for a Smooth and Durable Finish
Small tricks can take results from good to great. These professional tips help avoid common mistakes.
Following this advice ensures a finish that lasts and looks polished.
Pro Tips:
- Work in a well-ventilated room with good lighting to easily spot drips and uneven areas.
- Choose quality paint and tools over cheaper options for better coverage and fewer coats.
- Paint in thin, even layers rather than thick coats to prevent drips and runs.
- Maintain a wet edge by working quickly from one section to the next without stopping.
- Sand lightly between coats with fine-grit sandpaper for an ultra-smooth surface.
- Remove painter’s tape while the paint is still slightly wet to avoid peeling.
- Keep the room temperature between 50-85°F for proper drying and curing.
Frequently Asked Questions
1. Should You Use a Brush or a Roller to Paint a Door?
Use a brush for edges and panels, and a mini roller for flat parts. This combo gives faster, smoother coverage and a clean, professional finish.
2. Is Sanding Necessary Before Painting a Door?
Yes, sanding helps paint stick better and prevents peeling. Even light sanding improves durability and ensures a smoother, long-lasting finish.
3. What’s the Best Tool for Painting a Front Door?
Use a 4-inch mini roller with a microfiber or velour nap under 3/8 inch. Apply thin coats and clean drips using a brush for best results.
4. Do You Have to Paint Both Sides of a Door?
Yes, paint both sides and edges for an even look and to prevent warping. You can paint it while on hinges or laid flat on sawhorses.
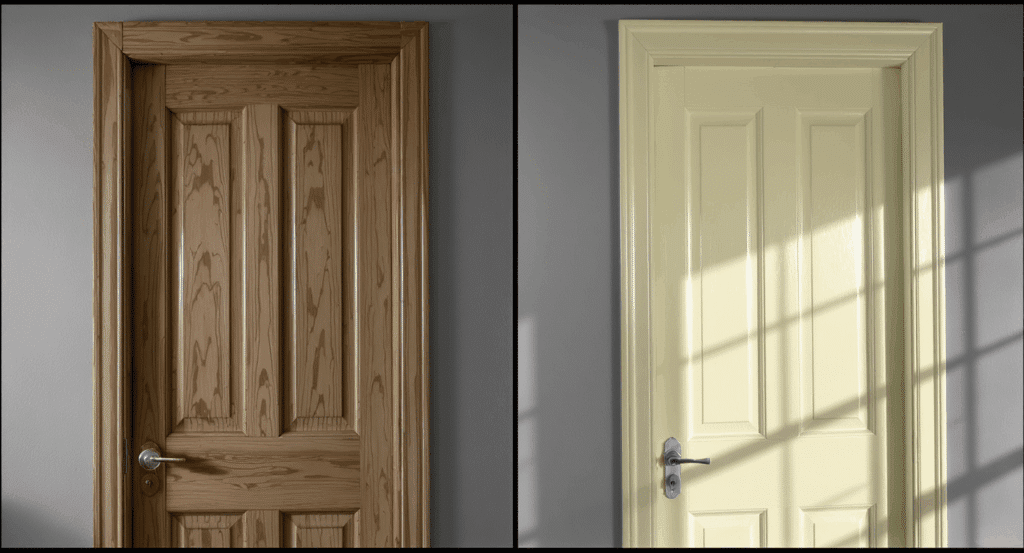
5. Where Should You Stop Painting on a Door with Two Colors?
Stop at the slab strip, the edge where the door meets the frame. It’s the cleanest spot to separate two different colors.