Blank hallway walls have a way of feeling cold and forgotten.
Board-and-batten adds texture, depth, and a bit of old-house charm to a space most people ignore. It’s a weekend project that doesn’t need a pro or a big budget.
This manual will walk you through the whole thing, from measuring the wall to that final coat of paint.
So grab a tape measure and a free weekend to get started with your hallway.
What is a Board-and-Batten Hallway?
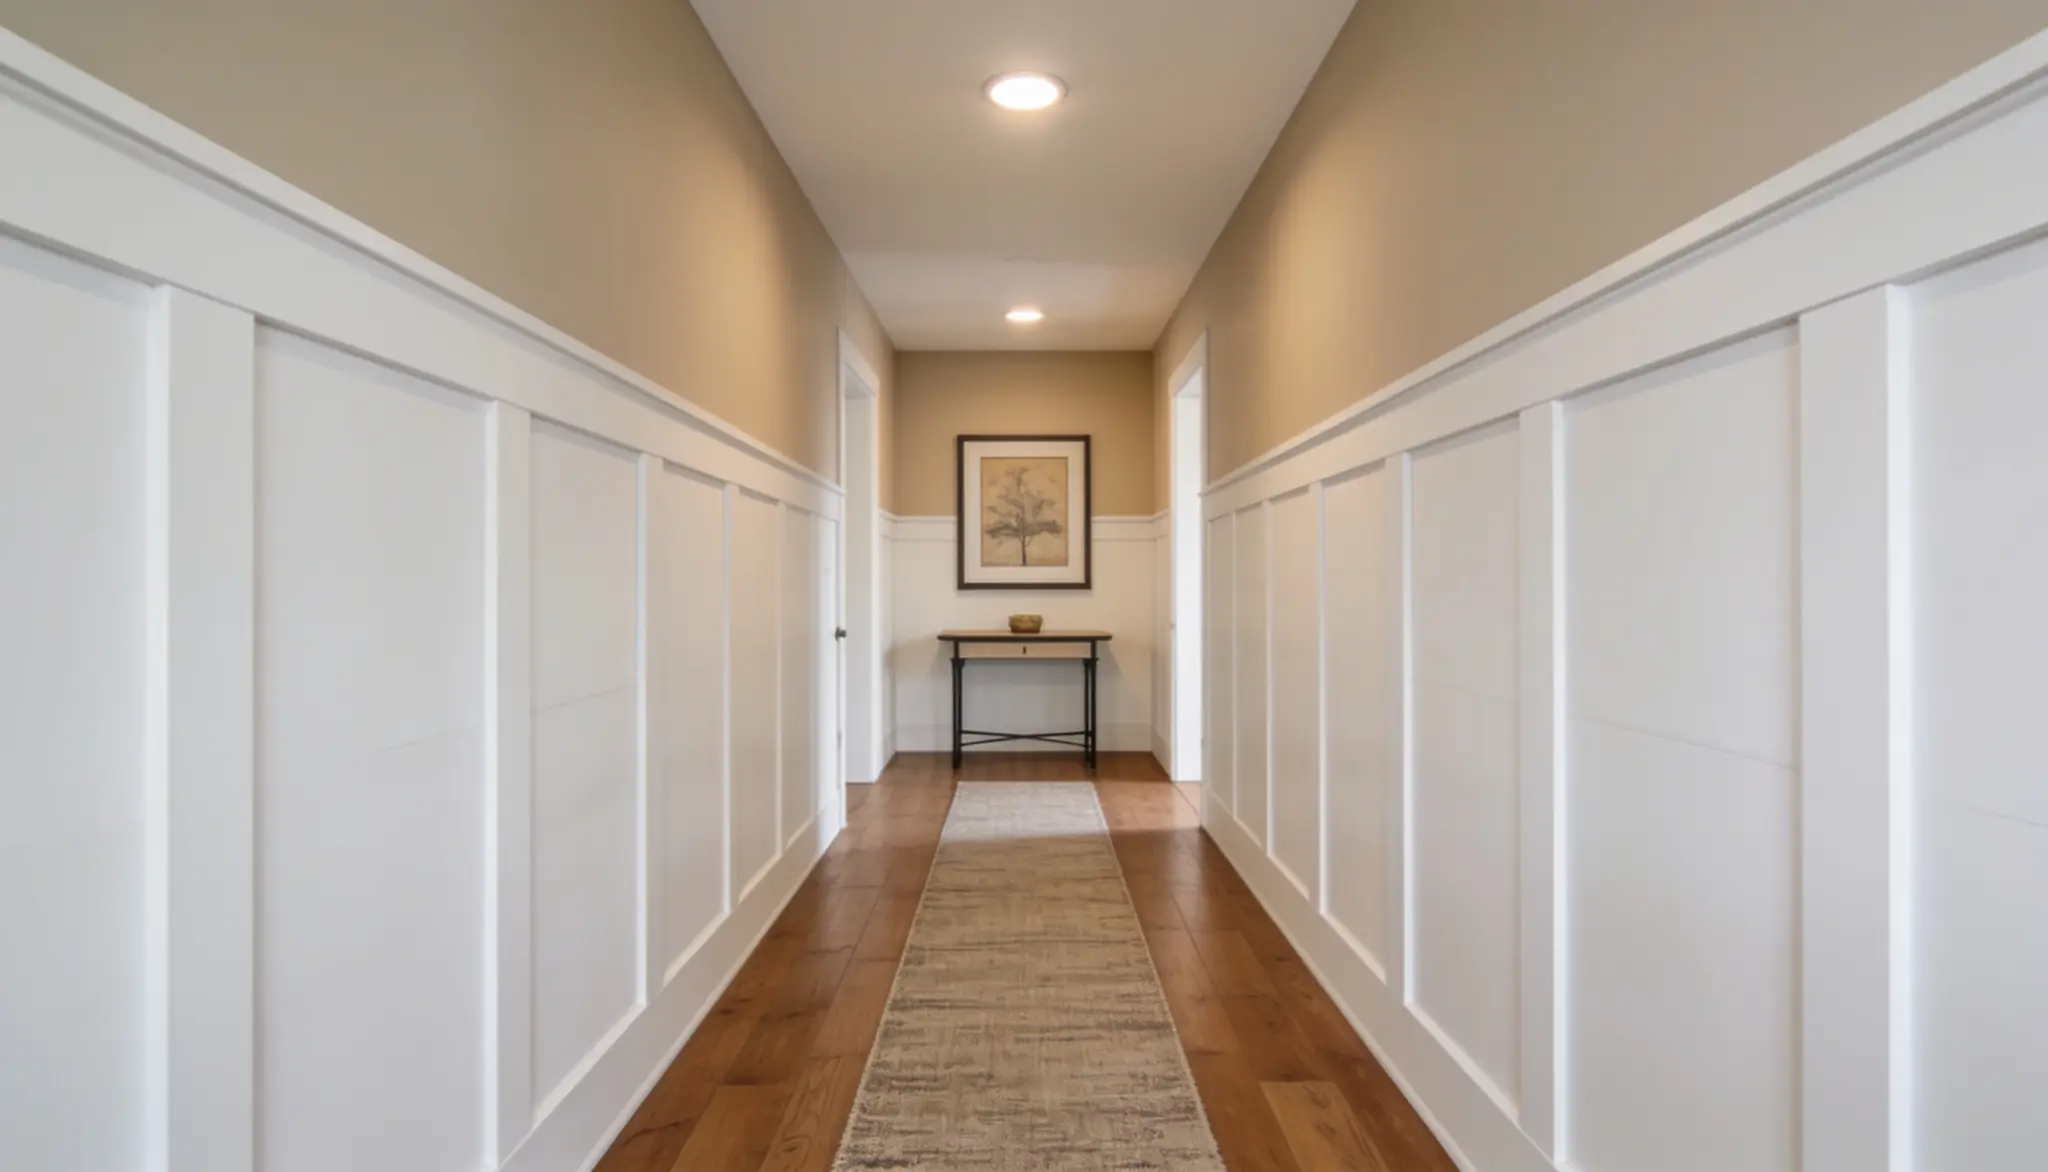
Board and batten is a wall treatment with a simple two-part look. It pairs wide flat boards with narrow vertical strips called battens. Together they create a clean, paneled pattern on the wall.
A board and batten usually follows one of two setups:
- Lower-wall style, where the treatment covers the bottom third or half of the wall, a bit like wainscoting
- Full-height style, where the battens run from baseboard to ceiling for a bigger, bolder effect
The battens are the stars here. They add vertical lines that make a narrow hallway feel taller and more finished.
Things to Know Before Starting a Hallway Project
A little planning goes a long way here. Board and batten is beginner-friendly, but a few basics can save time and frustration once the work begins.
Wall Condition Matters
Bumps, holes, and old wallpaper should be dealt with first, since the boards sit flat against the wall.
Measure the Space Twice
Hallways often have odd corners, outlets, and light switches that need to be worked around.
Pick the Batten Spacing Early
Even gaps between the vertical strips give the cleanest result, so map it out before cutting.
Think About Height
A lower treatment feels calm and classic, while full-height battens make a bolder statement.
Budget for the Extras
Beyond the boards, there’s caulk, wood filler, primer, paint, and a few tools to factor in.
Paint color and finish can change the whole mood of a board and batten hallway. It’s smart to test a sample before committing.
Things You’ll Need
Gathering everything first makes the whole job go more smoothly. Most of these items are easy to find at any hardware store, and a few might already be in the garage.
Materials:
- Primed MDF or pine boards for the battens
- A wider baseboard and top rail, if the design calls for them
- Construction adhesive
- Finishing nails
- Wood filler
- Paintable caulk
- Primer and paint
Tools:
- Tape measure
- Level
- Pencil
- Miter saw, or a hand saw with a miter box
- Brad nailer or hammer
- Caulking gun
- Sandpaper or a sanding block
- Paintbrush and a small roller
How to Install Board-and-Batten in a Hallway?
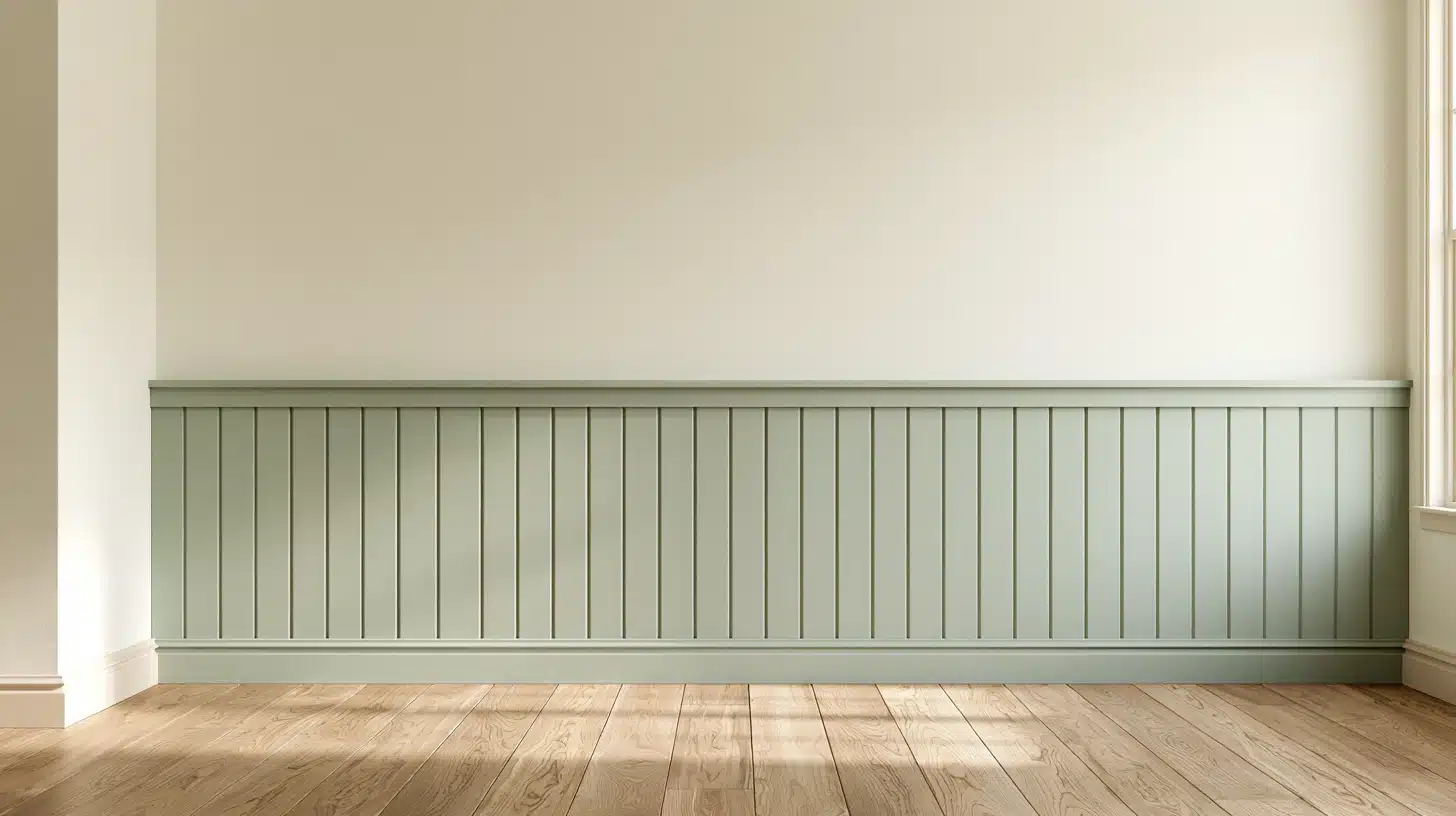
Here, the wall starts to take shape. Follow these steps to keep the job simple from start to finish.
Step 1: Prep the Wall
Start by clearing the wall and wiping off dust and grime. You can also paint the wall to match the color of the board-and-batten you are going for. Fill any old nail holes with wood filler, then sand them flat.
A clean, smooth surface lets the boards sit tight against the wall. If you skip this, small bumps can throw off the whole look.
Many walls aren’t perfectly square, so a thin wood shim behind a board fixes any gaps later.
Step 2: Plan the Layout
This is the fussy part, and it matters most. Measure the wall width in inches and pick a target spacing. Most battens sit 12 to 20 inches apart, with 16 to 18 being the sweet spot.
Divide the wall width by your spacing to get the number of gaps, then subtract one for the battens.
Multiply that by the board width (a 1×4 is really 3.5 inches), subtract from the wall width, divide what’s left by the gaps, and that’s your exact spacing.
Mark each line with a pencil and a level. Then cut a scrap of wood to your spacing width and use it as a spacer, so you skip measuring every gap.
Step 3: Install the Top and Bottom Rails
Attach the horizontal boards first, one near the top and one along the base. Run a bead of construction adhesive on the back, then press each in place.
Add nails to lock them down. These rails give the vertical battens a frame to sit between. If you already have baseboards, you can build right on top of them.
Step 4: Add the Vertical Battens
Measure the height for each batten right where it will sit, since walls are rarely perfectly straight. Cut each one to fit snugly between the top and bottom rails.
Line each batten up, glue the back, and tap in a few 1 1/4 inch brad nails. The adhesive does most of the holding, so hitting a stud isn’t required.
Cut a scrap of wood to your exact spacing width. Set it between each batten as a spacer to maintain consistent gaps along the whole wall. Check every few battens with a long level.
Step 5: Fill and Caulk
Press wood filler into every nail hole and let it dry fully. If any nail sits proud, tap it flush with a hammer first.
Next, run a thin line of caulk along the seams and edges. Smooth it with a damp finger for a tidy finish. This step hides small gaps and pulls the whole wall together.
Step 6: Prime and Paint
Lightly sand any dried filler until it feels smooth. Brush on a coat of primer and let it set.
Then add two coats of paint, cutting in the edges first. Let each coat dry before the next to keep the finish even. A satin or semi-gloss finish wipes clean in a busy hallway.
Design Ideas For Your Board and Batten Hallway
A little planning up front makes the finished wall feel intentional. Here are a few directions worth considering before the boards go up.
1. Go Dark And Moody
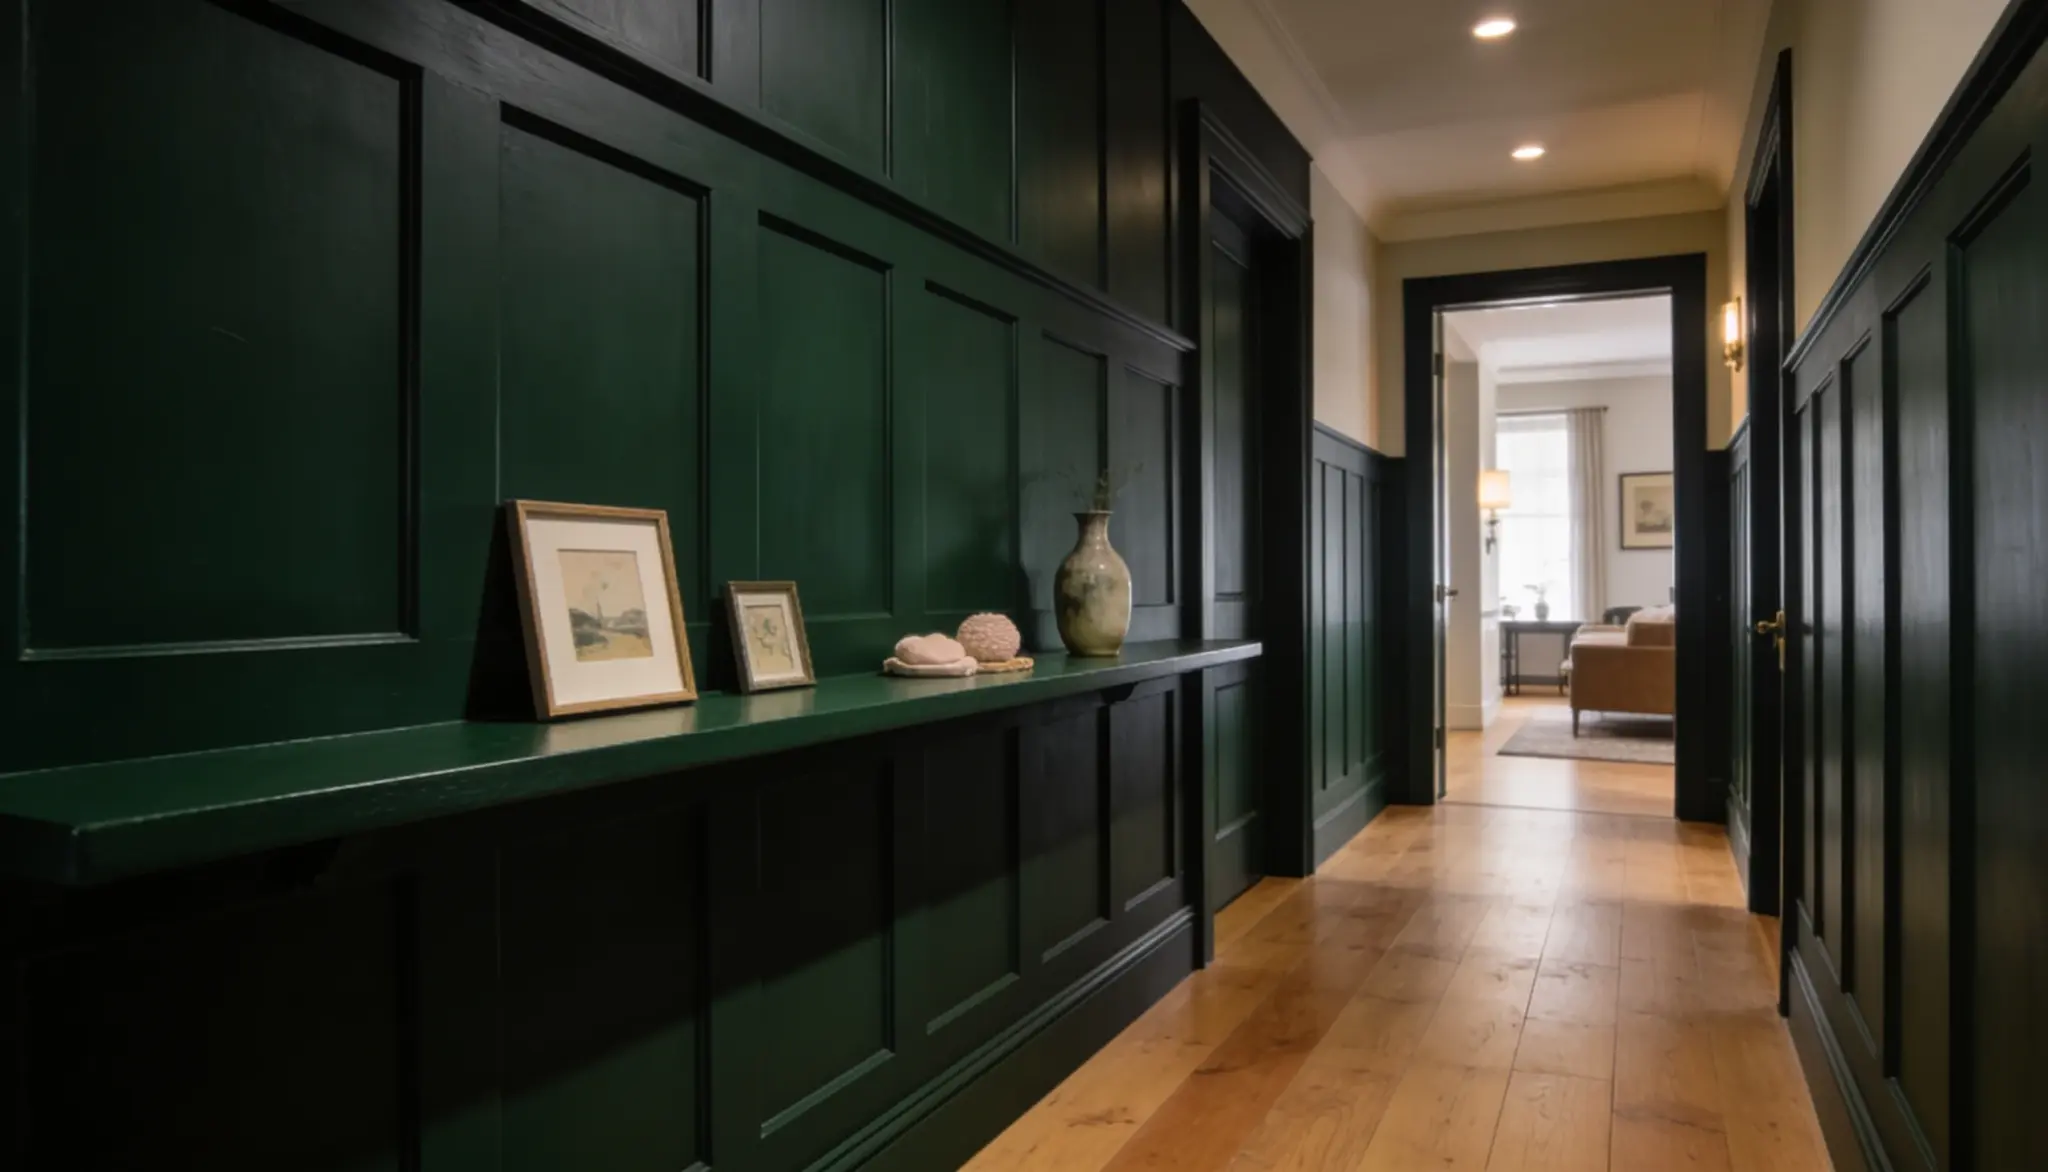
A deep navy, forest green, or charcoal turns a plain passage into the best-looking wall in the house. Dark colors add drama to a spot that usually gets ignored.
They also hide scuffs and fingerprints well, which helps in a high-traffic hall. Just test a sample first, since dark shades read differently in low light.
2. Keep it Soft and Bright
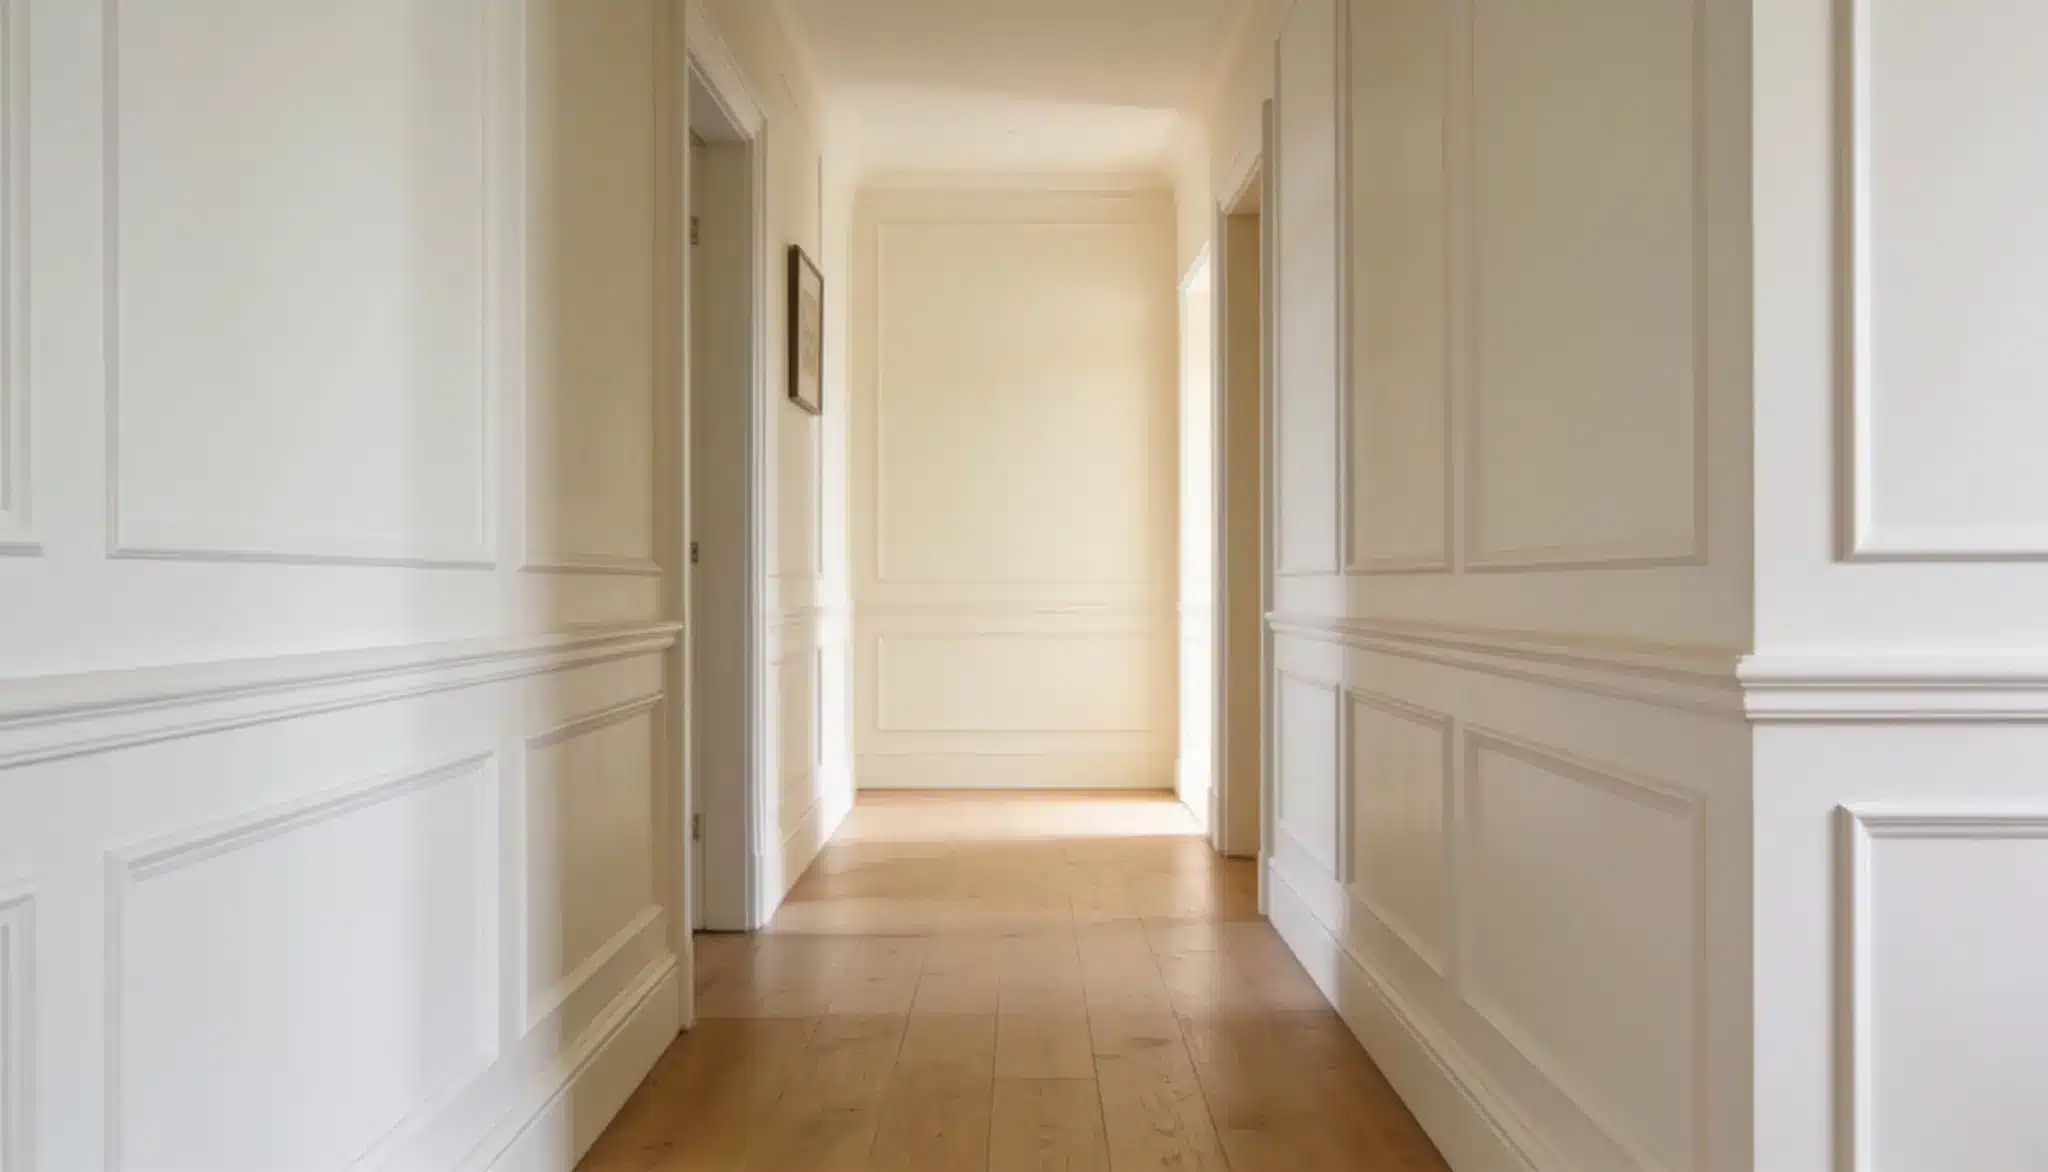
Warm whites and creamy off-whites make a narrow hallway feel open and airy. This look leans classic, so it pairs well with older homes and simple trim.
It also bounces light around, which is handy in a hall with few windows. The battens still add texture, even when the color stays quiet.
3. Add a Top Shelf
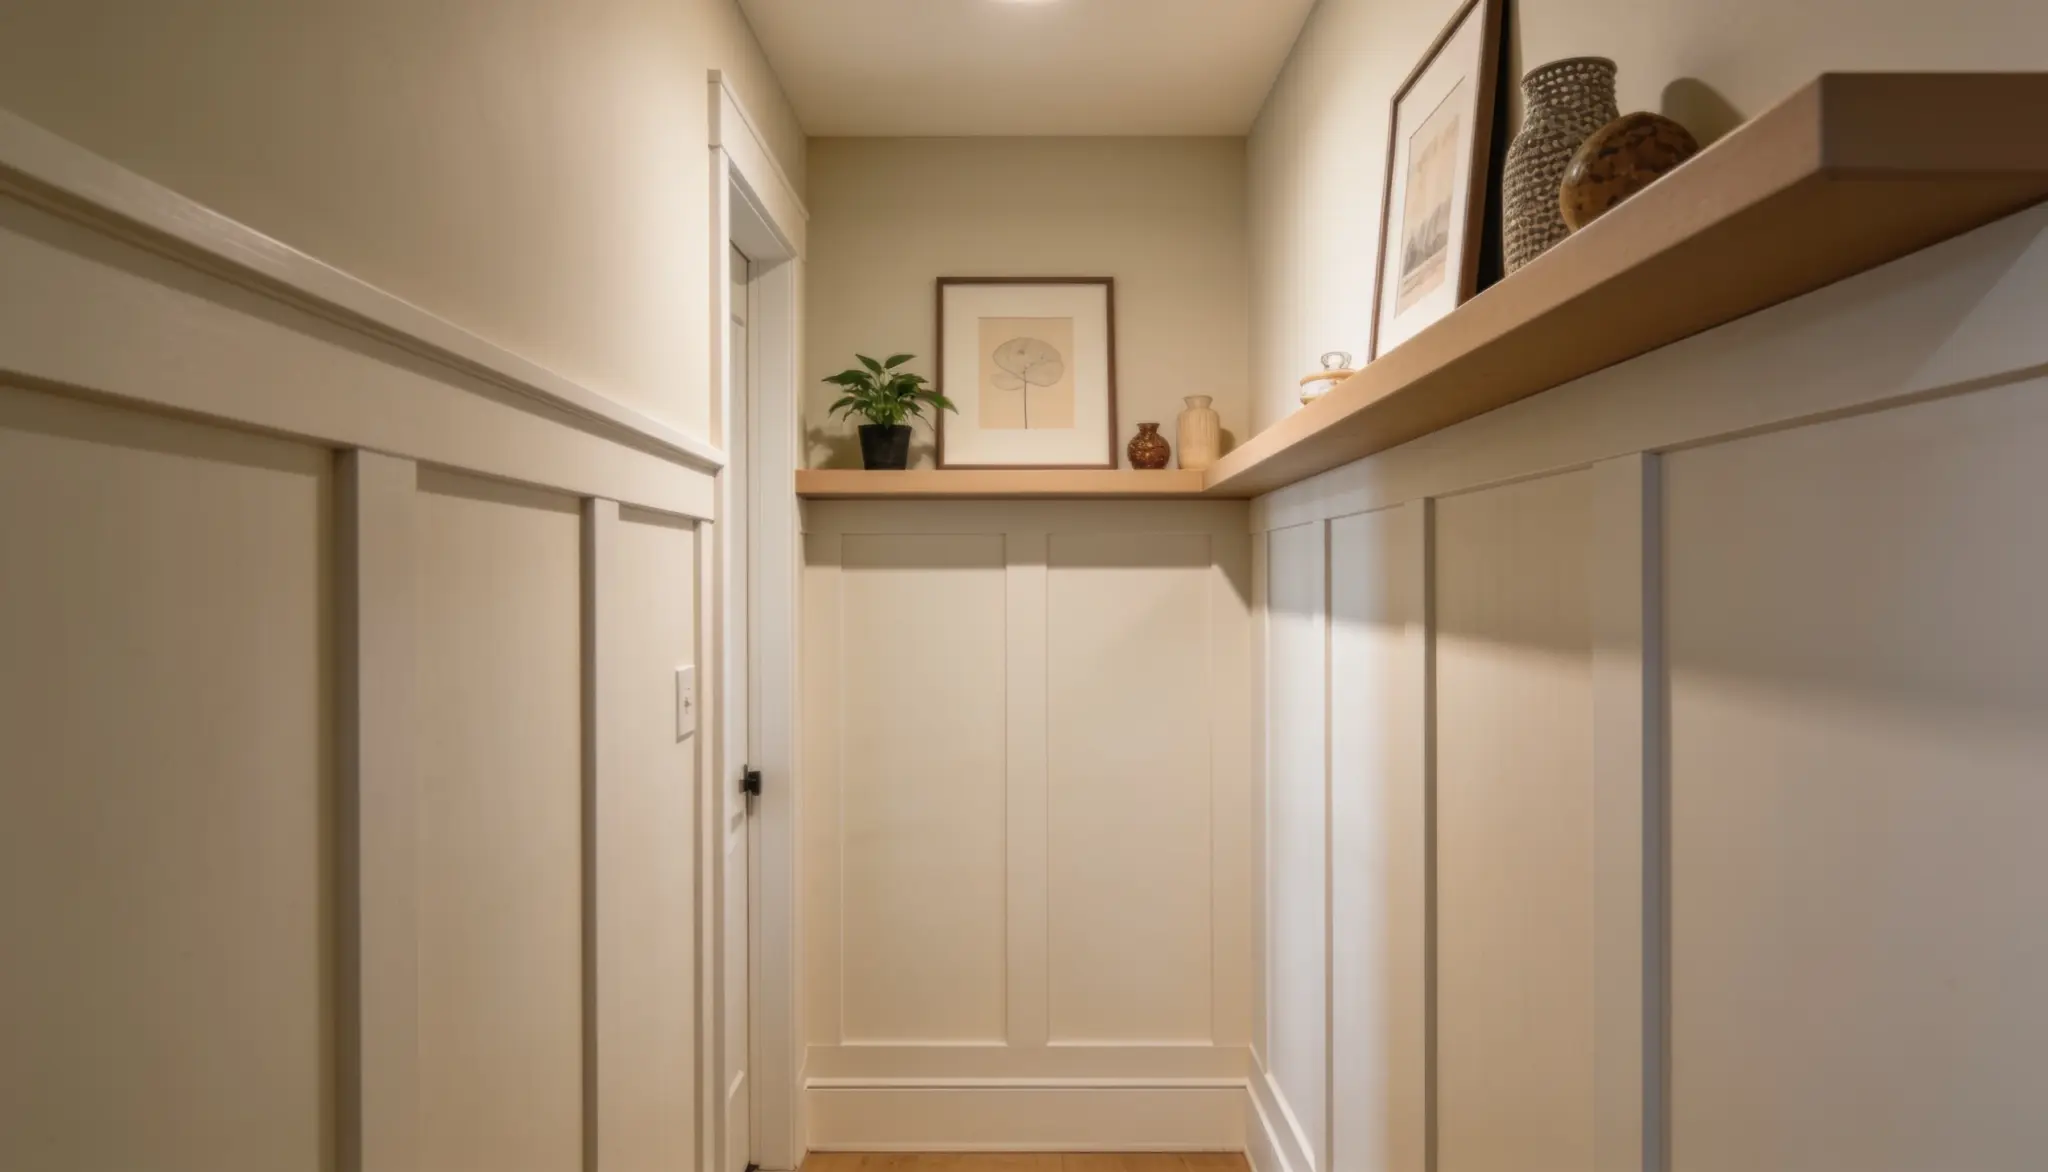
Running a wider board across the top creates a small ledge above the battens. It provides space for art, plants, or a few framed photos.
The shelf makes the wall more useful without taking up floor space. It’s a small touch, but it makes the whole treatment feel finished.
4. Built-in Storage
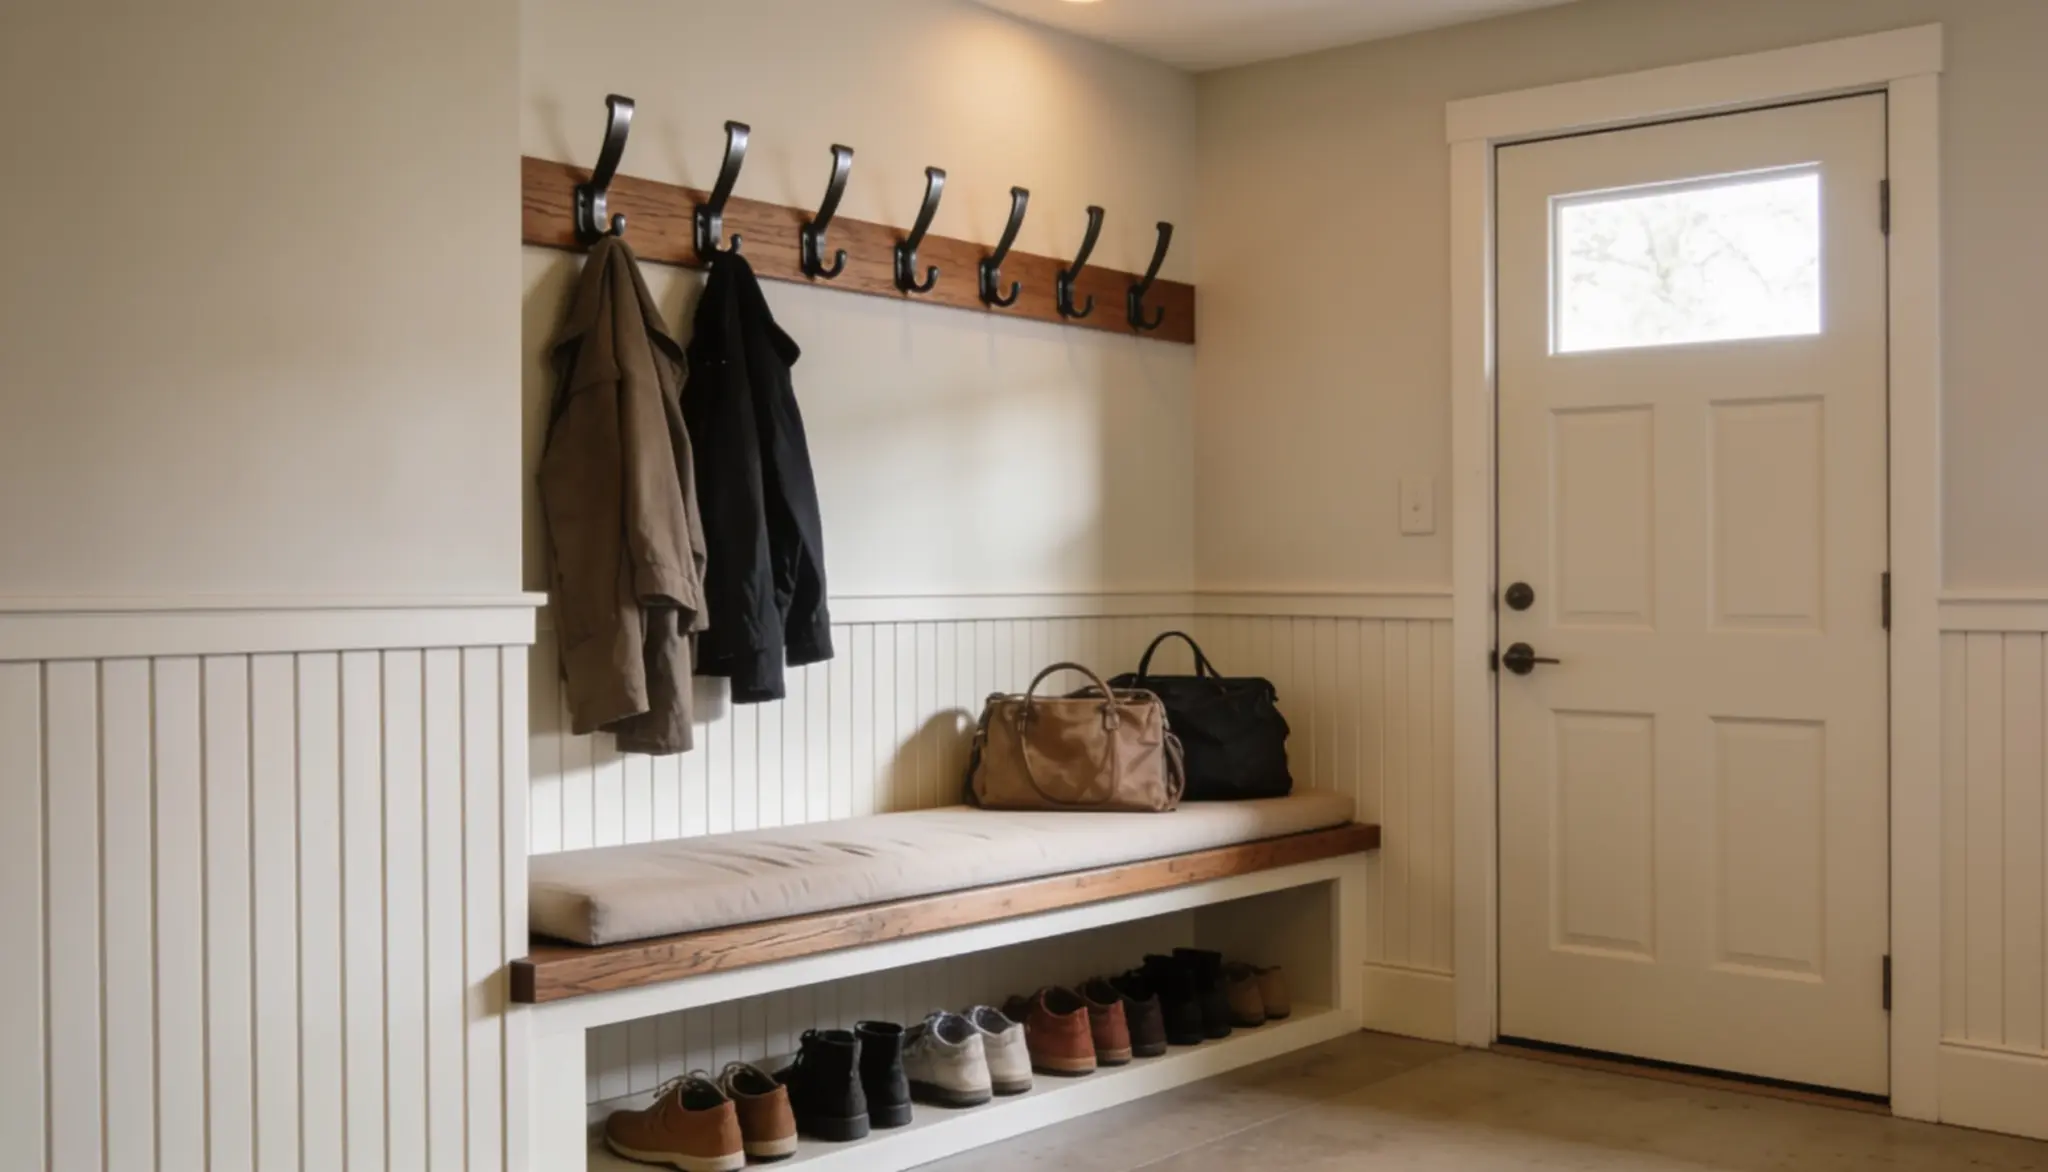
A lower treatment paired with hooks and a bench turns a hall into a drop zone. Coats, bags, and shoes all get a home by the door.
This works great in busy entryways near a side or garage door. It keeps clutter off the floor and adds function to the wall.
5. Play With Height
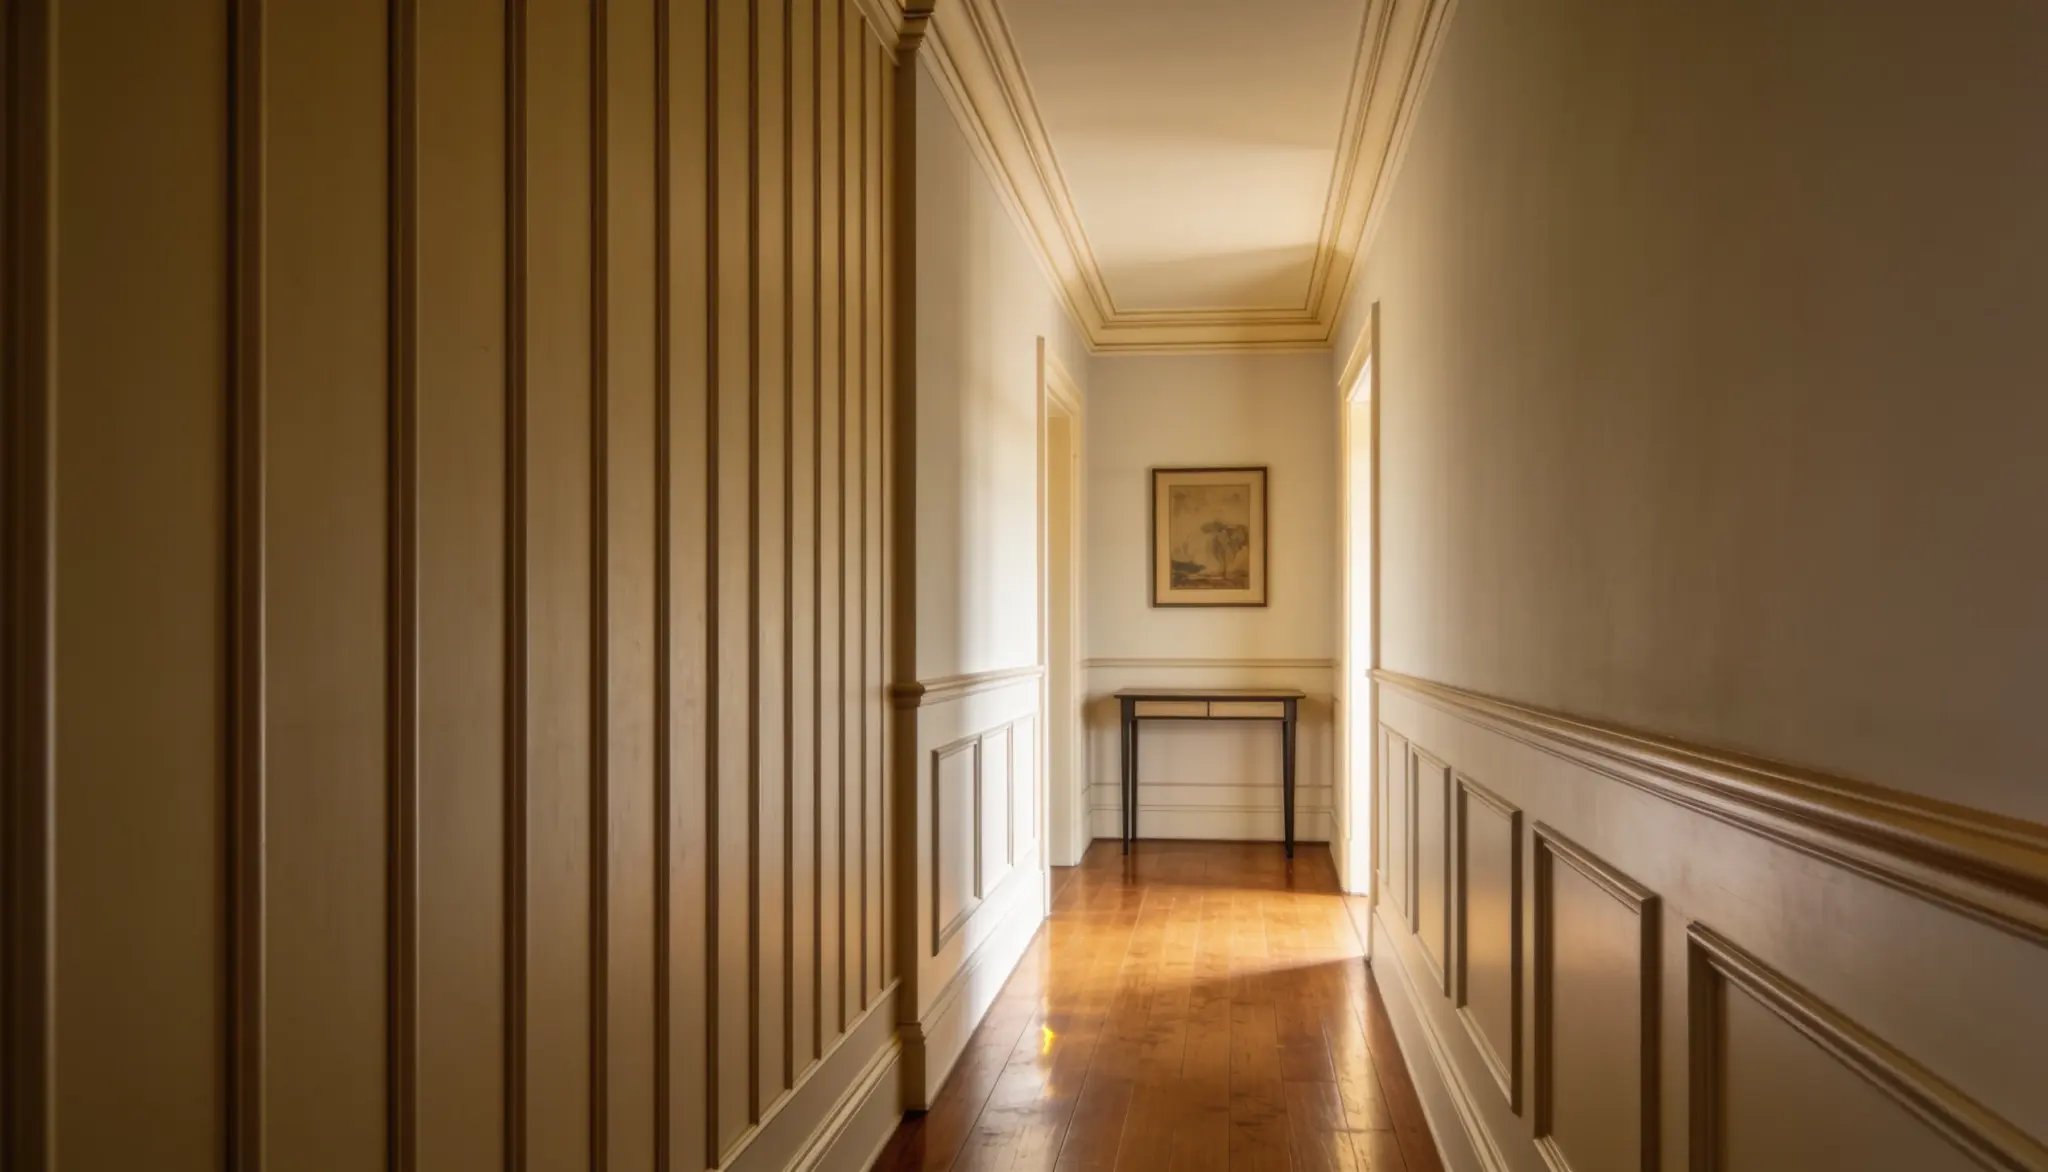
Full-height battens draw the eye up and suit tall walls. They make a bold statement and can help a low ceiling feel taller.
A lower, wainscot-style run feels calm and classic in a smaller space. The right height comes down to the room and the mood you want.
Is Board-and-Batten Hallway Outdated in 2026?
Plenty of people wonder if board and batten still has a place in a modern home. And it’s a fair question.
As trends come and go, no one wants to spend a weekend on a look that fades fast. Nobody likes redoing work they just finished.
That’s why picking a style with staying power feels like the safe bet.
And the board-and-batten leans on simple, classic lines. It isn’t tied to a single era or a bold color. That flexibility is a big part of its staying power.
A hallway treatment can go soft and neutral, or dark and moody, depending on taste. So the style tends to bend with whatever a home needs.
Conclusion
A board-and-batten hallway is one of the simplest ways to give a forgotten space real character.
The steps are beginner-friendly, and the payoff shows up fast. Careful measuring and a bit of patience matter more than any special skill.
That’s what makes this a great first project for anyone new to home improvement.
The finished wall does more than look good. It turns a plain passage into a part of the home worth walking through.
So pick a color, map out the first wall, and start building the hallway that fits the space.
Frequently Asked Questions (FAQs)
1. How Long Does a Hallway Project Take?
Most DIYers finish in a weekend, with drying time for caulk and paint taking up the rest of the time.
2. What Kind of Wood is Best for Battens?
Primed MDF is smooth and budget-friendly, while solid pine costs more but handles bumps better.
3. Is Board and Batten Good For Small Hallways?
Yes, the vertical lines make a narrow hallway feel taller and more finished than bare walls.
4. Is Board and Batten Too Trendy?
Its simple, classic lines aren’t tied to one era, so the look tends to have staying power.