Stucco has been used on buildings for centuries. It’s one of those materials that works on old homes, modern homes, and everything in between.
This blog will show you what stucco is, how it’s installed, and where it’s commonly used.
Read on to find out more.
What is Stucco?
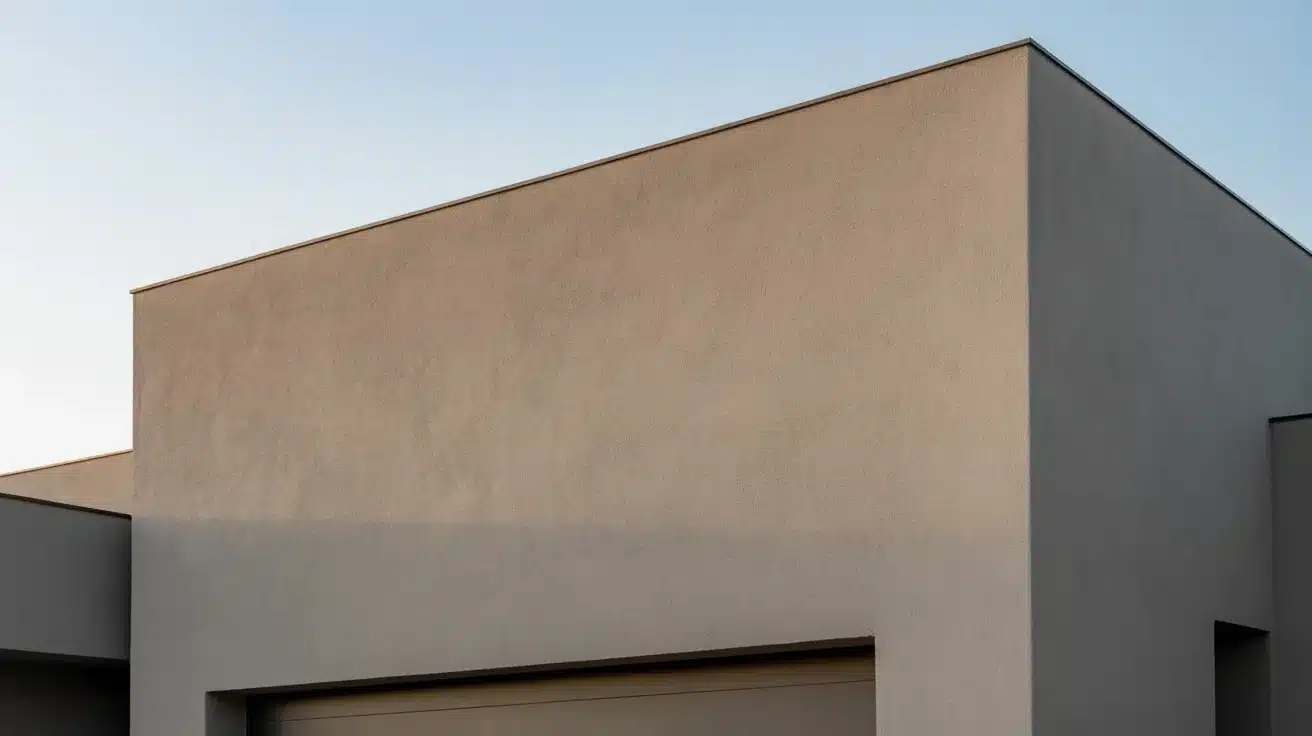
Stucco is a cement-based finish applied to the outside of walls and ceilings.
Think of it as a tough outer shell that protects a building while also giving it a clean, finished look. It’s been used on homes for a very long time.
The basic mix is simple: cement, sand, lime, and water.
Some contractors also add special additives to improve flexibility or water resistance. Once applied, stucco hardens into a solid, weather-resistant surface.
Types of Stucco
Not every stucco product is the same. The type you choose affects cost, durability, and the final wall’s appearance and performance.
Traditional Stucco
Traditional stucco is made from Portland cement, sand, lime, and water.
It’s mixed on-site and applied in three coats directly onto the wall. It’s been used for centuries and is known for its strength and long lifespan.
It bonds well to masonry surfaces and holds up in most climates.
The downside is that it takes longer to apply and requires skilled hands to get it right.
Synthetic Stucco
Synthetic stucco uses acrylic and polymer-based materials instead of cement.
It’s lighter, more flexible, and comes pre-mixed, which makes application faster. It also offers better insulation than traditional stucco.
However, it’s more vulnerable to moisture damage if not installed correctly.
It works best when paired with a proper drainage system behind the wall.
5 Different Stucco Finishes
There are several finish styles to choose from, each giving the final surface a different appearance.
1. Smooth Finish
This gives walls a flat, clean look. It’s popular in modern and contemporary home designs.
It does show surface imperfections more easily, so the prep work needs to be solid. That said, when done right, it gives a very sharp, polished result that pairs well with simple exteriors.
2. Dash Finish
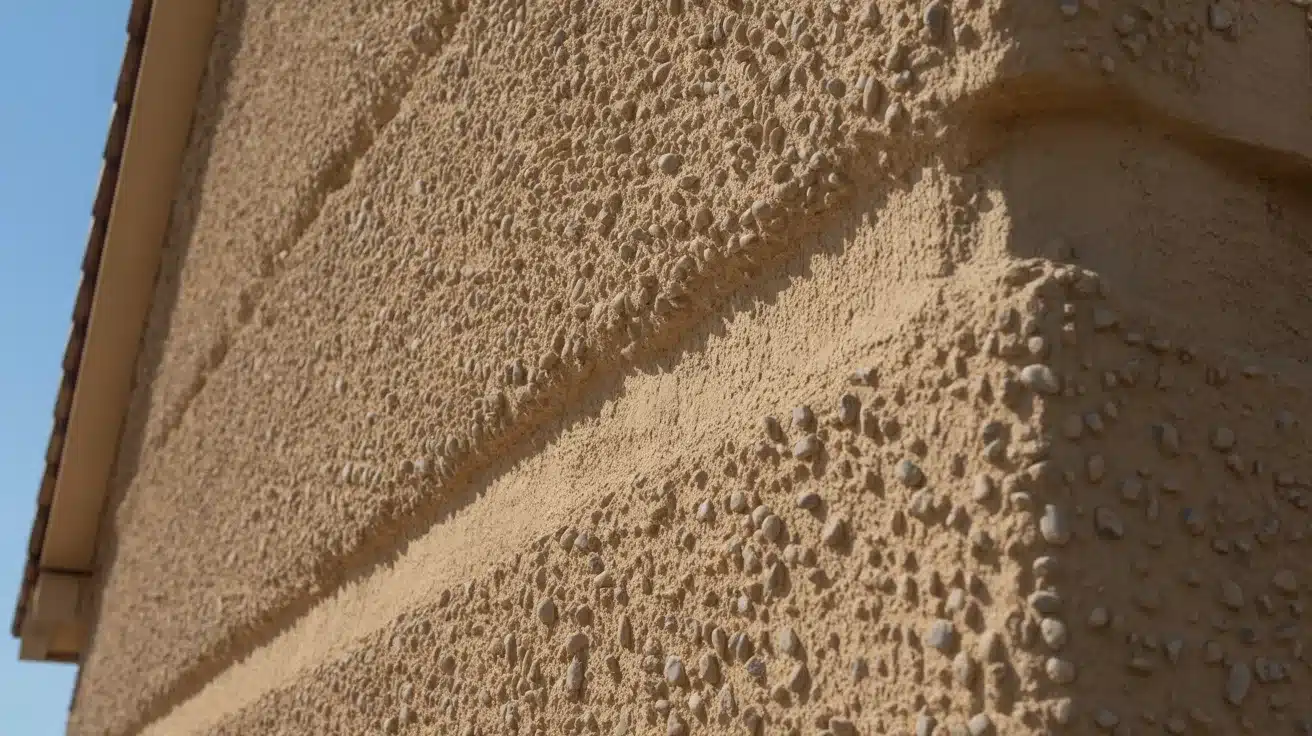
A rough, textured surface that’s been around for decades. It’s often used in traditional or older architectural styles and is applied by throwing the mix onto the wall.
It’s also one of the more forgiving finishes; the heavy texture masks minor wall flaws with minimal effort.
3. Sand Finish
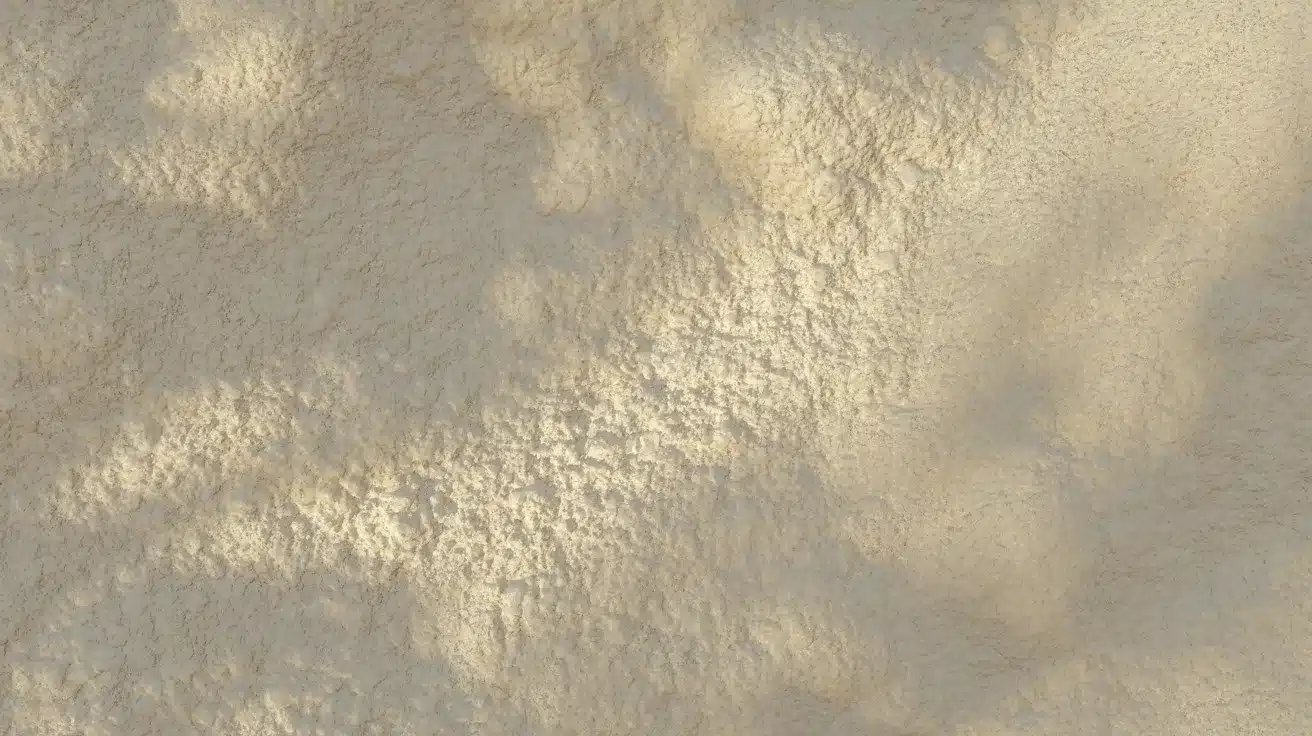
A fine-textured surface that’s great for hiding small flaws in the wall. It’s one of the most commonly used finishes in residential stucco work.
People also like it because it holds paint well and is easy to touch up if small cracks appear later.
4. Lace Finish
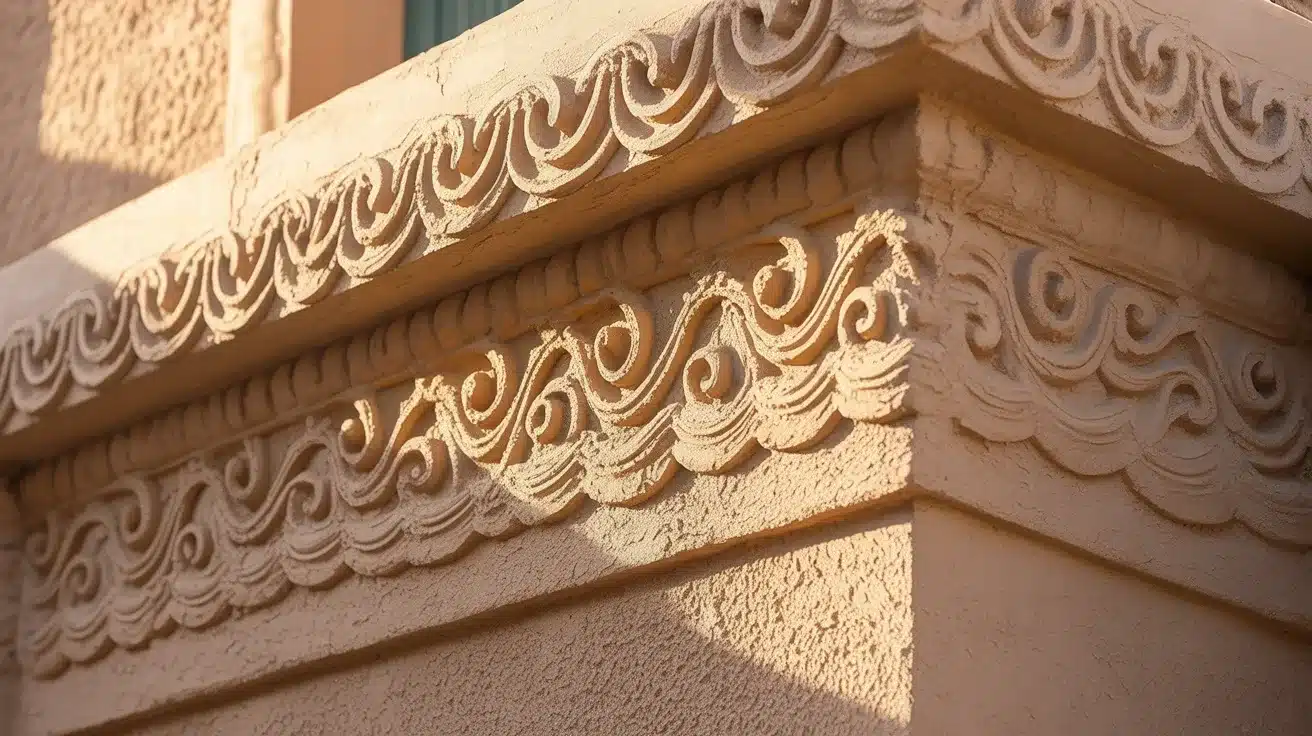
This has a decorative, patterned look. It’s a favorite for residential homes because it adds design without being too over the top.
You’ll often see it in Spanish Architecture where the texture complements the overall design.
5. Cat Face Finish
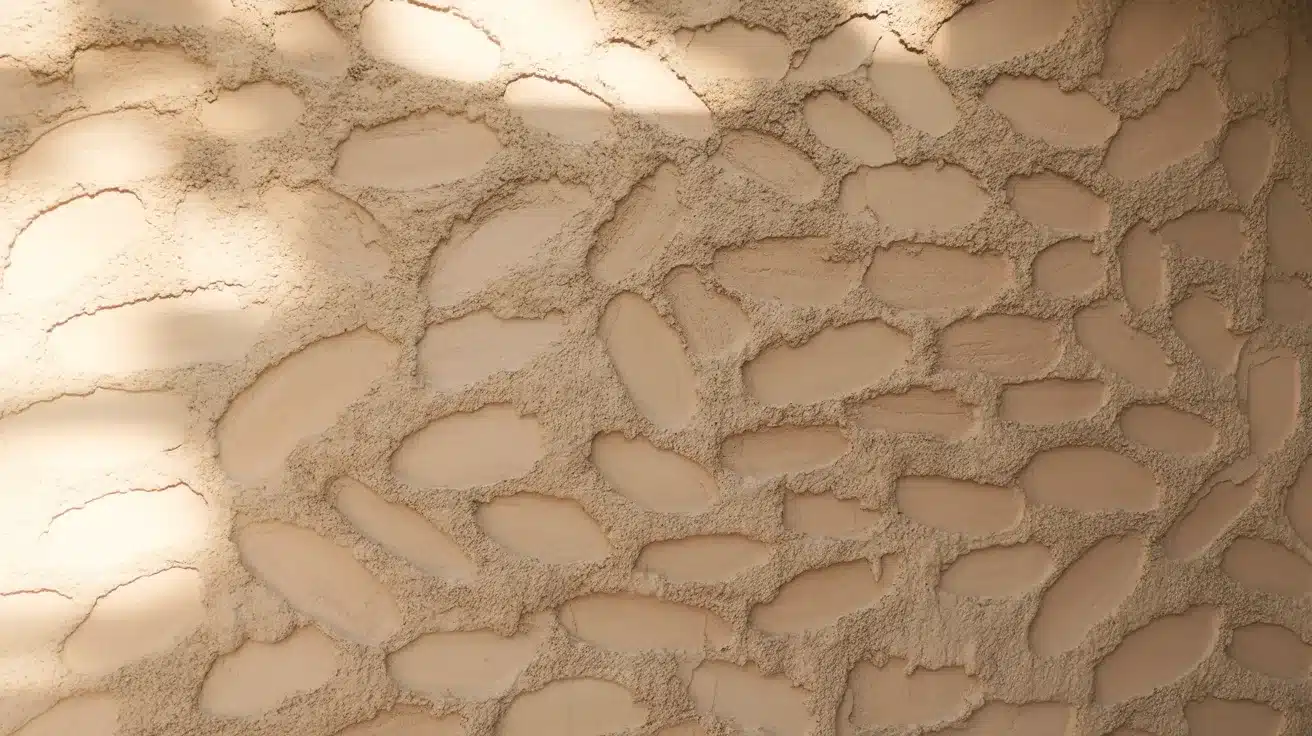
A mix of rough patches and smooth areas. It gives walls a unique, hand-crafted appearance that stands out from more uniform finishes.
It takes more skill to apply consistently, but the result is a surface that looks one-of-a-kind on every home.
Stucco Installation Process
Applying stucco takes patience and the right steps to get it right. Here’s the full process in order:
Step 1: Prepare the Wall Surface
Clean the wall thoroughly and fix any existing damage. Remove dirt, dust, and loose material.
Check for soft spots, rot, or structural weak points and address them before moving forward. The base needs to be completely sound before anything goes on top.
A weak surface will cause the stucco to crack or separate later, and that’s costly.
Step 2: Install Weather Barrier and Metal Lath
Lay a moisture barrier sheet over the wall first. This protects the structure from water getting in behind the stucco.
Then attach metal lath, a mesh-like material, over the barrier using nails or screws. Make sure it’s fastened tightly and overlaps at the edges.
This gives the stucco something to grip firmly and keeps it from pulling away from the wall over time.
If you’re working on an older home, take a moment to check what’s already behind the wall; some older structures have materials that don’t hold fasteners and are reliable.
Step 3: Apply the Scratch Coat
This is the first layer of stucco. It’s pressed firmly into the metal lath and then scratched with a comb-like tool while still wet.
Those scratches create a rough surface that helps the next coat bond properly.
Apply it evenly across the entire wall, aiming for a consistent thickness of about 3/8 inch. Let it dry completely before moving on.
Step 4: Apply the Brown Coat
The brown coat goes on next. It is typically made from Portland cement, sand, lime, and water.
This layer levels out the surface and fills in any uneven spots left by the scratch coat.
Use a straight edge or screed to smooth it out carefully and create a flat, even base. Aim for a similar thickness to the scratch coat.
Again, drying time is important; don’t rush it.
Step 5: Apply the Finish Coat
This is the final layer and the one that shows.
The finish coat carries the chosen texture and color. Whether you want a smooth, sand, or lace finish, this is where that decision comes to life.
Apply it in thin, even strokes and work in small sections to keep a consistent look across the wall.
It takes skill to apply evenly, so an experienced contractor makes a big difference here.
Try samples of different finishes before committing. Seeing them on a small patch of your actual wall in your specific lighting conditions.
Step 6: Allow Curing and Drying
Once all coats are on, the stucco needs time to cure fully. This can take several days, depending on the weather and humidity.
Rushing this step is the most common mistake, which leads to cracks and weak spots across the surface.
Keep the surface slightly moist during curing by misting it with water.
This slows the drying process down and helps the stucco harden properly from the inside out.
Is Stucco Only Meant for Outdoor Use?
Nope.
While stucco is most commonly used on exterior walls, it can also work indoors on accent walls, fireplace surrounds, and ceilings.
Interior stucco mixes are finer and smoother since they don’t need to handle weather. Think of it as closer to a plaster finish.
The one thing to watch is moisture. In bathrooms or humid spaces, stucco needs proper sealing to keep mold from developing behind the surface.
So yes, stucco works indoors. It just needs the right mix and a little extra care in wet areas.
Benefits of Stucco Exteriors
There are clear reasons why builders prefer stucco for exterior walls.
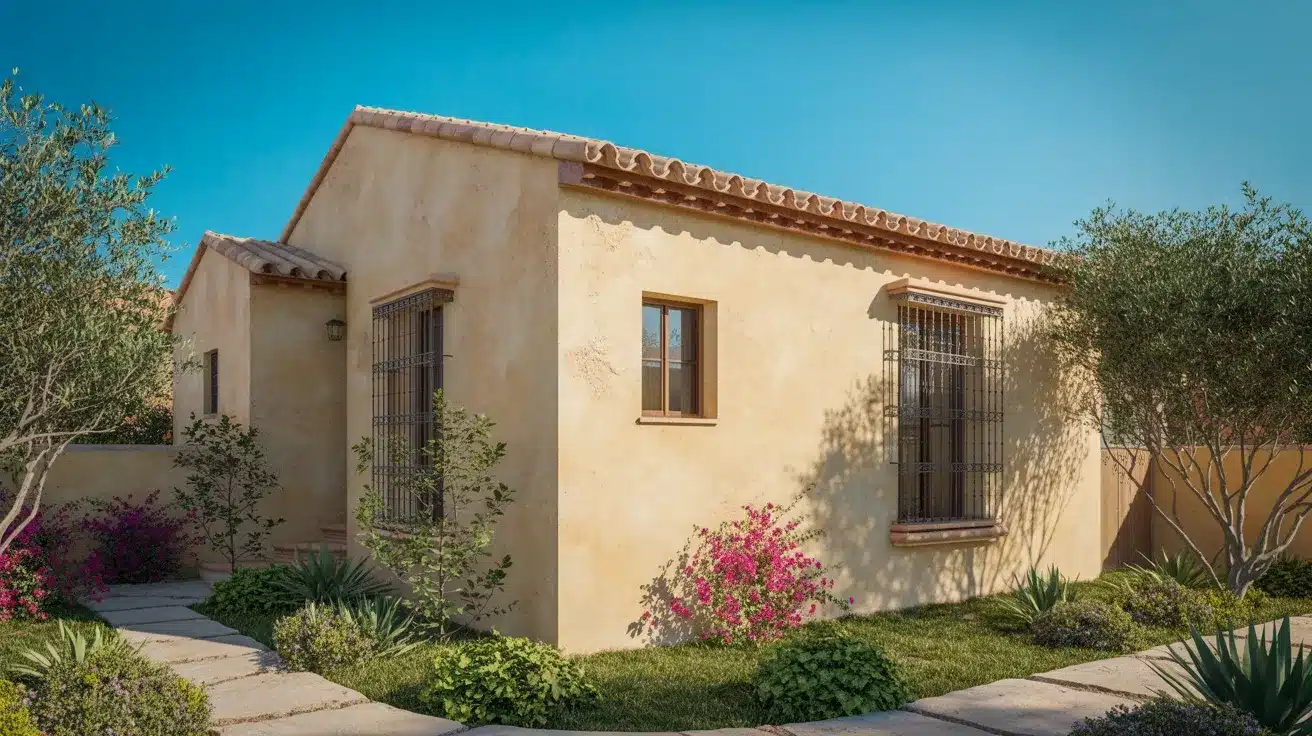
Climate Compatibility: Stucco works especially well in warm, dry regions. It handles heat well and doesn’t warp or rot the way wood can.
That’s why you’ll see it so often in states like California, Arizona, and Florida.
Durability and Longevity: With proper care, stucco can last 50 years or more. It holds up against wind, rain, and sun without breaking down quickly.
That kind of lifespan makes it a smart long-term choice.
Design Flexibility: Stucco can be textured, colored, or shaped into different patterns.
People aren’t locked into one look; they can choose a finish that matches their style and the character of the home.
Stucco vs Plaster: Understanding the Difference
People often mix up stucco and plaster. They look similar and share some ingredients, but they serve very different purposes. Here’s a quick side-by-side look:
| Feature | Stucco | Plaster |
|---|---|---|
| Where It’s Used | Exterior walls and outdoor surfaces | Interior walls and ceilings |
| Material Mix | Coarser mix with a higher cement ratio | Smoother, finer mix suited for indoors |
| Texture | Rough and thick | Smooth and fine |
| Weather Resistance | Built to handle rain, heat, and moisture | Not designed for outdoor exposure |
| Durability | Tough enough for outdoor conditions | Best suited for controlled indoor environments |
| Finish | Textured in most cases | Usually flat and smooth |
Maintaining and Cleaning Stucco
Stucco is low maintenance, but that doesn’t mean zero maintenance. A little attention keeps it in good shape for years.
Routine Inspection:
Walk around your home once or twice a year and look for cracks, chips, or damp spots.
Catching small issues early prevents them from becoming bigger, costlier problems.
Minor Repairs:
Small cracks can be filled with a stucco patching compound.
The sooner you fix them, the less chance water has to get in and cause damage behind the surface.
Repainting and Sealing:
Over time, stucco color can fade. A fresh coat of masonry paint or a clear sealant protects the surface and keeps it looking good.
Most experts suggest repainting every 5 to 10 years.
Gentle Cleaning:
Use a soft-bristle brush and mild detergent mixed with water. Scrub in small sections and rinse with a garden hose.
This works well for everyday dirt and grime buildup.
Pressure Washing:
A pressure washer can work, but keep it at 1,500 PSI or less. High pressure can chip or crack the surface.
Keep the nozzle at least 18 inches from the wall at all times.
Removing Mold and Stains:
Mix one part bleach with four parts water.
Apply it to the affected area, let it sit for a few minutes, then scrub and rinse thoroughly.
What is Stucco Masonry, and is it Better than Stucco?
Stucco masonry refers to stucco applied directly to a solid masonry surface, such as brick, concrete block, or stone.
There’s no need for metal lath in this case because the wall itself provides a strong, stable base.
It’s not better or different; it’s just a different application.
Standard stucco works on wood-framed walls with lath. Stucco masonry works on solid surfaces.
Both deliver the same durable finish. The right choice depends on what your wall is made of, not which method is superior.
When is Stucco the Right Choice for Your Home?
Stucco isn’t the right fit for every home or every budget.
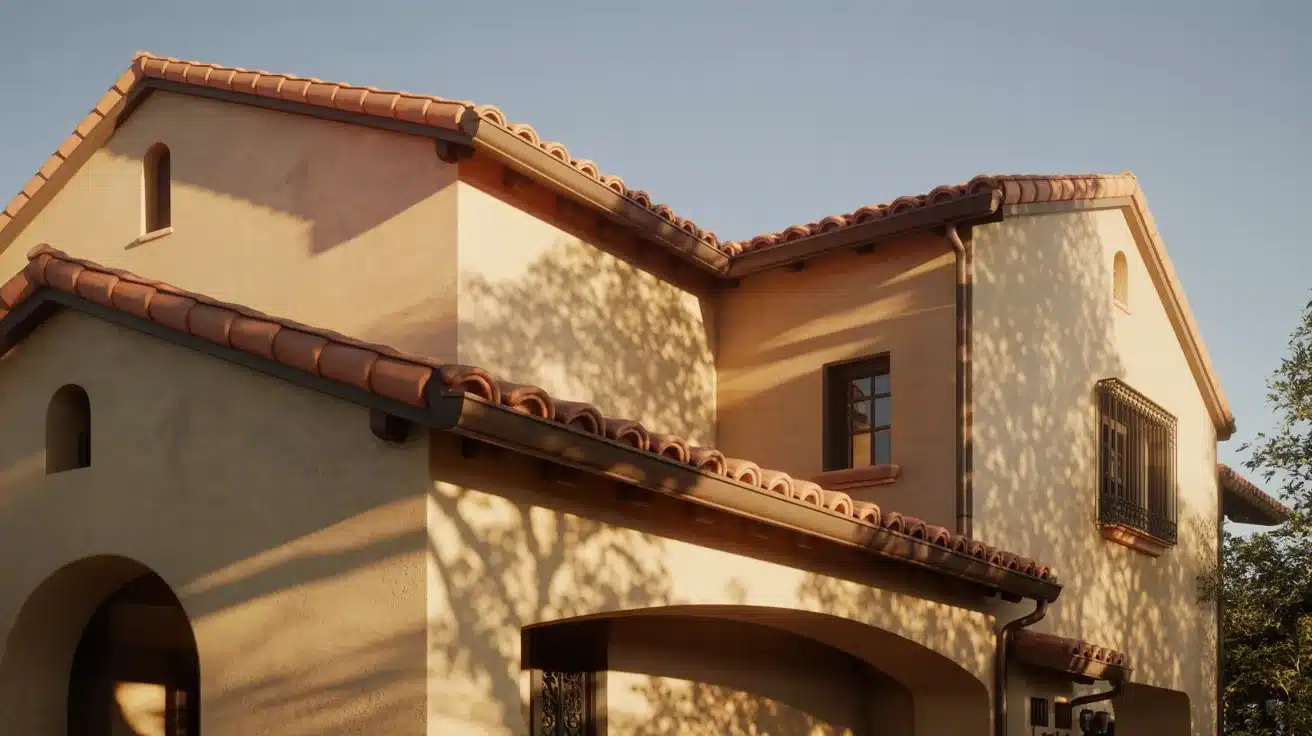
It looks most natural on Mediterranean, Spanish, and Southwestern-style homes, where it has been used for generations.
It performs best in dry, warm climates. In areas with heavy rain or freeze-thaw cycles, extra waterproofing is a must.
Yes, the installation cost is higher than some other finishes.
But the long lifespan and low ongoing maintenance often balance that out, especially if you’re planning to stay in the home for many years.
Wrap Up
Stucco is a reliable, long-lasting finish that works well for the right home and the right climate.
It’s made from simple materials, but the results speak for themselves: strong walls, low upkeep, and good curb appeal.
Proper stucco installation and regular maintenance are what keep it looking great for decades.
If you’re considering it for your home, now you have everything you need to make a confident decision.
Got more questions about stucco? Drop them in the comments below!
Frequently Asked Questions (FAQs)
1. Is Stucco the Same as Concrete?
No, stucco and concrete share some ingredients, but stucco is a finer, lighter mix used as a wall finish, not a structural material.
2. Did Stucco Have Asbestos in It?
Yes, stucco applied before the 1980s sometimes contained asbestos, so older homes should be tested before any repair or removal work.
3. Are Stucco Houses Hard to Sell?
Not necessarily, stucco homes sell well in the right markets, especially in warm, dry climates where the material is common and well understood.