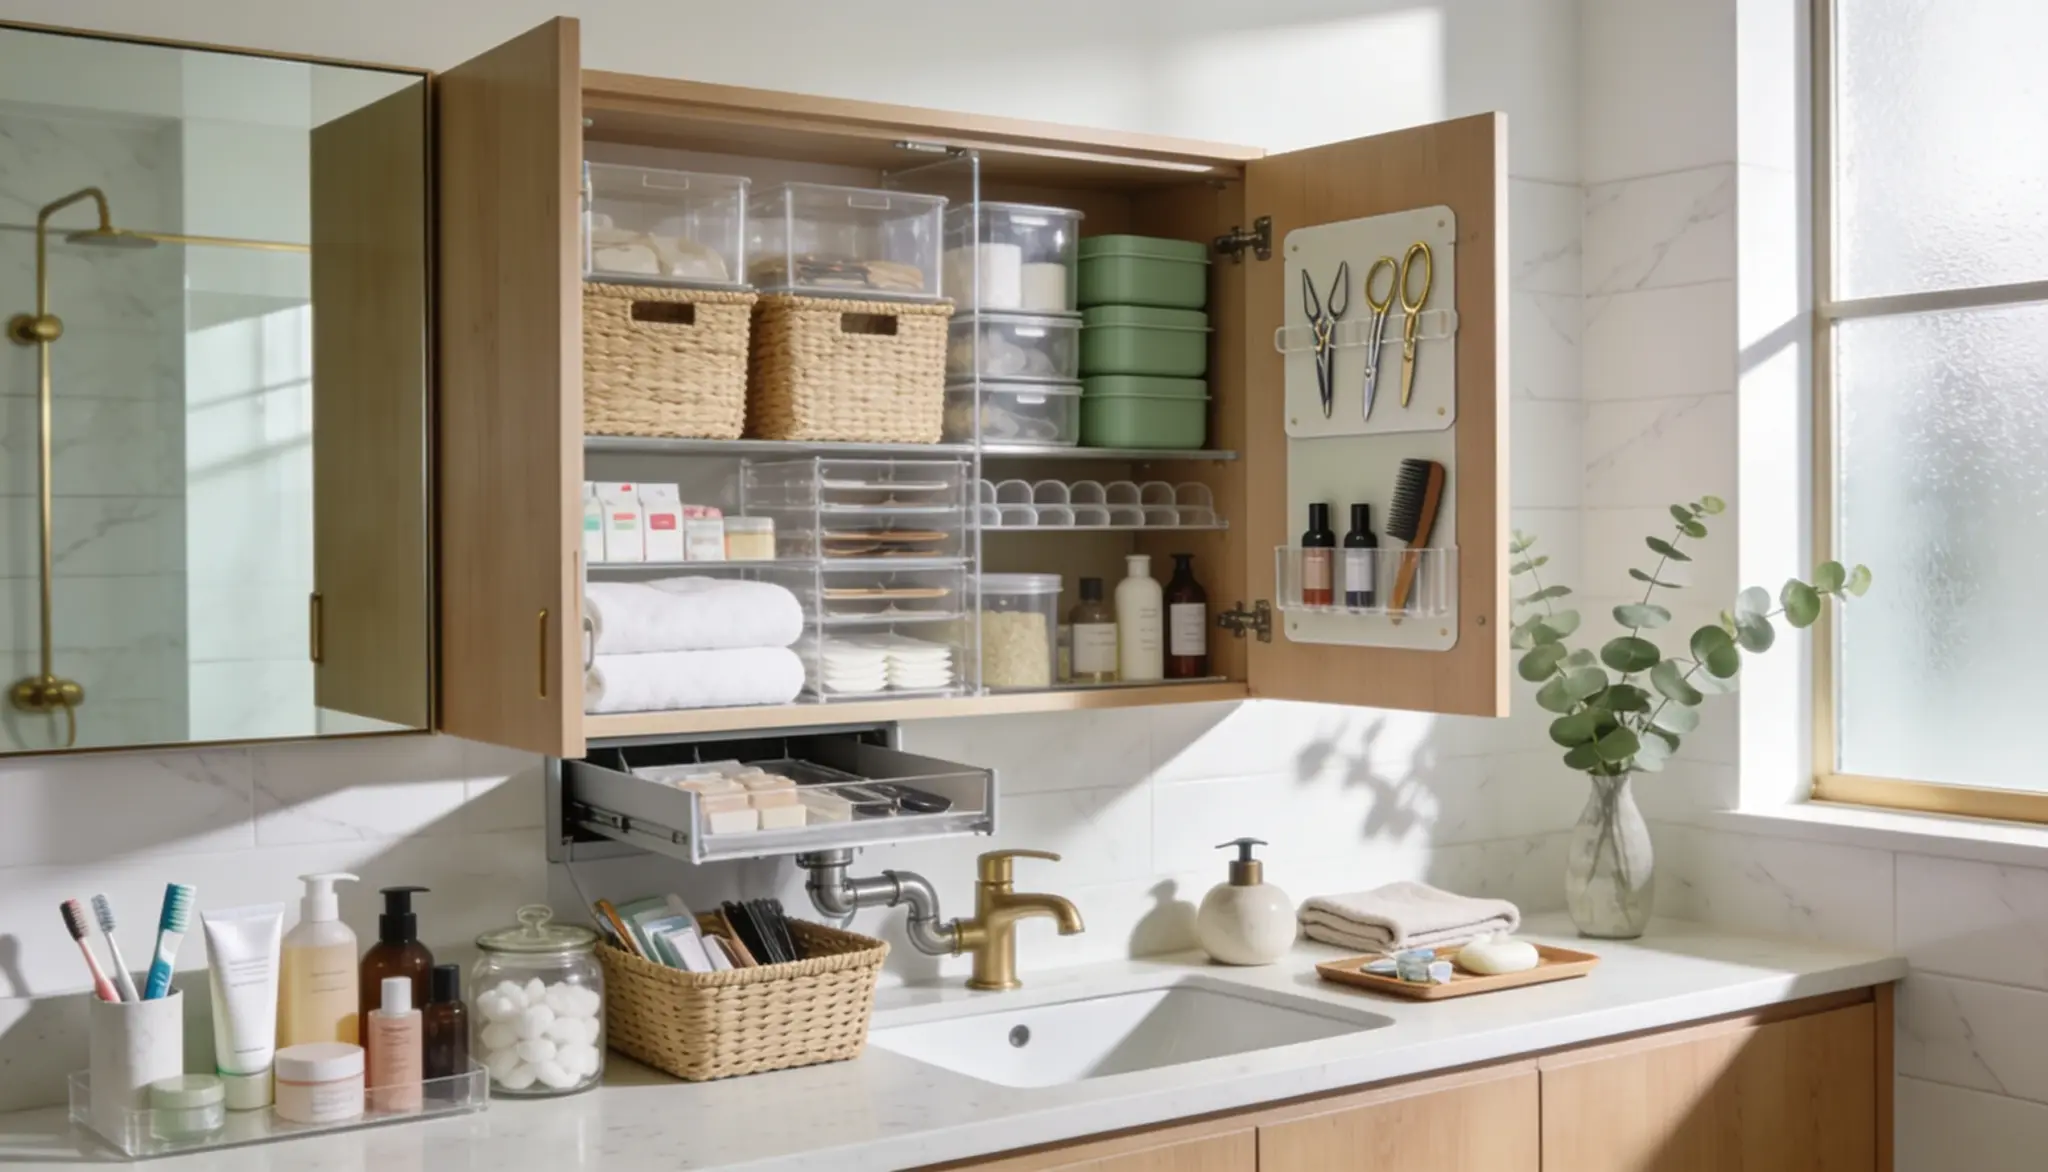
The bathroom is used every single day, but the cabinet inside it hardly ever gets cleaned. Things get thrown in, space fills up, and a quick morning routine turns into a ten-minute search.
When the cabinet is properly sorted, mornings run more smoothly, and the bathroom is easier to use.
Here’s how to go from a jumbled cabinet to one that actually works, starting with clearing everything out.
Organize Your Bathroom Cabinet in Four Steps
Getting a bathroom cabinet sorted is not that hard. It is about clearing things out and proper organization.
Step 1: Empty the Cabinet and Clean the Shelves
Take everything out, even the stuff buried in the back.
Wipe the shelves with a damp cloth to clear dust and residue. Check corners for moisture, since a damp shelf isn’t safe for clean products.
Let it dry before restocking.
Step 2: Sort Everything Into Groups
Toss expired medicines, sunscreens, and skincare.
Get rid of empty containers, duplicates, and anything unused for six months. Clutter won’t stay organized no matter how many bins get added.
No expiration date printed on it? Check the small symbol on the packaging that looks like an open jar with a number inside, like “12M” or “24M.”
That’s how many months it’s good for once opened, not from the purchase date. If you can’t find that either, go by smell and texture.
Sunscreen that’s separated or smells off has lost its SPF protection even if it looks fine.
Skincare that’s changed color or texture has likely broken down too.
For medicine, don’t just toss it in the trash or flush it. Most pharmacies have a take-back bin, and some communities run periodic drug take-back events.
If neither is available, mix pills with something unappealing like coffee grounds or kitty litter, seal it in a bag, and then throw it out.
This keeps it out of reach of kids or pets who might get into the trash.
Grouping Checklist:
Sort what’s left into categories:
- Daily essentials: face wash, deodorant, toothpaste, moisturizer
- Skincare products
- Hair care items
- Dental care supplies
- First aid supplies like bandages, antiseptic, and pain relief
- Cleaning products
- Extra stock and backups
This cuts search time and makes it easy to spot what’s running low.
If kids can reach the cabinet, medicine shouldn't be at eye level or in an easy-to-open bin, even if it seems obvious to keep it there for convenience. Move it to a higher shelf or a container with a child-resistant latch. A simple cabinet lock costs under $10 and takes a few minutes to install, cheap insurance if there's any chance small hands get into that cabinet unsupervised.
Step 3: Arrange Items by How Often They Get Used
Keep daily essentials at eye level so they’re easy to grab, save the higher shelves for things you use less often, and put heavy bottles down low for stability.
Try to keep each group together as you arrange things by how often you reach for them.
Step 4: Make Better Use of Cabinet Space
Storage Bins:
Keep bottles corralled so they stop rolling around every time the door opens.
Plastic bins run cheapest, usually $3 to $8 each, and hold up fine in bathroom humidity. Bamboo looks nicer but can warp over time if it gets splashed regularly, so it’s better suited to a dry shelf than one near the sink.
For sizing, measure your shelf depth first.
A bin that’s even an inch too deep will stick out and catch the door when it closes.
Drawer Dividers:
Stop bobby pins and hair ties from piling into one mess.
Adjustable plastic or bamboo dividers cost about $10 to $20 for a set and expand to fit most standard bathroom drawers.
Skip the fixed-size trays unless you’ve already measured your drawer width, since a lot of bathroom drawers are narrower than kitchen drawers and standard kits don’t always fit.
Shelf Risers:
Create two levels on one shelf, so you fit more without adding bulk.
Wire risers are the cheapest option, typically $8 to $15, and let air circulate underneath, which matters in a humid bathroom.
Solid acrylic risers look cleaner but trap moisture underneath if anything damp sits on them.
Check the weight limit before loading them with heavier items like lotion bottles.
Stackable Containers:
Stackable containers use vertical space, keeping small items visible instead of buried.
Clear plastic stacking containers run about $5 to $12 each and let you see contents without opening every one.
Look for ones with a locking or interlocking lid, since loose stacks tend to slide when the cabinet door opens and closes repeatedly.
Ideas For Small Bathroom Cabinets
These five tweaks pack in more storage without making the space feel stuffed.
If you’re only doing one or two, start with the door rack and the narrow containers. They cost the least and free up the most usable space for the effort.
1. Use the Inside of The Cabinet Door
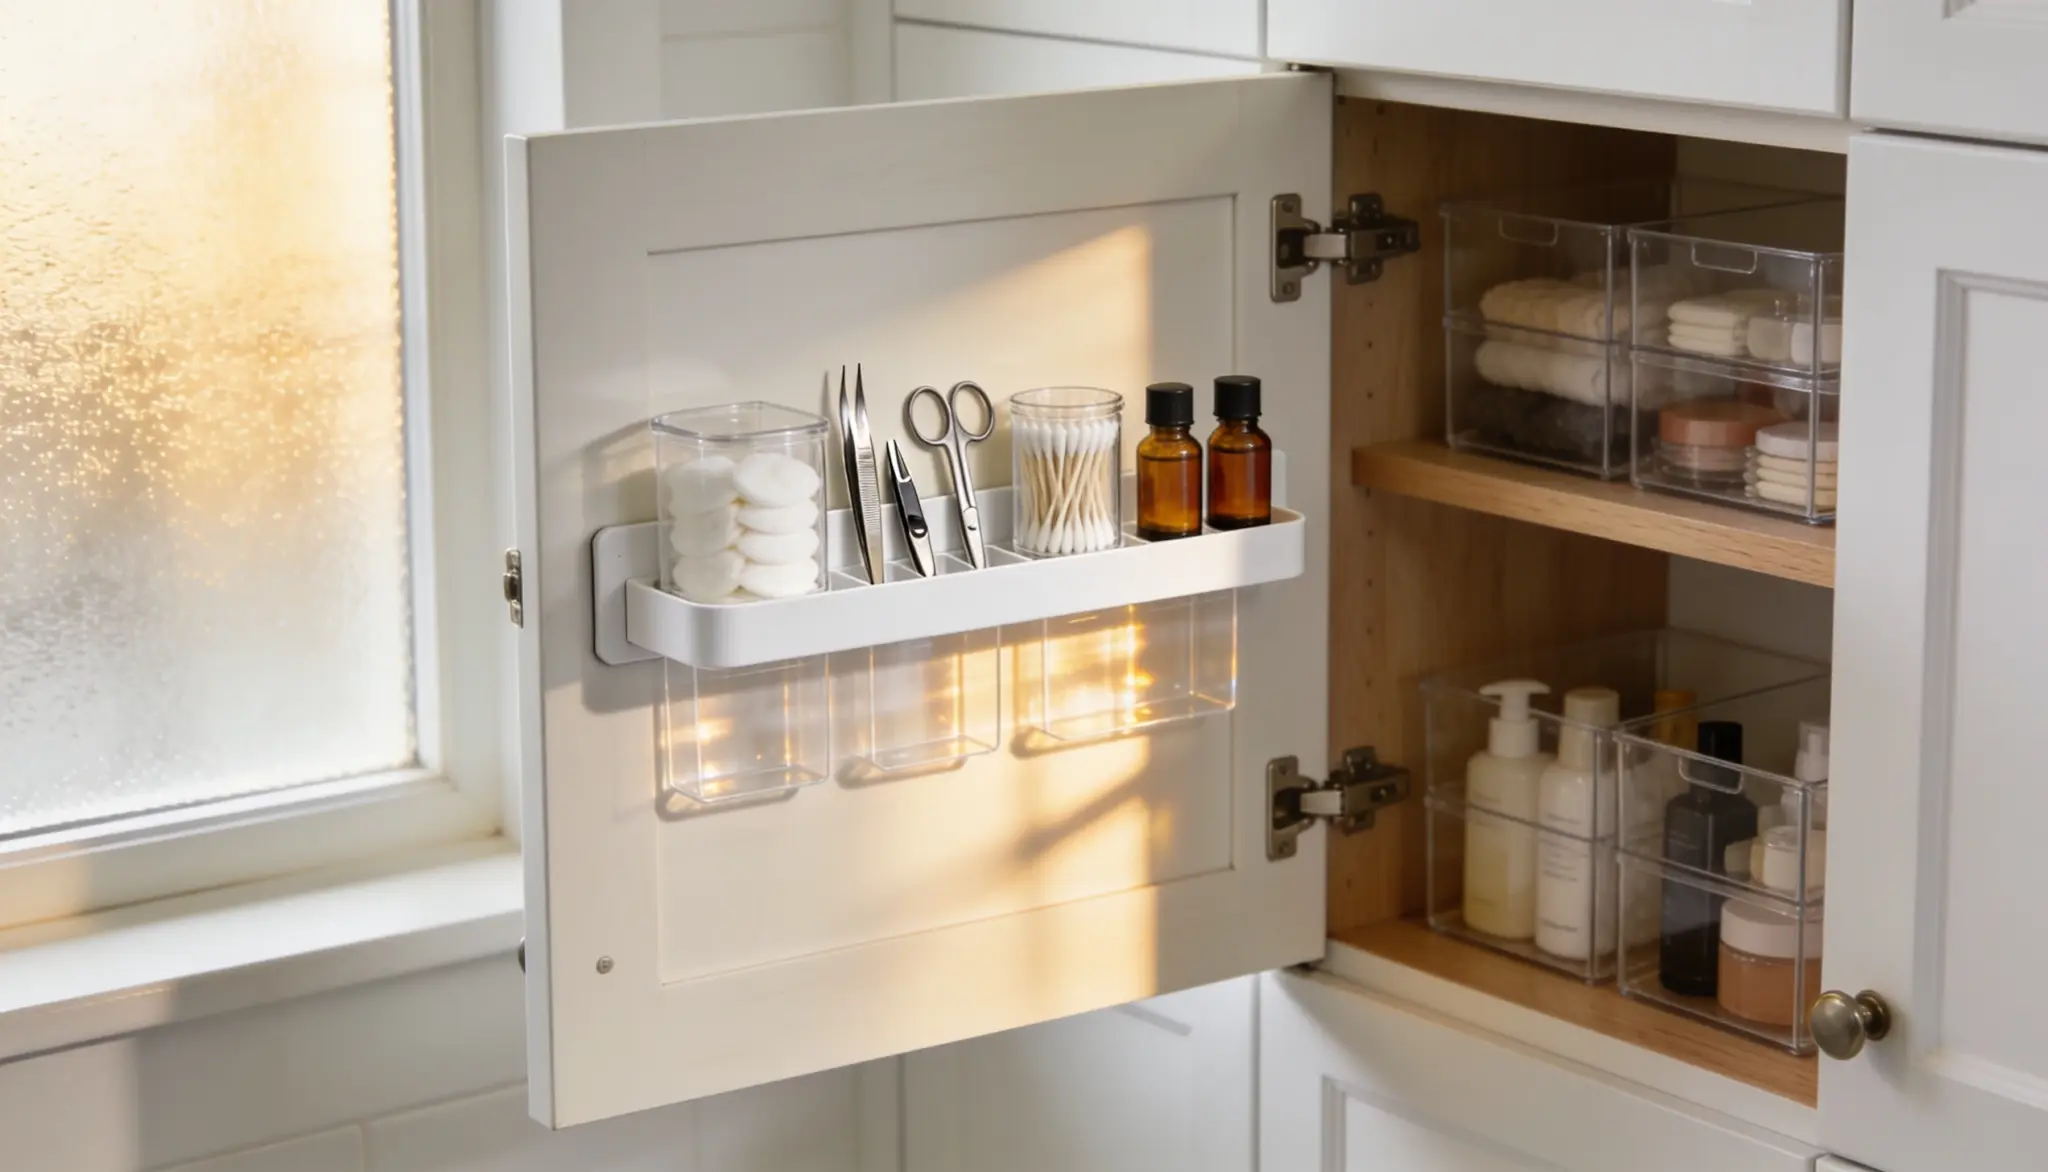
The inside of a cabinet door almost always goes unused.
An adhesive rack or hook strip turns that space into storage for cotton pads, tweezers, nail clippers, or small bottles.
It’s close to free since the space already exists, and it frees up shelf space for bigger items.
Cost: $5 to $15 for an adhesive rack or hook strip.
2. Pick Narrow Containers Over Wide Ones
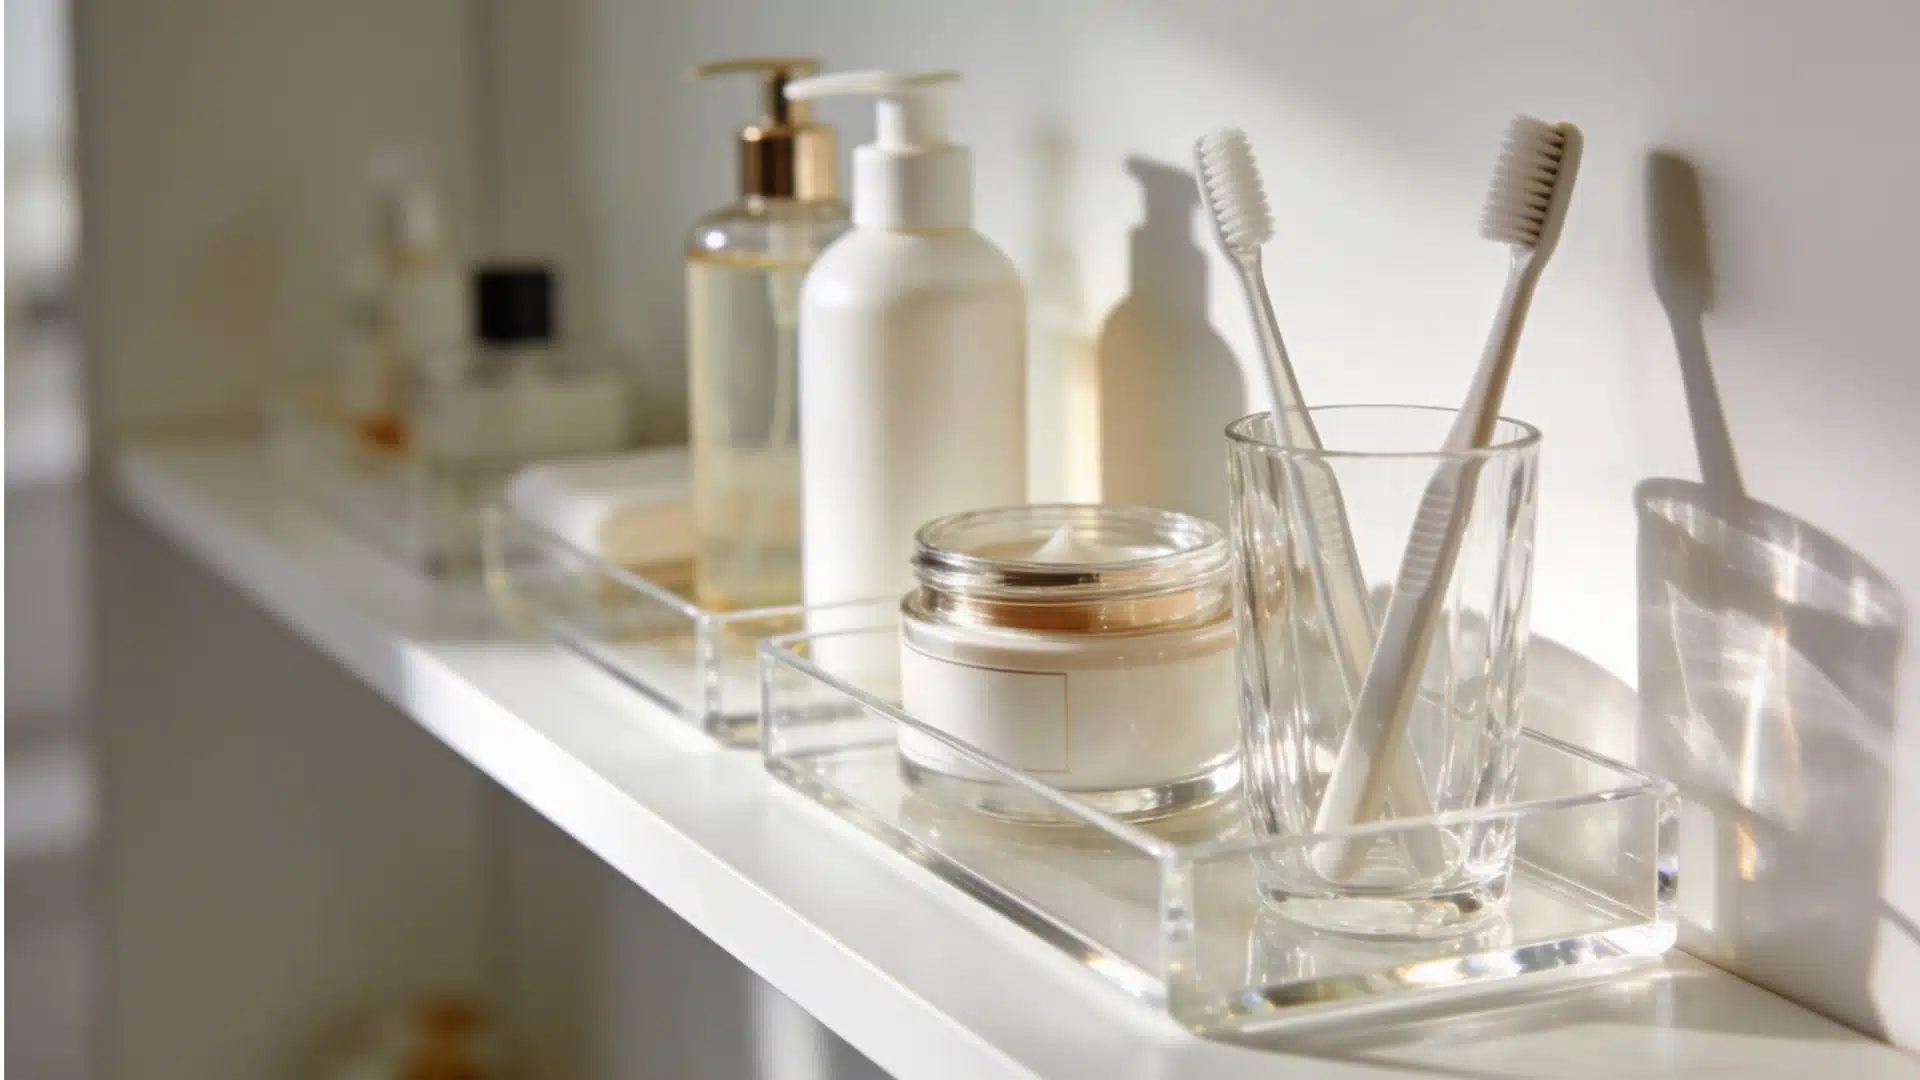
Standard bins often don’t fit small shelves without wasting space on the sides.
Narrow, slim-profile containers slide into tight spaces and use the full depth of the cabinet rather than leaving gaps.
They also make it easier to see everything without digging through one wide bin.
Cost: $4 to $10 per container, depending on size and material.
3. Store Tall Items Upright
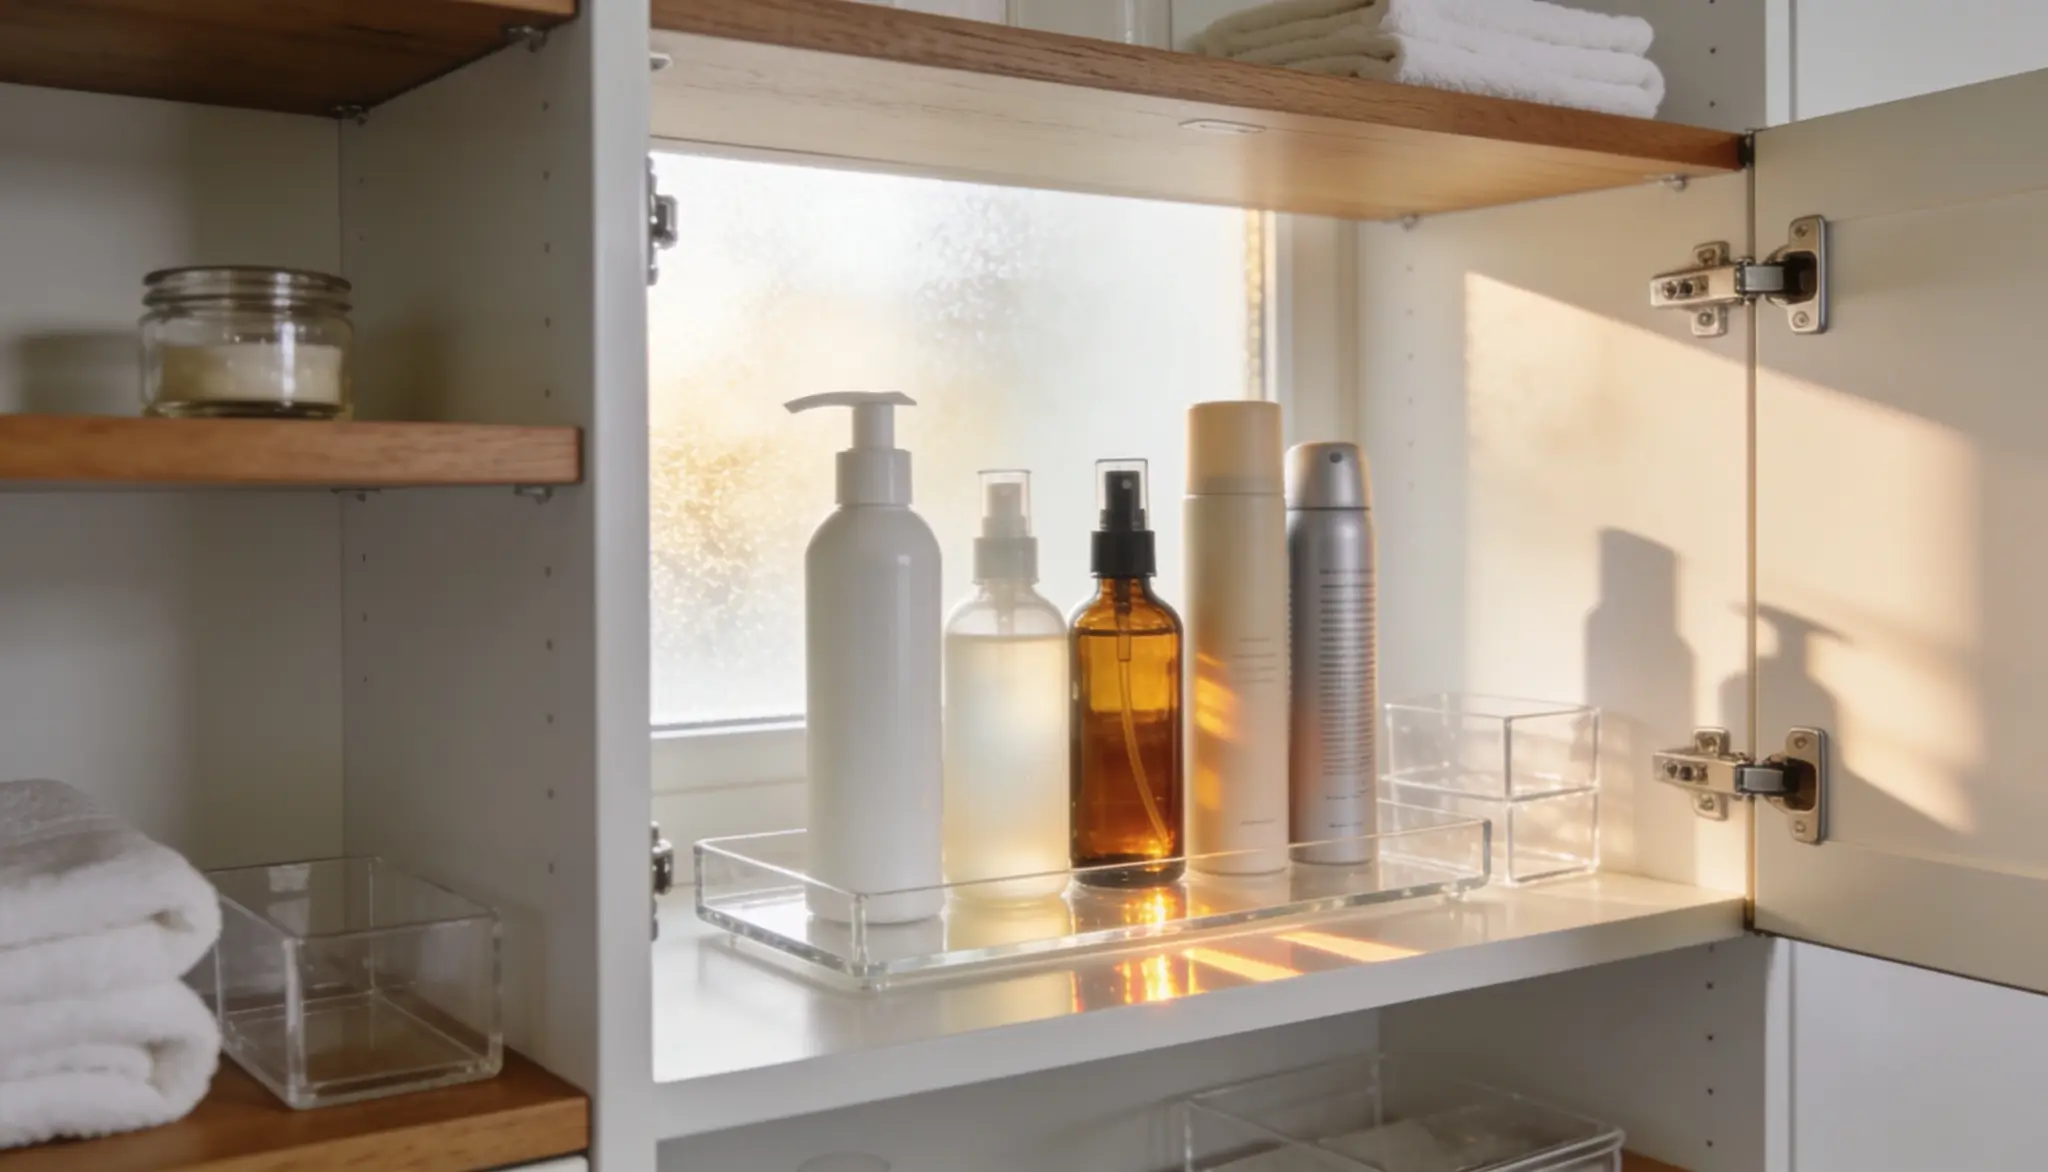
Hairspray, dry shampoo, and other tall bottles take up less room when standing than when lying on their sides.
Upright storage also prevents them from rolling around when the door opens. A small tray or riser underneath keeps them from tipping over.
Cost: Free if you’re just standing bottles up. A small tray to catch drips runs $3 to $8.
4. Add a Pull-Out Basket Under the Sink
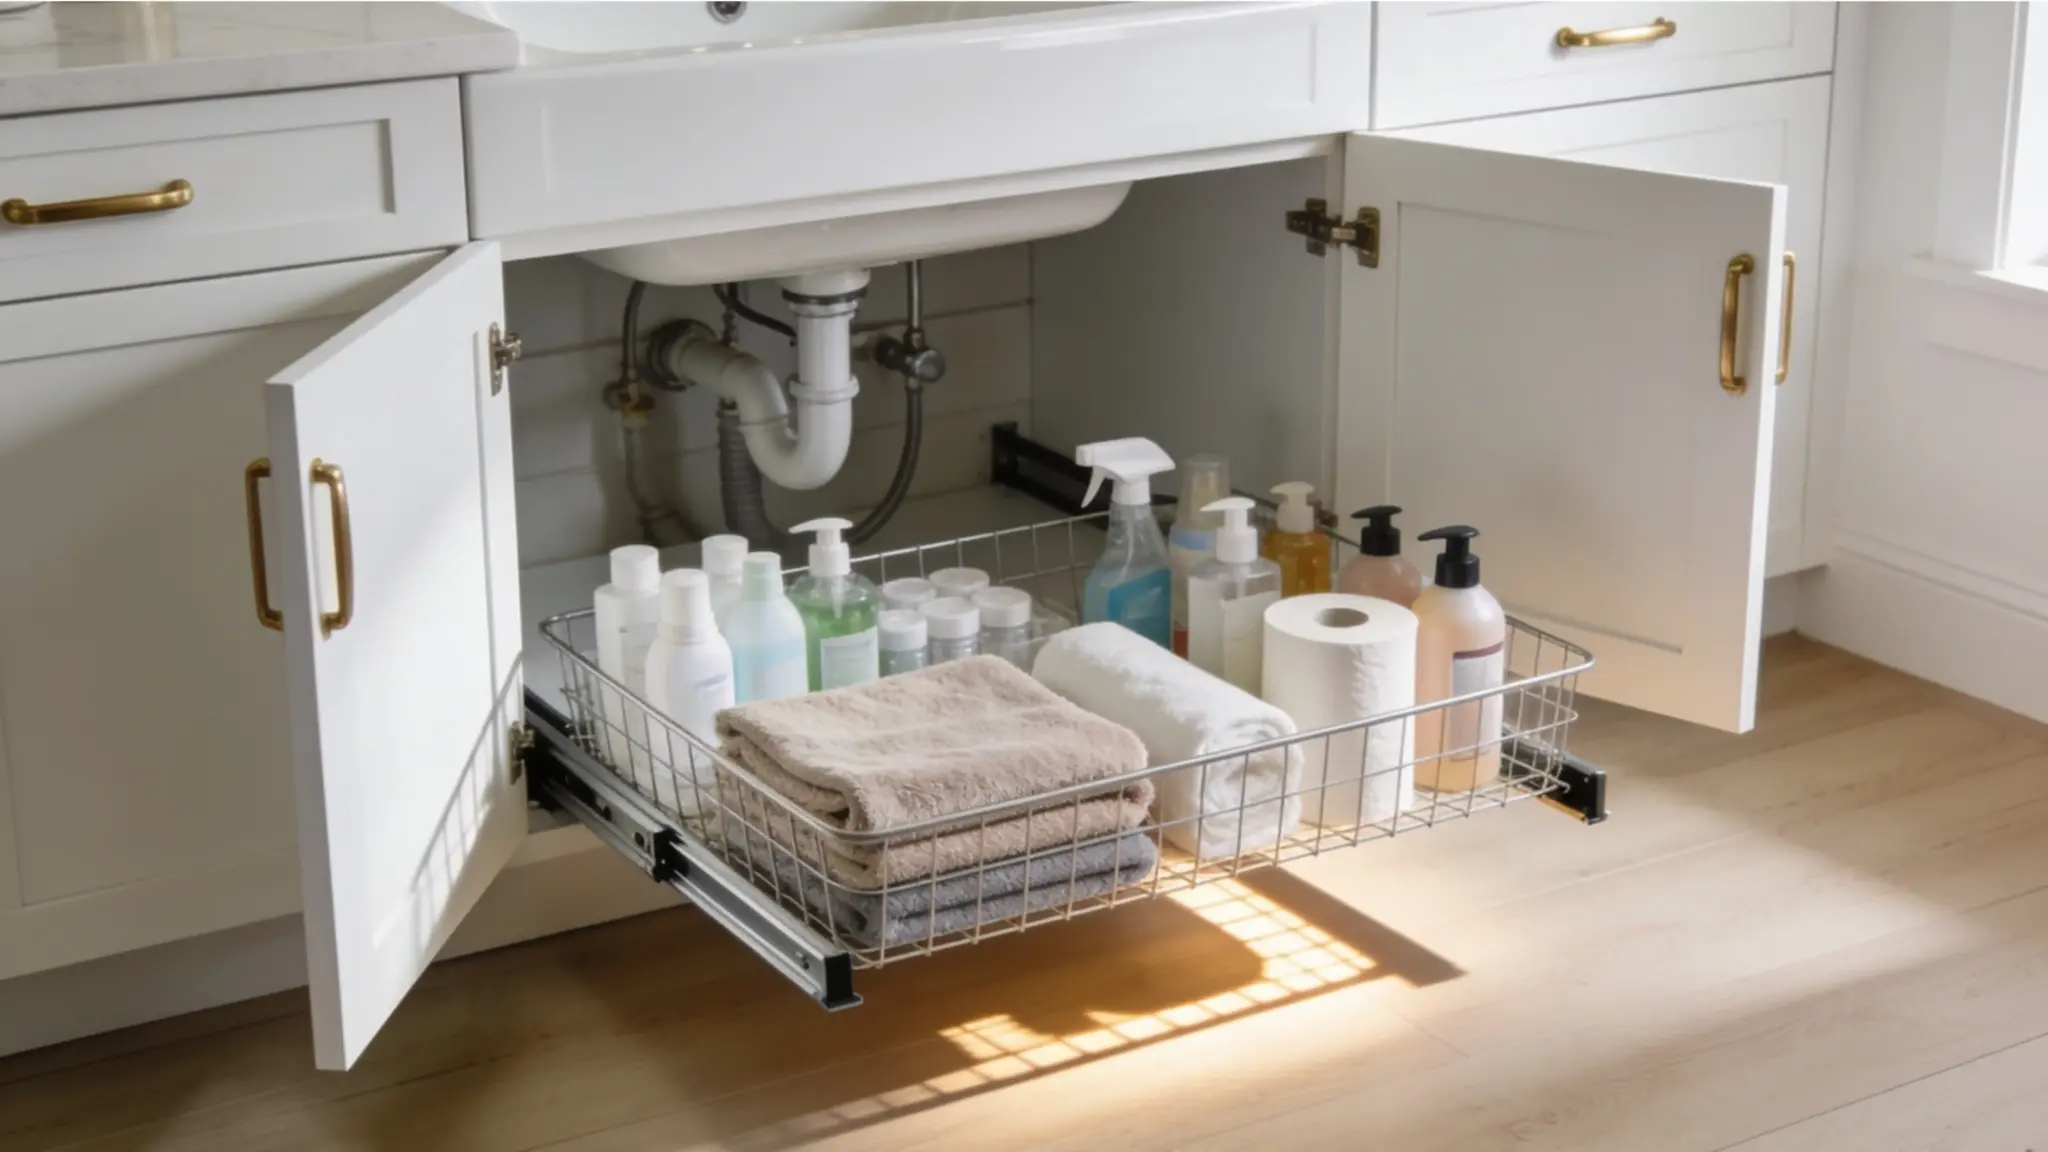
The space under the sink is awkward to reach into, especially toward the back.
A pull-out basket pulls everything forward so there’s no crouching or digging. It also makes better use of the space that usually goes unused around the pipes.
Cost: $15 to $30, more than the other four, but it’s the one that solves the worst-reach spot in the cabinet.
5. Roll Towels Instead of Folding Them Flat
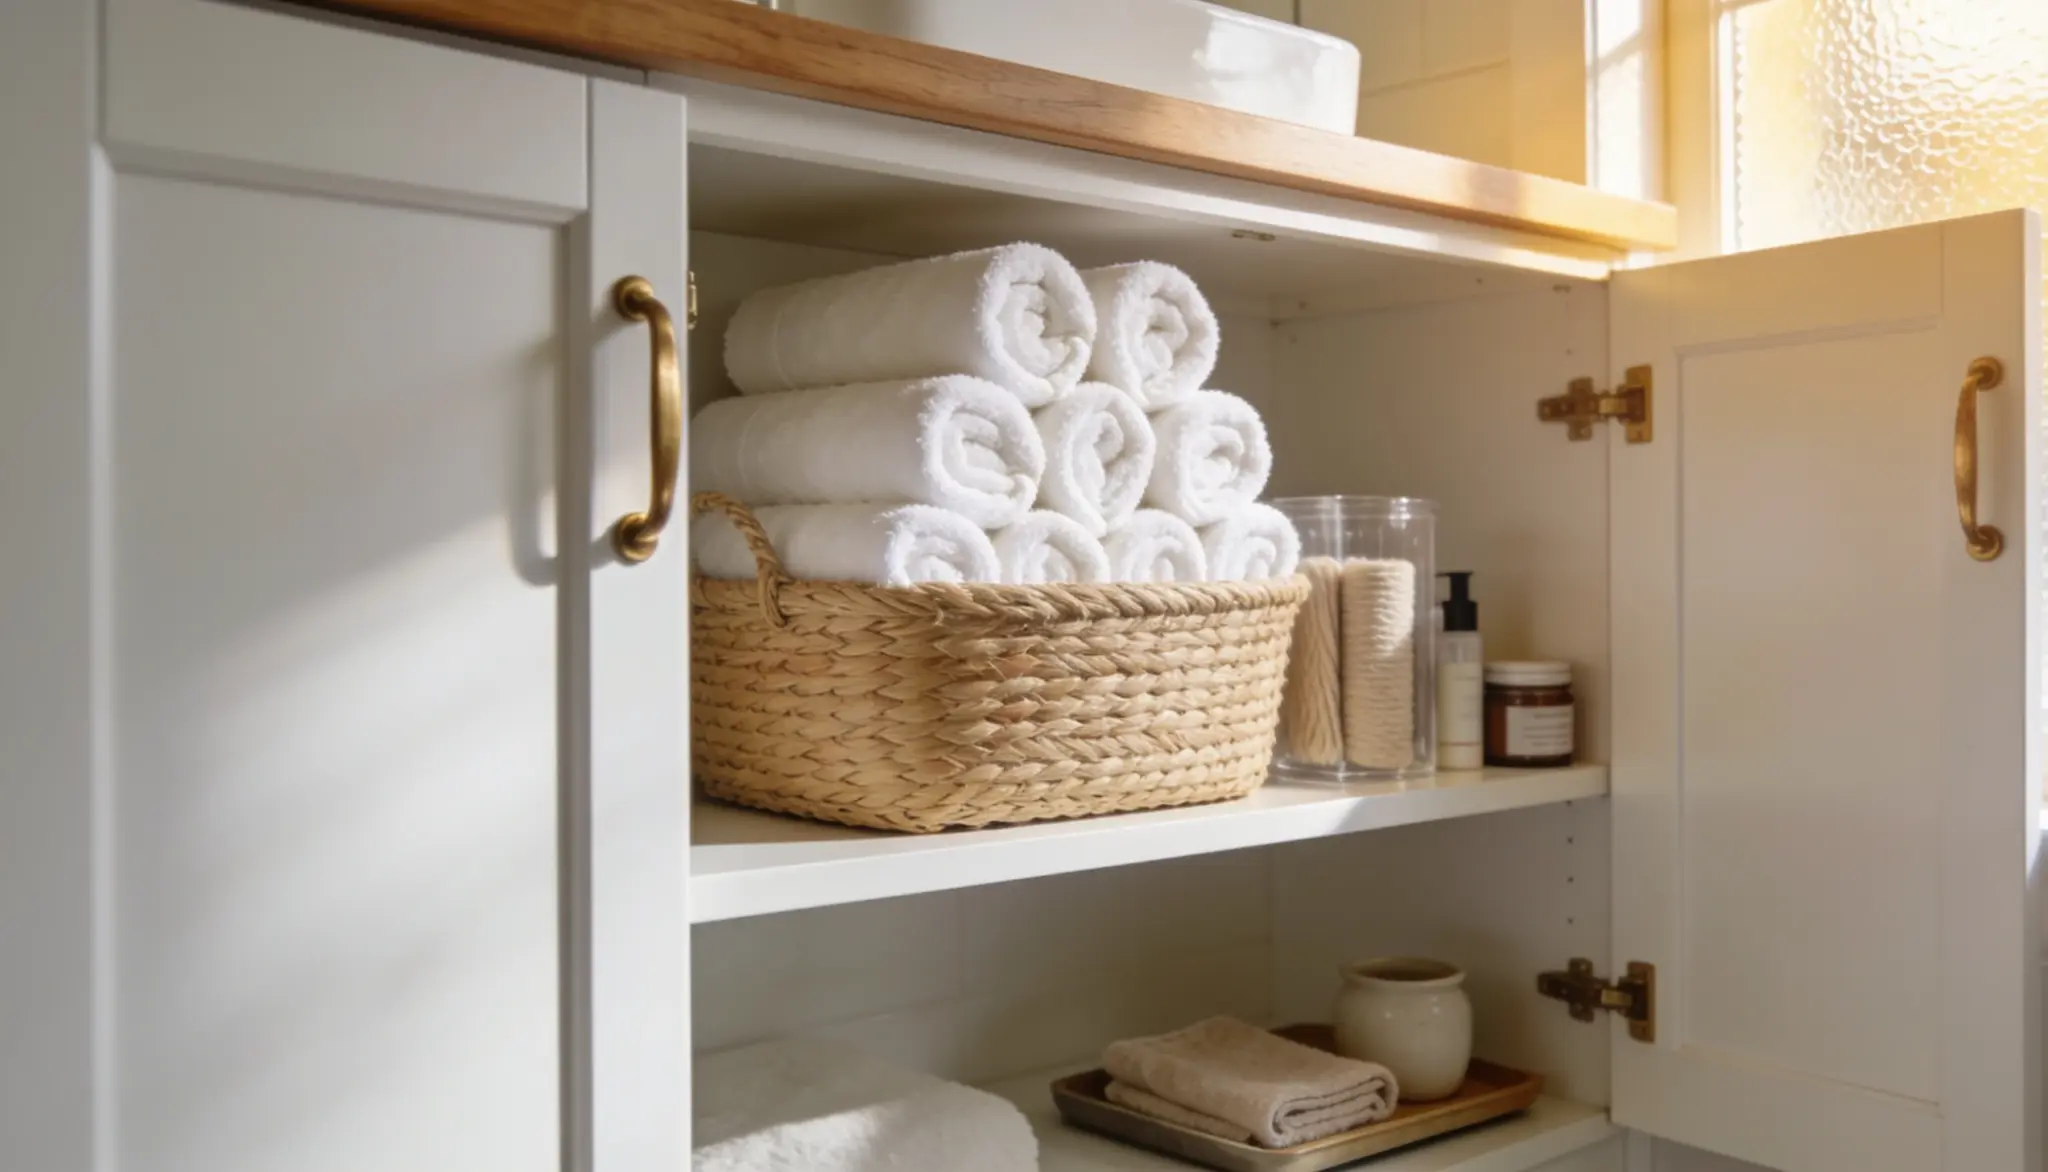
Rolled towels take up less shelf space than flat-folded stacks and make it easier to grab just one without knocking over the rest of the pile.
They look neater stacked upright in a basket, too.
Cost: Free. This one just changes how you fold, not what you buy.
Layout Ideas to Improve Bathroom Storage
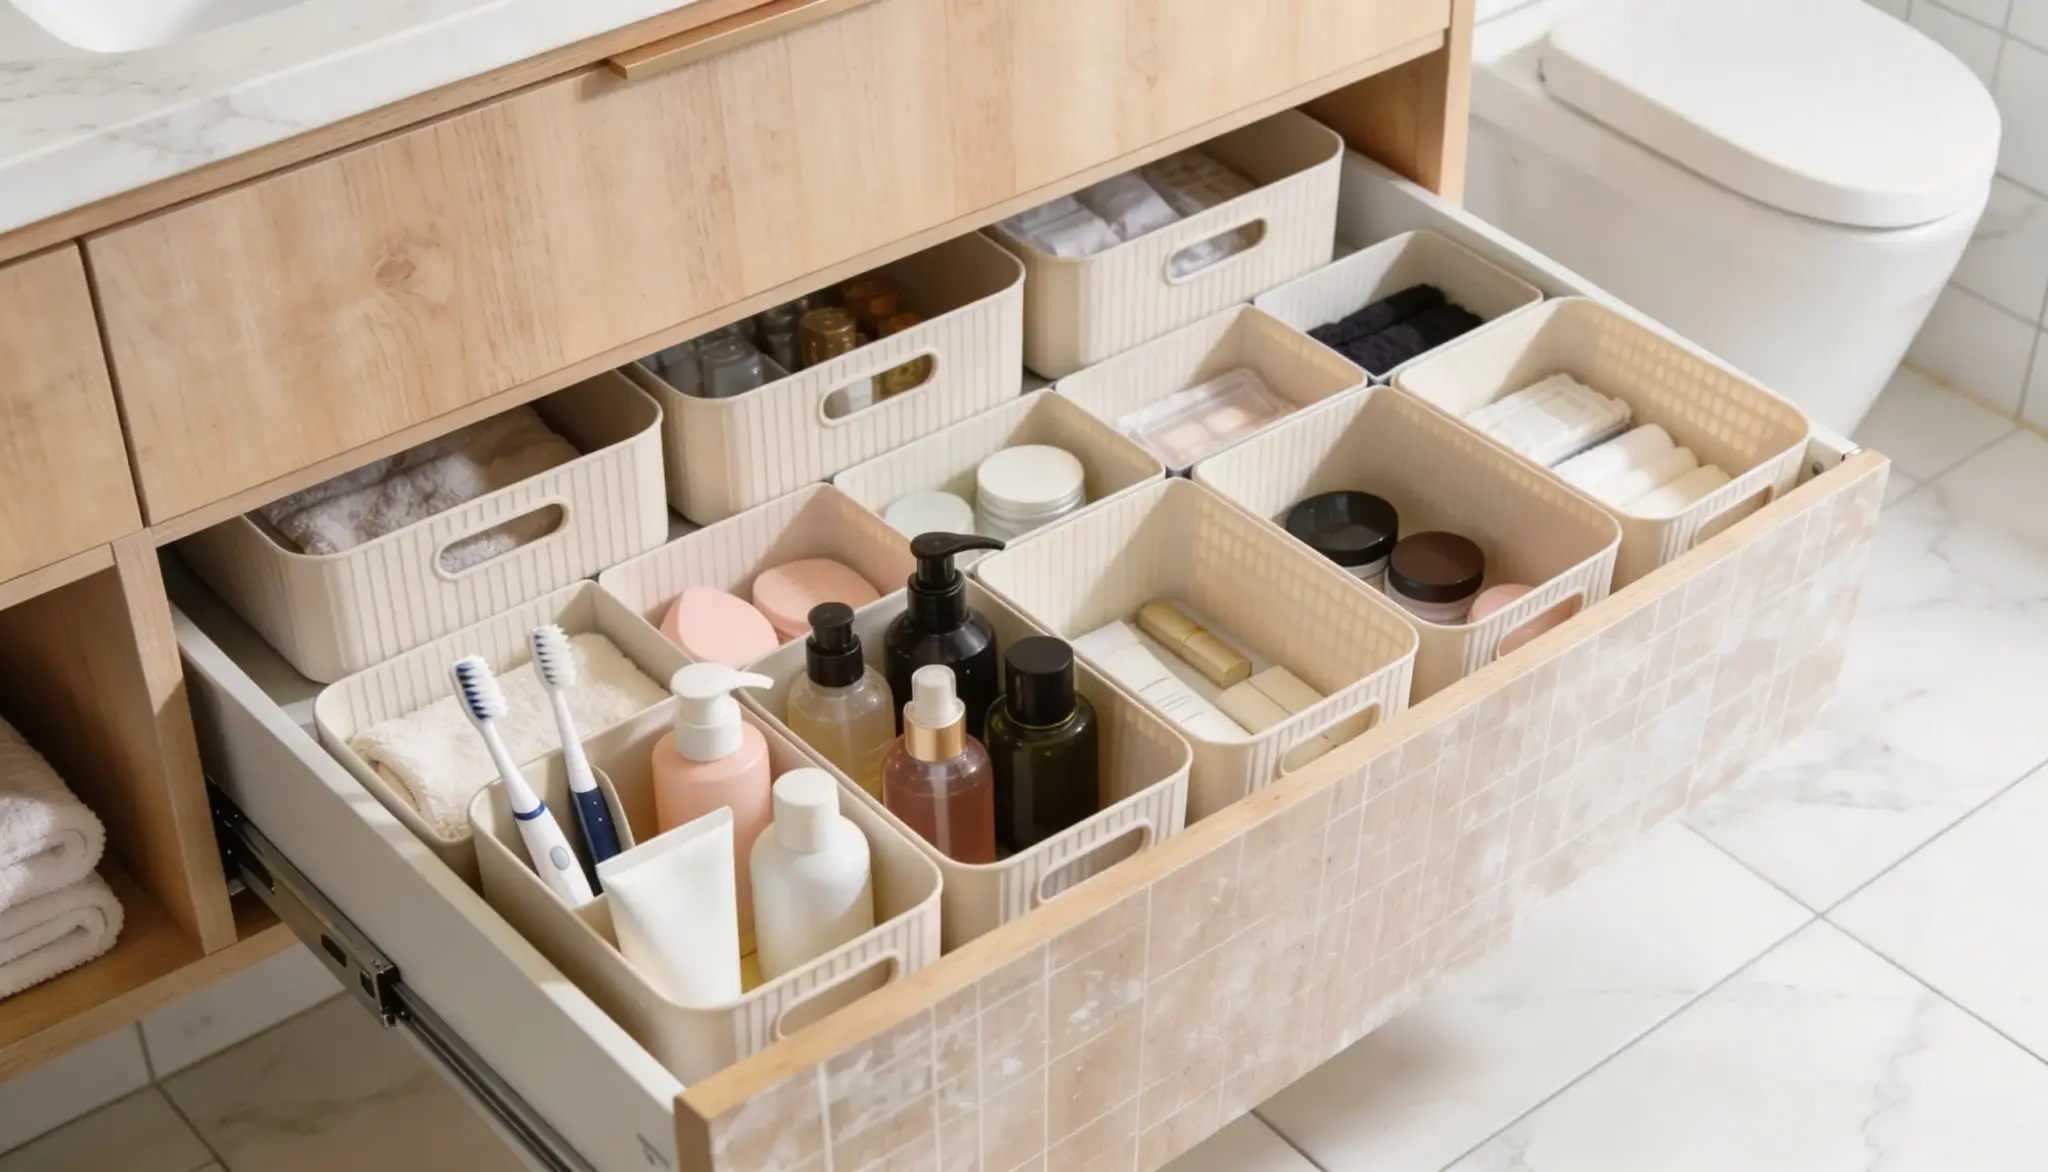
A good layout makes the cabinet easier to use every day. Here are some ways to set things up so the space actually works.
Keep the Most Used Items at The Front: Whatever gets grabbed every day should sit at the front of each shelf. Nothing should need to be moved just to reach a toothbrush or face wash.
Use Zones For Each Person: In a shared bathroom, giving each person their own shelf or bin reduces mess. Everyone knows where their things are and where to put them back.
Group by Routine: Morning products on one shelf, evening products on another. It is a small change, but it makes the cabinet easier to follow.
Leave Some Space Between Groups: Shelves packed too tightly are hard to use. A small gap between groups makes it easy to grab things without knocking everything else over.
Use Matching Containers: The same bin style across all shelves makes the cabinet look clean and put together. Nothing expensive is needed.
Final Thoughts
A messy bathroom cabinet is not as messy as it sounds. Clear everything out, sort through what’s there, and put things back in an organized way.
Keep similar items together. Store the things used most often where they are easiest to reach.
Add a bin or divider where things tend to pile up. Go through it again every few months and toss anything expired or unused.
Knowing how to organize bathroom cabinet storage doesn’t take a full day or a lot of money. It takes cleaning out and sorting that’s easy to keep up. Once that’s done, the whole bathroom just works better.
Frequently Asked Questions
1. How Often Should I Organize my Bathroom Cabinet?
Every three to four months. It stops clutter and expired products from building up.
2. What Should Not be Stored in a Bathroom Cabinet?
Medicines and some skincare products. Bathroom humidity breaks them down faster.
3. What Storage Containers Work Well Inside Bathroom Cabinets?
Small bins, drawer dividers, shelf risers, and stackable containers. Measure shelves before buying.